Me & The Moose

Living thoughtfully with littles.

  • Home
  • Portfolio
    • Food photography
    • Family photography
    • Pet photography
  • Recipe newsletter
  • Blog
  • About
  • Contact

BBQ Chicken | Me & The Moose Truly the best route to BBQ chicken that is deeply flavorful and easy to make, whether grilled outside or roasted in your oven. #meandthemoose #chickenrecipes #BBQchicken #grilling #roasting

BBQ chicken

May 25, 2022 by Rebecca Davis in Cooking, Gluten-free, Recipes, Summer, Toddler eats

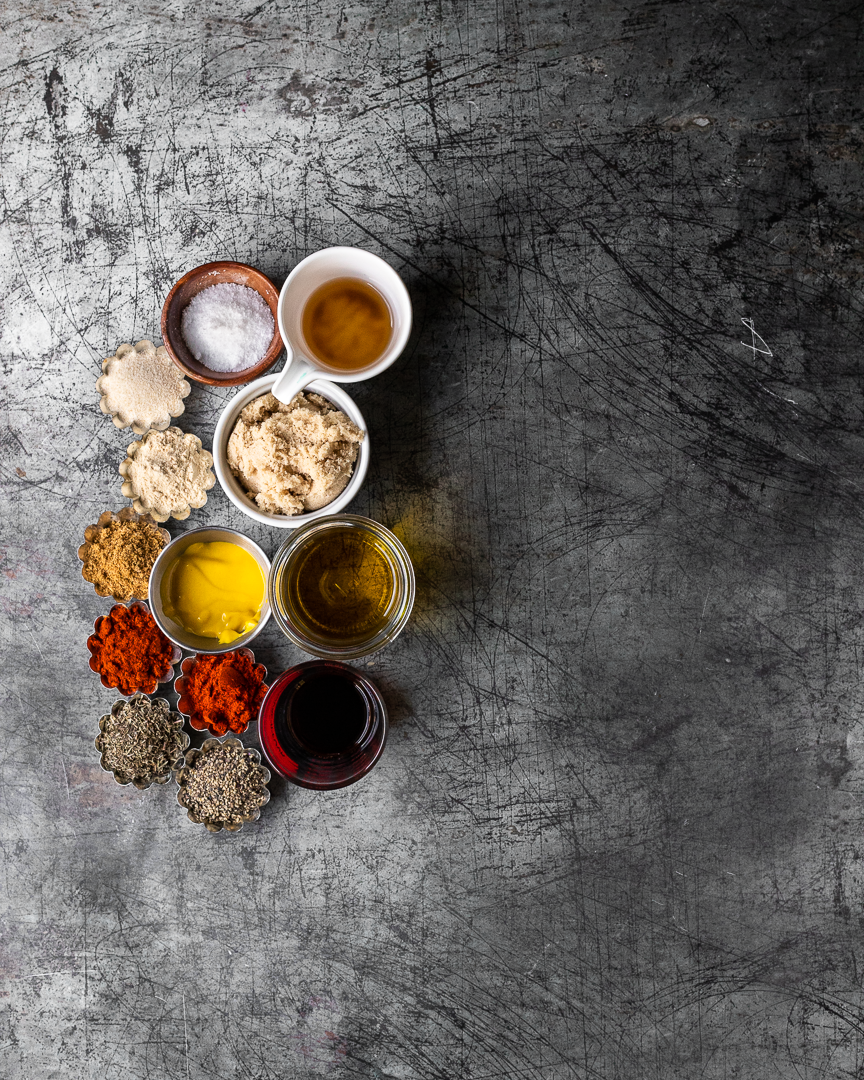
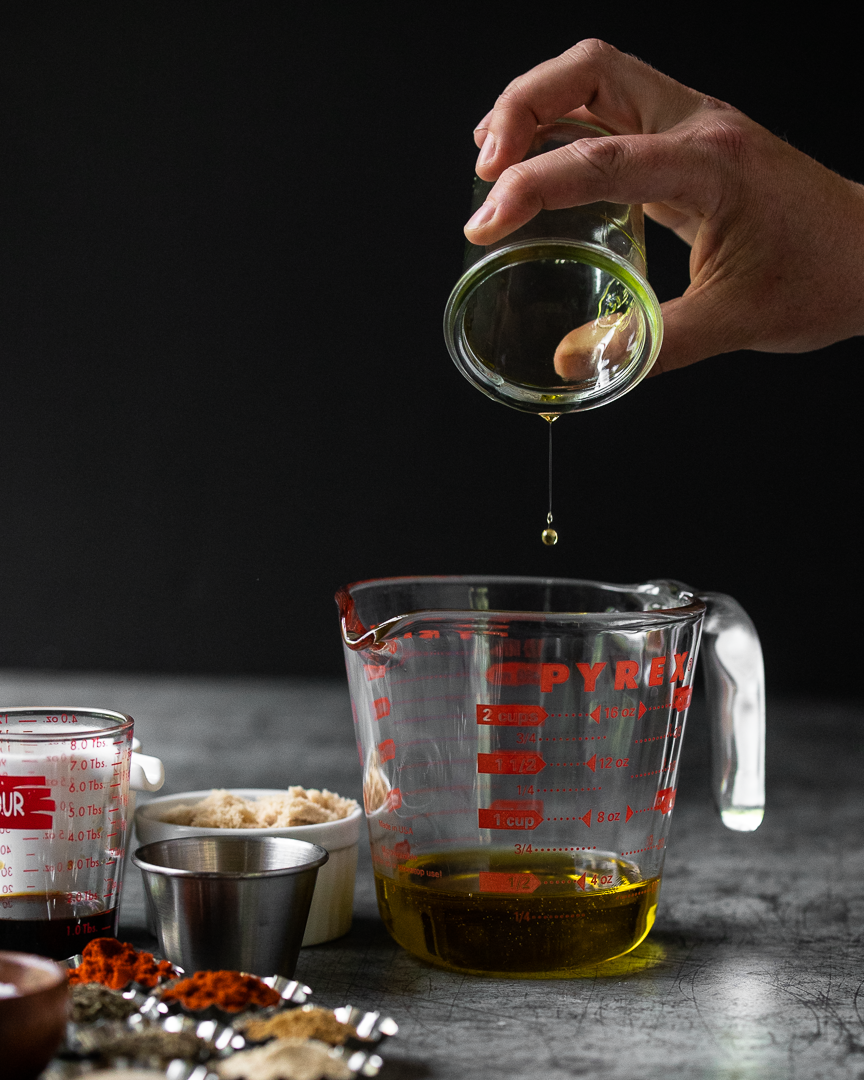
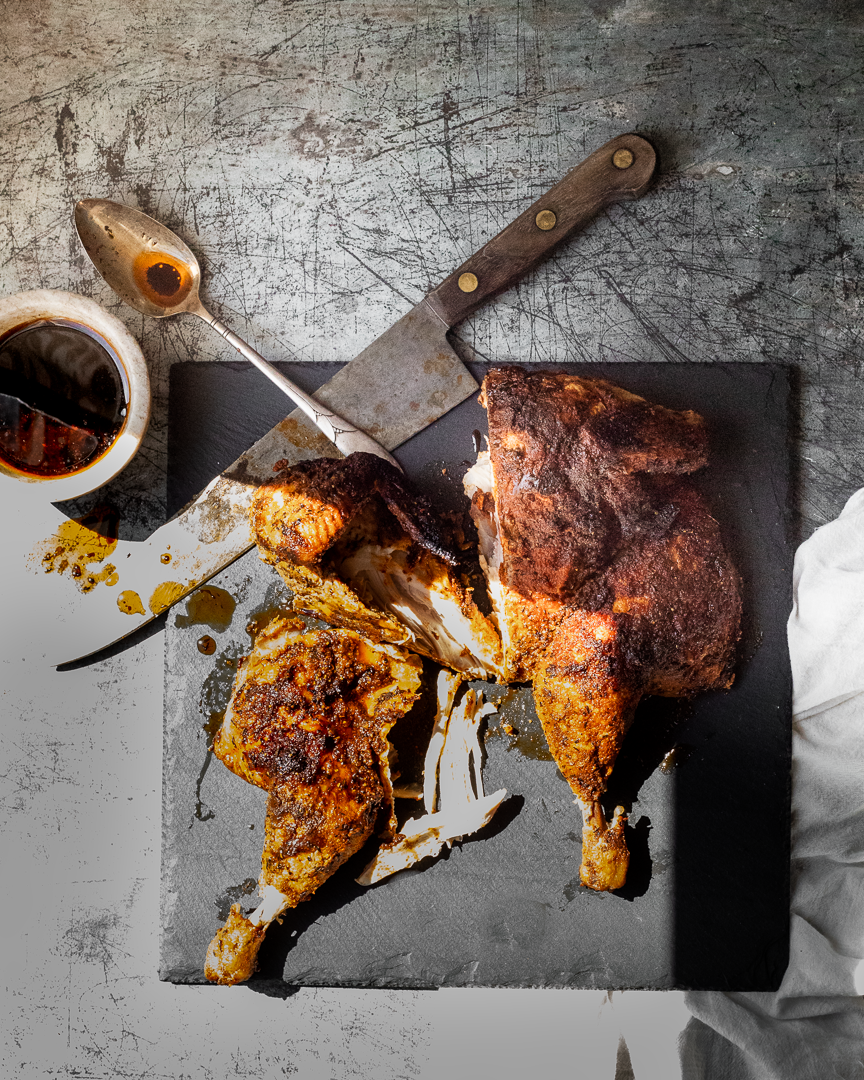
A short marinade in olive oil, apple cider vinegar, mustard, and soy sauce followed by the best ever spice rub (seriously, triple the recipe and use it on everything), makes this a BBQ chicken worthy of your most discerning guests.

Take me to the recipe!

BBQ Chicken | Me & The Moose Truly the best route to BBQ chicken that is deeply flavorful and easy to make, whether grilled outside or roasted in your oven. #meandthemoose #chickenrecipes #BBQchicken #grilling #roasting

We’ve used this marinade and rub on all kinds of chicken: breasts, thighs, bone-in, skin-on, boneless, skinless, and an entire chicken. It has worked with every iteration! I was really tired one day and put the sugar in the marinade instead of the rub—still great. My husband likes to put the rub on WITH the marinade and let the whole thing sit for 30 minutes—also great. So if, like me, your attention is divided while trying to make dinner, this is the recipe for you.

BBQ Chicken | Me & The Moose Truly the best route to BBQ chicken that is deeply flavorful and easy to make, whether grilled outside or roasted in your oven. #meandthemoose #chickenrecipes #BBQchicken #grilling #roasting

BBQ Chicken | Me & The Moose Truly the best route to BBQ chicken that is deeply flavorful and easy to make, whether grilled outside or roasted in your oven. #meandthemoose #chickenrecipes #BBQchicken #grilling #roasting

A note on cooking chicken:

  • Roast the chicken between 425 and 450. I use the lower temperature for skinless and boneless varieties to avoid drying out the meat. The higher temperature works with the bones and skin, but keep an eye out to ensure that the skin doesn’t burn. A loose piece of foil over top usually does the trick.

  • Grill the chicken by heating up the grill on the highest temperature and then turn it down to medium just before putting the chicken on the grill. Cook until the internal temperature is 165 in the fattest part.

BBQ chicken FINAL IG_-4.png
BBQ chicken FINAL IG_-5.png
BBQ chicken FINAL IG_-6.png
BBQ chicken FINAL IG_-7.png
BBQ chicken FINAL IG_-8.png
BBQ chicken FINAL IG_-9.png

BBQ Chicken | Me & The Moose Truly the best route to BBQ chicken that is deeply flavorful and easy to make, whether grilled outside or roasted in your oven. #meandthemoose #chickenrecipes #BBQchicken #grilling #roasting

BBQ Chicken

Yield: 3 lbs chicken
Time: 60-90 minutes, depending on how long you cook your chicken

3 lbs chicken (any type, but I prefer boneless, skinless thighs or a whole spatchcocked chicken)
1/3 cup olive oil
2 Tbsp apple cider vinegar
1 1/2 Tbsp soy sauce
2 Tbsp yellow mustard
1 Tbsp kosher salt
1/4 cup brown sugar
1 1/2 tsp black pepper
1 1/2 tsp paprika
1 1/2 tsp smoked paprika
1 1/2 tsp cumin
1 1/2 tsp thyme
1 1/2 tsp garlic powder
1 1/2 tsp onion powder

Combine the olive oil, apple cider, soy sauce, and yellow mustard. Place chicken in a large container (plastic bag, glass container, mixing bowl, or whatever will hold all of the chicken) and cover with the marinade. Let sit for at least 30 minutes, but up to an hour.

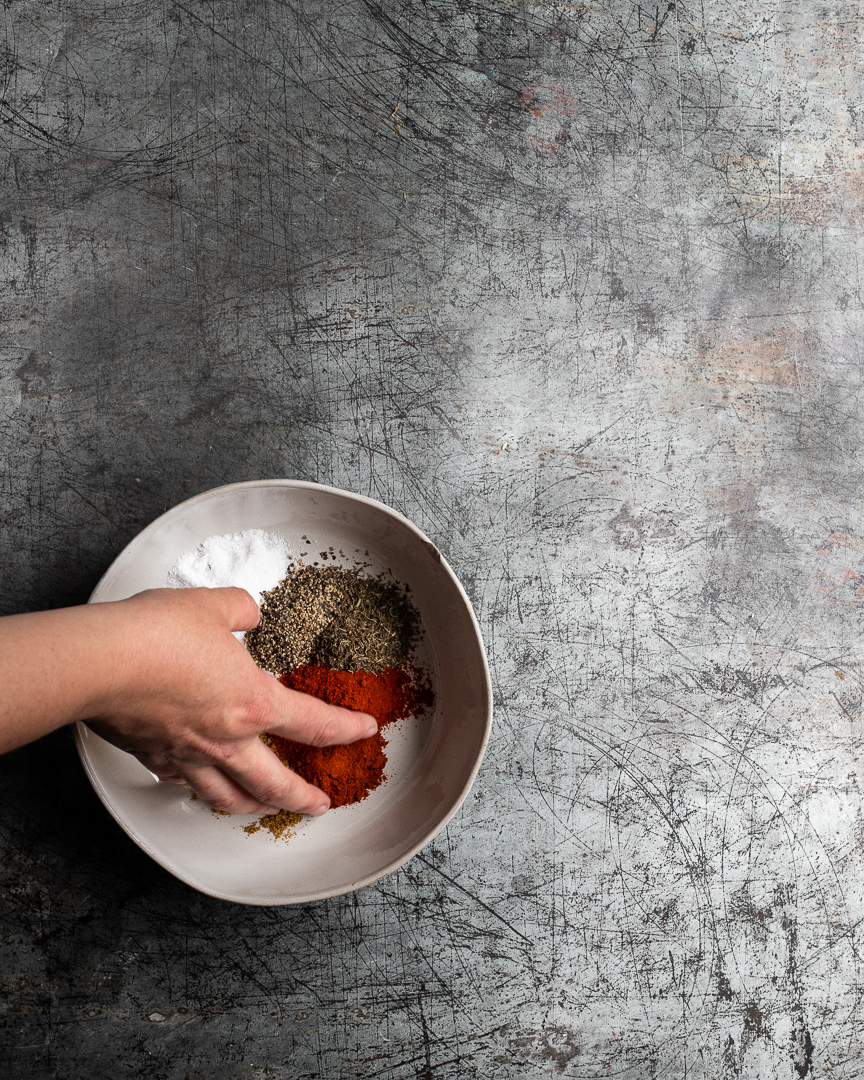
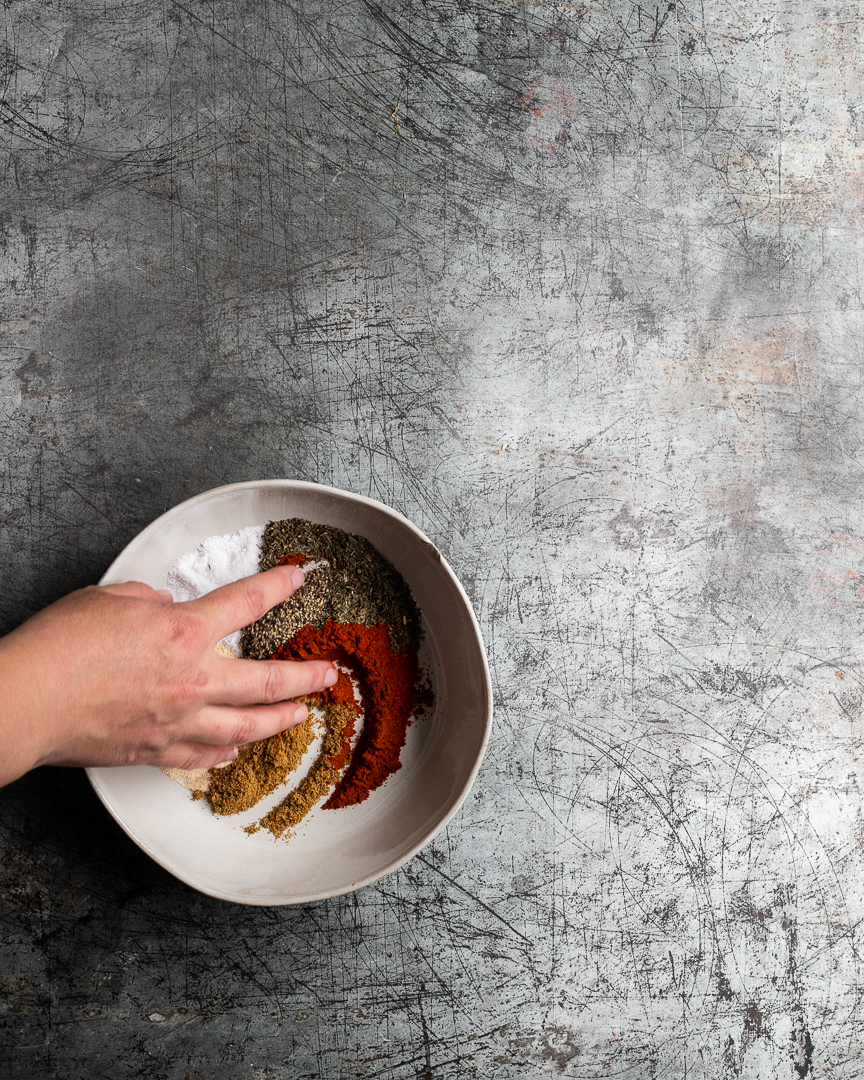
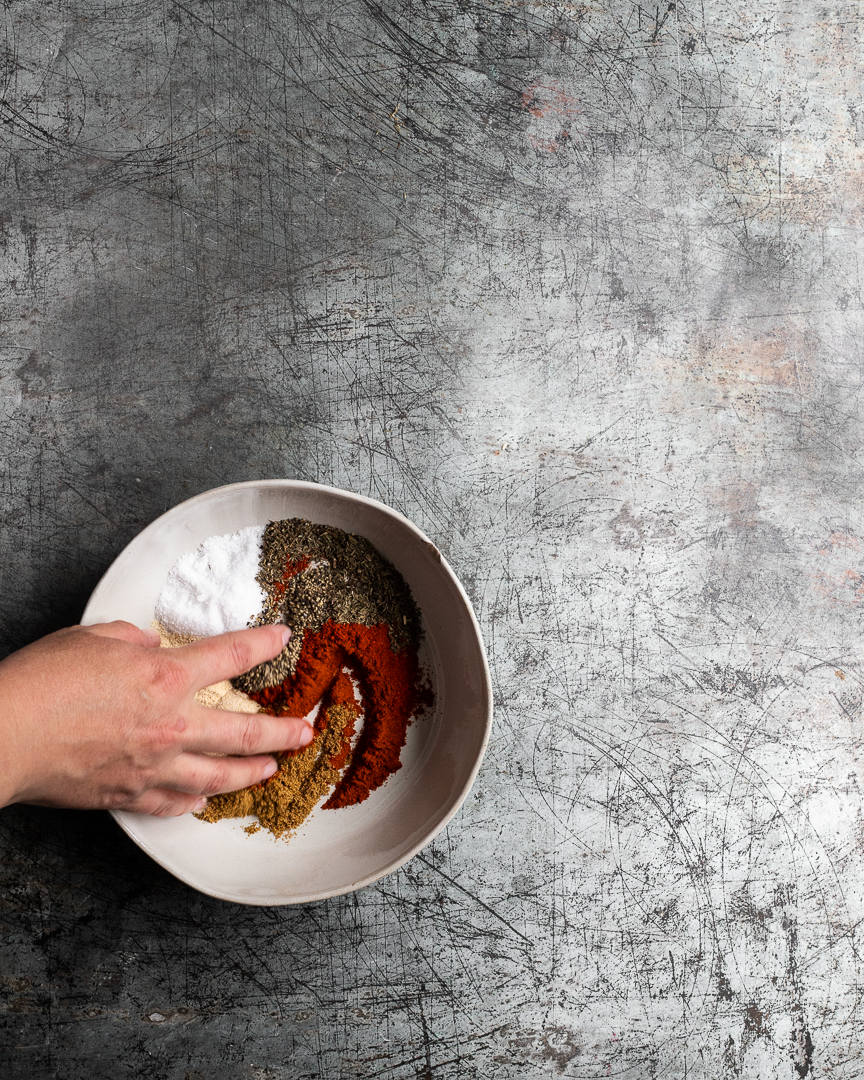
Combine the dry rub ingredients.

Heat the oven to 425-450 (see note above).

Take the chicken out of the marinade, but DO NOT pat dry- we want a little extra liquid. Cover with the spice rub on all sides and massage it into the chicken.

Place on a sheet pan or in a large cooking dish and cook, uncovered, for about 15 minutes (a whole chicken or very large chicken parts will take longer to cook, usually about 45-50 minutes). Check for doneness and cook until the internal temperature reaches 165 in the thickest part of the chicken.

If any sauce remains in the pan, save it for pouring onto the chicken before serving.
May 25, 2022 /Rebecca Davis
BBQ chicken, summer, summer meals, grilling, roasting, spice rub, advanced eater, intermediate eater, protein, chicken recipes, chicken, party food
Cooking, Gluten-free, Recipes, Summer, Toddler eats
Comment

Creamy mushroom soup

February 28, 2022 by Rebecca Davis in Cooking, Gluten-free, Recipes, Toddler eats, Winter

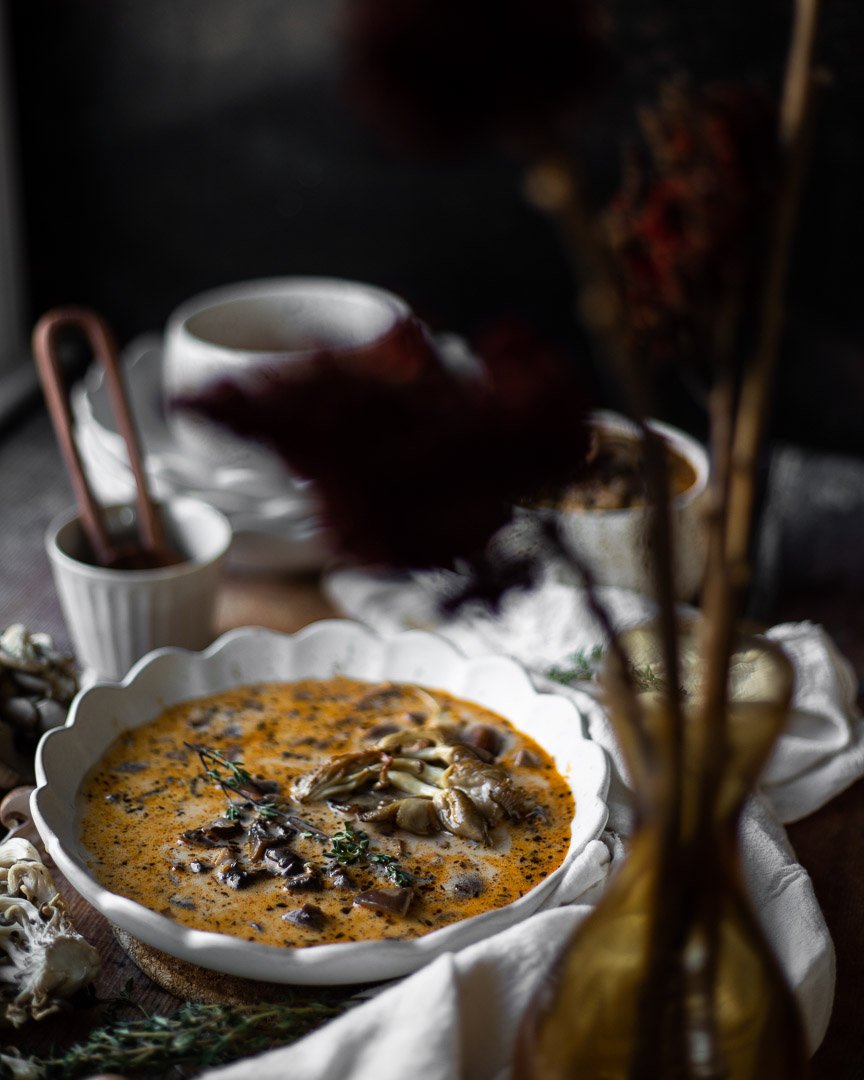
This creamy mushroom soup is a far cry from the gloopy, gray stuff that comes in a can, but is almost as easy to make.

Take me to the recipe!

Two mushroom recipes so close together, huh? Yes! But hear me out. This recipe is so unctuous, so creamy, so warming, and so filling, that I couldn’t hold onto it any longer.

What makes this better than the canned version? Well, the color, first of all. The golden sautéed mushrooms, the purple shallots, and the red paprika lend this soup a much richer and nicer color than the gray stuff (it’s not delicious).

A note about adding dairy to hot soup: It’s possible to split the cream if you add cold dairy to other hot liquids. Split dairy basically looks like you’ve added thousands of little dots of cream rather than the soup looking uniformly creamy. Does that makes sense? It’s totally fine to eat and will taste good, but it sometimes doesn’t look as appetizing.

To avoid this, you can either heat up the dairy or cool down the base soup. The fattier the dairy, the less likely it is to split, so if you’re using heavy cream as I recommend for this recipe, let the cream sit at room temperature while making the rest of the soup. If it still feels chilly when you’re ready to add it, microwave it for 30 seconds before adding. If using a lighter milk or non-dairy milk, I would actually heat it to just simmering in a separate pan on the stove or significantly cool the base soup before adding it.

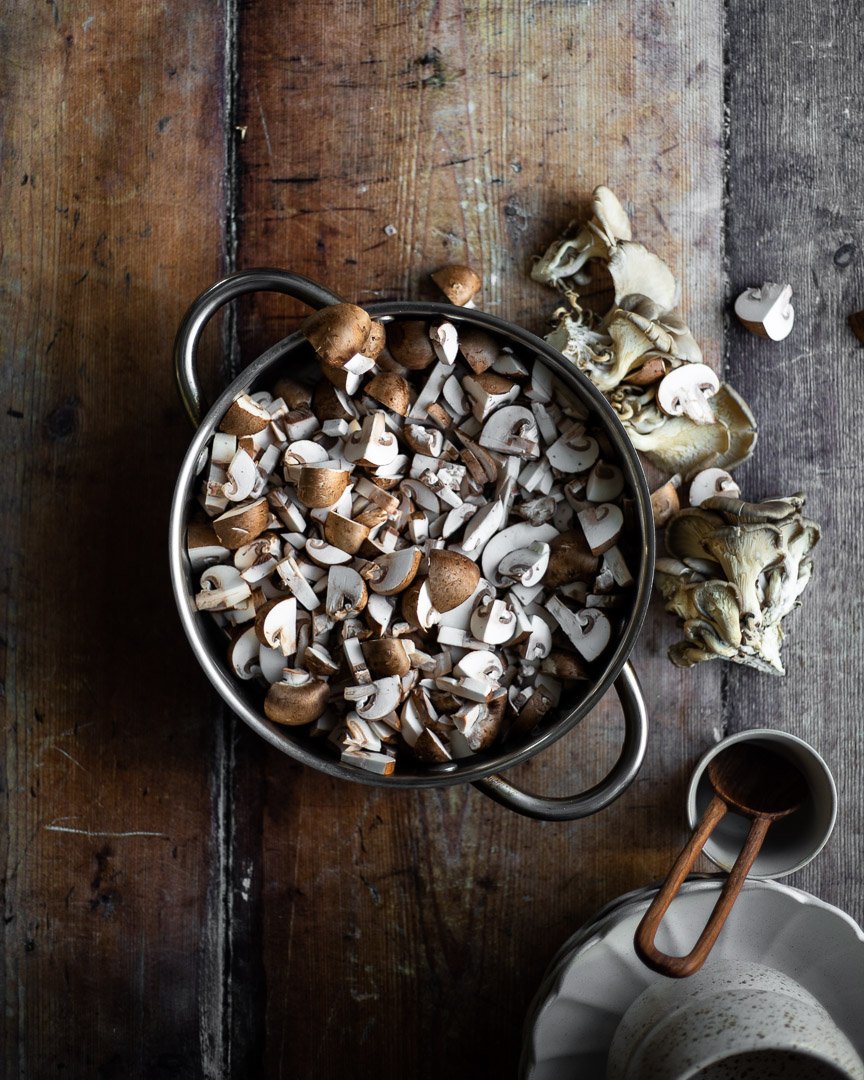
The texture is also completely different to the canned version. Theoretically, you could throw the mushrooms into a food processor and whizz for a few seconds to quickly chop the whole lot, but I like to cut them myself to get a range of sizes and shapes. I halve the really small shrooms, quarter the medium sized ones, and chop up the large ones. Remove the stems or don’t- that’s entirely up to you.

Mushroom soup IG_-2.jpg
Mushroom soup IG_-3.jpg
Mushroom soup IG_-4.jpg

A note about how I tell if my mushrooms are cooked enough: I cook the mushrooms until they release some water and then that water evaporates. They will have cooked down significantly.

Creamy mushroom soup

½ cup heavy cream
24 oz mushrooms, cut into various sizes
1 Tbsp butter
2 Tbsp olive oil, divided
Heaping ½ tsp dried thyme
½ tsp paprika 
2 tsp kosher salt
3 large garlic cloves, minced
2-3 large shallots, minced
½ cup white wine
4 cups stock (chicken, beef, or vegetable)

Time: about 45 minutes
Yield: 5-6 cups of soup

Measure out the heayy cream and let sit at room temperature while you make the rest of the soup. See note above about using other types of dairy in this soup.

Chop the mushrooms in varying sizes (see note above).

In a large pan, melt 1 Tbsp of butter and 1 Tbsp of olive oil over a medium flame. Once the pan is heated, add the mushrooms and cook over a medium flame, until the mushrooms have released their liquid and that liquid has evaporated, about 8-10 minutes. 

Prep the rest of the ingredients while the mushrooms cook.

Once the mushrooms are relatively dry, add the thyme, paprika, salt, garlic, and shallots. Cook until the garlic and onions are fragrant and translucent, about 3 minutes. If the mixture seems very dry, add another Tbsp of olive oil.

Add the wine and stir, while scraping the brown bits from the bottom of the pan. Cook for another 2-3 minutes. 

Add the stock and increase the flame to medium high. Bring to a boil. Lower the flame all the way and simmer, covered, for 20 minutes. 

Add the cream and stir.

February 28, 2022 /Rebecca Davis
advanced eater, advanced eaters, soup, winter, mushrooms, cream, cream of mushroom soup, thyme, dairy, vegetarian optional, easy recipes, stock, gluten dairy, gluten-dairy, gluten-free, nut free, mushroom soup, no refined sugar
Cooking, Gluten-free, Recipes, Toddler eats, Winter
1 Comment

French toast casserole | Me & The Moose. Use up your sandwich bread crusts and heels with this no-soak, fast, simple French toast casserole. #meandthemoose #frenchtoast #breakfastrecipes #nosoakfrenchtoast #fastfancyrecipes

French toast casserole

January 28, 2022 by Rebecca Davis in Baking, Cooking, Quick meals, Recipes, Sweets, Vegetarian, Winter, Fall

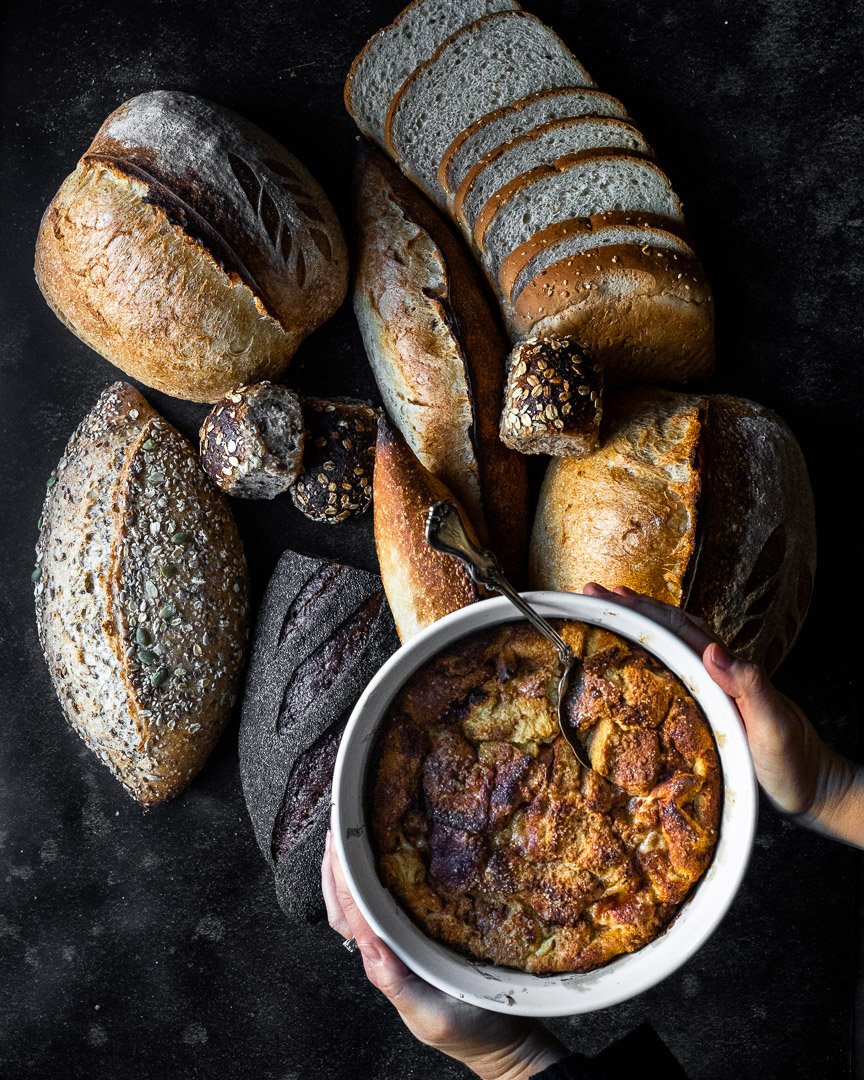
Don’t throw out the sandwich bread crusts and heels that your kids won’t eat! Turn them into a simple, fast French toast casserole that’s crunchy, eggy, cinnamon-y, and caramel-y.

Take me to the recipe!

French toast casserole | Me & The Moose. Use up your sandwich bread crusts and heels with this no-soak, fast, simple French toast casserole. #meandthemoose #frenchtoast #breakfastrecipes #nosoakfrenchtoast #fastfancyrecipes

Why don’t kids like bread crusts? Is that universal? I thought it was bullshit until I had kids of my own and one day, the older one disavowed bread crusts FOR NO REASON.

Funnily, my husband was horrified when M started insisting that the crusts be cut off because he was like, “that’s where all the fiber is!” To which I laughed in his face because what?! Bread isn’t an apple.

Anyhoo, this recipe is the perfect way to use up bread scraps. However, this isn’t a good recipe for that rock hard baguette or formerly crusty loaf that you forgot about. This is for the ever-so-slightly tougher outer layer of sandwich bread that you’ve been saving in a bag in the fridge so it didn’t get too stale.

Why do I advocate for using softer, fresher bread? I’ll tell you! Because most French toast casserole recipes require an overnight soak. But I, for one, am way too tired at the end of the day to plan for tomorrow’s breakfast. This recipe requires no waiting, something I am not very good at anyway.

Bread crust french toast casserole IG_-4.jpg
Bread crust french toast casserole IG_-5.jpg
Bread crust french toast casserole IG_-6.jpg
Bread crust french toast casserole IG_-7.jpg
Bread crust french toast casserole IG_-8.jpg

A couple of notes:

  • Amounts: As always, the amounts listed here can be considered guidelines or ratios more than hard and fast rules. If you want the caramel on the bottom to be more like what you’d find in a sticky bun, feel free to increase the butter and sugar! Or if you have more or less than 6 cups of bread, adjust accordingly. This one is very forgiving.

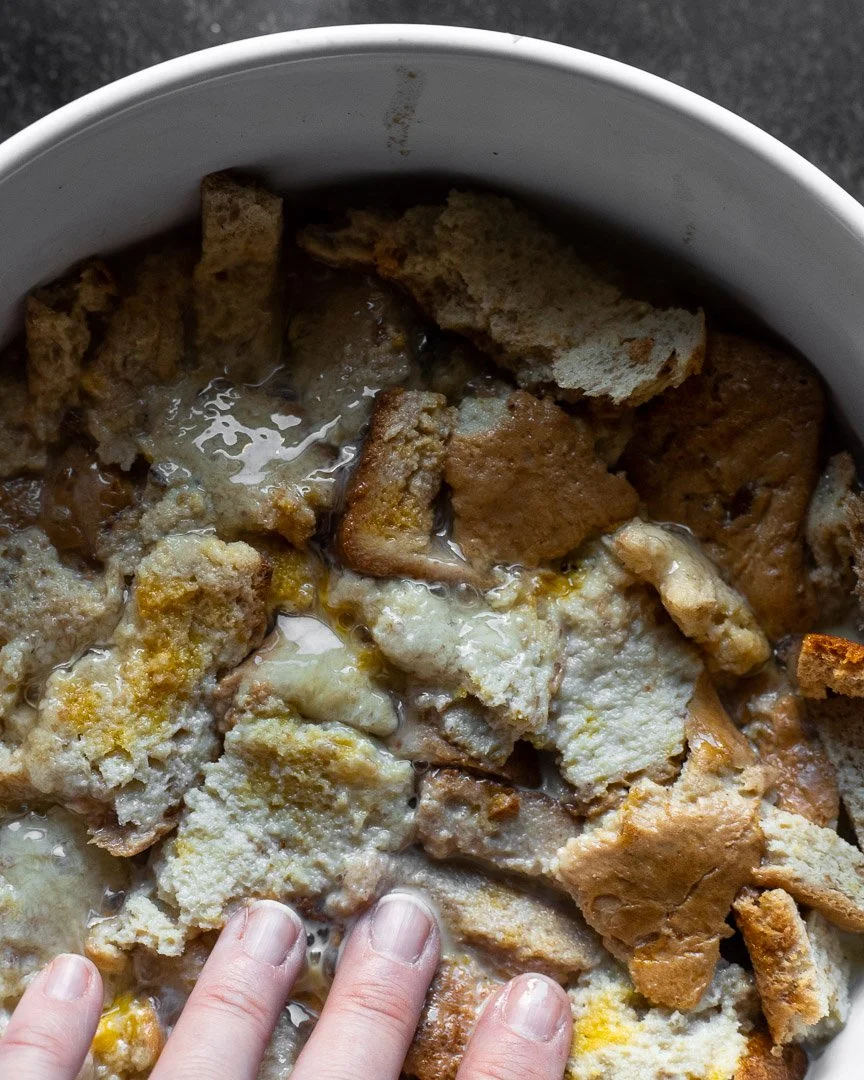
  • Eggs: You want the egg/milk/vanilla/cinnamon mixture to come up about 3/4 of the way to the top of the bread. But pour in the amount listed and squish the bread down gently with your hands. If you can easily see the liquid underneath, you have enough. If you have to push down more firmly to see any liquid or if it just doesn’t feel like enough to you, add more. It’s better to have a little too much liquid than not enough. But DO NOT cover the bread with the egg mixture.

French toast casserole | Me & The Moose. Use up your sandwich bread crusts and heels with this no-soak, fast, simple French toast casserole. #meandthemoose #frenchtoast #breakfastrecipes #nosoakfrenchtoast #fastfancyrecipes

French toast casserole | Me & The Moose. Use up your sandwich bread crusts and heels with this no-soak, fast, simple French toast casserole. #meandthemoose #frenchtoast #breakfastrecipes #nosoakfrenchtoast #fastfancyrecipes

French toast casserole | Me & The Moose. Use up your sandwich bread crusts and heels with this no-soak, fast, simple French toast casserole. #meandthemoose #frenchtoast #breakfastrecipes #nosoakfrenchtoast #fastfancyrecipes

French toast casserole | Me & The Moose. Use up your sandwich bread crusts and heels with this no-soak, fast, simple French toast casserole. #meandthemoose #frenchtoast #breakfastrecipes #nosoakfrenchtoast #fastfancyrecipes

French toast casserole 

 Time: 35 minutes
Yield: 6 large servings

Adapted from https://belleofthekitchen.com/french-toast-casserole/

4 Tbsp butter 
½ cup brown sugar + 1 Tbsp (reserved for later)
6 cups roughly torn bread hunks
2 cup milk 
4 large eggs
2 tsp vanilla extract 
1 tsp cinnamon (or any combination of cinnamon, nutmeg, cardamom, ginger, and cloves)
3 Tbsp coarse sugar (or substitute with granulated)  

Preheat the oven to 425.

In a large ceramic baking dish (though if metal is your only option, melt the butter and sugar in a separate bowl and then add to the baking dish), combine the butter and ½ cup of brown sugar. Microwave on high for 30 seconds or until the butter has just melted. Stir for 1 minute or until the butter and the sugar are mostly combined. Spread the mixture evenly on the bottom of your baking dish.

Top the melted butter and brown sugar with the roughly torn bread cubes. 

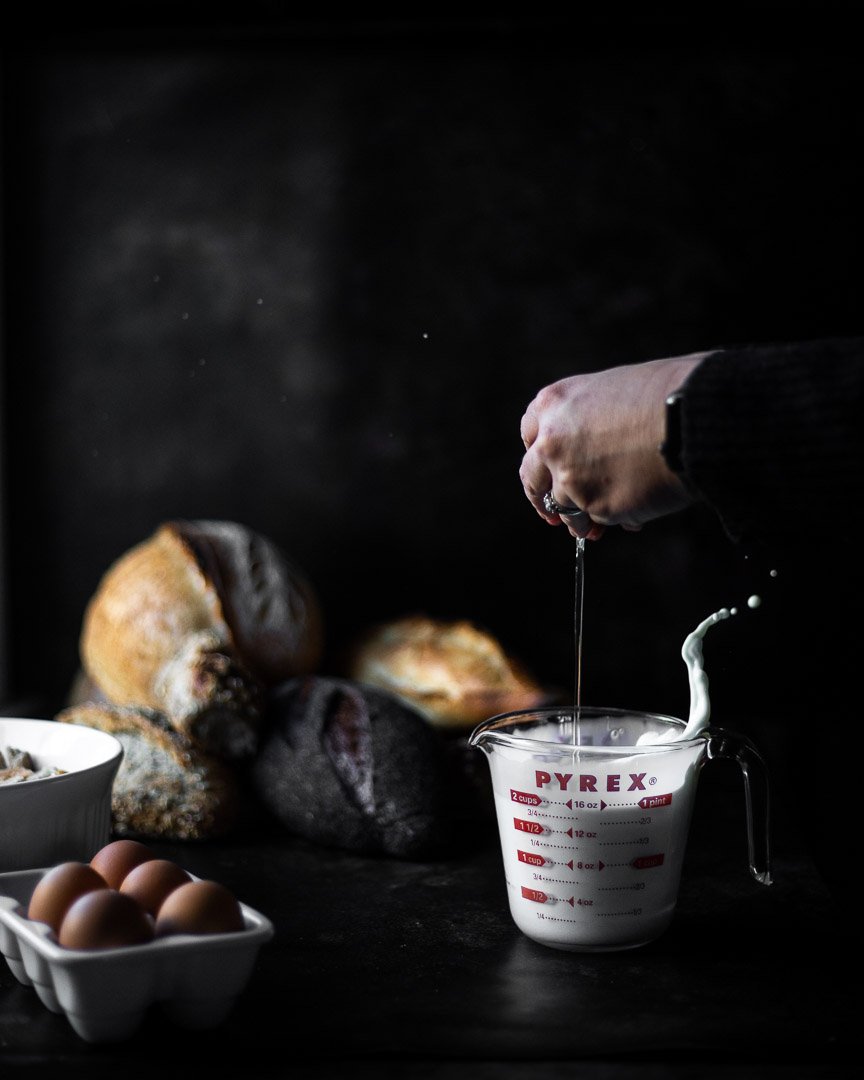
In a large measuring cup, combine the milk, eggs, vanilla extract and cinnamon. Whisk until all of the ingredients are incorporated. 

Pour over the bread cubes. Push down gently on the bread to assess how much liquid is in your baking dish. If the liquid doesn’t come up about ¾ of the way to the top of the bread cubes, whisk together another ½ cup of milk and 1 egg and add as much of the mixture as needed to achieve that depth of liquid.  

Combine the remaining 1 Tbsp of brown sugar and the coarse sugar and sprinkle over the top of the casserole. 

Bake for 25-30 minutes or until the middle puffs up and doesn’t jiggle when you gently shake the baking dish.

January 28, 2022 /Rebecca Davis
breakfast, batch baking, big batch breakfast, French taost, French toast, leftovders, bread crusts, no waste, minimize food waste, no soak, no overnight soak, fast breafast, fast breakfast, advanced eaters, advanced eater
Baking, Cooking, Quick meals, Recipes, Sweets, Vegetarian, Winter, Fall
1 Comment
  • Newer
  • Older