Shortcut chicken soup

This shortcut chicken soup uses rotisserie chicken and store-bought stock but results in a thick, rich broth that’s warm and comforting on these bone-chilling days. #meandthemoose #soup #chickensoup #easysoup #souprecipe #chickensouprecipe #healthyc…

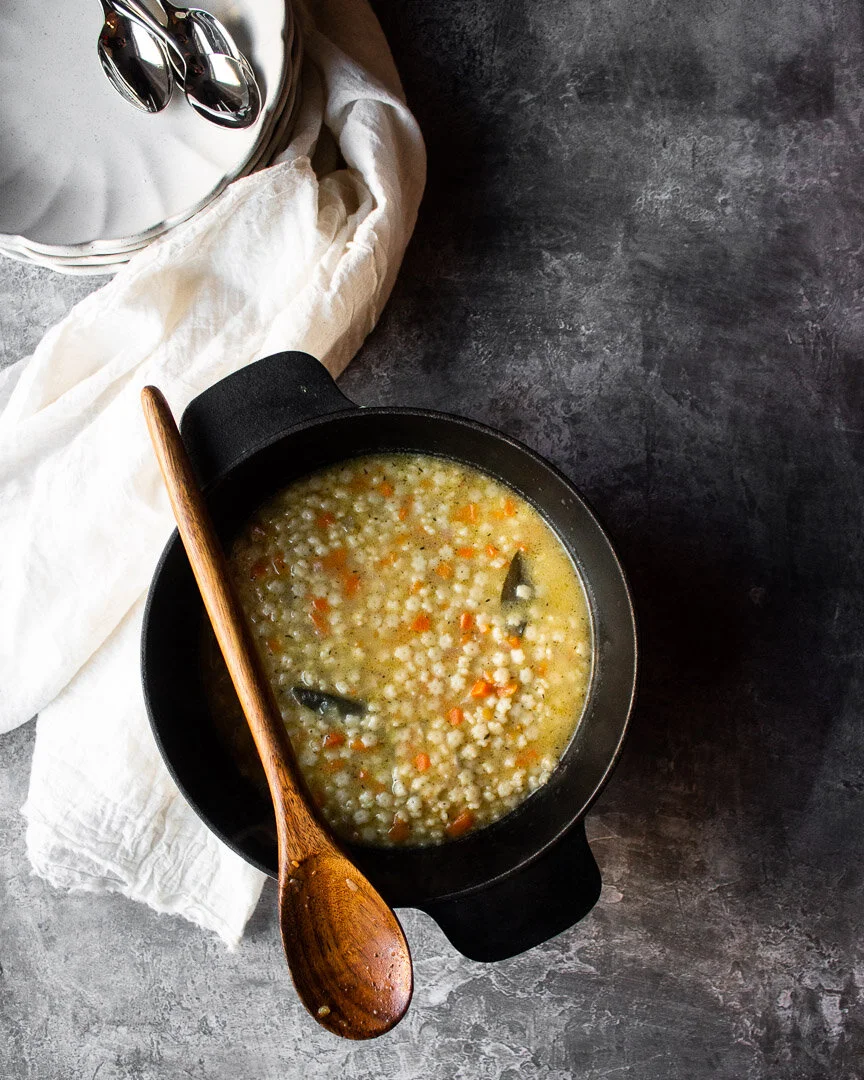
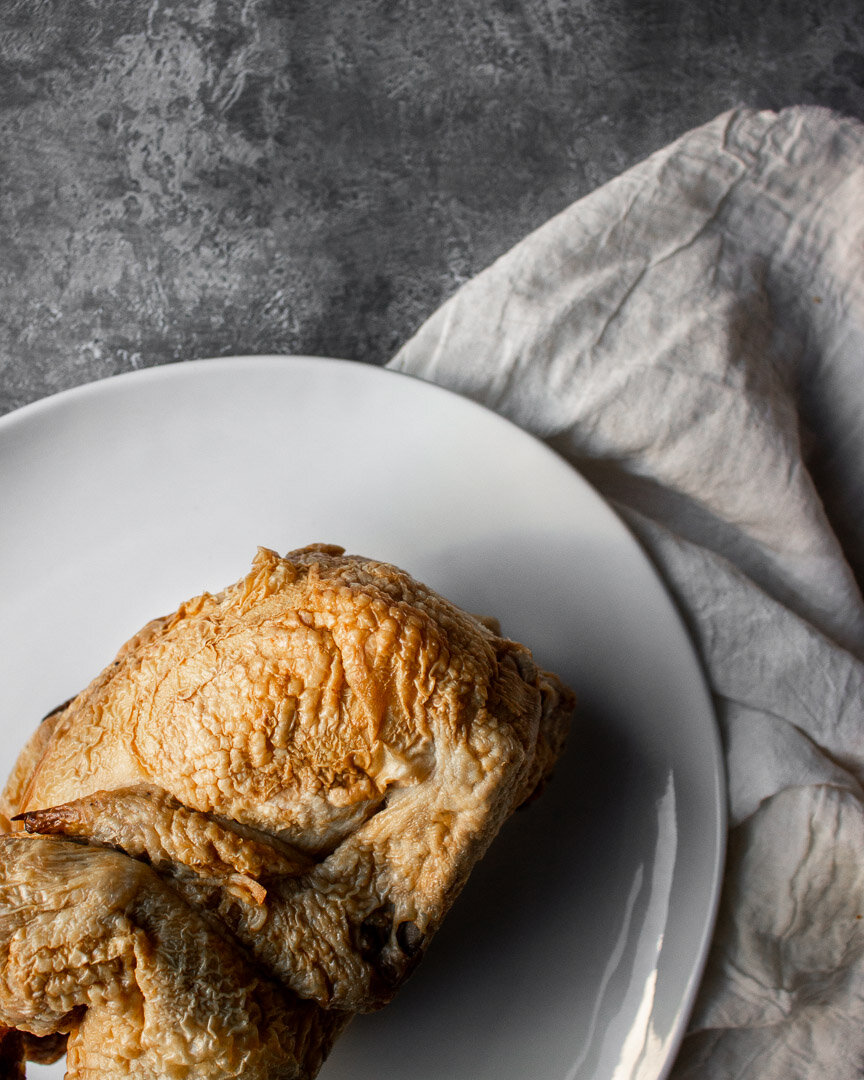
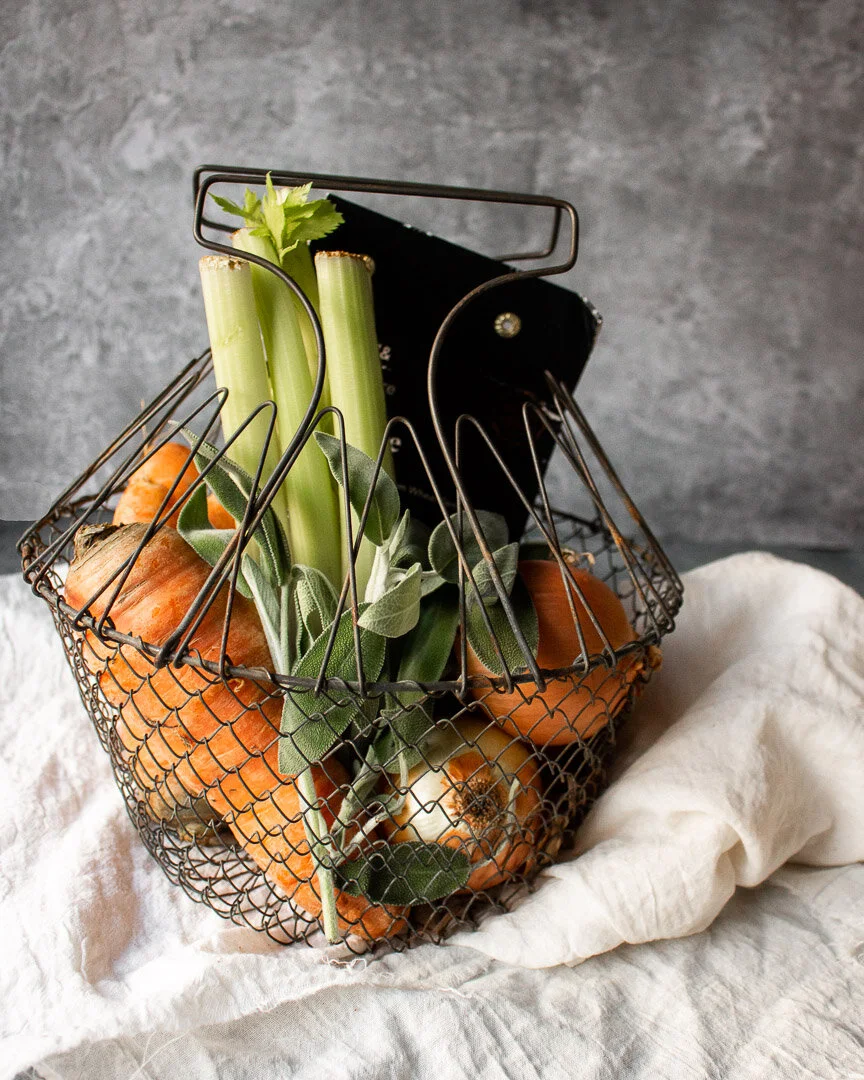
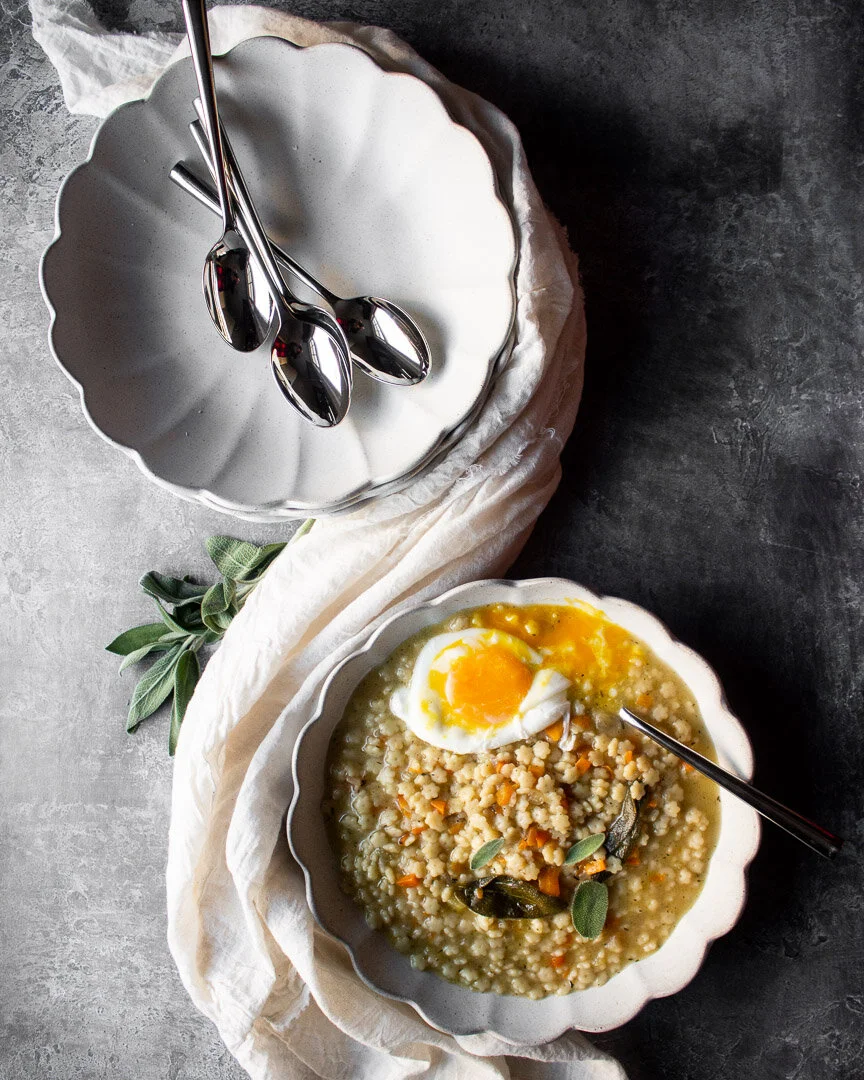
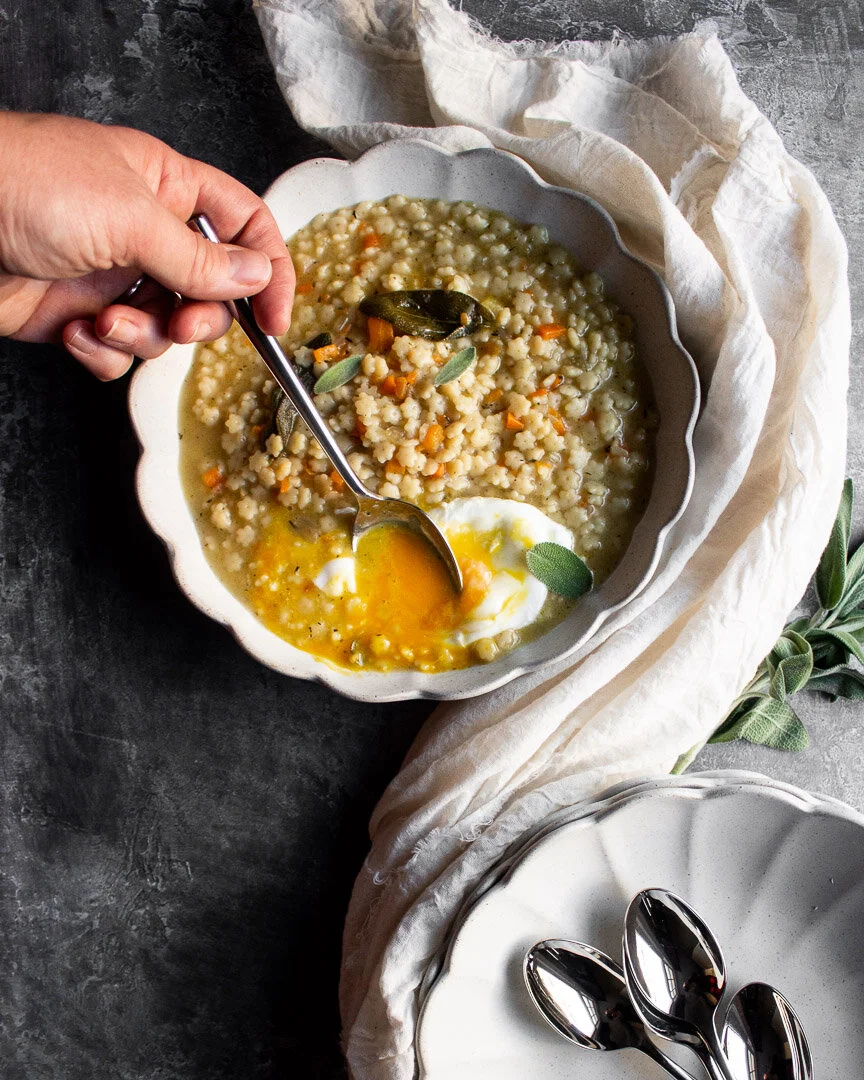
This chicken soup uses a few shortcuts like rotisserie chicken and store-bought broth to speed up the process, but gets extra oomph from plenty of aromatics, a little extra cooking oil, and teeny tiny pasta cooked right in the broth. A poached egg on top adds even more richness and depth.

Take me to the soup!

This shortcut chicken soup uses rotisserie chicken and store-bought stock but results in a thick, rich broth that’s warm and comforting on these bone-chilling days. #meandthemoose #soup #chickensoup #easysoup #souprecipe #chickensouprecipe #healthyc…

I originally called this “Quick and rich chicken soup,” but it sounded too much like a country band. However, the moniker still applies because this guy is indeed quite rich and quite quick (for a soup that tastes this good, that is!).

I’m not a huge fan of the chicken broth that comes in a box or a can. I mean, it’s fine as a replacement for water when cooking grains and beans, but for soup? It’s a little thin and bland for me. But, I don’t always have homemade stock in the freezer or the wherewithal to make it. (But if I do, this is my recipe!)

This shortcut chicken soup uses rotisserie chicken and store-bought stock but results in a thick, rich broth that’s warm and comforting on these bone-chilling days. #meandthemoose #soup #chickensoup #easysoup #souprecipe #chickensouprecipe #healthyc…

To spice and thicken it up, I use any combination of these:

  • Butter: Adding a little extra cooking fat when you start sautéing your aromatics adds richness to the final product.

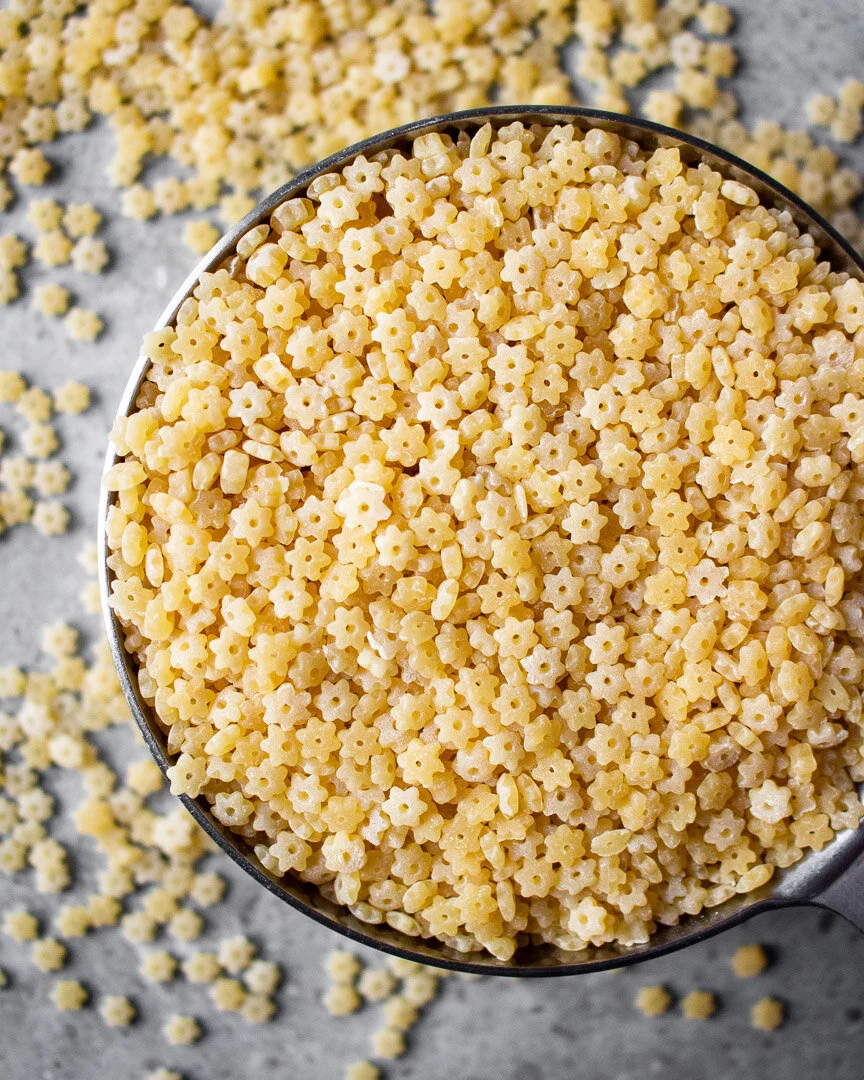
  • Tiny pasta: The teenier the better! Orzo, stelline, ditalini, anilline, or any other pasta that’s about the size of a pencil eraser works perfectly. When cooked in the broth, the starch from the pasta thickens the broth significantly.

  • Cheese: Adding some grated cheese at the end is one strategy, but tossing in the leftover rind of any hard cheese adds salt, depth, and richness.

  • Salt: This might sound weird because a lot of canned and boxed broths have A LOT of salt in them, but if you use the unsalted or low salt variety, be sure to add enough salt back in.

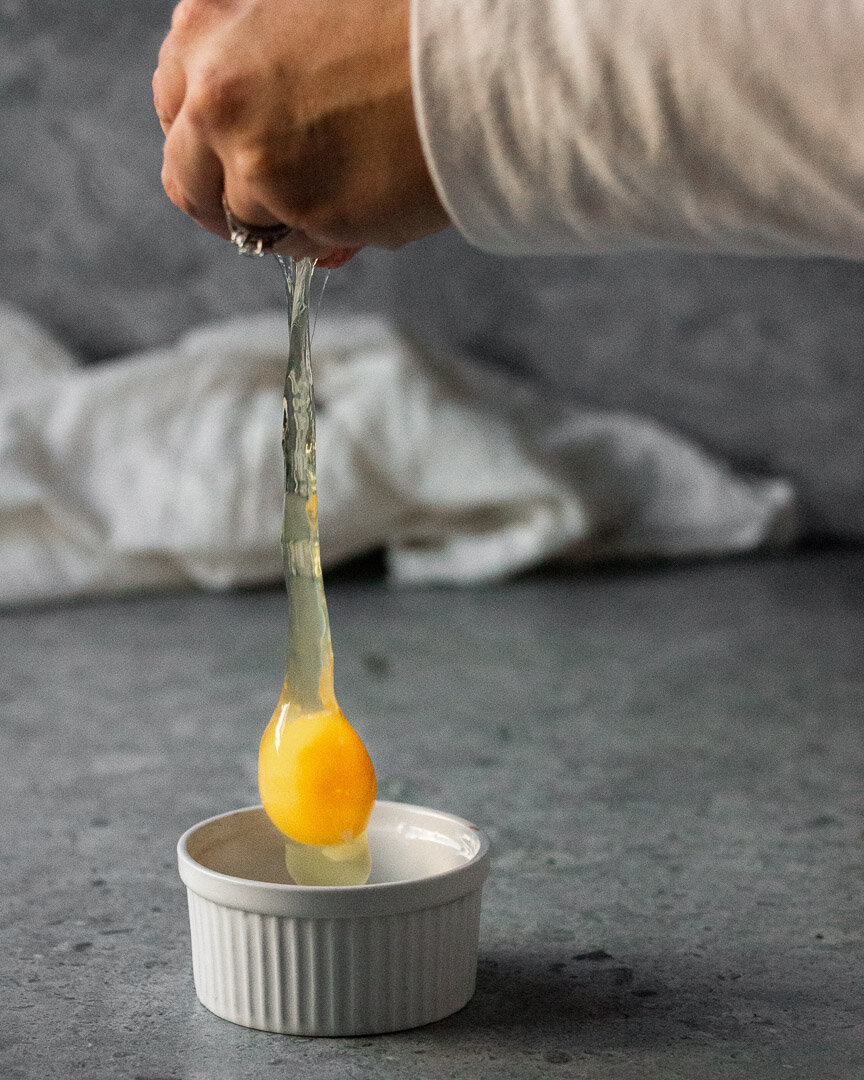
  • Poached egg: When the soup is done, adding a poached egg on top enriches it even more!

This shortcut chicken soup uses rotisserie chicken and store-bought stock but results in a thick, rich broth that’s warm and comforting on these bone-chilling days. #meandthemoose #soup #chickensoup #easysoup #souprecipe #chickensouprecipe #healthyc…

In this soup, I used pasta and a poached egg to give it a rich, silky texture. I included a range for the amount of liquid to add depending on how much liquid you like in your soup. Six cups makes the soup very thick, eight cups make it less so.

This shortcut chicken soup uses rotisserie chicken and store-bought stock but results in a thick, rich broth that’s warm and comforting on these bone-chilling days. #meandthemoose #soup #chickensoup #easysoup #souprecipe #chickensouprecipe #healthyc…

Shortcut chicken soup

2 Tbsp olive oil 
1 small onion, diced 
1 medium carrot, peeled and diced (heaping ½ cup)
1 small stalk celery, diced (scant ½ cup)
6 large fresh sage leaves 
½ tsp dried thyme
1 bay leaf 
1 tsp kosher salt
Black pepper to taste 
6-8 cups chicken stock
1 cup tiny pasta 
1-2 cups shredded, precooked chicken
Serving sugggestions: 
Poached egg, parmesan cheese, more seasonin to taste


Time: About 45 minutes, mostly active
Yield: About 6-8 cups of soup, depending on how much water and chicken you add


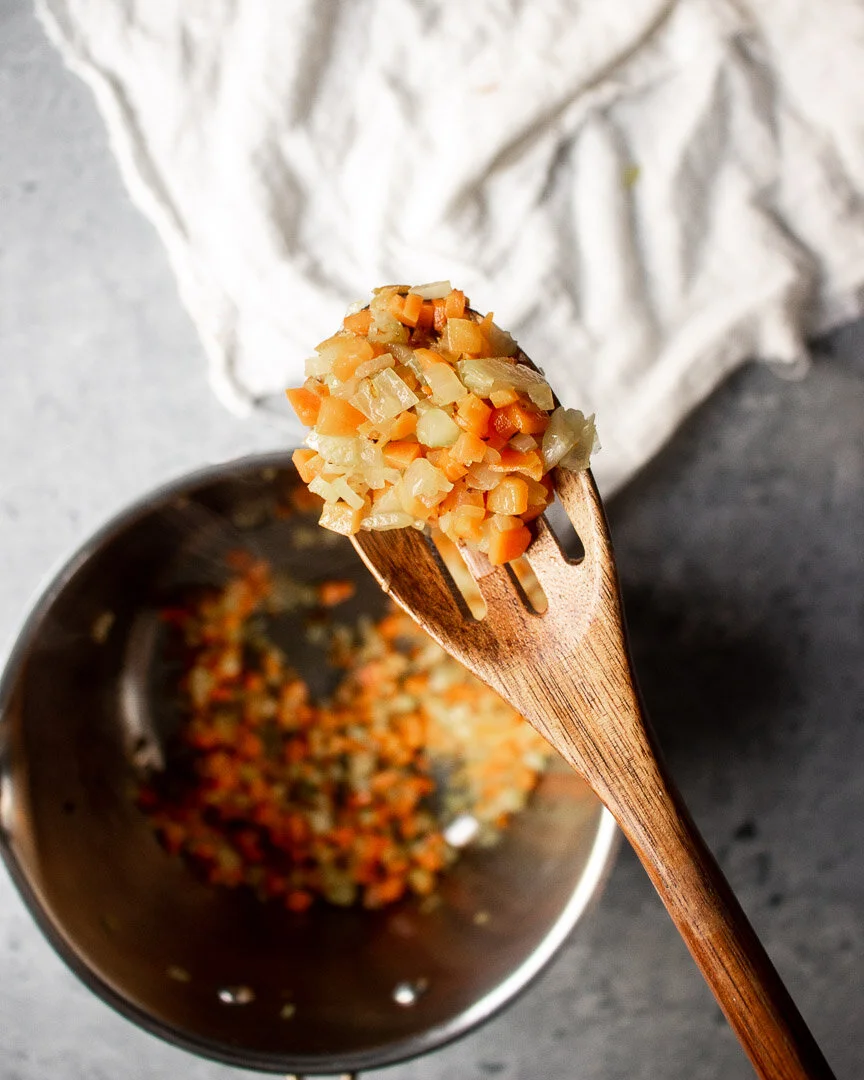
Heat the olive oil in a large, deep pot over medium high heat. Add the minced onion, carrot, and celery and cook, stirring frequently, until the veggies begin to brown and the onions are translucent, about 6-8 minutes. 

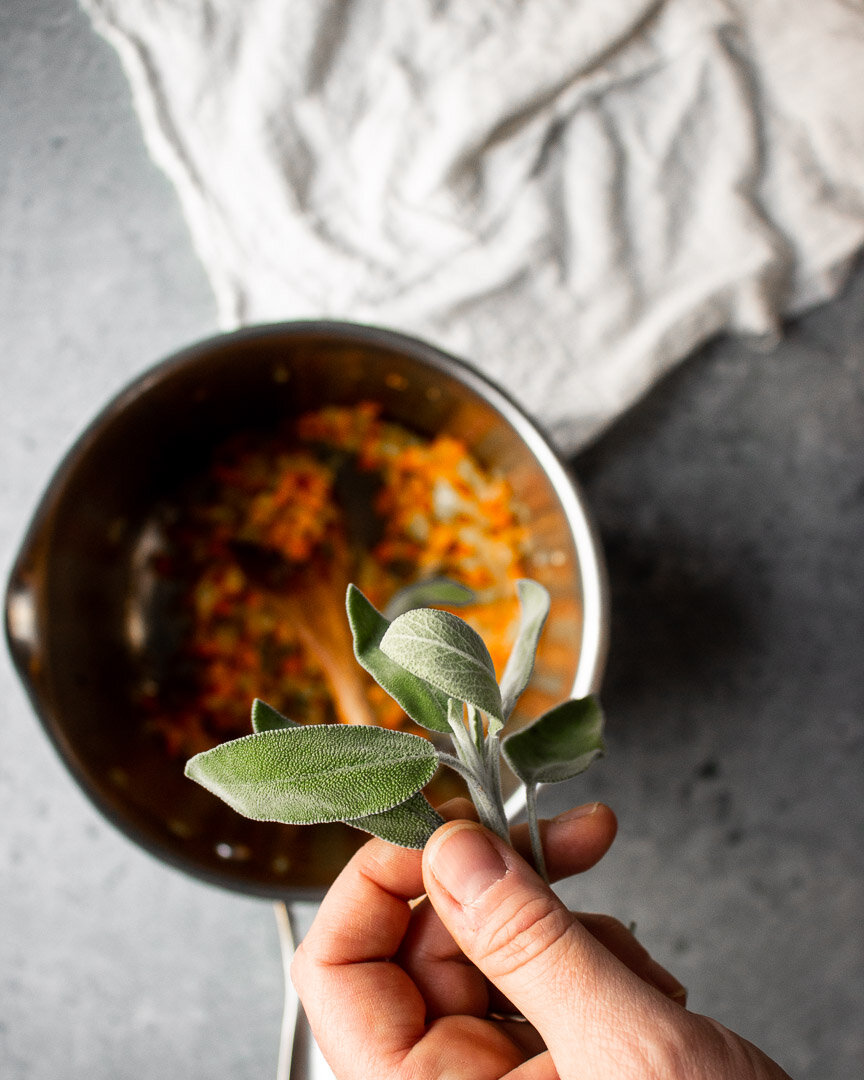
Add the sage and thyme and cook until fragrant, about one minute.

Add the bay leaf, salt, pepper, and chicken stock and mix well. Bring to a boil, reduce the heat, and simmer, covered, for 20 minutes. 

While the soup simmers, shred the chicken and set aside.

Bring back to a boil and add the pasta. Cook according to package directions until al dente. 

Add the shredded chicken and stir. 
Cheap and easy chicken meal prep

Meal prepping made fast and easy! A mostly hands-off process yields lots of rich chicken stock and shredded chicken so you can be prepared for busy weeknights, but also be flexible about what you eat and when. #meandthemoose #mealprepping #chicken #…

If the idea of “meal prepping” makes you roll your eyes, then this post is for you! A mostly hands-off process yields lots of rich chicken stock and shredded chicken that allows you to be flexible with your week’s meals while also being prepared for busy weeknights.

Take me to the chicken!

Meal prepping made fast and easy! A mostly hands-off process yields lots of rich chicken stock and shredded chicken so you can be prepared for busy weeknights, but also be flexible about what you eat and when. #meandthemoose #mealprepping #chicken #…

October is Hunger Awareness Month and it’s honestly kind of embarrassing that we even need an “awareness” month for a problem that’s so huge. According to the USDA, in 2019, over 13 million households experienced food insecurity including 2.4 million households with children. On top of those stats, unemployment in the US hit an all-time high in April 2020, so that’s a lot more people facing food shortages this year.

To that end, over on Instagram, Chelsea from The Dancer’s Pantry has created a new account which highlights original meals from different food bloggers, each costing less than $10 and aiming to serve at least 2 adults, but most serve 4 or more. There are vegetarian and carnivorous meals; breakfasts, lunches, and dinners; and I’m contributing this meal prep strategy! Check out Feed for 10 to see more.

Meal prepping made fast and easy! A mostly hands-off process yields lots of rich chicken stock and shredded chicken so you can be prepared for busy weeknights, but also be flexible about what you eat and when. #meandthemoose #mealprepping #chicken #…

I finally wrote down the ratios and cooking times for my favorite (and basically only) weekly meal prep. I don’t like rigid meal planning because, while I’m a devoted rule follower most of the time, when it comes to food rules, (even ones I make for myself!) I have a real “burn it all down” vibe.

Also, with kids it’s important to be able to pivot when suddenly they HATE something that was previously a favorite.

Enter: This easy, cheap, and mostly hands-off meal prep strategy. You come away with a huge amount of rich chicken stock that is so much more delicious and filling than the boxed stuff or a bullion cube. It freezes well and lasts frozen for 6 months. It also makes soups and stews much richer, which is helpful when you’re trying to make things stretch. I use this stock in any recipe that calls for stock, obviously, but also to cook these super easy and fast one-pot pastas because it really boosts their flavor.

The shredded chicken is also a lifesaver on busy nights. Throw it into tacos or enchiladas (if you’re feeling ambitious), stovetop mac and cheese or any other simple pasta dish, or smother it with your favorite BBQ sauce and have some messy but delicious pulled chicken sandwiches. The chicken also freezes well if you want to save it for later dinners.

Meal prepping made fast and easy! A mostly hands-off process yields lots of rich chicken stock and shredded chicken so you can be prepared for busy weeknights, but also be flexible about what you eat and when. #meandthemoose #mealprepping #chicken #…

$10 Meal prep (chicken stock and shredded chicken)

Time: 1 hour, 45 minutes, mostly hands off +15 minutes for straining 
Yield: 11 cups stock, 4 cups cooked, shredded chicken

1 chicken, cut into pieces (about 3½-4½ lbs) $11.95 from Trader Joe’s (I bought a pre-cut chicken, but there were whole chickens available for $7-$9)
1 large bag frozen veggie and aromatic leftovers (save everything from the previous week’s cooking in a large bag in the freezer including onion skins, garlic skins, tiny cloves of garlic, leek and fennel fronds, lemon rinds, dried up fresh herbs, unused parts of celery, carrot peels, potato peels, etc)
14-18 cups water (enough to cover the chicken and veggies entirely, but the full amount will depend on how much chicken and veggies you use) 
3 Tbsp kosher salt

Place everything into a large stockpot and bring to a boil over a high flame, about 20 minutes. 

Once boiling, reduce the heat to medium-low or just high enough to achieve a low rolling boil. Cook, uncovered, until the water has reduced by ¼, about 1 hour. 

Add enough water to return to roughly the original amount (about 4 cups) and turn the flame back to high. Stir the mixture and check the seasoning. Add more salt if necessary.  Bring the mixture back to a boil and then reduce back to a low rolling boil.  

Boil for 20 more minutes. Let cool.

Remove the large pieces of veggies and chicken bones. Strain the broth into a large container. Save all of the cooked chicken meat. 

Grilled lamb kebabs with haloumi and apricots

Grilled lamb kebabs with haloumi and apricots | Me & The Moose. Shake up your grill routine with chunks of fatty, savory lamb; melty, salty haloumi cheese; and tart, sweet apricots. #meandthemoose #grilling #lamb #kebabs #haloumi #dinnerrecipes …

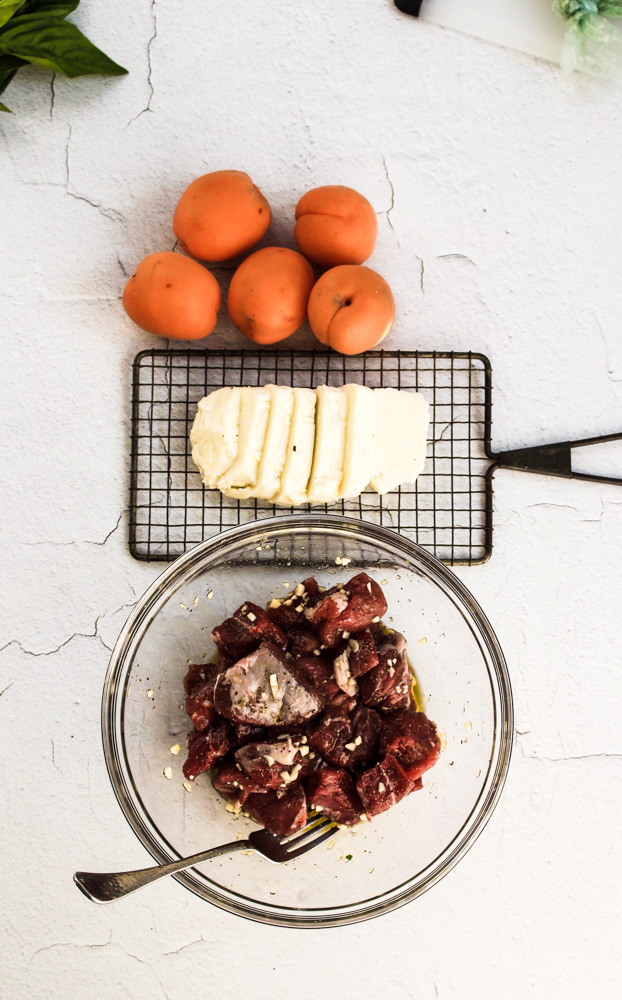
Shake up your grilling routines with these savory, herby, sweet, and fatty lamb, haloumi, and apricot kebabs that hit all the right notes— fast.

Take me to the recipe!

Grilled lamb kebabs with haloumi and apricots | Me & The Moose. Shake up your grill routine with chunks of fatty, savory lamb; melty, salty haloumi cheese; and tart, sweet apricots. #meandthemoose #grilling #lamb #kebabs #haloumi #dinnerrecipes …


What is a kebab? Sometimes it’s cubes of meat and/or vegetables on a stick (think shish kebab). Other times, a kebab is a mountain of meat cooked on a rotating stick and then shaved off and served (think doner kebab, shawarma, or al pastor). And, confusingly, sometimes what is considered “kebab” is meat cooked and served nowhere near a stick.

For our purposes, we’re sticking close to a shish kebab.

But here’s what I don’t like about this method: Not all ingredients cook at the same rate. Why should I have to choose between undercooked meat/crispy vegetables and cooked meat/disintegrating vegetables? I say, we don’t have to.

My solution is to cook the meat on a skewer, cook the cheese and apricots directly on the grill, and then skewer them all for serving. Good, right? RIGHT! I mean, it’s not perfect. Some of the meat cooks faster because the cubes aren’t exactly the same size. And it’s important to leave a little bit of space between the cubes so that the heat gets all around. But you control the doneness far more when the kebab elements are cooked individually.

A note about halloumi: If you’ve never had this squeeky, salty cheese, please change that immediately. This cheese adds so much flavor and seasoning to any dish. But when it’s cold, it makes a squeaking noise when it’s chewed, which can throw off anyone with any sort of sensory sensitivity around food. Eating it hot off of the grill or pan makes it more gooey than squeeky, which is why the cheese cooks longer than the meat in this dish.

A note on the kid-appeal of these kebabs: It’s fun to eat things off of a skewer! This dish also has plenty of salty and sweet elements with the grilled cheese and fruit, which can also be appealing to kids. But mine wouldn’t touch this. I found it too delicious not to post, so this may be one for the grownups and not the kids. But who knows? Next month, they might gobble these up. Who can say?

Grilled lamb kebabs with haloumi and apricots | Me & The Moose. Shake up your grill routine with chunks of fatty, savory lamb; melty, salty haloumi cheese; and tart, sweet apricots. #meandthemoose #grilling #lamb #kebabs #haloumi #dinnerrecipes …

Grilled lamb, haloumi, and apricot skewers

Total time ime: 30 minutes (all active- 15 minutes of prep and 15 of cooking)
Yield: 4-5 skewers

1 lb boneness leg of lamb (if you can only find bone-in, that’s fine! You’ll just need to buy more and cut away the bones. Save them for a stock or soup.)
2-3 Tbsp olive oil
1 Tbsp red wine vinegar
½ tsp salt
¼ tsp pepper
2 large garlic cloves, minced
4-5 medium apricots, ripe, but not falling apart, quartered
8 oz haloumi cheese, cut into 1/4-inch thick slices

Heat your grill to low.

Place the lamb cubes in a large bowl. Top with the olive oil, red wine vinegar, salt, pepper, and garlic and mix up. Let sit while you prepare the rest of the ingredients.

Cut the haloumi into 6-8, 1/4-inch slices. Halve the apricots.

Make the sauce. (See directions below.)

Skewer 5-6 lamb cubes onto sticks. Try to keep like-sized pieces together and don’t crowd the pieces together.

Bring all of your ingredients out to the grill and cook with the following timing:

  • Cook the haloumi for 2 minutes.

  • Add the lamb skewers and cook everything for 3-4 minutes.

  • Flip both the haloumi and the lamb.

  • Add the apricots, cut side down and cook everything (fruit, cheese, and meat) for 3-4 minutes.

  • Check the lamb. If it has reached an internal temperature of 145 and you don’t see any obvious rare spots, take the skewers off of the grill. If they need more time, keep them on the grill while you continue cooking the fruit and cheese.

  • Flip the apricots. Continue cooking the fruit and cheese for 2-3 more minutes.

Your aim is for medium-rare meat; cheese that’s a little gooey and has dark brown grill marks, but that’s staying together in one piece; and apricots that are deep orange and soft-er, but not falling apart. If any of the elements seem to be cooking too fast, take them off!

Serve immediately.

Herby sauce
1/4 cup toasted cashews/walnuts/pistachios
1 cup loosely packed fresh basil 
10 fresh mint leaves (fairly large) 
2-3 Tbsp fresh oregano leaves 
5 Tbsp oil 
1 Tbsp lemon juice 
1/2 tsp salt 

Toast the cashews in a large skillet over a medium flame, OR in a 350 degree oven, for about 5 minutes until the nuts are lightly brown and smell aromatic.

Add the nuts and the rest of the ingredients to a food processor or blender and blend until well mixed.

Taste for seasoning and add more salt if needed.

Roasted strawberry and rhubarb butter

Roughly chop some fruit and toss it in the oven for a spring-y fruit butter that’s naturally sweet, SUPER EASY, and extremely versatile. #meandthemoose #strawberryrhubarb #fruit #fruitbutter #naturallysweet #jam

Roughly chop some fruit and toss it in the oven for a spring-y fruit butter that’s naturally sweet, SUPER EASY, and extremely versatile. #meandthemoose #strawberryrhubarb #fruit #fruitbutter #naturallysweet #jam

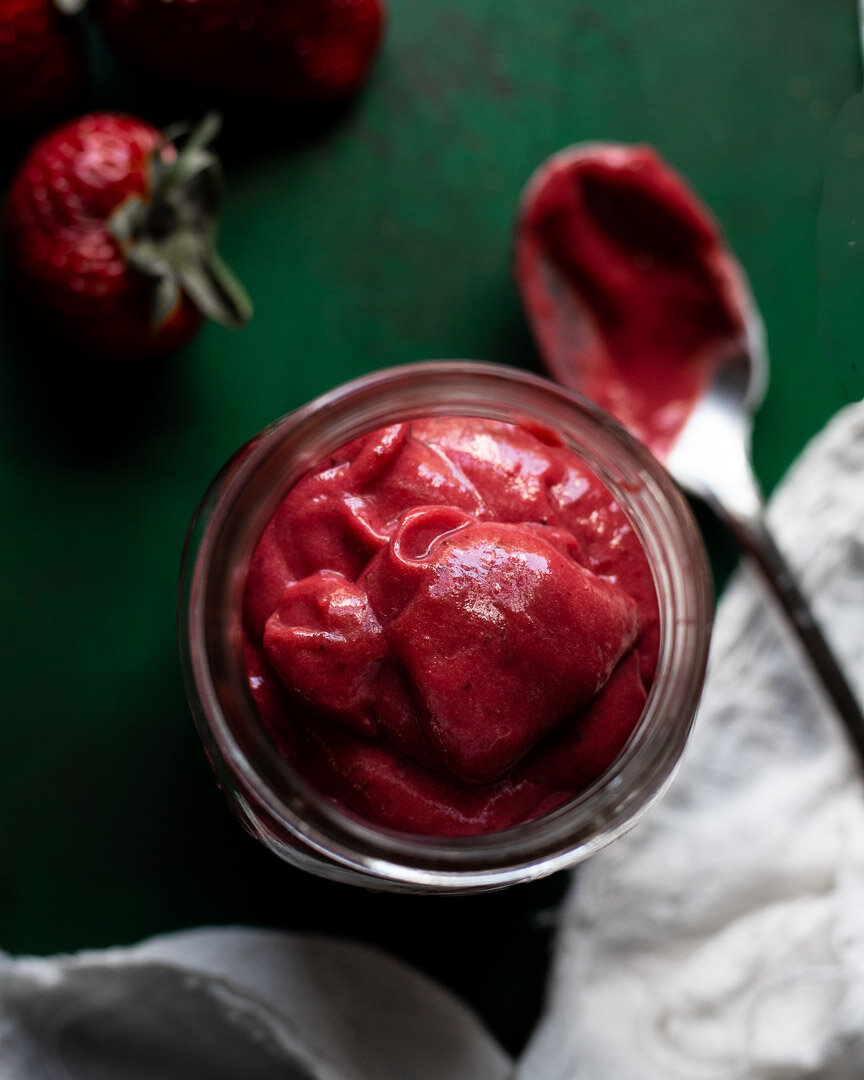
Rhubarb season is here! Turn this tart veg into a thick, spreadable butter to use all day, every day.

Take me to the recipe!

Roughly chop some fruit and toss it in the oven for a spring-y fruit butter that’s naturally sweet, SUPER EASY, and extremely versatile. #meandthemoose #strawberryrhubarb #fruit #fruitbutter #naturallysweet #jam

Roughly chop some fruit and toss it in the oven for a spring-y fruit butter that’s naturally sweet, SUPER EASY, and extremely versatile. #meandthemoose #strawberryrhubarb #fruit #fruitbutter #naturallysweet #jam

Roughly chop some fruit and toss it in the oven for a spring-y fruit butter that’s naturally sweet, SUPER EASY, and extremely versatile. #meandthemoose #strawberryrhubarb #fruit #fruitbutter #naturallysweet #jam

Roughly chop some fruit and toss it in the oven for a spring-y fruit butter that’s naturally sweet, SUPER EASY, and extremely versatile. #meandthemoose #strawberryrhubarb #fruit #fruitbutter #naturallysweet #jam

If you’ve searched Instagram recently, it’ll come as no surprise that rhubarb is a very photogenic vegetable. The variations in color lend themselves to ombre-ing and chevron-ing to your heart’s content. But today, we’re keeping it simple by doing neither of those things.

Instead, we’re turning strawberries (fresh or frozen!) and those giant rhubarb stalks you find in the grocery store (or your garden if you’re lucky enough to grow your own) into a butter akin to apple or pumpkin. Because why should fall fruits and vegetables have all the fun?

In early spring, I use frozen berries because it annoys me that strawberry and rhubarb are a perfect combination, but their growing seasons only overlap for a hot minute here in New England. Buuuuut, I found some giant berries in the grocery store recently, so I went for it with the fresh ones a little earlier this year.

Roughly chop some fruit and toss it in the oven for a spring-y fruit butter that’s naturally sweet, SUPER EASY, and extremely versatile. #meandthemoose #strawberryrhubarb #fruit #fruitbutter #naturallysweet #jam

Roughly chop some fruit and toss it in the oven for a spring-y fruit butter that’s naturally sweet, SUPER EASY, and extremely versatile. #meandthemoose #strawberryrhubarb #fruit #fruitbutter #naturallysweet #jam

A couple of notes:

  • Let the berries and rhubarb cook until the juices start to get a little syrupy. You can test this by sticking a spoon into the hot liquid (DON’T USE YOUR FINGER!!!). If the strawberry juice coats the back of the spoon and doesn’t drip off entirely, you’re about done. Make sure that your berries don’t burn because they can taste bitter.

  • This is a TART butter because, well, rhubarb is tart and that’s the beauty of it. If you like things a little sweeter, you can add a bit of sugar or use more berries than rhubarb. OR, you can combine the tart butter with sweeter things like cakes, cookies, sweetened yogurt, and whipped cream.

Roughly chop some fruit and toss it in the oven for a spring-y fruit butter that’s naturally sweet, SUPER EASY, and extremely versatile. #meandthemoose #strawberryrhubarb #fruit #fruitbutter #naturallysweet #jam

Roughly chop some fruit and toss it in the oven for a spring-y fruit butter that’s naturally sweet, SUPER EASY, and extremely versatile. #meandthemoose #strawberryrhubarb #fruit #fruitbutter #naturallysweet #jam

Roughly chop some fruit and toss it in the oven for a spring-y fruit butter that’s naturally sweet, SUPER EASY, and extremely versatile. #meandthemoose #strawberryrhubarb #fruit #fruitbutter #naturallysweet #jam

Roughly chop some fruit and toss it in the oven for a spring-y fruit butter that’s naturally sweet, SUPER EASY, and extremely versatile. #meandthemoose #strawberryrhubarb #fruit #fruitbutter #naturallysweet #jam

Roasted strawberry rhubarb butter

Time: About 1 hour, 45 minutes, about 5 minutes active time
Yield: 12 oz (1½-2 cups)

4 heaping cups strawberries (fresh or frozen)
2 heaping cups chopped fresh rhubarb (about 3 extra extra-large stalks or 6-8 smaller stalks, chopped into 1-inch chunks)

Preheat the oven to 350.

Wash and chop the rhubarb. Combine with the frozen strawberries on a parchment-lined, rimmed baking tray.

Cook for 25-30 minutes, until the fruit is soft, the strawberries have released their juices, and the juice has started to become syrupy (see note above). Watch the berries closely after about 20 minutes to ensure that they don’t burn.

Let the fruit cool completely, about 15 minutes.

Scoop the fruit into your blender. Whatever juice gets onto the spoon is fine, but don’t add any remaining syrup.

Blend until smooth.

Store in the fridge for up to 7 days.

Sunflower seed butter with flax and chia

Sunflower seed butter | Me & The Moose. This homemade sunflower seed butter tastes so much better than store-bought and is fortified with flax and chia seeds. #meandthemoose #sunflowerseedbutter #lunchboxideas #lunch #lunchbox #sunflowerseedreci…

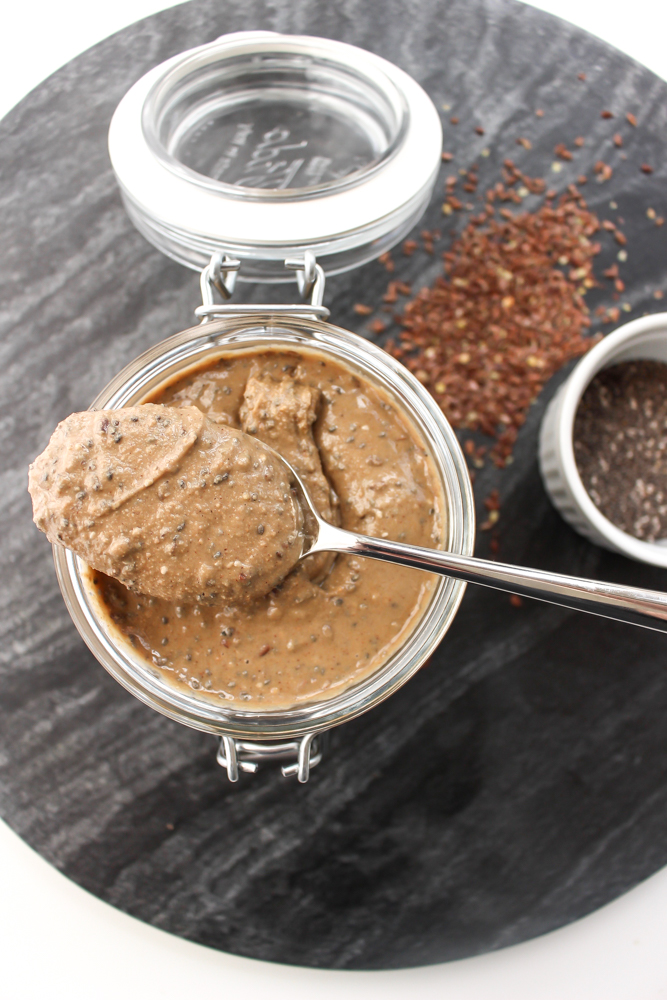
Once again, I’m copying Trader Joe’s. They have a peanut butter with flax and chia and it’s a fantastic way to get some extra nutrition into a picky eater. Here’s my school-safe version!

Jump to the recipe!

I have a confession to make: I go back and forth between caring A WHOLE LOT about M’s nutrition and then feeling like there are a million little struggles every day and I don’t want to add food to that list.

And he’s always been a contrarian with FOMO, which means he doesn’t love limits. The “perfect parent” voice in my head constantly beats me up about not being stricter. Don’t get me wrong, I say “no” to things 100 times a day and we obviously set lots of boundaries. But we’ve figured out that M does better when he has choice within those limits and that we have to say “yes” to some things or there will be a meltdown.

Anyway, part of M’s way of gaining control these days is that he has VERY strong opinions about food. What he loves one day, he hates the next. Peanut butter mixed into applesauce has been a constant and lately he’s been really into PB&J’s after watching this silly video.

BUT we can’t send any nuts to school, so sunflower seed butter it is. Unfortunately, a lot of the store-bought ones don’t taste great. I’ve made my own sunflower seed butter before and I do love this recipe. But if M’s eating this for at least one meal per day, I wanted to beef up the nutrition. And it tastes so good, he doesn’t complain!

Sunflower seed butter | Me & The Moose. This homemade sunflower seed butter tastes so much better than store-bought and is fortified with flax and chia seeds. #meandthemoose #sunflowerseedbutter #lunchboxideas #lunch #lunchbox #sunflowerseedreci…

A couple of notes about this nut butter:

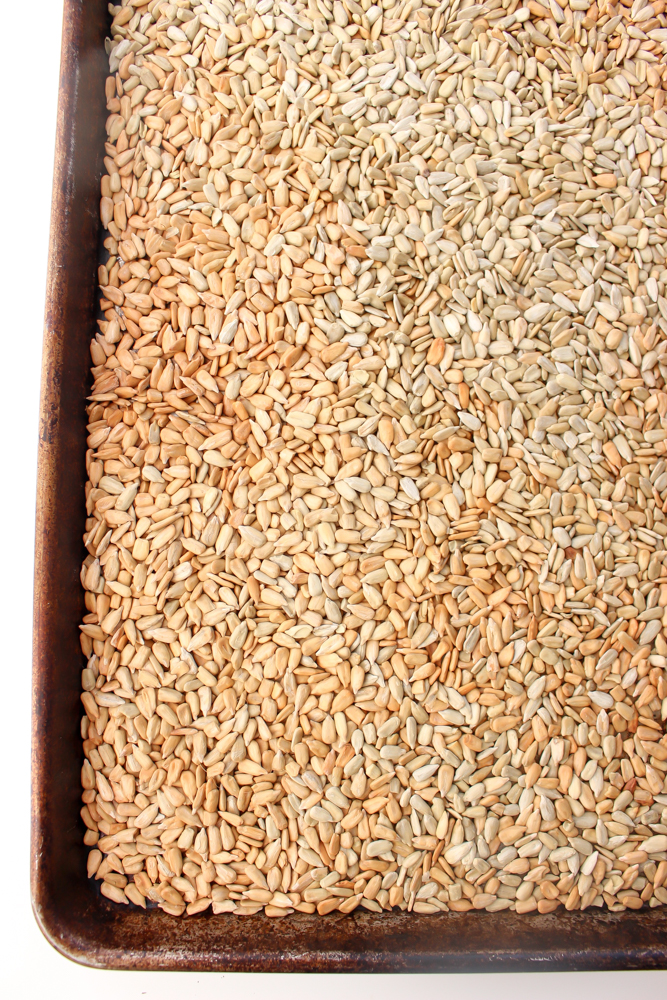
  • When roasting the nuts, you want them to be mostly brown and golden rather than gray. But watch to make sure that they don’t burn! (See the photos above for a before and after.) Well-roasted seeds are much easier to process than ones that are still partly raw.

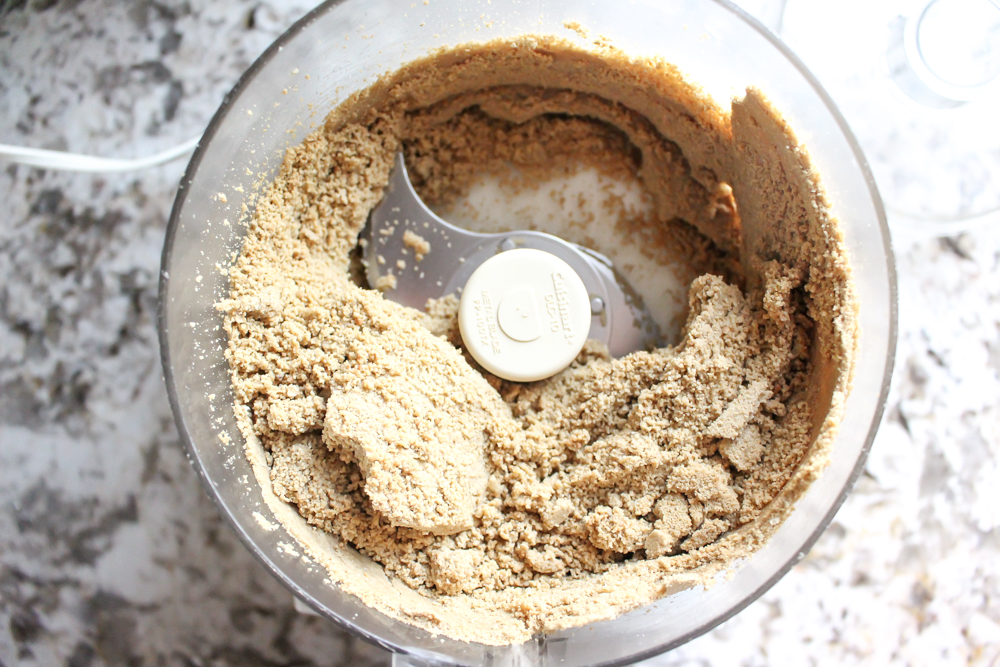
  • The grinding process takes a bit of patience. If you let the machine run, the seeds will come together into a paste. There are more detailed instructions for the individual grinding steps in the recipe below. Be sure to read the recipe before starting this butter.

  • Storage: I store this seed butter in the fridge because I’ve read that flax and chia (and seeds in general) tend to get rancid quickly when left vulnerable to moisture and heat in the cabinet). The cold tightens the butter considerably, but 20 seconds in the microwave makes the butter easily spreadable again.

Sunflower seed butter | Me & The Moose. This homemade sunflower seed butter tastes so much better than store-bought and is fortified with flax and chia seeds. #meandthemoose #sunflowerseedbutter #lunchboxideas #lunch #lunchbox #sunflowerseedreci…

Sunflower seed butter with flax and chia

Yield: 2-2¼ cups 
Time: 30-35 minutes

3 cups raw sunflower seeds
4-6 Tbsp coconut oil, melted
2 Tbsp maple syrup
2 tsp vanilla extract
1 tsp cinnamon
1 tsp flaky sea salt
3 Tbsp each chia seeds
3 Tbsp whole flax seeds

  1. Preheat the oven to 350. Spread the raw sunflower seeds out on a large sheet pan. Roast for 5 minutes and shake the tray. Roast for 2-3 minutes more, checking to make sure that the seeds don’t burn. When the seeds are uniformly more golden brown than gray, they’re ready for processing.

  2. Add the roasted seeds to a large food processor and grind for 2 minutes. The seeds will break up and look very dry and like breadcrumbs.

  3. Add 2 Tbsp of coconut oil and the maple syrup and process for 2 more minutes. At this stage, the seeds start coming together in a large slow-moving glacier of seed butter. Scrape down the sides and break up the glacier as necessary. It will still feel dry and crumbly when you break up the glacier.

  4. Add the vanilla and cinnamon and process again, this time letting the machine run. Let it go for at least 3-4 minutes before adding more coconut oil as the heat of the processor and the continued grinding will start to make the butter smoother and wetter. The glacier of seed butter will still be forming, but will be spinning around the food processor much faster.

  5. After that 3-4 minutes, and while the food processor is running, add the other 2-4 Tbsp of coconut oil to achieve a silky consistency. Don’t add more maple syrup or water because it will make the seed butter stick together and clump more instead of smoothing it out.

  6. The whole process of grinding the seeds into a smooth butter usually takes between 15 and 20 minutes (including stopping add ingredients), so patience is key.

  7. Transfer to a large bowl and stir in the sea salt, chia seeds and flax seeds and stir well.

Sunflower seed butter | Me & The Moose. This homemade sunflower seed butter tastes so much better than store-bought and is fortified with flax and chia seeds. #meandthemoose #sunflowerseedbutter #lunchboxideas #lunch #lunchbox #sunflowerseedreci…