Cranberry bars

Cranberry bars | Me & The Moose. These simple cranberry bars are a showstopper that looks complicated, but is actually easy to bake ahead and cut up for cookie swaps, office holiday parties, and your cookie tray. #cranberrybars #christmasbaking #lemonbars #meandthemoose #holidaydesserts #batchbaking

In under an hour, you can have a unique holiday dessert that’s equal parts festive, beautiful, and delicious using minimal dishes, steps, and ingredients.

Take me to the recipe!

IMG_9057.jpg

Cranberry bars | Me & The Moose. These simple cranberry bars are a showstopper that looks complicated, but is actually easy to bake ahead and cut up for cookie swaps, office holiday parties, and your cookie tray. #cranberrybars #christmasbaking #lemonbars #meandthemoose #holidaydesserts #batchbaking

IMG_9059.jpg

Cranberry bars | Me & The Moose. These simple cranberry bars are a showstopper that looks complicated, but is actually easy to bake ahead and cut up for cookie swaps, office holiday parties, and your cookie tray. #cranberrybars #christmasbaking #lemonbars #meandthemoose #holidaydesserts #batchbaking

IMG_9065.jpg

Cranberry bars | Me & The Moose. These simple cranberry bars are a showstopper that looks complicated, but is actually easy to bake ahead and cut up for cookie swaps, office holiday parties, and your cookie tray. #cranberrybars #christmasbaking #lemonbars #meandthemoose #holidaydesserts #batchbaking

IMG_9066.jpg

Cranberry bars | Me & The Moose. These simple cranberry bars are a showstopper that looks complicated, but is actually easy to bake ahead and cut up for cookie swaps, office holiday parties, and your cookie tray. #cranberrybars #christmasbaking #lemonbars #meandthemoose #holidaydesserts #batchbaking

IMG_9072.jpg

Cranberry bars | Me & The Moose. These simple cranberry bars are a showstopper that looks complicated, but is actually easy to bake ahead and cut up for cookie swaps, office holiday parties, and your cookie tray. #cranberrybars #christmasbaking #lemonbars #meandthemoose #holidaydesserts #batchbaking

I love a holiday cookie situation. But I HAAAATTEEEE how long it takes to actually bake the cookies. So this year, we’re only making bars that can be baked in one go and cut into pieces. You’re welcome.

One place where most bars fall short is in their appearance. I love a brownie or blondie, but they’re not the most attractive dessert. Instead, make these simple cranberry bars and you have a holiday showstopper without much fuss.

Cranberry bars | Me & The Moose. These simple cranberry bars are a showstopper that looks complicated, but is actually easy to bake ahead and cut up for cookie swaps, office holiday parties, and your cookie tray. #cranberrybars #christmasbaking …

Cranberry bars | Me & The Moose. These simple cranberry bars are a showstopper that looks complicated, but is actually easy to bake ahead and cut up for cookie swaps, office holiday parties, and your cookie tray. #cranberrybars #christmasbaking #lemonbars #meandthemoose #holidaydesserts #batchbaking

These bars have the same sweet/tart profile of a lemon bar, but in a more festive color. I’ve also simplified the recipe so that you can reuse the same kitchen tools for the crust and the filling. And unlike most cranberry curd or bar recipes, I recommend not straining the cranberries after they’re pureed. It doesn’t make enough difference to justify the extra time, effort, and dishes.

Cranberry bars | Me & The Moose. These simple cranberry bars are a showstopper that looks complicated, but is actually easy to bake ahead and cut up for cookie swaps, office holiday parties, and your cookie tray. #cranberrybars #christmasbaking …

A couple of notes:

  • I like these bars to be tart, so I used the smallest amount of sugar possible. If you like things a little sweeter, don’t be afraid to increase the sugar up to 3/4 of a cup. But remember that you’re going to dust the tops with a mountain of powdered sugar, so there’s always a chance to add more later.

  • I listed a vast range in the cook time for the tart because it has cooked at wildly varying speeds for me. When I pour the filling directly into the hot shell, it cooked faster, but when my timing was off and I left the crust out to cool while I made the filling, it was a little slower. Also, when I used super fresh cranberries, there was more liquid in the filling and it took longer. Anyway, you get it. Check the tart at about 15 minutes knowing that there is a chance it will take much longer.

Cranberry bars | Me & The Moose. These simple cranberry bars are a showstopper that looks complicated, but is actually easy to bake ahead and cut up for cookie swaps, office holiday parties, and your cookie tray. #cranberrybars #christmasbaking …

Cranberry bars

Time: About 50 minutes, plus time to decorate once the bars are cooled
Yield: 16 medium squares or slices

Shortbread base
1¼ cups all-purpose flour
10 Tbsp cold butter (1 stick + 2 Tbsp), cut into ½-inch cubes
1/3 cup light brown sugar, firmly packed
Heaping ¼ tsp salt

Preheat the oven to 350.

Butter the bottom and sides of a 9x9 tart pan or a 9x9 brownie pan. Set aside. (If using a brownie pan without a removable base, line the tin with parchment paper with a bit of extra paper overhanging on two sides so that you can remove the tart whole before decorating.)

Combine all of the shortbread ingredients in a food processor and pulse 15-20 times until the mixture looks like coarse sand.

Dump the mixture into your tart pan or brownie pan. Start by pressing the mixture into a medium-thin layer up the sides of the pan. Then press the remaining shortbread mixture into the bottom of the pan in an even layer.

Bake in the middle of the oven until blondish-brown, about 17-20 minutes.

Meanwhile, prep your filling.

Filling
10 oz of fresh cranberries (a scant 3 cups or most of the bag you can buy fresh in the store)
Juice and zest of 1 large lemon (about 2 tsp zest and 2 Tbsp juice)
1/2 cup sugar + 2 Tbsp- 3/4 cup (I start with the smaller amount and taste the pureed berries and sugar BEFORE adding the eggs to see if I need more. If your berries are really fresh, they’ll be more tart and you may want to increase the sugar.)
3 Tbsp flour
3 large eggs  

In a small saucepan, combine the cranberries, lemon zest, and lemon juice. Heat over a medium flame until bubbling and the cranberries can be squished with a spatula without any give, about 5 minutes. Remove from the heat.

Wipe out your food processor and puree the cranberries until smooth, about 30 seconds.

Add the sugar and flour and puree for another few seconds until combined and the mixture looks like liquid. TASTE YOUR PUREE HERE. If it’s too tart for your taste, add more sugar, but don’t forget that we’ll be adding powdered sugar to the top of the tart once it’s baked and cooled.

Add the eggs and puree again until combined, about 10 seconds.

Turn the oven temperature down to 300.

Remove the tart shell from the oven (if you haven’t already) and fill with the cranberry mixture. Depending on what base you use, you may have some filling left over.

Bake for 18-34 minutes, until there is no wobble left in the middle when the tart is jiggled and the filling feels firm, but springy when lightly touched.

Let cool completely before decorating.

Decoration

2 oz cranberries (whatever is left in the bag)
1/2 cup granulated sugar, divided
1/4 cup water
1/2 cup powdered sugar

In a small sauce pan, combine 1/4 cup of water and 1/4 cup granulated sugar and heat over a low flame. Stir constantly until the sugar dissolves, about 1 1/2 - 2 minutes. Don’t let the sugar water get too hot; you’re just trying to dissolve the sugar. Remove from the heat.

Add the cranberries and cover well with syrup. Remove from the syrup with a fork or slotted spoon and tap off the excess liquid. Roll the berries in the remaining 1/4 cup of sugar and cover completely. Remove to a plate and let harden for 20-30 minutes.

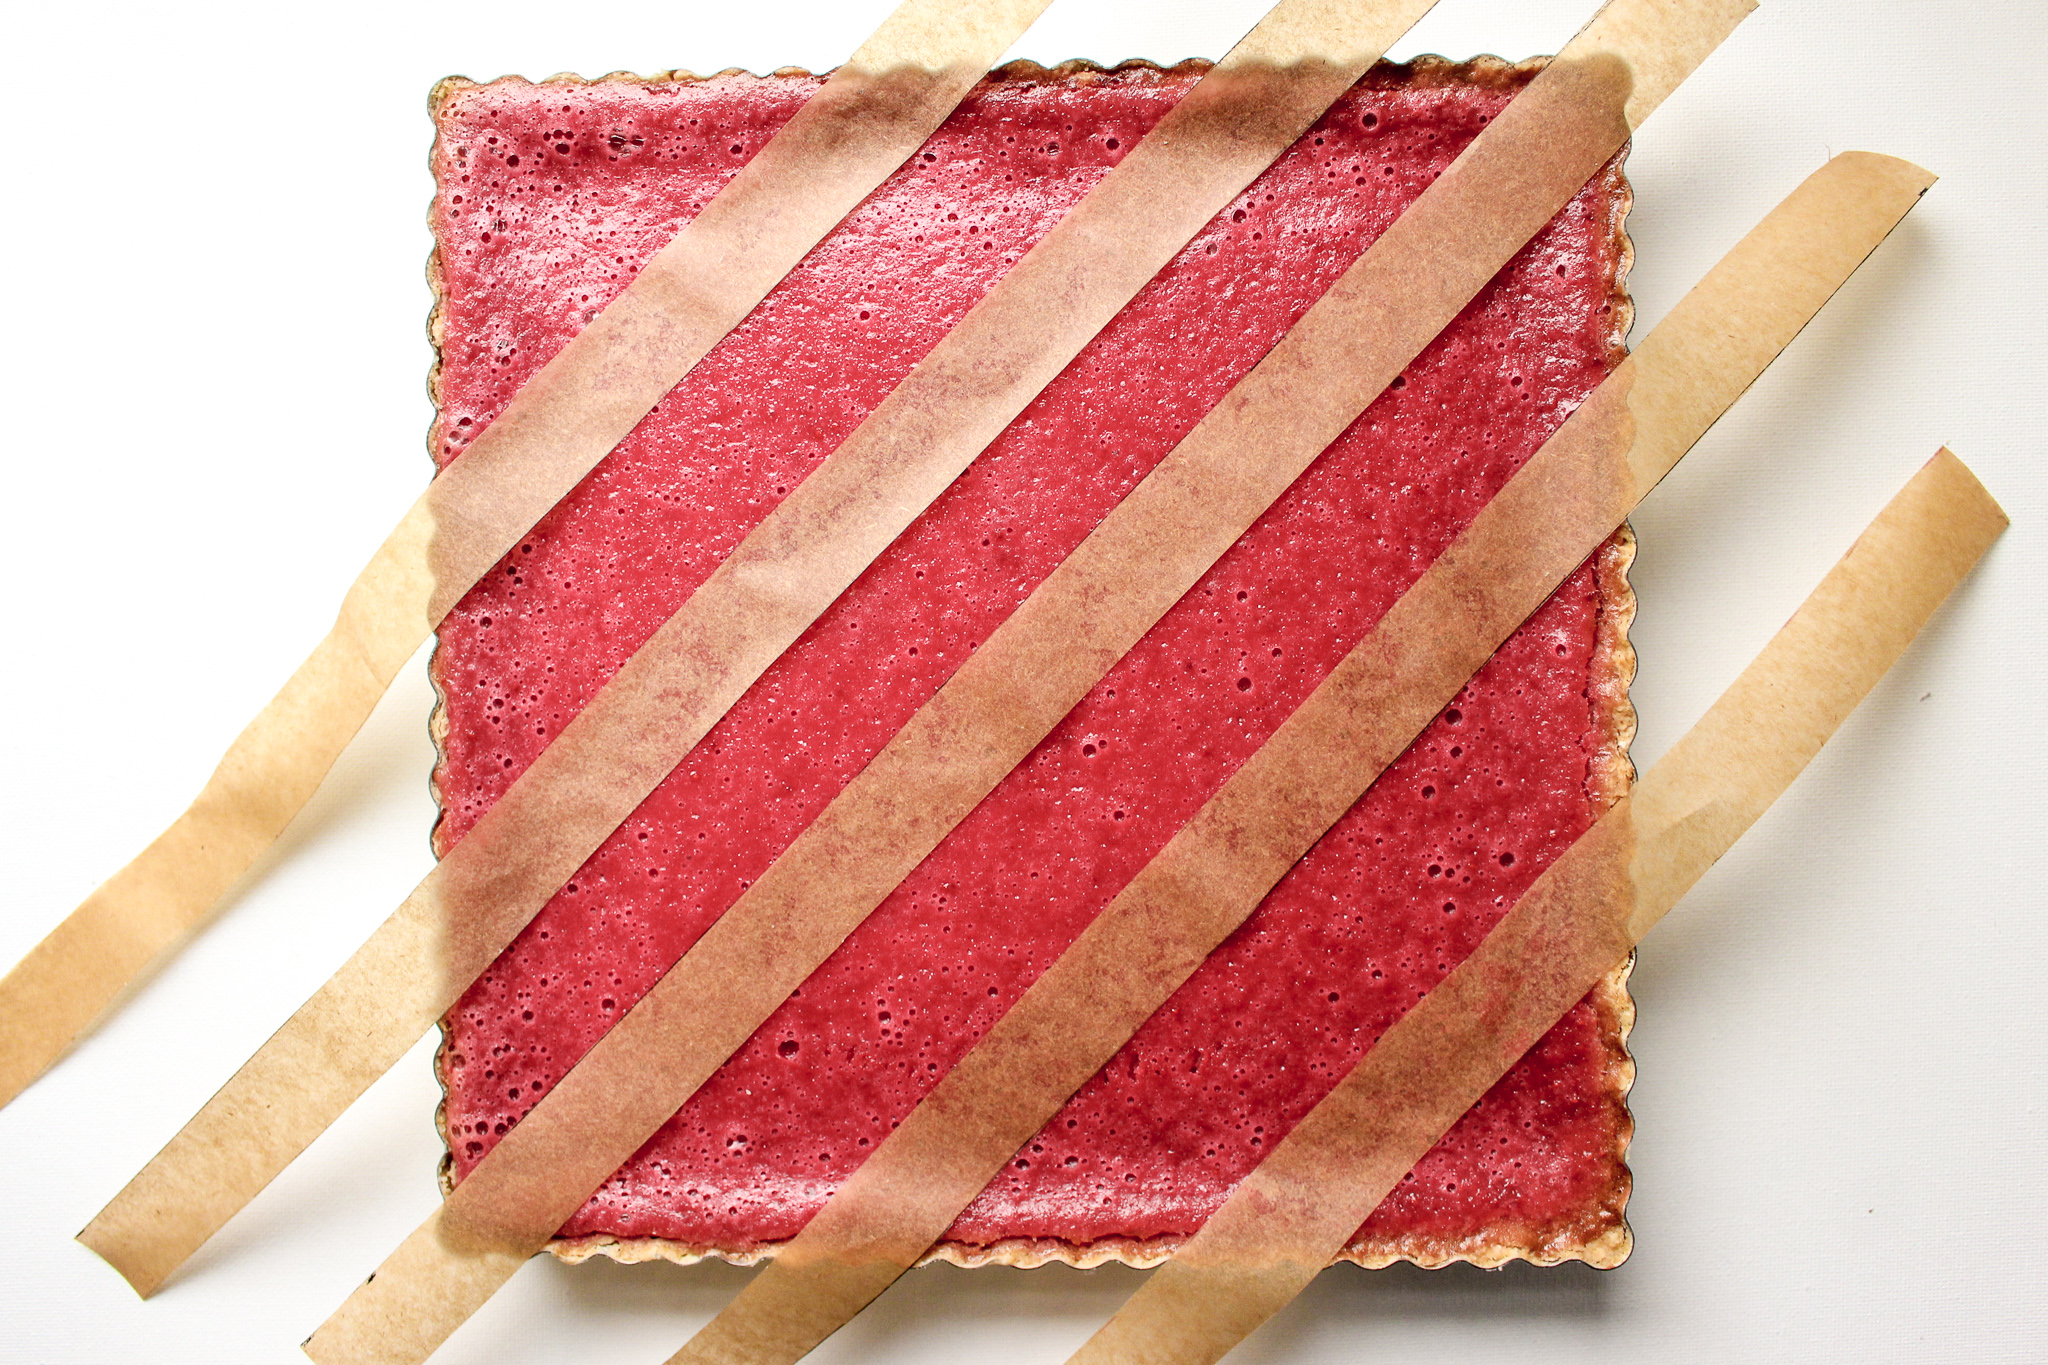
When bars are cool, cover with powdered sugar. Add the cranberries in whatever pattern you like.

Pizza rolls

pizza rolls | Me & The Moose. pizza dough, pesto, and turkey pepperoni make these pizza rolls (just swap the walnuts in the kale pesto for sunflower or pumpkin seeds or leave them out entirely) a more lunchbox-friendly pizza option. #meandthemoose #pizzarolls #lunchboxideas #lunchboxrecipes #lunch #pizza #pesto #pepperoni

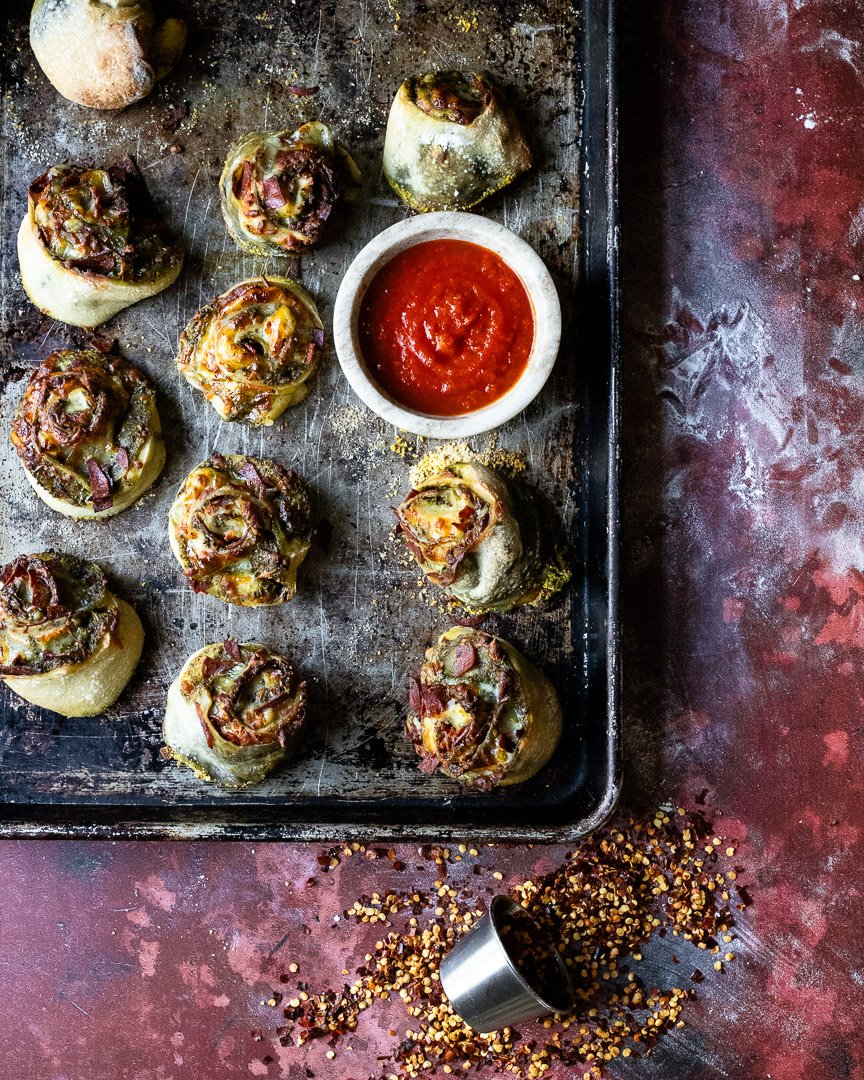
Today is Pi day and Friday is St. Patrick's Day and the closest we're getting to a themed meal here at M&TM headquarters is kale pesto pizza rollups which are just barely a pizza "pie" and just barely green. Needs must.

We love pizza around these parts, but pizza doesn't always love us. A toddler with pizza grease and tomato sauce all over him is just a prelude to an APARTMENT with pizza grease and tomato sauce all over it. These rolls help a lot! Using homemade pesto means you can control the amount of grease. Encasing everything in dough also keeps the toppings from topping your home. These rolls also keep well in the fridge or freezer as long as they're re-crisped well in the toaster or the oven before being eaten. 

Healthy-ish pizza rolls | Me & The Moose. Whole wheat pizza crust, kale pesto, and turkey salami make these lunchbox friendly pizza rolls (just swap the walnuts in the kale pesto for sunflower or pumpkin seeds or leave them out entirely) a healt…

pizza rolls | Me & The Moose. pizza dough, pesto, and turkey pepperoni make these pizza rolls (just swap the walnuts in the kale pesto for sunflower or pumpkin seeds or leave them out entirely) a more lunchbox-friendly pizza option. #meandthemoose #pizzarolls #lunchboxideas #lunchboxrecipes #lunch #pizza #pesto #pepperoni

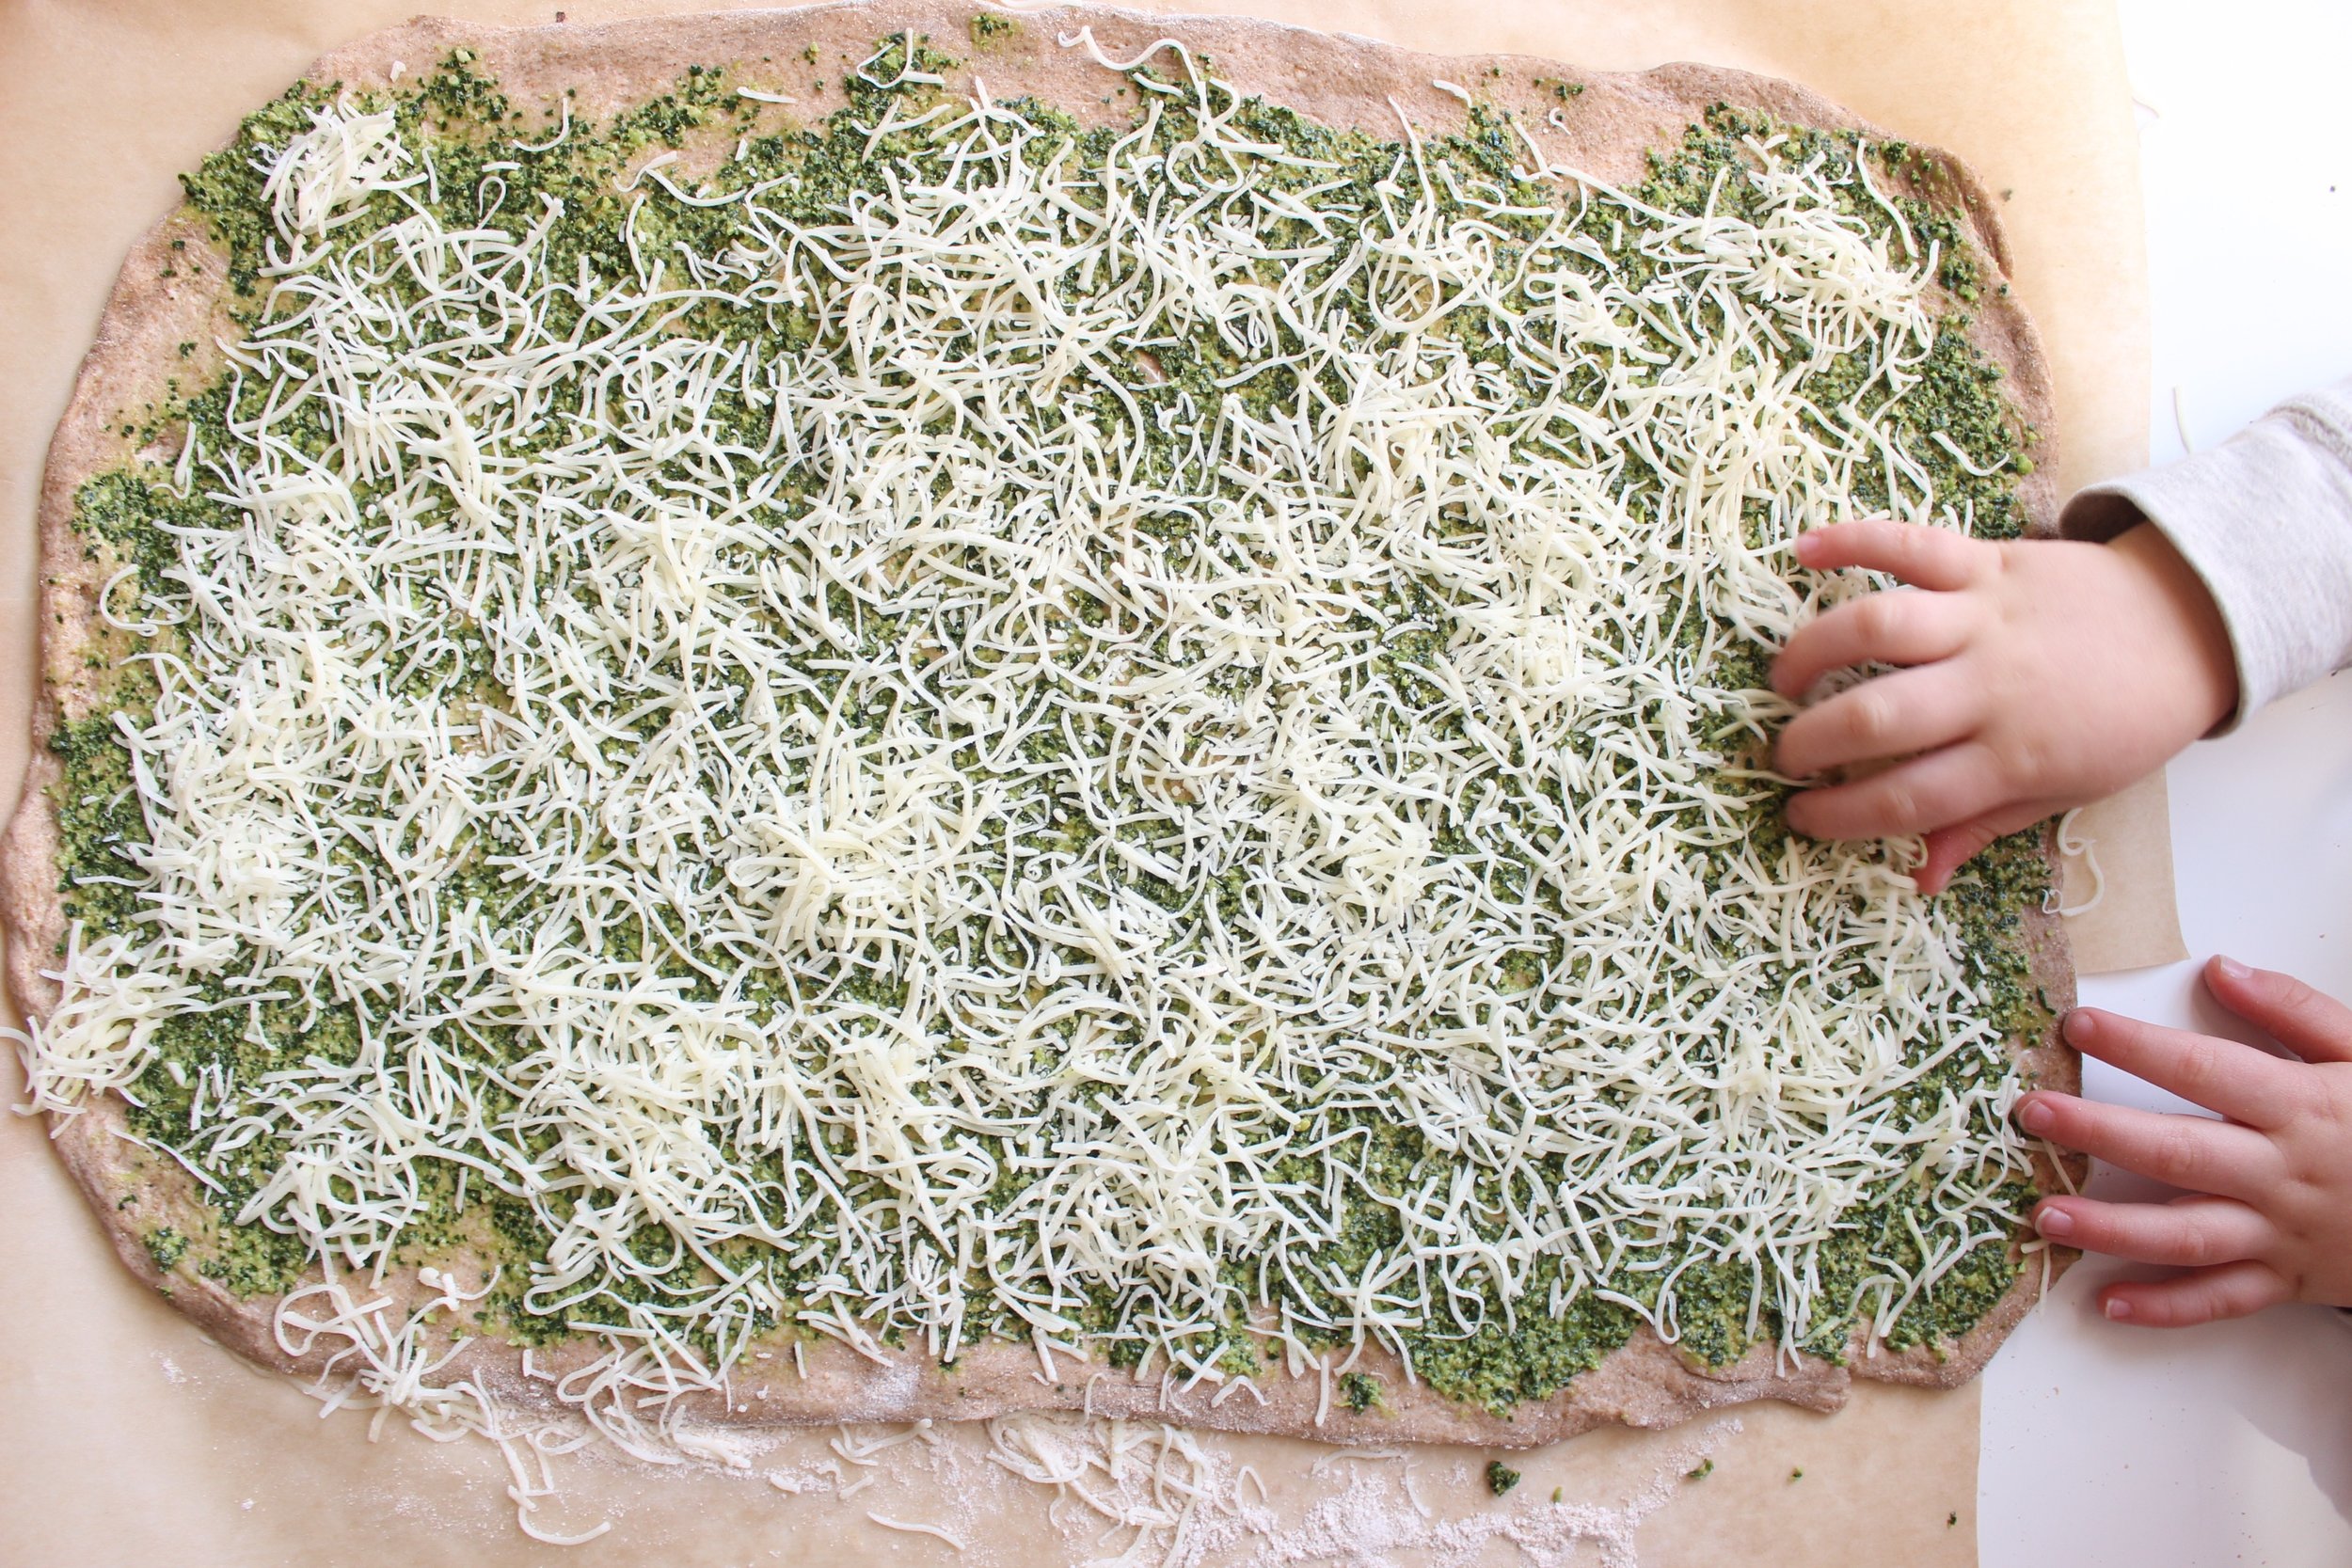
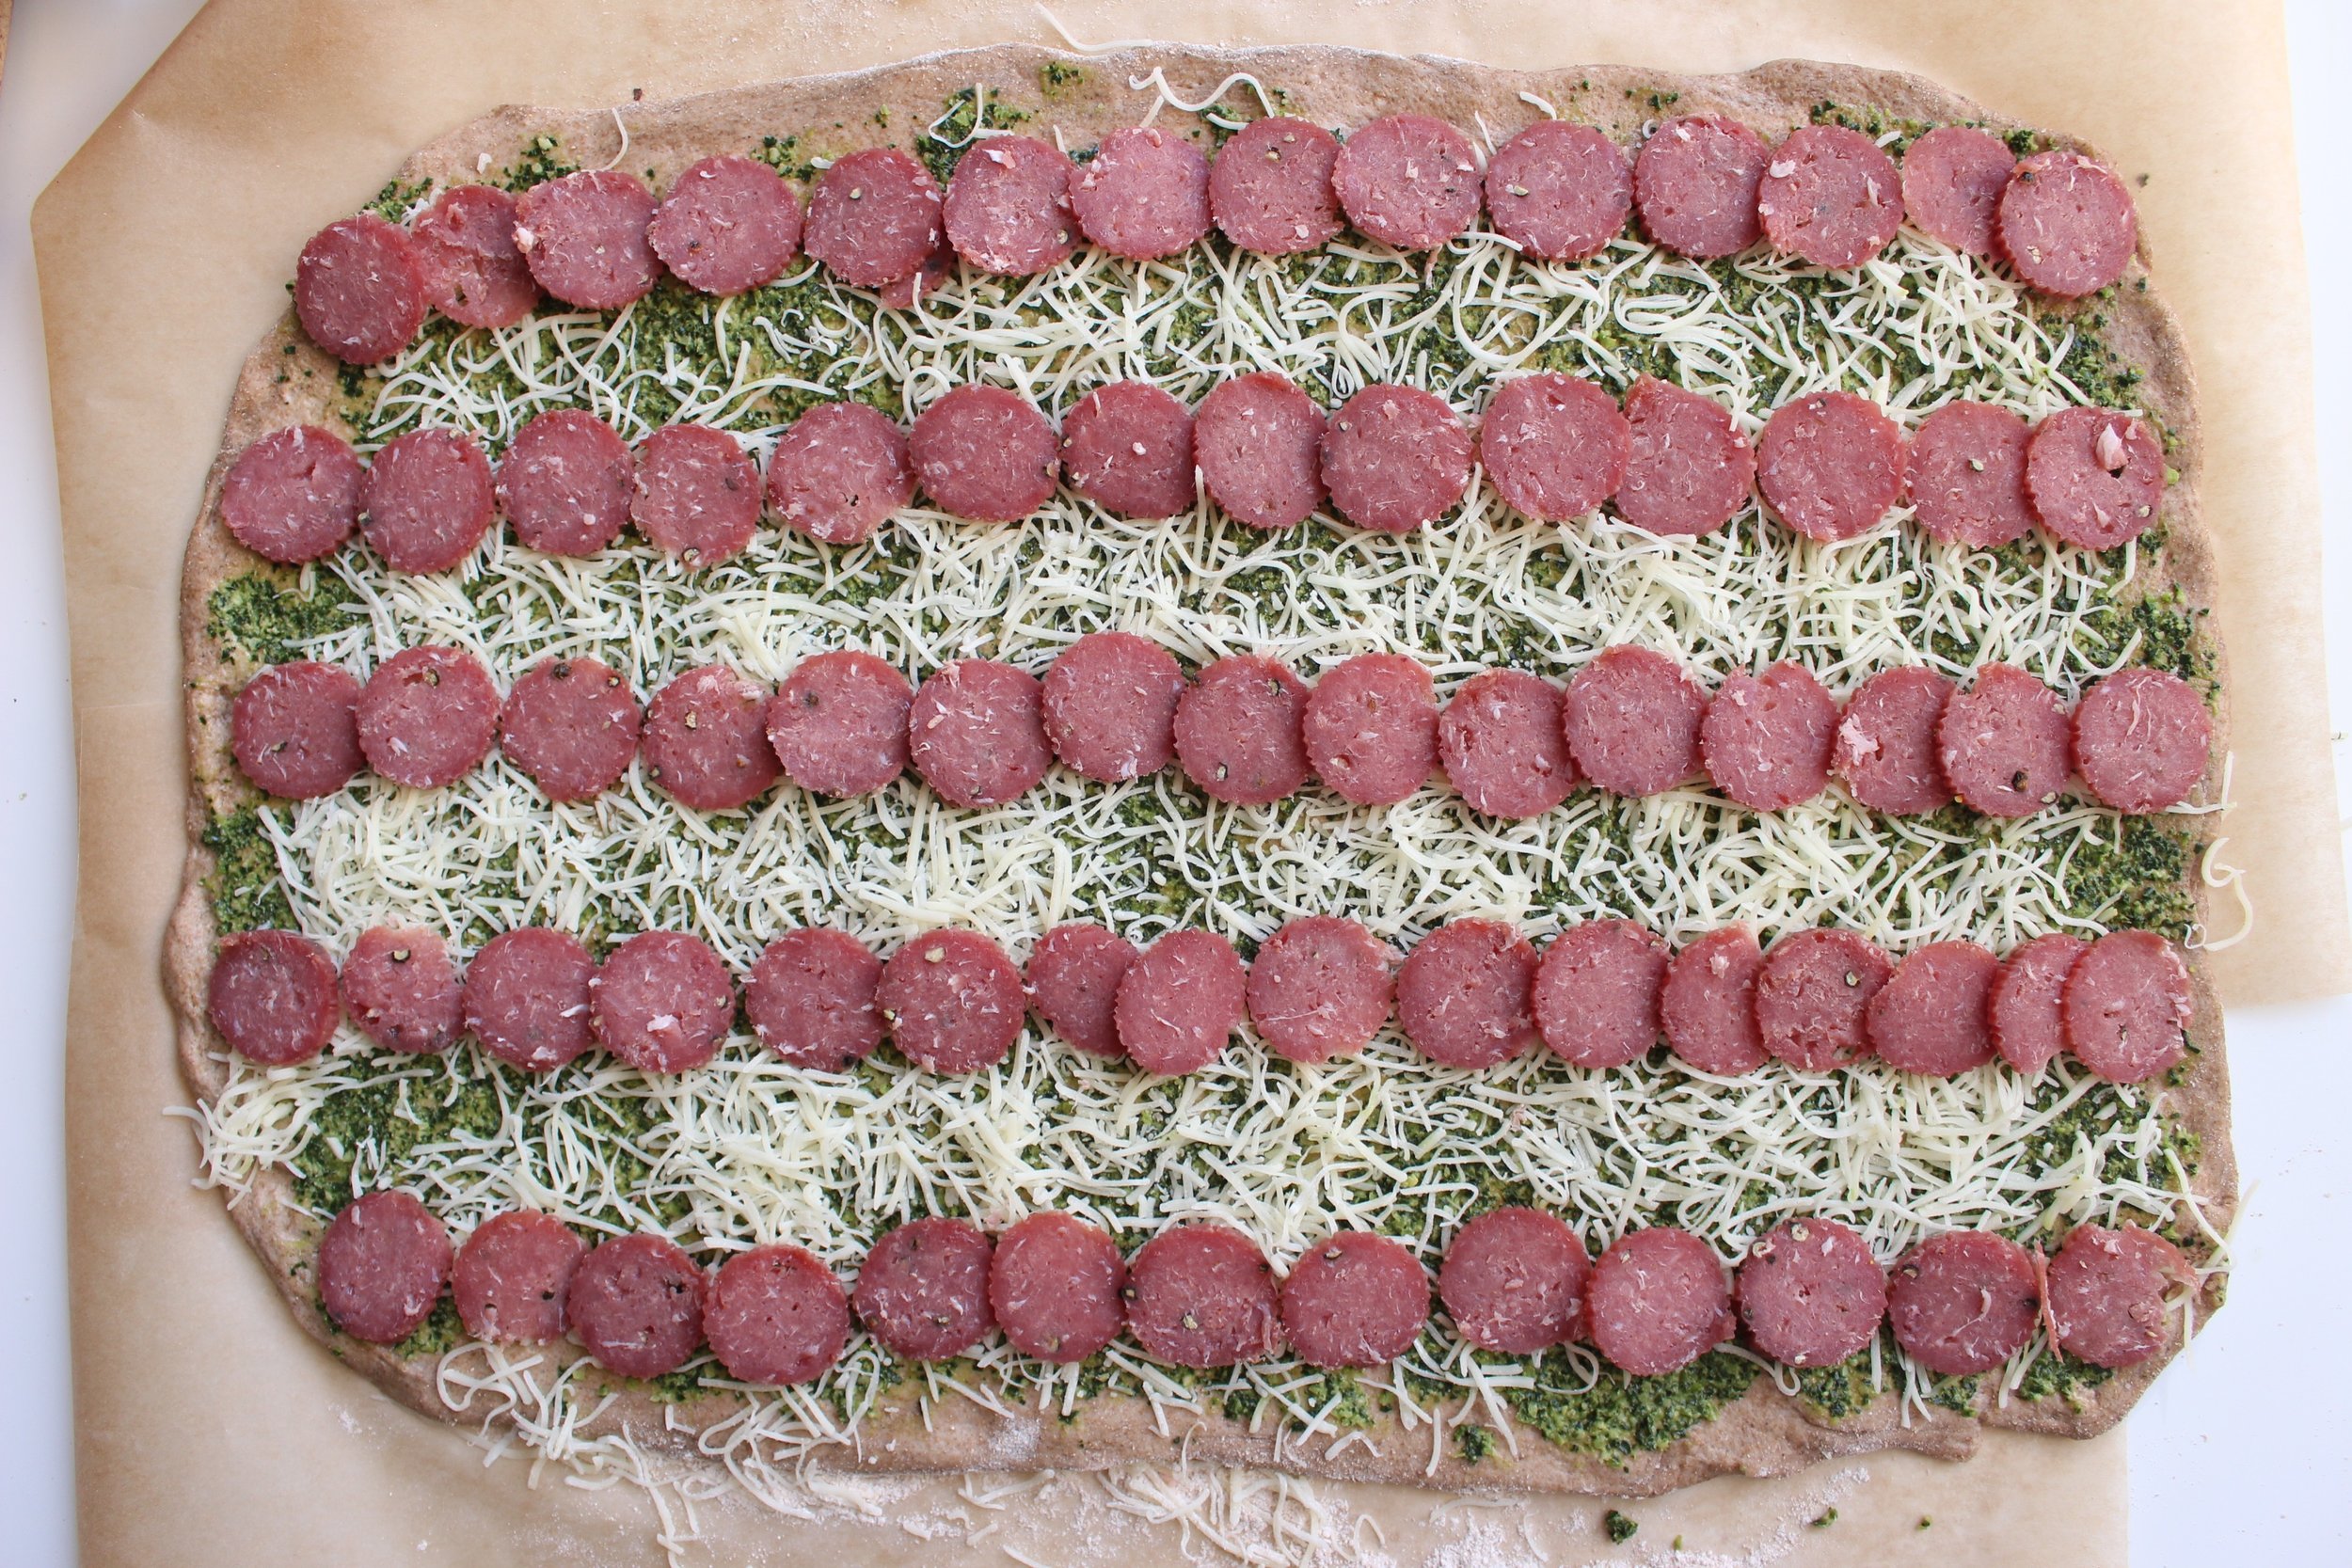
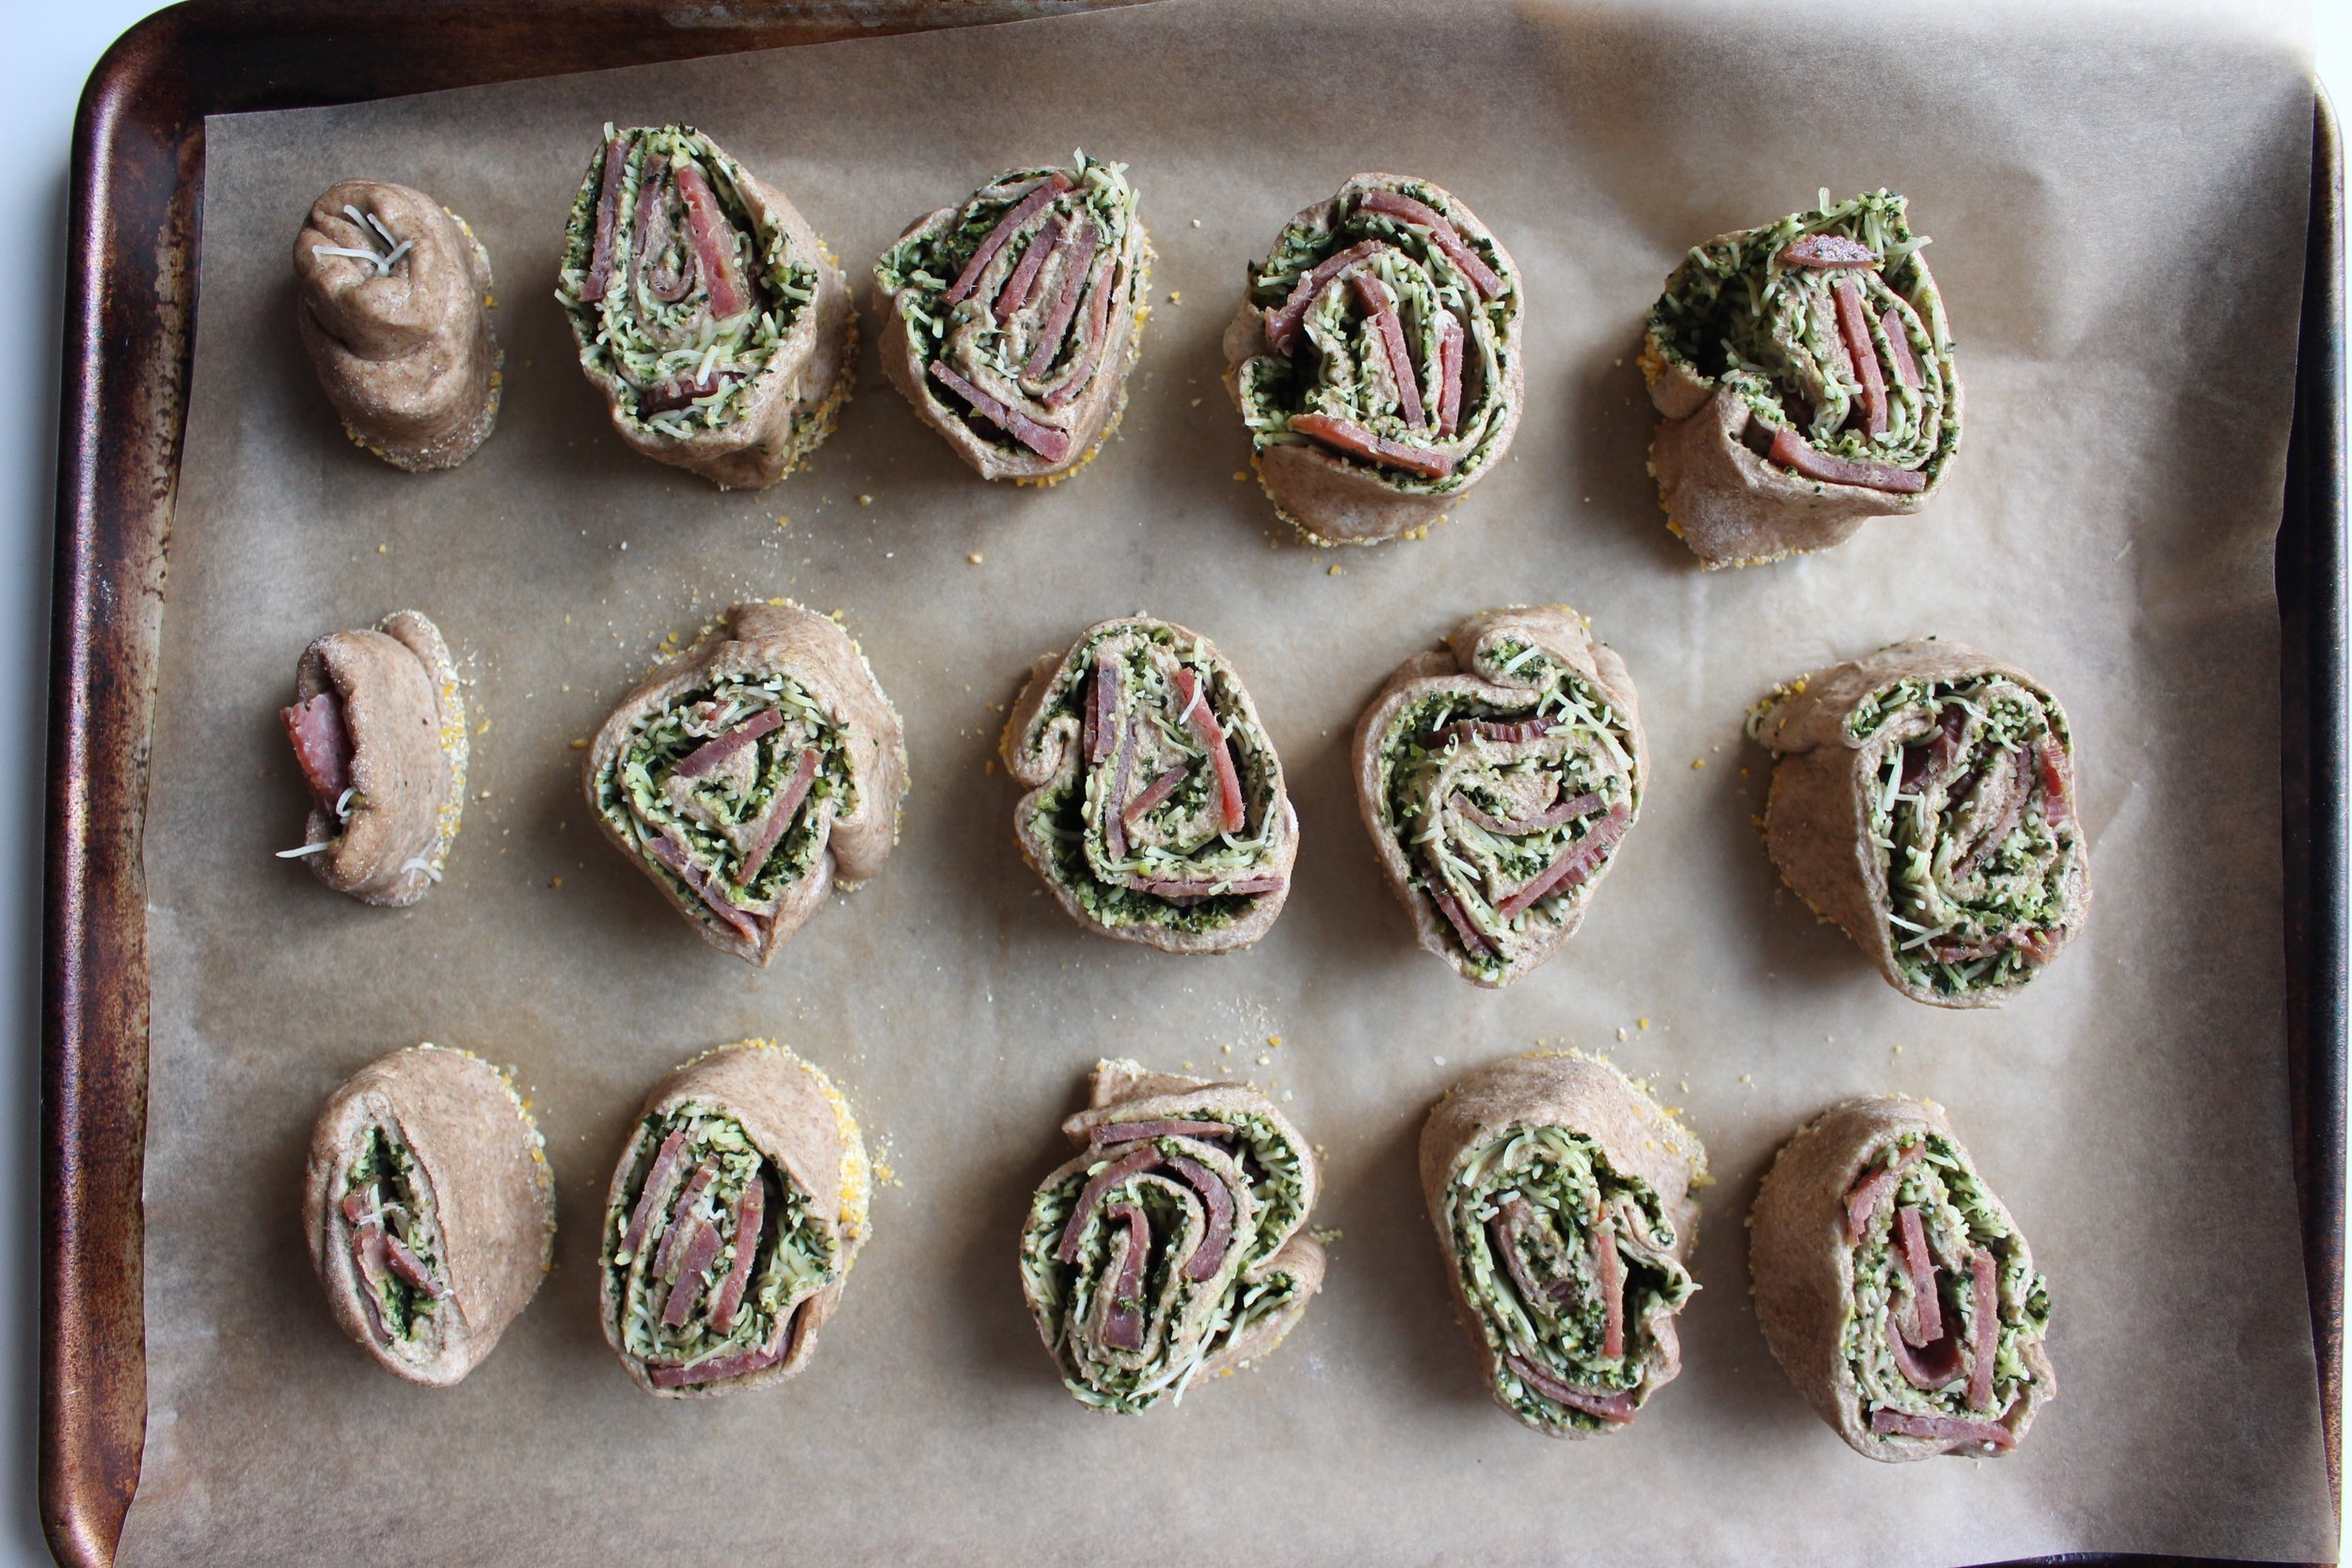
To get this cleaner, healthier version of pizza, you have to do a tiny bit more work than just slapping some sauce and cheese on a rolled out dough and popping it into the oven, though not much more. First, you have to roll the dough into a rectangle, which can take a bit of doing. Make sure your sauce layer is thin since overfilling the middles can cause the rolls to fall apart. You also want to be stingy with the cheese and salami (if using) for the same reason. But the rolling up means that you'll still get tons of cheese and toppings in each bite. 

I took Sally from Sally's Baking Addiction's advice about refrigerating the dough and fillings for 30 minutes after rolling them into a log, but before cutting and cooking them, but I'm not completely sure it was necessary as I've made these without that extra step and found the rolls similarly loose. A few pieces of advice: Try to make this roll as tight as possible. Use your sharpest knife to cut the rolls and don't make them more than 1-inch wide. Also, feel free to tighten and crimp the outside layer of the dough as you transfer the cut pieces to the baking sheet. 

Healthy-ish pizza rolls | Me & The Moose. Whole wheat pizza crust, kale pesto, and turkey salami make these lunchbox friendly pizza rolls (just swap the walnuts in the kale pesto for sunflower or pumpkin seeds or leave them out entirely) a healt…

pizza rolls | Me & The Moose. pizza dough, pesto, and turkey pepperoni make these pizza rolls (just swap the walnuts in the kale pesto for sunflower or pumpkin seeds or leave them out entirely) a more lunchbox-friendly pizza option. #meandthemoose #pizzarolls #lunchboxideas #lunchboxrecipes #lunch #pizza #pesto #pepperoni

Pizza rolls

Time: About 30 minutes, mostly active
Yield: about 15 rolls

1 store-bought or homemade whole wheat pizza dough
½ cup kale pesto (scant)
1 cup shredded mozzarella cheese
3 Tbsp parmesan cheese
4-5 oz Turkey salami or pepperoni
1/8 cup corn meal
Tomato sauce for dipping

Preheat the oven to 425 and line a baking pan with parchment paper. Roll or press out the pizza dough on a separate piece of lightly floured parchment paper until it’s about 1/8 inch thick. Spread a very thin layer of the kale pesto over top and make sure to get all the way to the edges of the dough. Sprinkle with mozzarella. Add salami or pepperoni if using.

Along the longer side, start rolling the dough as tightly as you can. Continue rolling until the dough and fillings form a log. Transfer the log and parchment paper to a baking pan and chill for 30 minutes (or not, see above note).

After chilling, cut 1-inch pieces from the roll and dip one cut side into the corn meal to prevent sticking. Place the cornmeal crusted side on the parchment-lined baking sheet. Once all the pieces are cut, sprinkle lightly with parmesan and bake for 15-18 minutes until the outsides are golden brown.