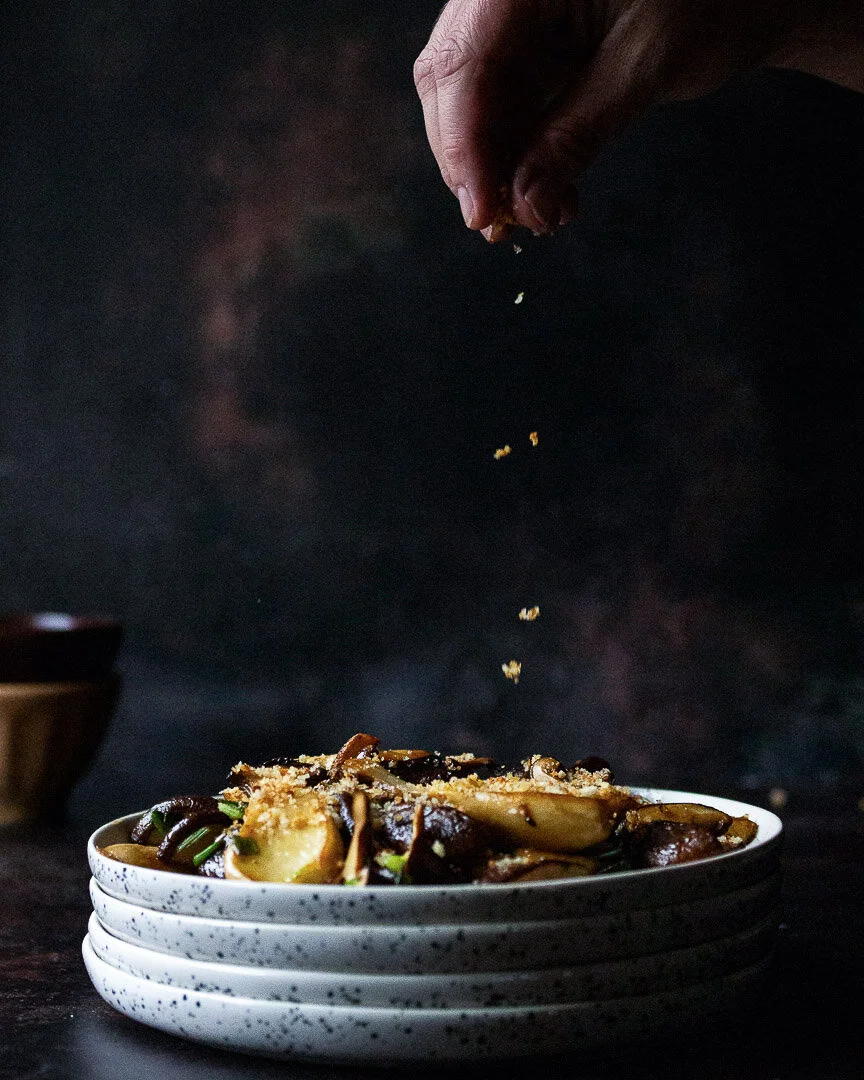
Magical breadcrumbs with mushrooms and scallions

Make these easy, quick, and delicious magical breadcrumbs to top these mushrooms and scallions and then use them to add breading and crunch to literally anything. #meandthemoose #easysidedishes #sidedishes #pescatarian #recipes #easyrecipes

The breadcrumbs are the star of this show, but don’t sleep on the mushrooms and scallions either. A simple, make-ahead side dish that’s fast, easy, and relatively healthy, but seems just the opposite!

Take me to the recipe!

Make these easy, quick, and delicious magical breadcrumbs to top these mushrooms and scallions and then use them to add breading and crunch to literally anything. #meandthemoose #easysidedishes #sidedishes #pescatarian #recipes #easyrecipes

First things first, we have to talk about these magical breadcrumbs. What could be so great about a humble breadcrumb, you might ask? I’ll tell you!

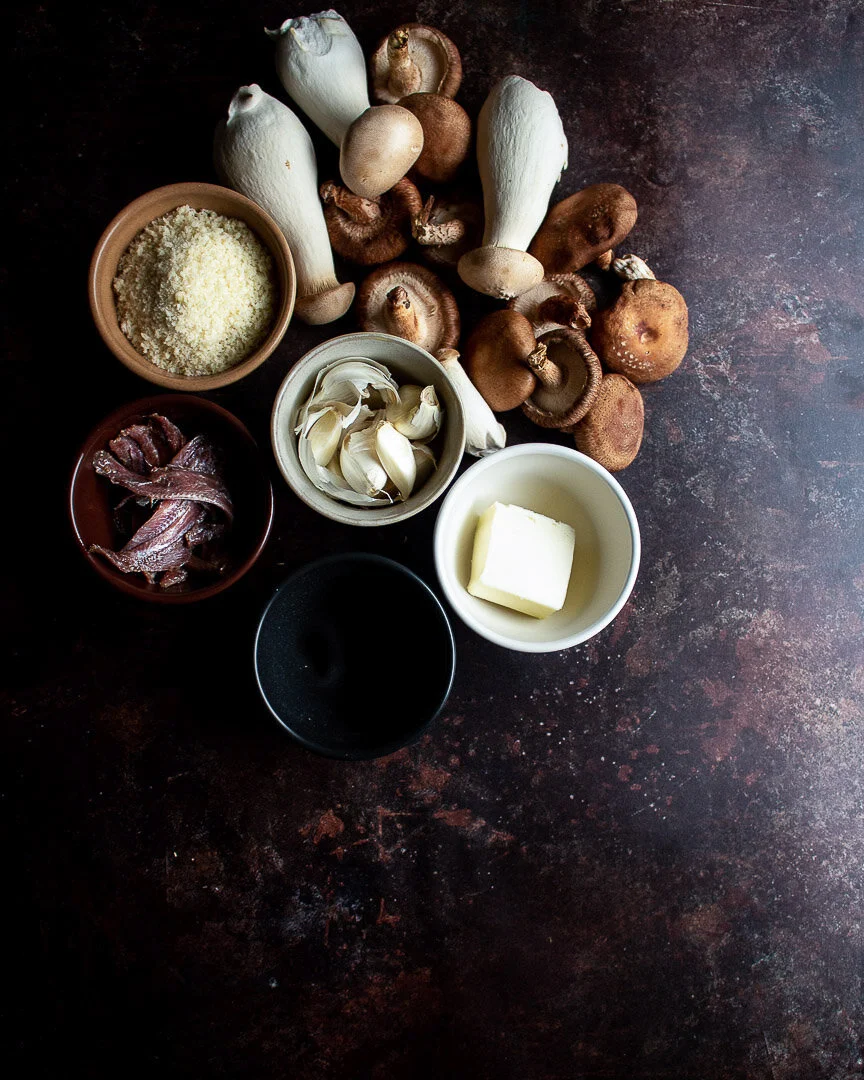
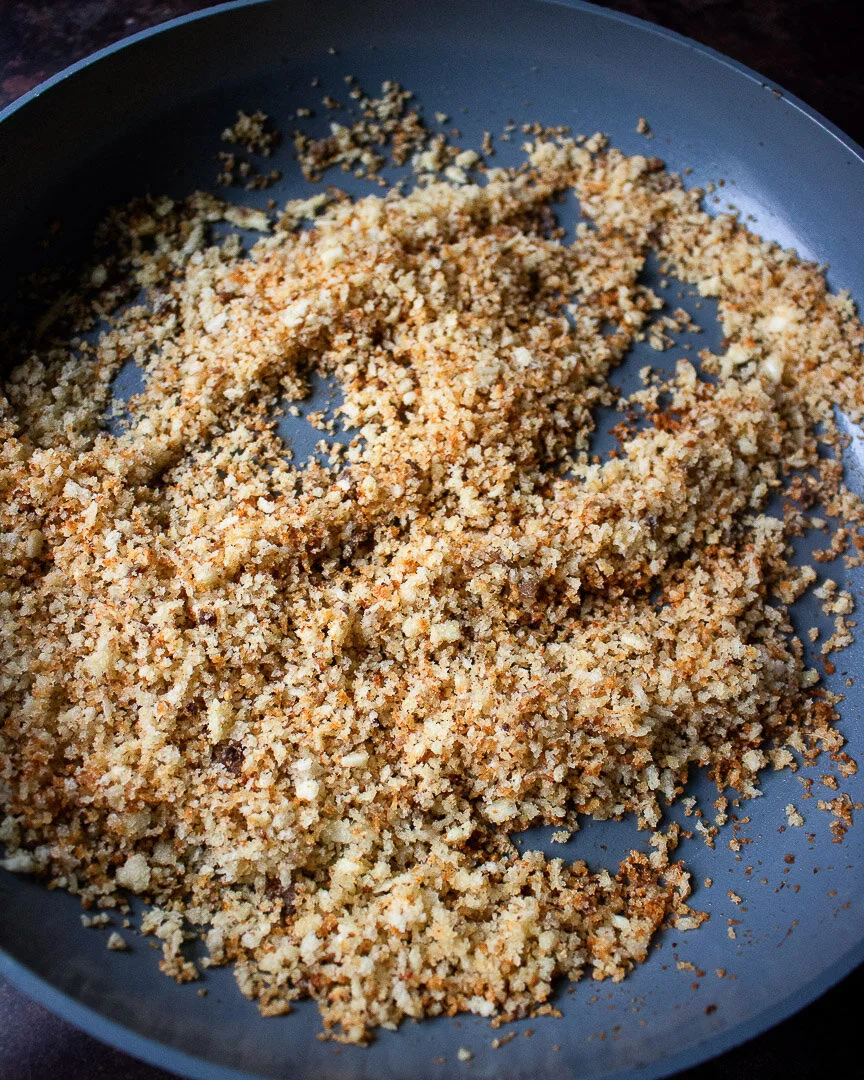
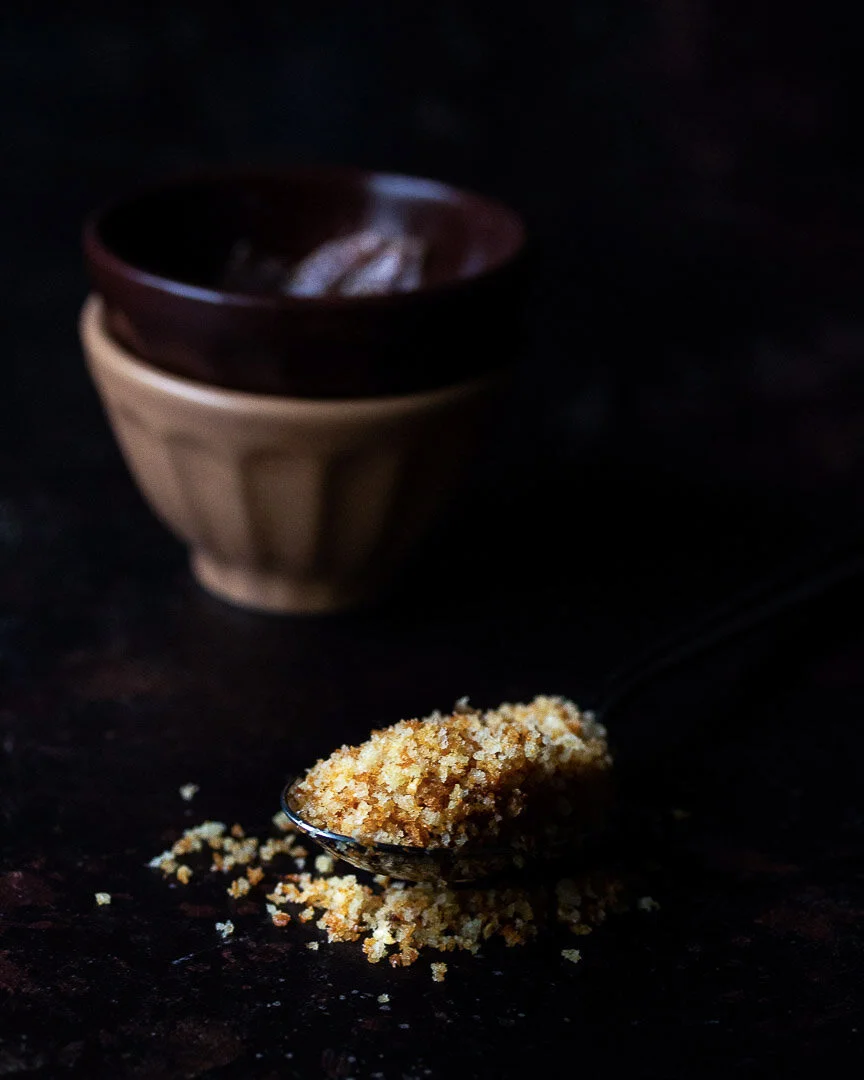
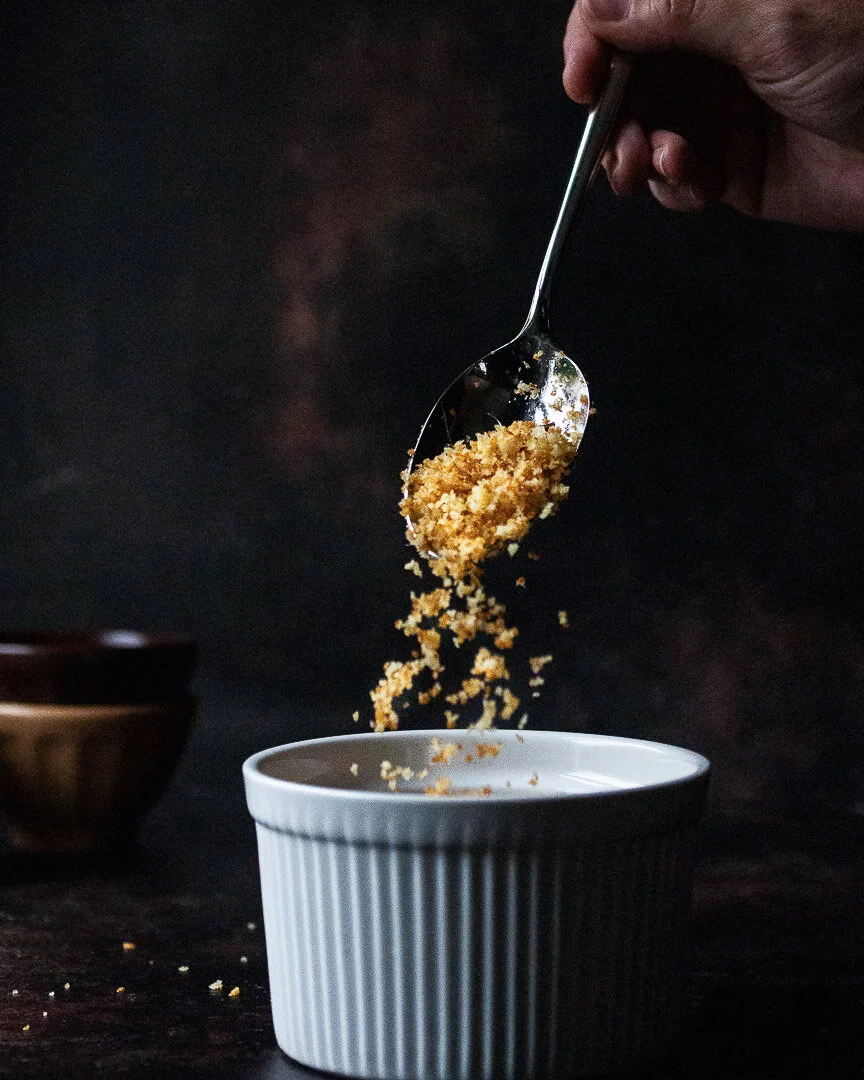
They’re crunchy, salty, briny, and aromatic and elevate anything they top. Using panko maximizes the crispiness while the anchovies add a salty, funky note and the garlic lends a spicy bite. We bathe everything in a little olive oil or butter to mildly tame the funk and the bite while increasing the crunch. The results: magical.

There are other fantastic things about these breadcrumbs too: Sub them in for breading or croutons and they make any dish lighter and easier to prepare. They also stay crispy in the fridge for up to 4 days, so make them in advance and top any side dish just before serving.

Make these easy, quick, and delicious magical breadcrumbs to top these mushrooms and scallions and then use them to add breading and crunch to literally anything. #meandthemoose #easysidedishes #sidedishes #pescatarian #recipes #easyrecipes

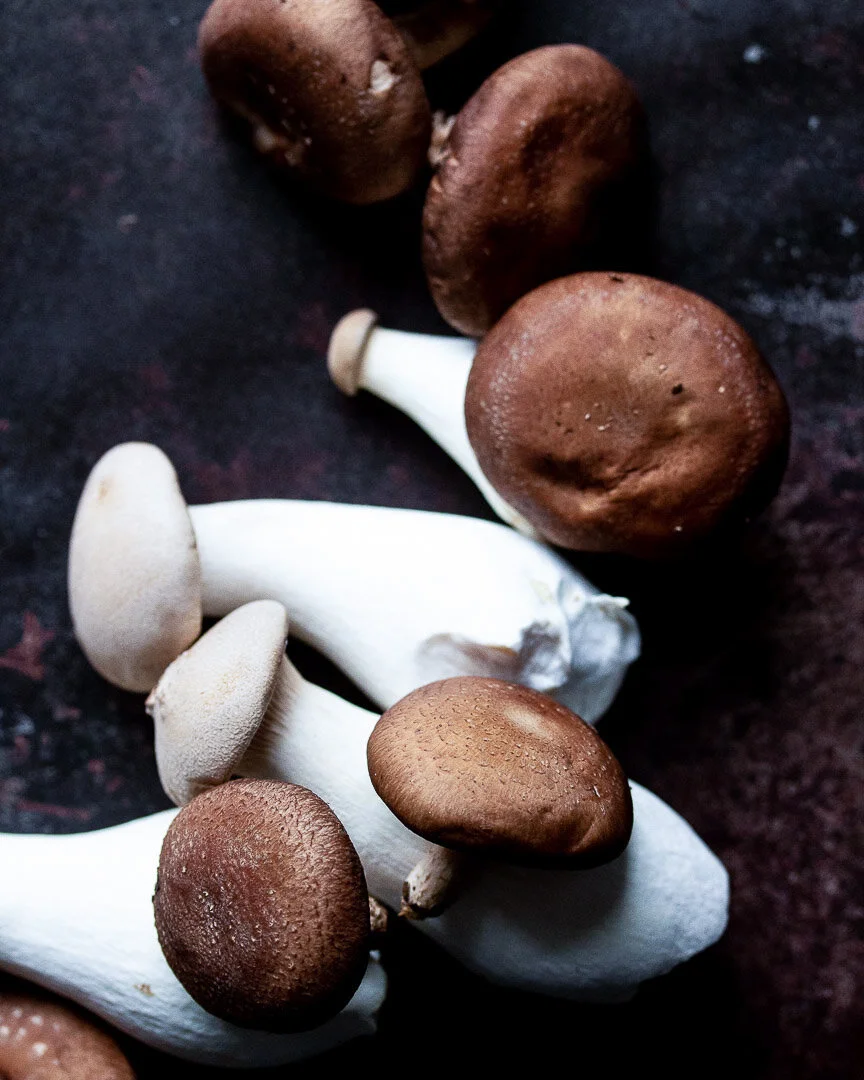
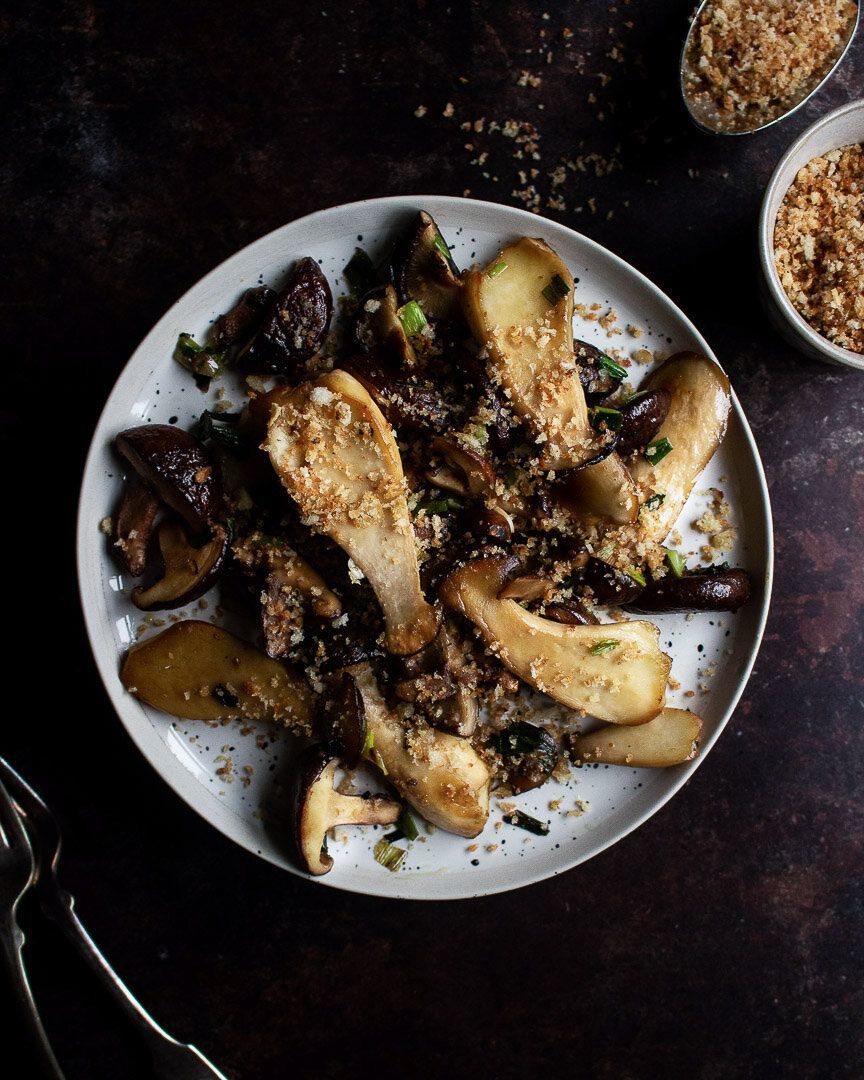
For this dish, I’ve used the breadcrumbs to top this umami bomb of mushrooms, scallions, butter, and soy sauce. Each time I’ve made these mushrooms, we’ve INHALED them. This dish is simple, quick, and tastes so much more complex than its humble ingredients would suggest.

A quick note: This is a relatively small recipe because I’m guessing (hoping, encouraging, BEGGING) that we’re all having small Thanksgiving meals this year, but if you’re cooking for a (socially distanced) crowd, definitely increase the mushroom portion of this recipe. You’ll have more than enough breadcrumbs with the measurements given.

Also: Be judicious with the salt in this recipe. We are SALT LOVERS in this house, but the anchovies are so salty that we didn’t really need much more than the big pinch of sea salt that I add while cooking the mushrooms. But you do you.

Make these easy, quick, and delicious magical breadcrumbs to top these mushrooms and scallions and then use them to add breading and crunch to literally anything. #meandthemoose #easysidedishes #sidedishes #pescatarian #recipes #easyrecipes

Magical breadcrumbs with mushrooms and scallions

Time: 10 minutes for the breadcrumbs, 12 minutes for the mushrooms, all active
Yield: About 1 1/2 cups of breadcrumbs (depending upon how “heaping” your cup of panko is), 3 adult side servings of mushrooms (but to be fair, I’ve eaten all of the mushrooms in one sitting topped with a runny egg for lunch)

Mushrooms and scallions:
2 Tbsp olive oil
8 oz mushrooms (any variety, about two containers)
Large pinch of salt
4 large scallions, roughly chopped
1 Tbsp butter
1/2-1 tsp soy sauce, to taste
1/4- 1/2 cup Magical breadcrumbs (recipe below), to taste
Flaky sea salt, to taste

Heat the olive oil over a medium flame. When hot, sear the mushrooms on one side and then shake the pan and sear the other side. Cook, shaking the pan occasionally, until the mushrooms turn a darker, golden color, about 5 minutes. If cooking too fast, turn down the heat. Season with a large pinch of salt.

Add the scallions and cook until they begin to wilt and soften, about 4-5 minutes.

If, during the cooking of the mushrooms and scallions, the pan feels too dry or the veggies start to stick, add a little bit more olive oil. But keep in mind that the mushrooms may release their juices as they cook more."**

**Depending on the type of mushrooms you use, they may release a lot of water. If this happens, you can either turn up the flame and cook, stirring frequently to avoid burning, until the liquid has evaporated. Or, if your mushrooms and scallions are nearly cooked and there’s still a lot of water in the pan, drain it before adding the butter.

When the mushrooms and scallions are cooked, turn the flame all the way down. Add the butter. When it’s melted, add the soy sauce and stir to coat. Turn off the flame. Taste and add more soy sauce if necessary.

Top with breadcrumbs (recipe below) and flaky sea salt if necessary, just before serving.

Magical breadcrumbs
2 Tbsp olive oil or butter
2 whole anchovy filets (or 4 1/2 filets depending on how your anchovies are canned)*
1 heaping cup panko
2 large garlic cloves, minced (about 2 Tbsp)


Heat olive oil in a large skillet over a medium-low flame. Add the anchovies and cook, breaking them up with a wooden spoon or spatula until they’re completely dissolved, about 3-4 minutes.

Add the panko and cook, stirring frequently, for 3-4 minutes. If the breadcrumbs start to darken, turn the flame down.

Add the garlic and stir well. Let the mixture cook, untouched for 2-3 minutes or until the bottom of the breadcrumbs start to turn golden. Turn off the flame and mix the breadcrumbs. Let cool for a few minutes in the pan before using.

If saving for later, let the breadcrumbs cool completely and then store, covered loosely, in the fridge for up to 4 days.

*A quick note about anchovies: Sometimes they’re cleaned and the two sides are left connected when they’re canned. I consider that a “whole” anchovy. If they two sides are separated, I consider that 1/2 of a filet)
White bean and pasta soup

This soup is a metaphor for how I’m feeling about this holiday season. (As always, to skip this meditation on holiday blues and just get to the damned soup already, scroll to the next photo!)

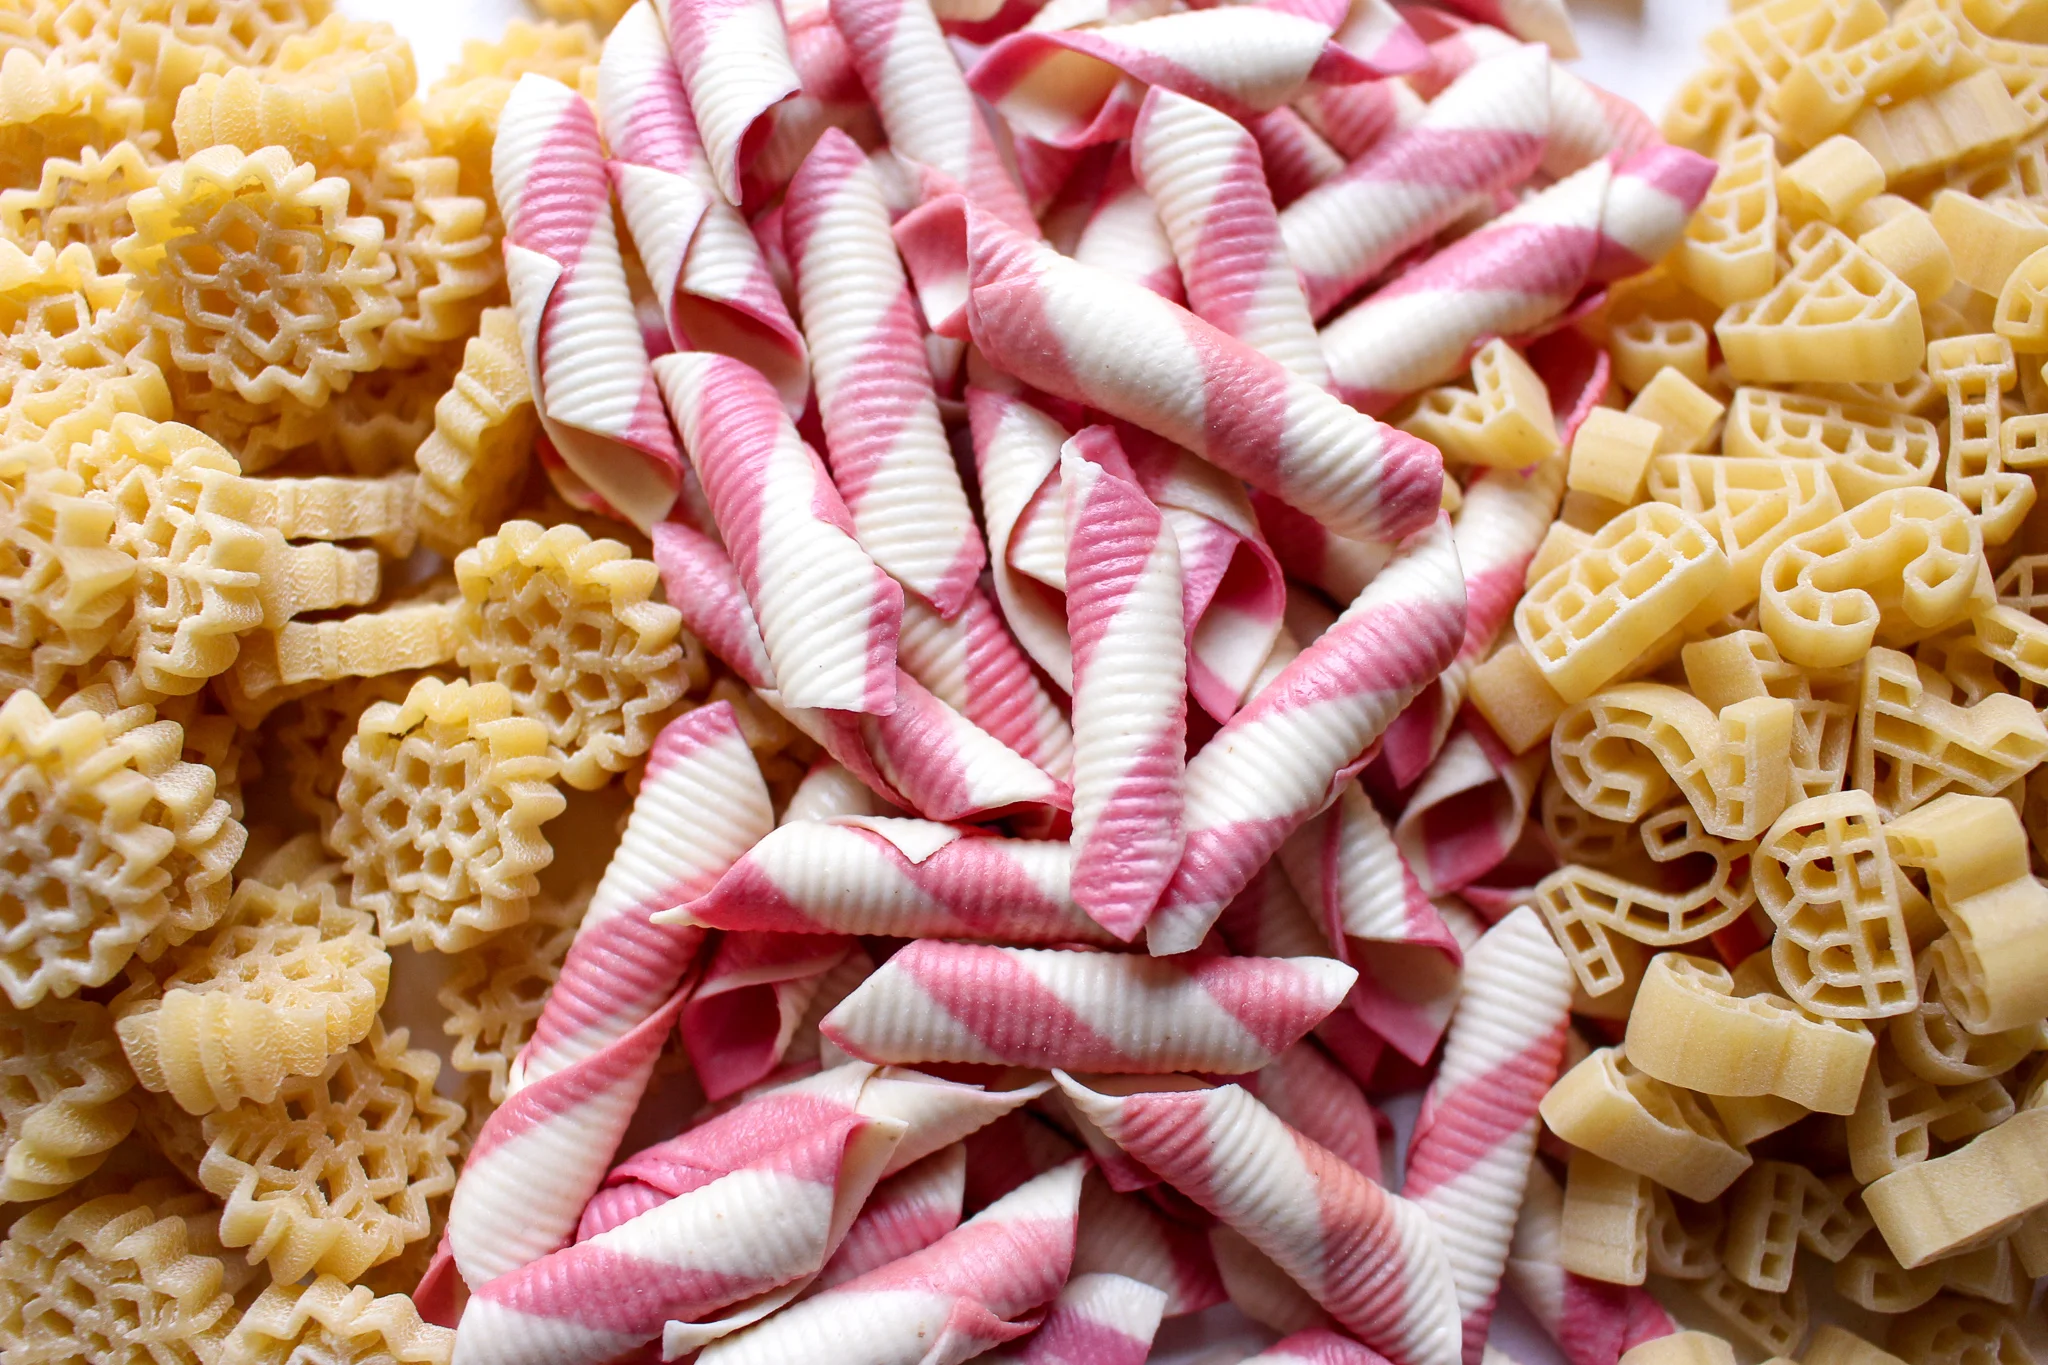
As you can see, the dry pasta is vibrant pink and white adorableness. But when cooked, it loses some color and is a rather bleh peach and cream. It still tastes good, but doesn’t live up to the promise of the shiny and bright dry version. I feel that way about the holidays: The idea is one thing, but the experience is another.

I have the holiday blues. They came early this year, which is probably because Thanksgiving was so early and now we’re officially in the holiday season even though Halloween was 10 seconds ago and it’s all going too fast and increasing my seasonal ennui.

But if I’m honest, I always have the sneaking suspicion that everyone else is more engaged in life and more present in their lives and more, I don’t know, successful at life than I am. I’m sure I’m not alone.

Unsurprisingly, I have to take social media with a HUGE grain of salt and constantly remind myself that these idealized versions of life aren’t the whole picture. So, I guess this is my friendly reminder to all of YOU that ‘tis the season of matching jammies and perfect cookies, which are fun and pretty and inspiring, but also staged and only a sliver of someone’s day.

White bean and pasta soup | Me & the Moose. Alphabet pasta is a perennial favorite in our home, but the snowflakes are a seasonal contender for favorite pasta shape. #soup #whitebeansoup #recipes #meandthemoose

Anyway, make this soup! Seriously though, one way I try to combat the holiday blues is to be mindful about what I’m eating. This soup is more nutritious if you use a whole grain or grain-free pasta (or skip it entirely). However, M’s soup consumption increases dramatically if there’s a fun shape in there.

And if you can, make the broth yourself. It’s light years better than the stuff in paper cartons from the store. And you can make a lot at a time and freeze it for later. And the chicken can be frozen for later meals too!

White bean and pasta soup | Me & the Moose. This soup is quick, easy, wholesome, and a surefire way to get my toddler to eat beans and bone broth. It’s also a warming lunch for these cold days. #soup #whitebeansoup #recipes #meandthemoose

White bean and pasta soup

1 Tbsp olive oil
½ medium onion, chopped
1 large or 2 small cloves garlic, minced
1 Tbsp fresh or 1 tsp dried rosemary, minced
1 can white beans, drained and rinsed
6 cups herbed chicken stock (recipe below)
1½ cups dried pasta, cooked in separate water
Parmesan cheese

Bring a pot of salted water to a boil.

Heat the olive oil over a medium low flame. Add the onions and sauté until translucent, about 5 minutes. Add the garlic and rosemary and sauté until fragrant, about 1 minute.

Add the white beans and stock and bring to a boil. Reduce heat and simmer, uncovered, for 20 minutes. Let cool slightly.

While the soup simmers, cook the pasta separately. When the pasta is done, add it to the slightly cooled soup.

Top with cheese before serving.  

Yield: 7-8 cups soup, about 4 big bowls  

Herbed chicken stock

1 chicken, cut into pieces (2 breasts, 2 thighs, 2 wings, 2 drumsticks), skin and bones included
1 large onion
4 garlic cloves, smashed
1 large carrot
1 stalks celery
2 sticks rosemary
8-10 sticks thyme
10-12 sage leaves
1 bay leaf
10-14 cups water, enough to cover the ingredients
1 Tbsp salt

Add all of the ingredients to a large stockpot and stir to distribute the salt. Cover with water.

Bring to a boil. Reduce heat to medium and simmer, partially covered, for 1½ hours. If a lot of the water evaporates, add more to maintain the original level of water.

Let cool. Strain the broth with a fine mesh sieve. Remove the bones and skin of the chicken, but save the meat in a separate container for other meals.   

Yield: About 12 cups of stock; one entire chicken, dark and light meat

White bean and pasta soup | Me & the Moose. This soup is quick, easy, wholesome, and a surefire way to get my toddler to eat beans and bone broth. It’s also a warming lunch for these cold days. #soup #whitebeansoup #recipes #meandthemoose

Raspberry buckle

Raspberry Buckle | Me & The Moose | This lightly sweet cake features spelt flour and just enough brown sugar to make this one-bowl, low-stress “dessert” a totally appropriate breakfast or snack! #meandthemoose #raspberrybuckle #speltflour #breakfast #breakfastrecipes #onebowlbaking

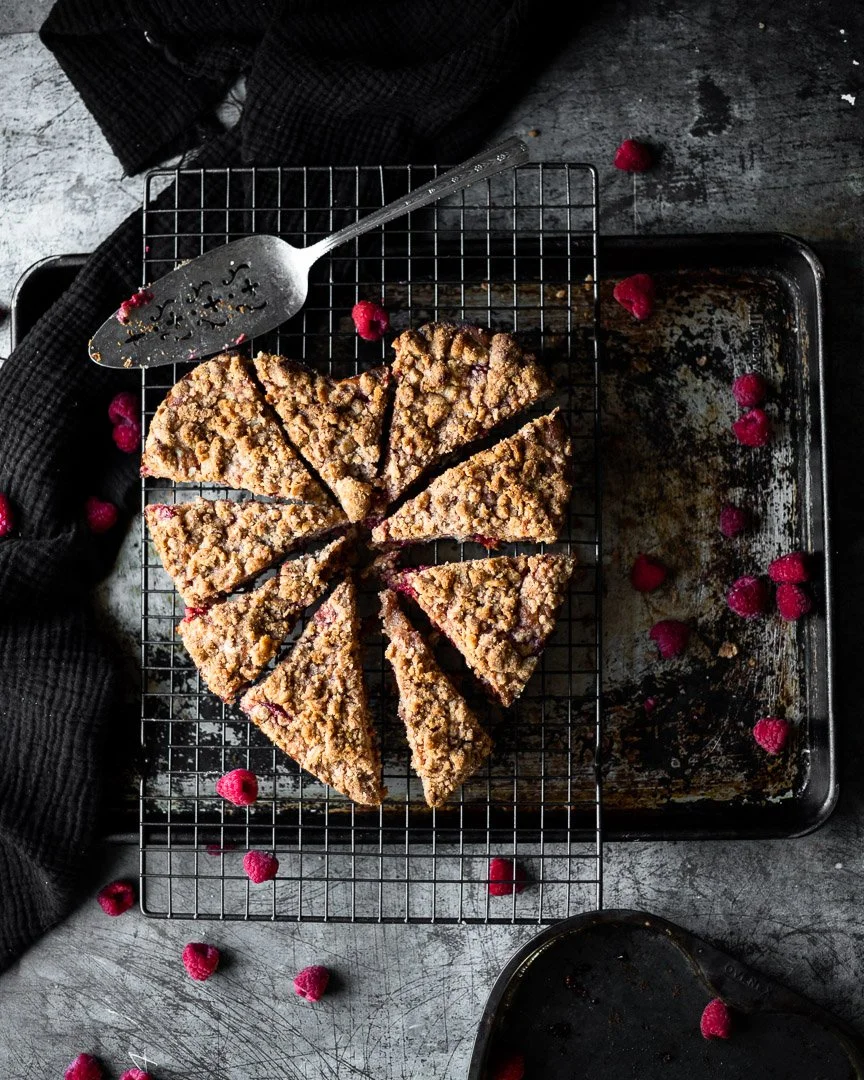
This lightly sweet cake features spelt flour and just enough brown sugar to make this one-bowl, low-stress “dessert” a totally appropriate breakfast or snack!

Take me to the recipe!

Raspberry Buckle | Me & The Moose | This lightly sweet cake features spelt flour and just enough brown sugar to make this one-bowl, low-stress “dessert” a totally appropriate breakfast or snack! #meandthemoose #raspberrybuckle #speltflour #breakfast #breakfastrecipes #onebowlbaking

Let's talk about the idea of healthifying desserts, shall we? Because I'm not totally sold on this strategy even though I keep doing it. Part of me thinks that boosting nutrition and finding balance (you can eat coffee cake, just make it a spelt coffee cake with less sugar, less gluten, and more protein!) is always good. But alternatively, might I actually indulge less if I just ate a small amount of the high fat, high sugar baked thing instead of trying to make spelt happen? Am I just kidding myself that a whole grain, barely sweet version is going to cut it when my real craving is for the doughy, crumbly, buttery, brown sugary coffee cake of my summer-on-the-jersey-shore dreams?

Ugh. If only there was one straightforward strategy that would always work.

I guess a wiser person than me would just accept that what we need from day to day or hour to hour can change. But I like predictability and this isn't cutting it.

Raspberry Buckle | Me & The Moose | This lightly sweet cake features spelt flour and just enough brown sugar to make this one-bowl, low-stress “dessert” a totally appropriate breakfast or snack! #meandthemoose #raspberrybuckle #speltflour #breakfast #breakfastrecipes #onebowlbaking

Raspberry Buckle | Me & The Moose | This lightly sweet cake features spelt flour and just enough brown sugar to make this one-bowl, low-stress “dessert” a totally appropriate breakfast or snack! #meandthemoose #raspberrybuckle #speltflour #breakfast #breakfastrecipes #onebowlbaking

Raspberry Buckle | Me & The Moose | This lightly sweet cake features spelt flour and just enough brown sugar to make this one-bowl, low-stress “dessert” a totally appropriate breakfast or snack! #meandthemoose #raspberrybuckle #speltflour #breakfast #breakfastrecipes #onebowlbaking

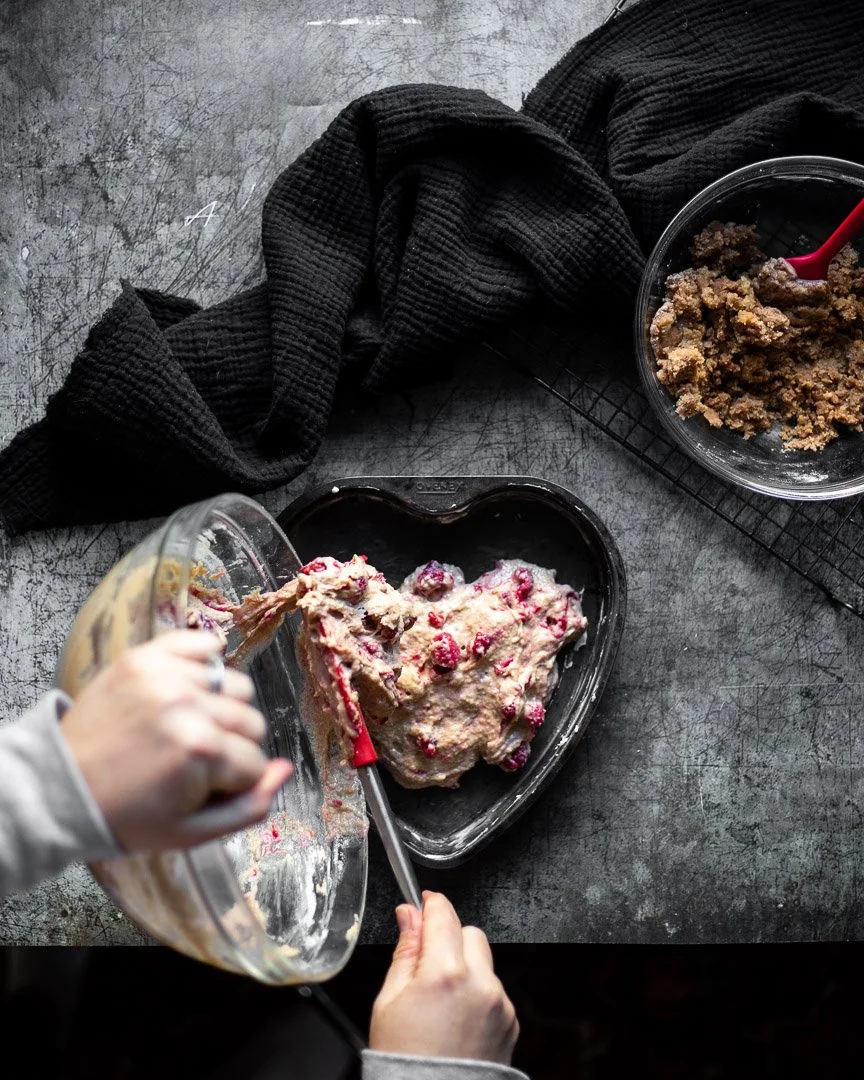
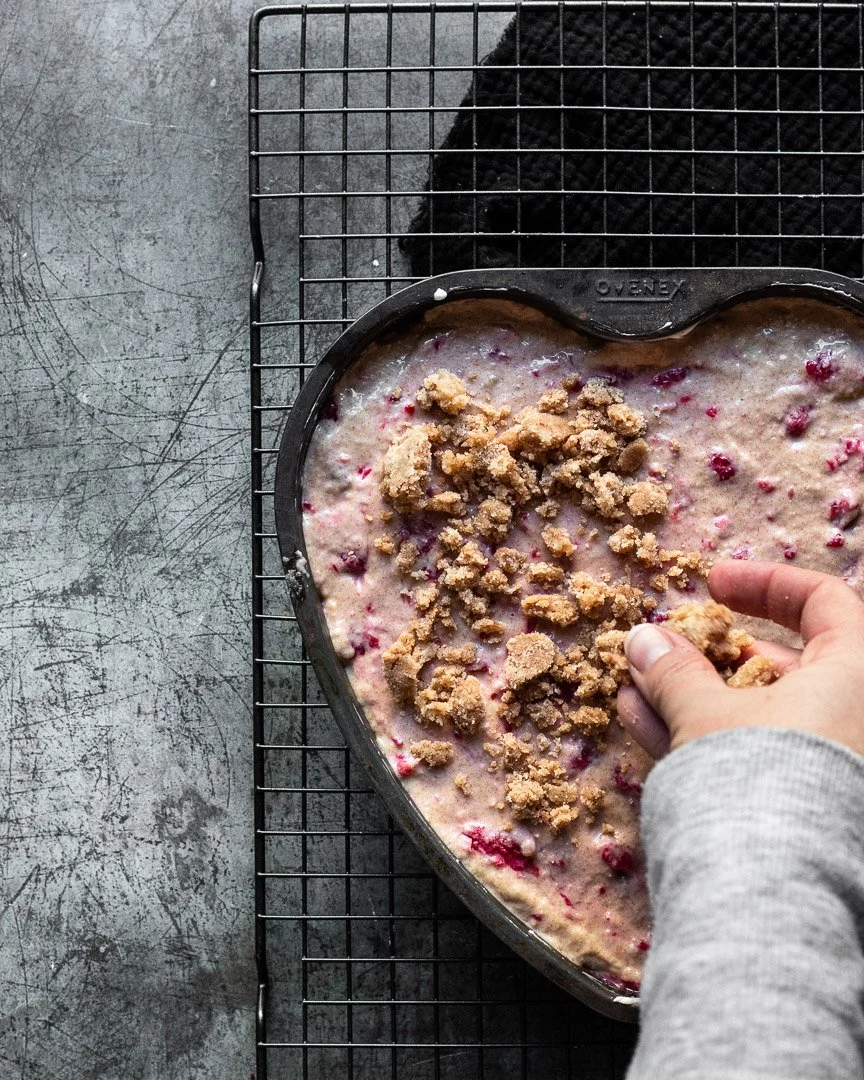
But, for now, we have an ever-so-slightly healthified raspberry buckle that is legitimately delicious on its own merits. I started with a recipe from King Arthur Flour and swapped out spelt flour for most of the white flour and reduced the amount of overall sugar.

I mostly left the crumble topping alone. I always want the first bite to pack more of a punch, which masks some of the healthier swaps later.

I've made this cake without fruit which produces a straightforward coffee cake that's light and airy and not too sweet. I've also swapped coconut sugar for the brown sugar in the actual cake and it's good, but not great. The texture and bake time are the same, but I could really taste the coconut sugar and didn't love it.

This recipe also works best in a 9x9 pan. If you only have an 8x8, reduce the amount of batter in the pan by about 1/2 cup and either bake the extra in a ramekin or toss it. Or, if you have a deeper 8x8 pan (one with higher sides), you can bake the whole recipe, but may need a few extra minutes at the end.

Raspberry Buckle | Me & The Moose | This lightly sweet cake features spelt flour and just enough brown sugar to make this one-bowl, low-stress “dessert” a totally appropriate breakfast or snack! #meandthemoose #raspberrybuckle #speltflour #breakfast #breakfastrecipes #onebowlbaking

Raspberry buckle


Time: About an hour (20 minutes of prep, 40 minutes of baking)
Yield: 8-10 large servings

For the streusel topping:
4 Tbsp butter, melted
3 Tbsp brown sugar, packed
2 Tbsp white sugar
½ cup AP flour
1 tsp cinnamon
¼ tsp salt

For the cake:
2 Tbsp butter, melted slightly
100 g (1/2 cup) brown sugar, packed
4 oz (½ cup) milk (I use whole, but any will do)
1 egg, slightly beaten
1 tsp vanilla extract
125 g (½ cup) apple sauce
175 g (1½ cups) spelt flour
60 g (½ cup) AP flour
2 tsp baking powder
½ tsp salt
2 cups fresh or frozen raspberries (do not defrost)

Preheat oven to 375.

Make the streusel: In a medium bowl, melt 4 Tbsp of butter in the microwave for 30 seconds. Cut up the butter and add the rest of the streussel topping ingredients. Mix with a fork until the mixture is fully combined and the texture of wet sand. Set aside.

In a large mixing bowl, melt the remaining 2 Tbsp of butter for 20 seconds in the microwave. Add the sugar and stir to combine.

Measure the milk, add the egg to the measuring cup, and whisk lightly. Add to the sugar and butter mixture and stir well to combine.

Add the vanilla and apple sauce and stir again.

Add the dry ingredients to the wet and mix just until no streaks of flour remain.

Gently fold in the raspberries.

Pour the batter into a greased 9x9 pan and top with the streussel mixture.

Bake for 35-40 minutes, or until a toothpick inserted in the middle comes out clean.

Mujadara soup

Well, we closed out 2017 with a bang. And by "bang," I mean, trip to the emergency room. Someone had horrible stomach pains that looked like appendicitis or a hernia because someone has been holding it rather than going in the potty. I was like, "Ethan, come on. You're an adult. just poop in the damned potty." So, I was more than glad to welcome 2018 this morning. (Did we think for one second I was making it to midnight last night? That's hilarious.)  

In honor of a more auspicious start to this year, I'm posting a lentil soup recipe that combines two of my favorite mujadara recipes from Deborah Madison and Madhur Jaffrey. (I've also seen it spelled moudjendra or muhjadarrah.) My dad and I ate this dish a lot when I was a teen. I went through a vegetarian phase and he went through an only-eating-lentils-because-heart-disease phase.

IMG_6774.jpg

There is something so warm and comforting to me about this Middle Eastern dish. While it's usually eaten as a side, it's hearty enough to eat as a main course or, as I've done here, to turn into a one-pot soup that makes a great lunch with a piece of crusty bread or toasted pita.

IMG_6784.jpg

And, of course, eating lentils (or any round bean, really) is supposed to be good luck for the new year and eating anything green (the color of money) ushers in a prosperous new year.

You know what else this soup has? Lots and lots of fiber. So if your New Year's resolution has anything to do with gut health, potty training, weight loss, overall health, or home cooking, here's a soup for you. If you didn't make any resolutions and this is just another day, then make it "just another day" featuring delicious soup. If this straightforward, but somewhat time consuming dish isn't your bag, check out last year's lentil recipe.


Mujadara soup

2-3 large onions (4-5 small ones), sliced into 1/4 inch rounds or half-moons
1 Tbsp salted butter, olive oil, or ghee
3 Tbsp olive oil
1 tsp salt
2 large cloves garlic
1 1/4 cup green lentils
3/4 cup long grain brown rice (basmati is great)
10 cups chicken or veggie stock (homemade if possible)
2 Tbsp lemon juice
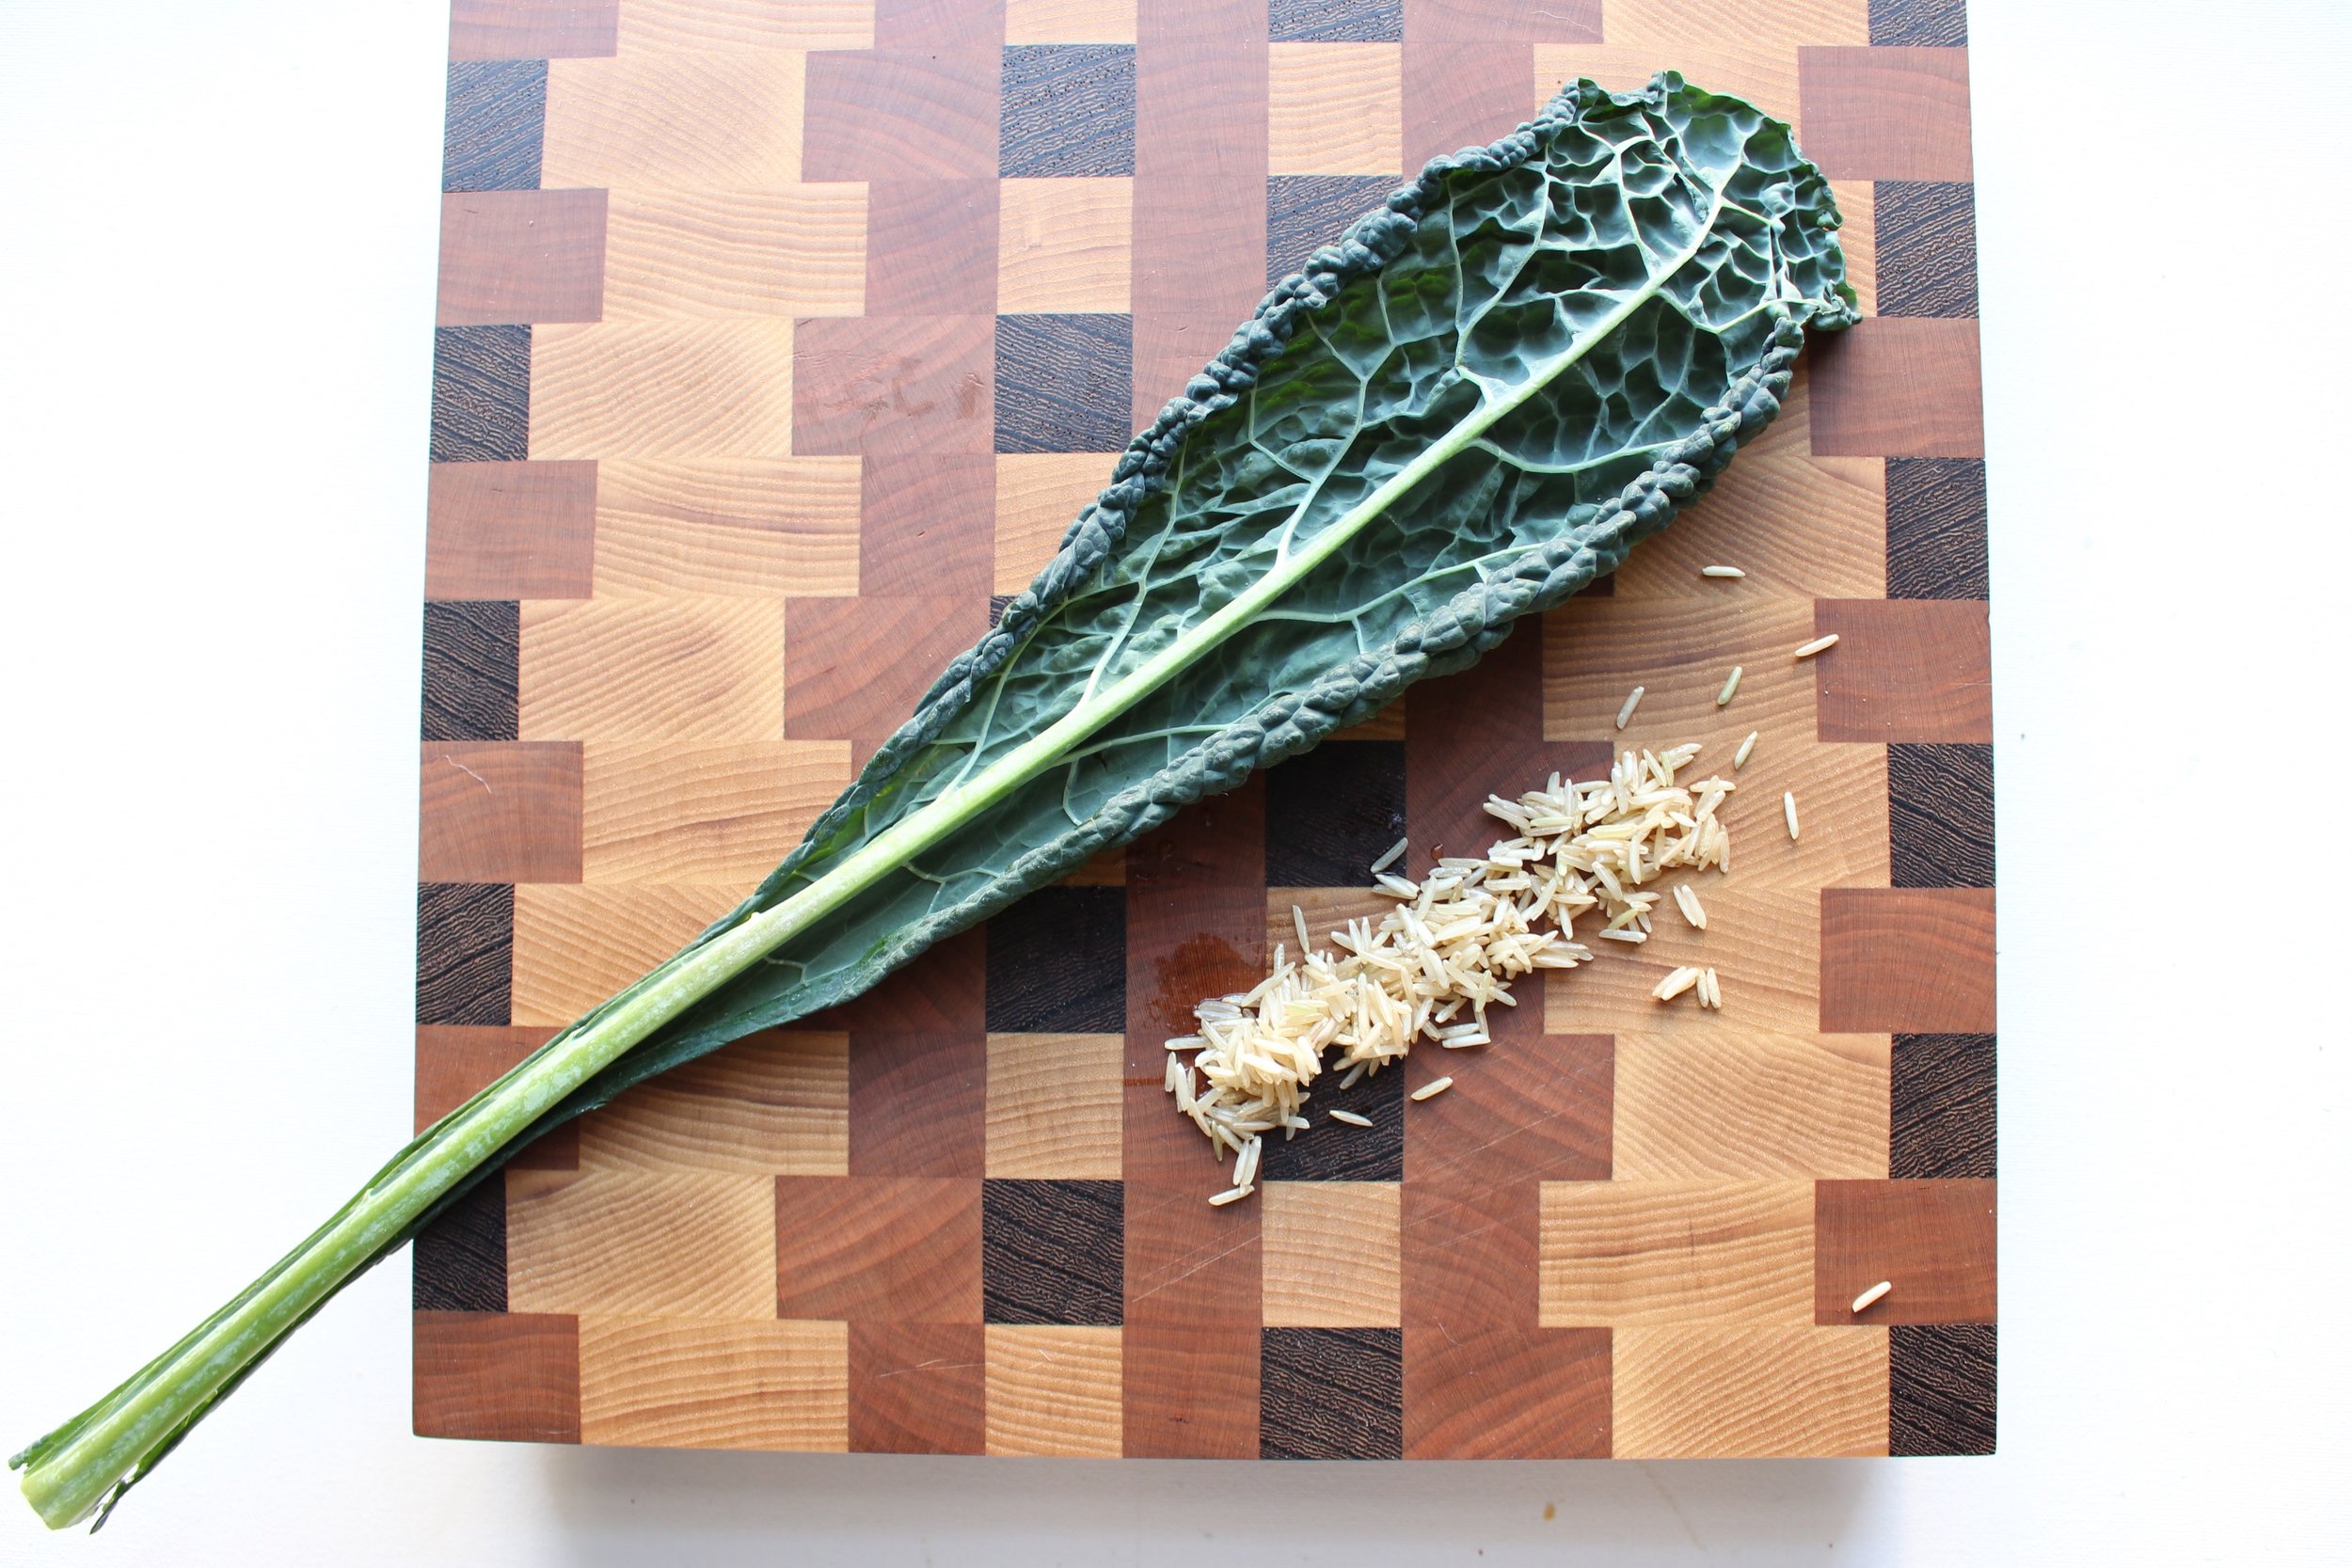
1 bunch lacinto kale (also called dinosaur or Tuscan kale)

Heat the butter and oil over a medium flame. Slice your onions and chop your garlic. Set garlic aside. Turn the heat down to medium low and add the onions and salt. Saute the onions until they are a rich brown color, about 20-30 minutes.

While your onions are caramelizing, measure and rinse your lentils and rice and set aside. Check the onions every few minutes and adjust the temperature as needed to avoid burning them.

Once the onions are browned, add the garlic and saute for one minute, or until fragrant.

Add the lentils and the stock and bring to a boil. Turn the heat back down to medium low and simmer, uncovered, for 10 minutes.

Add the rice, cover, and continue simmering on medium-low heat for 30 minutes.

While the soup simmers, wash and chop your kale.

After 30 minutes, check the rice for doneness. I, personally, like a bit of bite left in the rice, but if you like it done more, cook for another 5-10 minutes, or to your liking. (Bear in mind that the rice will cook more upon reheating the soup as well.)

Add the kale and simmer for 5 more minutes. Add the lemon juice and stir. Taste for seasoning and thickness and add more salt or stock as needed.

Yield: 64 oz or about 8 cups of soup

IMG_6803.jpg

Vegan carrot and cranberry gingerbread cakes

This vegan gingerbread cake has carrots, cranberries, spelt and whole wheat flours, and lots of other goodness to add a little goodness to a warmly spiced holiday classic. #meandthemoose #veganrecipes #veganbaking #gingerbread #gingerbreadcake #holidaybaking #healthyholidaybaking

This delicious gingerbread cake just happens to be a little healthier than your average holiday dessert, but no one ever has to know!

Take me to the cake!

This vegan gingerbread cake has carrots, cranberries, spelt and whole wheat flours, and lots of other goodness to add a little goodness to a warmly spiced holiday classic. #meandthemoose #veganrecipes #veganbaking #gingerbread #gingerbreadcake #holidaybaking #healthyholidaybaking

While I don’t LOVE the concept of healthifying desserts, I do love a dessert that happens to be a little more nutrient dense while not sacrificing taste. And that’s what we’re focusing on with this cake and with many of our desserts and here’s why:

There are SO MANY BLOGS that have cornered the market on fancy and indulgent holiday treats. And let's face it: Kids who are off schedule and also on a sugar crash are not fun to be around. So, maybe it’s not such a bad idea to focus on adding protein and fiber (in the forms of spelt flour and fresh fruits and veggies).

This vegan gingerbread cake has carrots, cranberries, spelt and whole wheat flours, and lots of other goodness to add a little goodness to a warmly spiced holiday classic. #meandthemoose #veganrecipes #veganbaking #gingerbread #gingerbreadcake #holidaybaking #healthyholidaybaking

I love this recipe so much, mostly because I love any form of gingerbread and nothing says "Welcome to the holiday season" as much as this warm, spicy combination of molasses, ginger, cinnamon, and cloves. We've boosted the nutrition by using a combination of spelt and whole wheat flours. The spelt has more protein and fiber than regular flour, but mimics white flour in flavor and texture. And whole wheat flour is great because, well, whole wheat.

This vegan gingerbread cake has carrots, cranberries, spelt and whole wheat flours, and lots of other goodness to add a little goodness to a warmly spiced holiday classic. #meandthemoose #veganrecipes #veganbaking #gingerbread #gingerbreadcake #holidaybaking #healthyholidaybaking

The molasses and spice flavor is also strong, but not overwhelming, so both adults and toddlers can enjoy these bad boys. The maple syrup, carrots, and whole cranberries also add more sweetness and moisture while keeping these vegan. And while the ingredient list isn't exactly short, this recipe is less fussy than some vegan ones because it doesn't require a flax egg or anything exotic. An added bonus to this treat is that it checks a lot of allergy boxes: There are no nuts, dairy, or eggs. And while I haven't tried this with any gluten-free flours, I would assume that any tried-and-true gluten-free mix would work here.

This vegan gingerbread cake has carrots, cranberries, spelt and whole wheat flours, and lots of other goodness to add a little goodness to a warmly spiced holiday classic. #meandthemoose #veganrecipes #veganbaking #gingerbread #gingerbreadcake #holidaybaking #healthyholidaybaking

This recipe baked up perfectly in two 5' x 2' cake pans, a large bundt, as well as small bundt pans.

And did I mention that you only need one bowl?

For the topping: I think these are fantastic plain or with a light dusting of powdered sugar. Depending on your needs, I also topped these with a maple cream cheese frosting that was amazing with the cake. I would recommend doing this if you want to bring these to a party and dairy isn't an issue. I haven't personally tried these with the cake, but there are some great coconut whipped toppings on the market and coconut cream whips up into an easy easy dairy-free whipped cream for a vegan option. 

This vegan gingerbread cake has carrots, cranberries, spelt and whole wheat flours, and lots of other goodness to add a little goodness to a warmly spiced holiday classic. #meandthemoose #veganrecipes #veganbaking #gingerbread #gingerbreadcake #holidaybaking #healthyholidaybaking

Vegan carrot and cranberry gingerbread cakes

Time: 20 minutes prep; baking time varies, see notes in recipe
Yield: 12 mini bundt cakes, 2 5’ x 2’ cakes, or 1 large bundt

½ cup olive oil
½ cup + 2 Tbsp maple syrup
½ cup molasses
½ cup unsweetened applesauce
2 cups grated carrots
1 ½ cups whole fresh or frozen cranberries (or 1 cup fresh cranberries and 1/2 cup dried cranberries)
1 cup + ¼ cup spelt flour
1 cup whole wheat flour
1 tsp baking soda
2 tsp baking powder
1 Tbsp cinnamon
1 Tbsp ground ginger
¼ tsp ground cloves
½ tsp sea salt

Preheat the oven to 350.

In a large bowl, combine the wet ingredients. Add the shredded carrots and cranberries and mix well.

Add the dry ingredients and mix until just combined. Let sit while you grease your baking tins with olive oil.

If using mini bundt pans, fill all the way to the top. These don’t get a huge amount of rise, so the bundts will stay pretty flat. Bake for 15-18 minutes or until a tester comes out clean.

If making mini cakes, fill about ¾ of the pan and bake for 40-45 minutes.

If using a large bundt pan, fill 3/4 of the way and bake for 45-50 minutes, rotating half way through baking.