Clam pizza

Clam Pizza | Me & The Moose Whether you use store-bough crust or make your own, cook it on a grill, in the oven, or in a pizza oven, this is my take on the clam pizza full of garlic, cheese, and briny clams. #meandthemoose #pizza #clampizza #homemadepizza

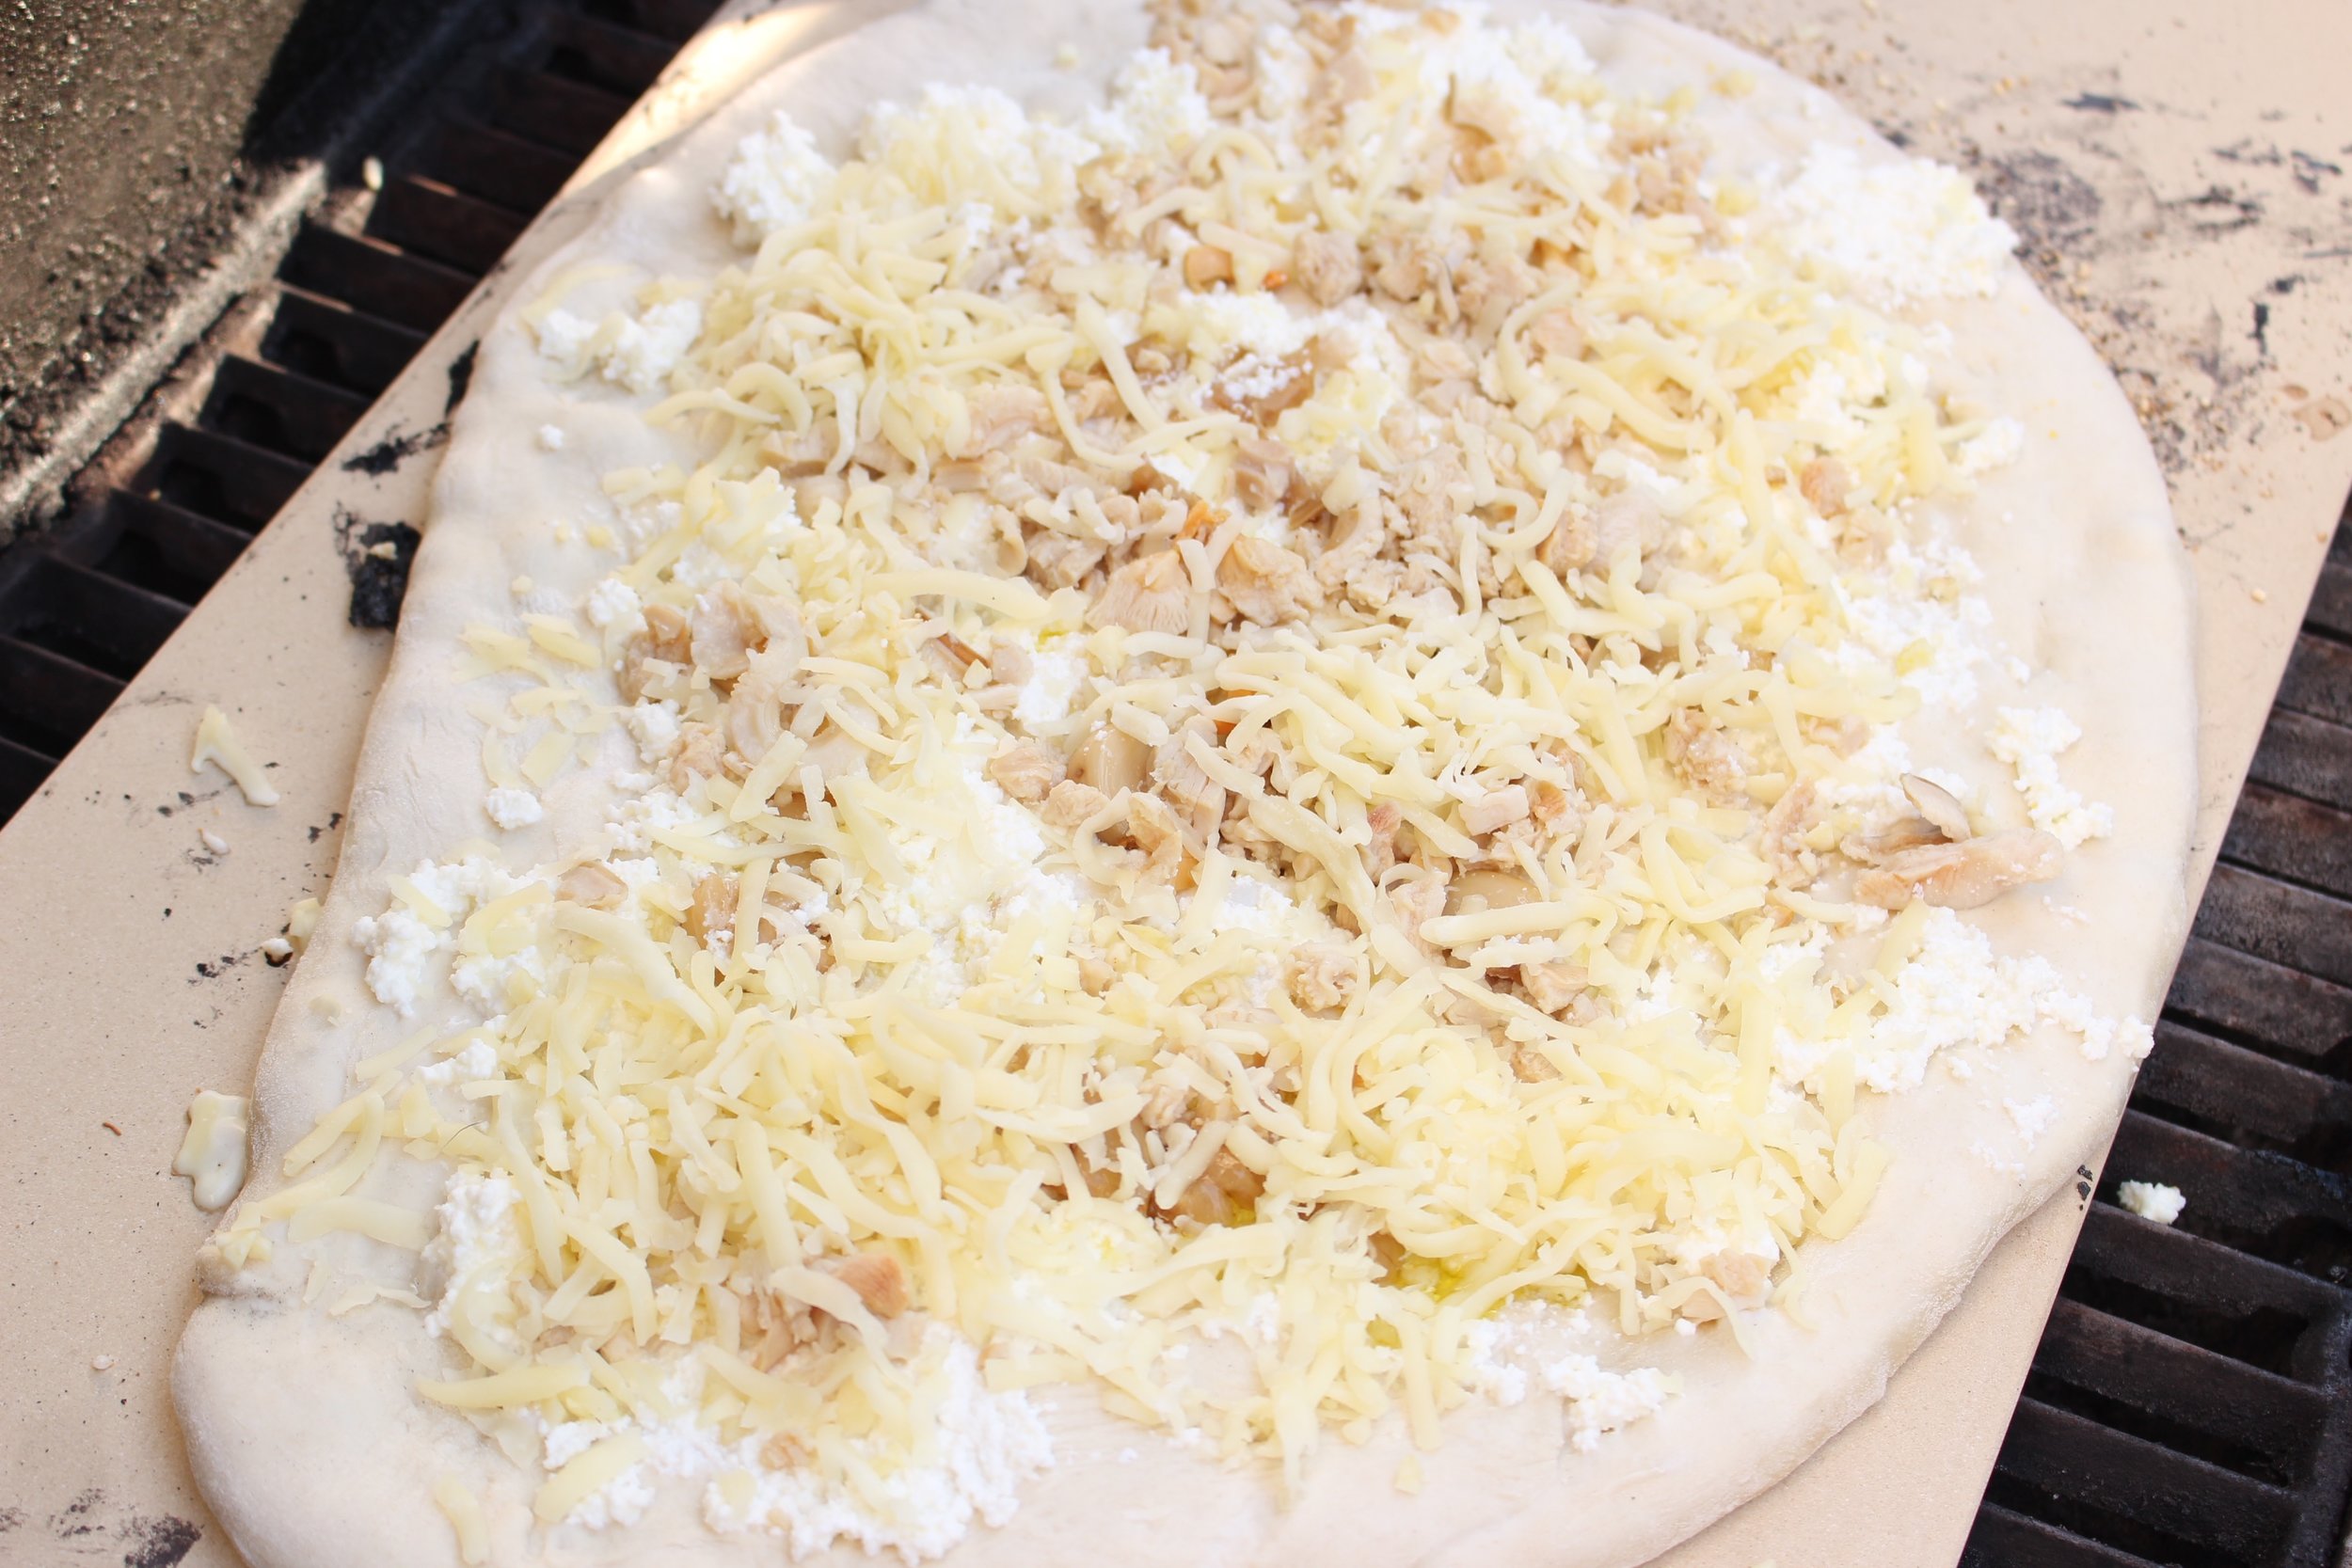
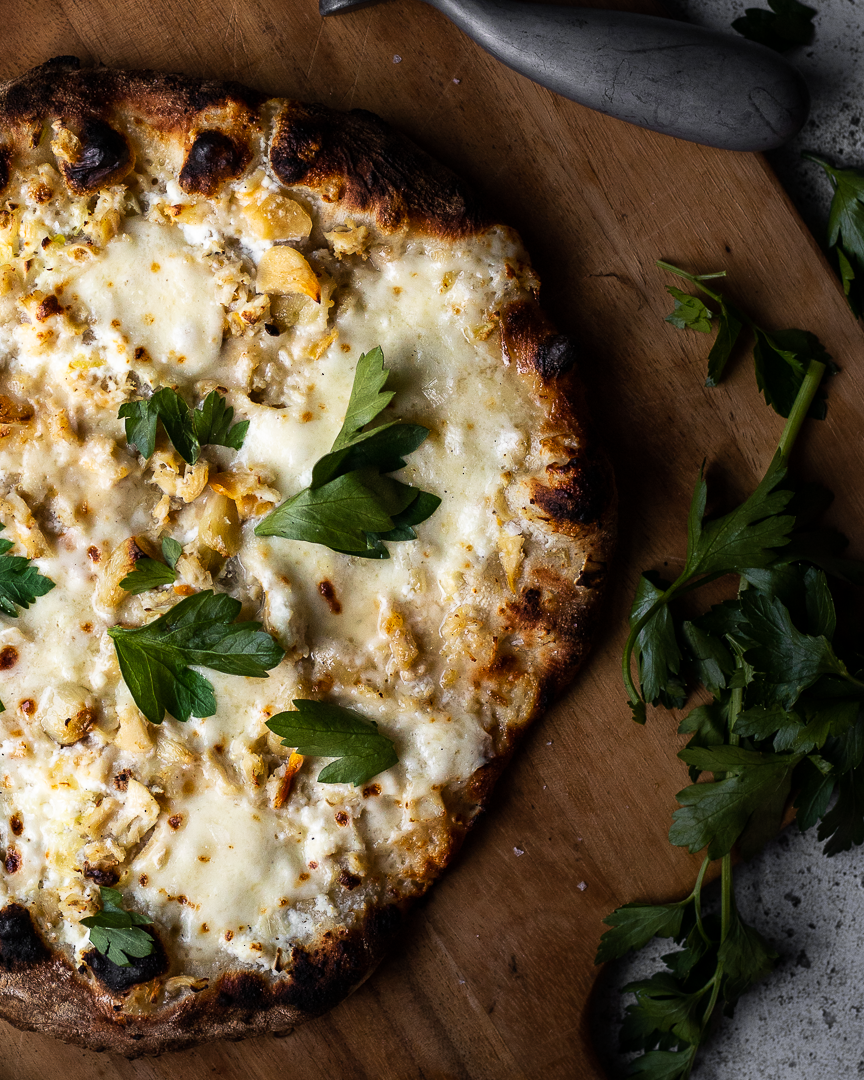
You need a pizza stone, a pizza peel, some ingredients, and the grill or your oven to make the briniest, garlickiest, cheesiest, and most unctuous clam pizza at home.

Take me to the pizza!

Clam Pizza | Me & The Moose Whether you use store-bough crust or make your own, cook it on a grill, in the oven, or in a pizza oven, this is my take on the clam pizza full of garlic, cheese, and briny clams. #meandthemoose #pizza #clampizza #homemadepizza

Clam pizza is such a Connecticut thing. I'm sure some would argue that it's also a New York thing, but I feel like Frank Pepe, the New Haven pizza institution, is best known for it's clam pizza, and thus, clam pizza is a Connecticut thing. That's my story and I'm sticking to it.

I first tried this briny, garlicky pie on a trip to Connecticut long before moving here myself. And I've been on a Goldilocksian journey to find the best one ever since. They have either been too salty, not garlicky enough, or without cheese, which is unacceptable to me when it comes to pizza. (Don't yell at me, people who think seafood and cheese should never mingle.)

Clam Pizza | Me & The Moose Whether you use store-bough crust or make your own, cook it on a grill, in the oven, or in a pizza oven, this is my take on the clam pizza full of garlic, cheese, and briny clams. #meandthemoose #pizza #clampizza #homemadepizza

We have not yet found our favorite (sorry, Pepe's), but instead have been making our favorite. Full of three different kinds of cheese and two different kinds of garlic, this pizza tastes like clams and tastes like a proper pizza, but also SO MUCH MORE. 

I cook this pie using a hot pizza stone on the grill because a) not everyone has a grill, so you can easily recreate this in an oven with the pizza stone (see directions in the recipe); and b) because I've never grilled my pizza directly on the grill grates. If you're braver than I am, here are some instructions for that method.

We’ve also recently started using our Ooni pizza oven (not an ad, we just love it!) to cook this CT classic and the smokiness of the wood-fired oven takes the flavors to another level.

A couple of notes:

  • This is a heavy pizza before it’s cooked. What I mean is, the toppings really weight down the raw pizza dough. So make sure you use LOTS of flour under the crust to ensure that it comes off of your pizza peel and onto the pizza stone intact.

  • If you aren't as into garlic (this recipe calls for 10 cloves), either reduce the number of fresh cloves or just use the roasted ones. Their flavor is much mellower and blends well with the cheese.

  • Please do garnish with the lemon and sea salt. They make a huge difference in the final product.

Clam Pizza | Me & The Moose Whether you use store-bough crust or make your own, cook it on a grill, in the oven, or in a pizza oven, this is my take on the clam pizza full of garlic, cheese, and briny clams. #meandthemoose #pizza #clampizza #homemadepizza

Clam pizza

Time: 45 minutes
Yield: 1 large or 2 medium pizzas, depending on the size of your crusts

1 pizza dough
Flour to prevent sticking when rolling out dough
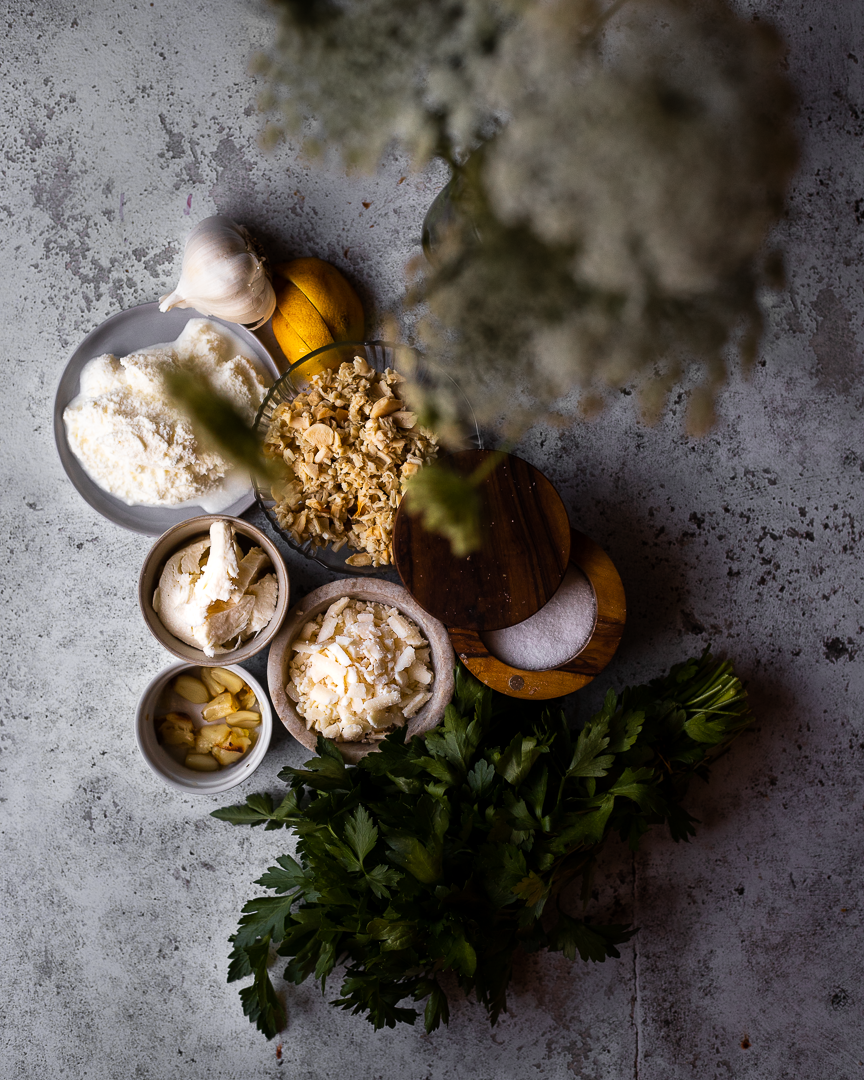
1 cup ricotta cheese
7 roasted garlic cloves (see method below)
3 large raw garlic cloves, minced
2 cans clams, drained (about 4 oz of clam meat)
1/2- 3/4 cup nutty cheese such as gruyere, sharp cheddar, gouda (not smoked), or fontina,
shredded
1 cup fresh mozzarella, torn into pieces
Parsley
Lemon wedges
Sea salt
Crushed red pepper flakes

For the roasted garlic:
Preheat the oven or toaster oven to 400. Smash 10 cloves of garlic, but don't remove the peels (if some fall off, great, but no need to do extra work). Add them to a small oven proof container like a ramekin or a coffee mug. Cover with olive oil. Cook until the garlic is bubbling and fragrant and the cloves are very soft when (carefully! hot oil!) squished with a spoon, about 5-8 minutes.

For the pizza:
Preheat your grill on high or your oven at 500. Remove the top rack of your grill or the second rack of your oven and move the remaining rack to the lower middle portion of the oven. (You want enough room above the rack to negotiate your dough onto the pizza stone, but be close enough to the top of the oven to easily brown your cheese. Add the pizza stone and let heat for 30 minutes.

Meanwhile, prep all of your toppings. Set aside. 

On a floured counter or pizza board, roll out or press out your dough until very thin. Lift up half of the dough and scatter more flour underneath. Repeat on the other side. Jiggle your dough to make sure that it’ll slide onto a pizza peel or into the oven easily.

If cooking in the oven, add your toppings before placing the raw dough on the hot pizza stone. If the toppings are weighing down the dough too much, carefully add more flour under the crust.

Carefully slide the topped, raw dough onto the pizza stone in the oven. Cook for 6-8 minutes without opening the oven. Check the pizza and cook for another 2-3 minutes, until the cheese and the sides of the crust begin to brown. Check the bottom crust for doneness (it should be golden brown and crispy).

Remove from the heat and top with chopped parsley, sea salt, lemon, and crushed red pepper flakes (optional).

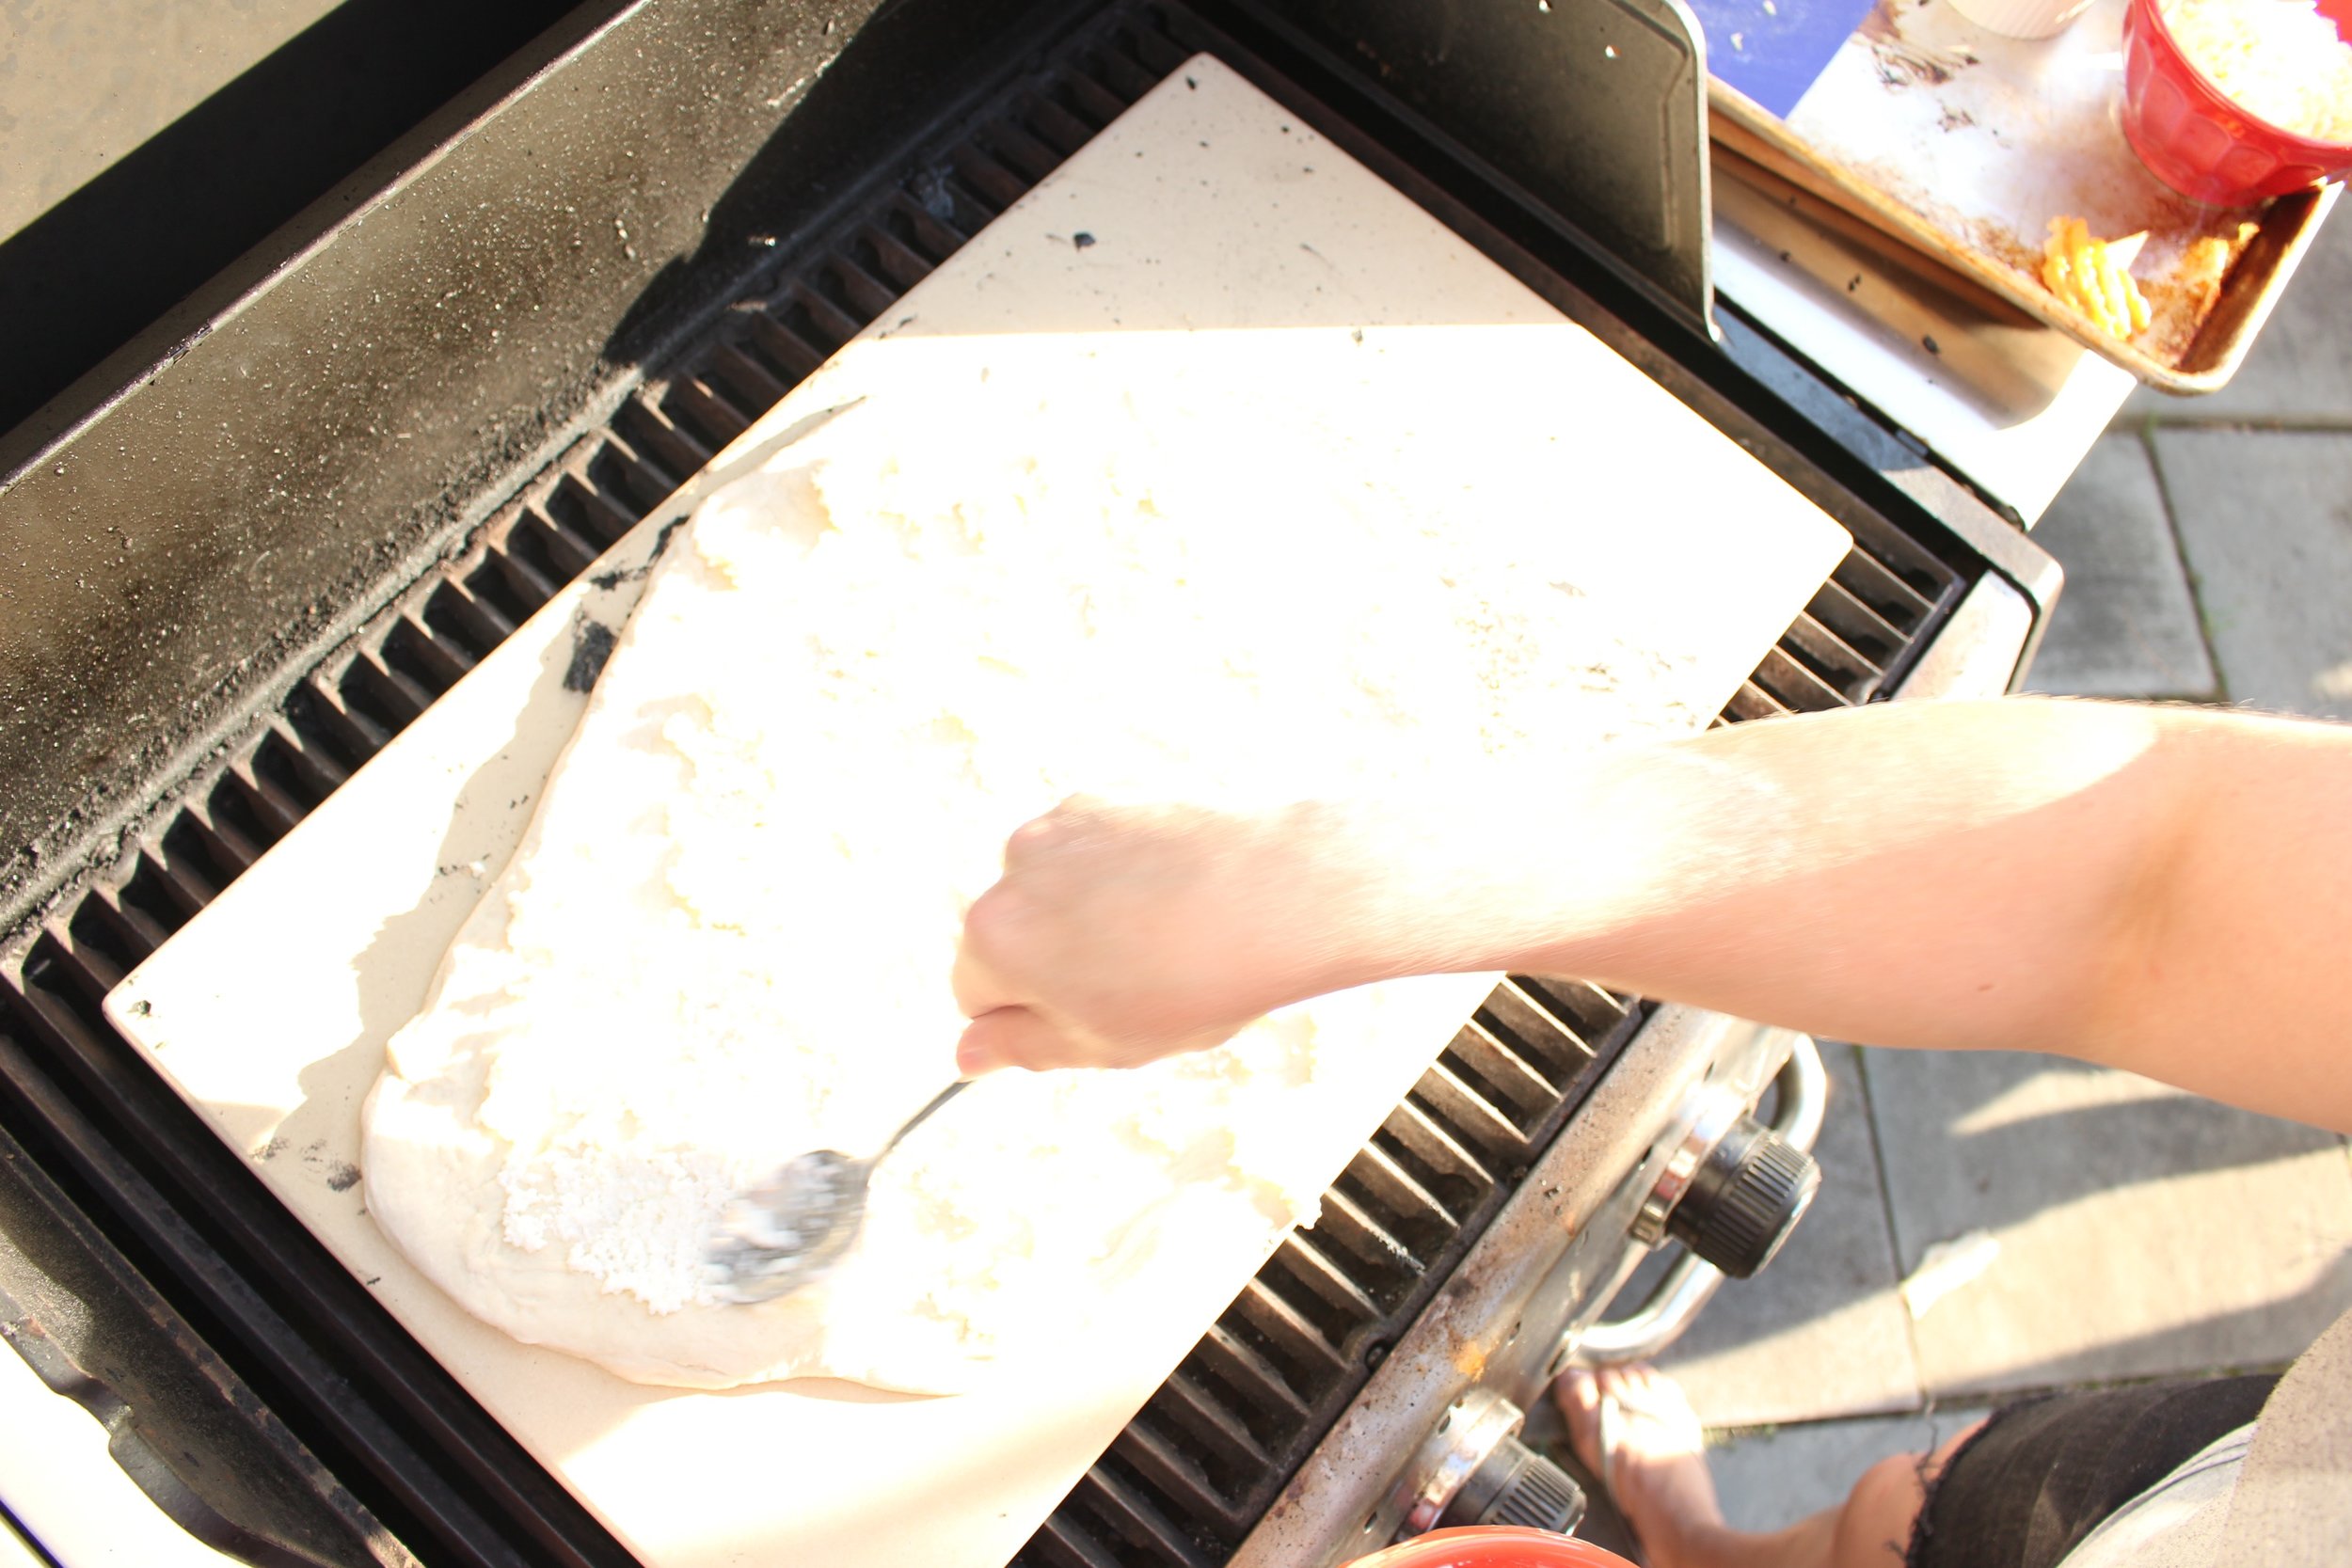
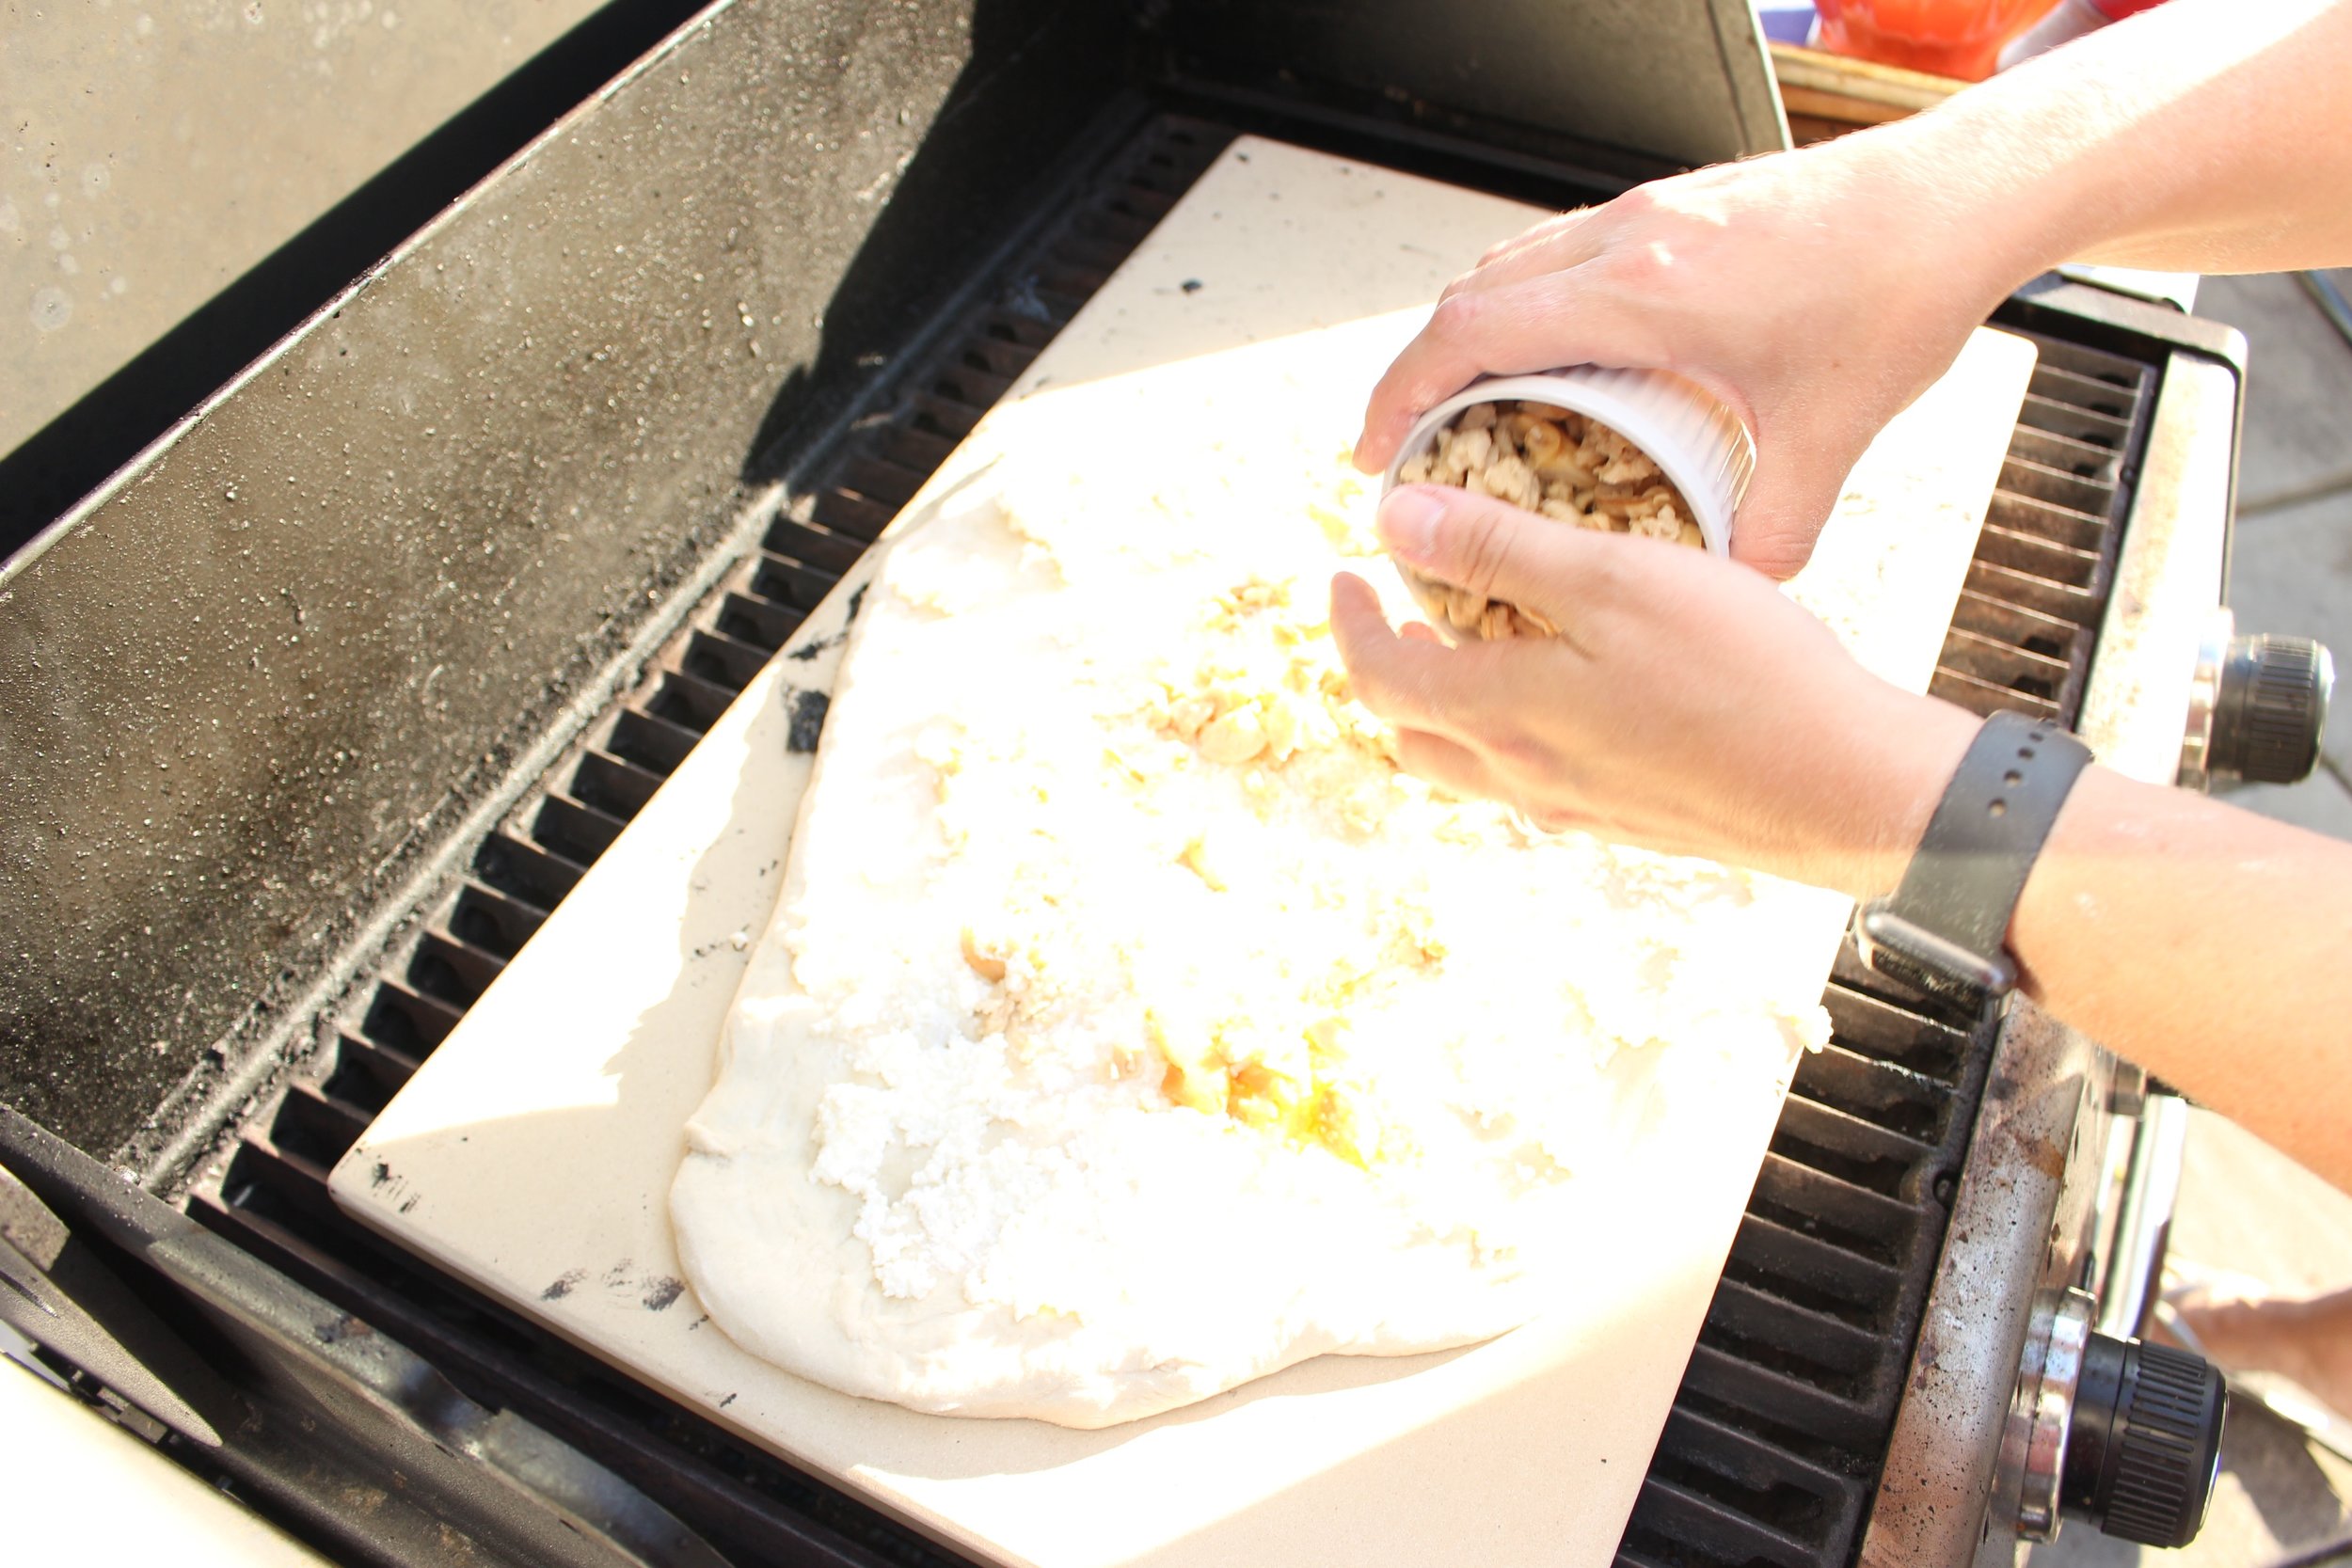
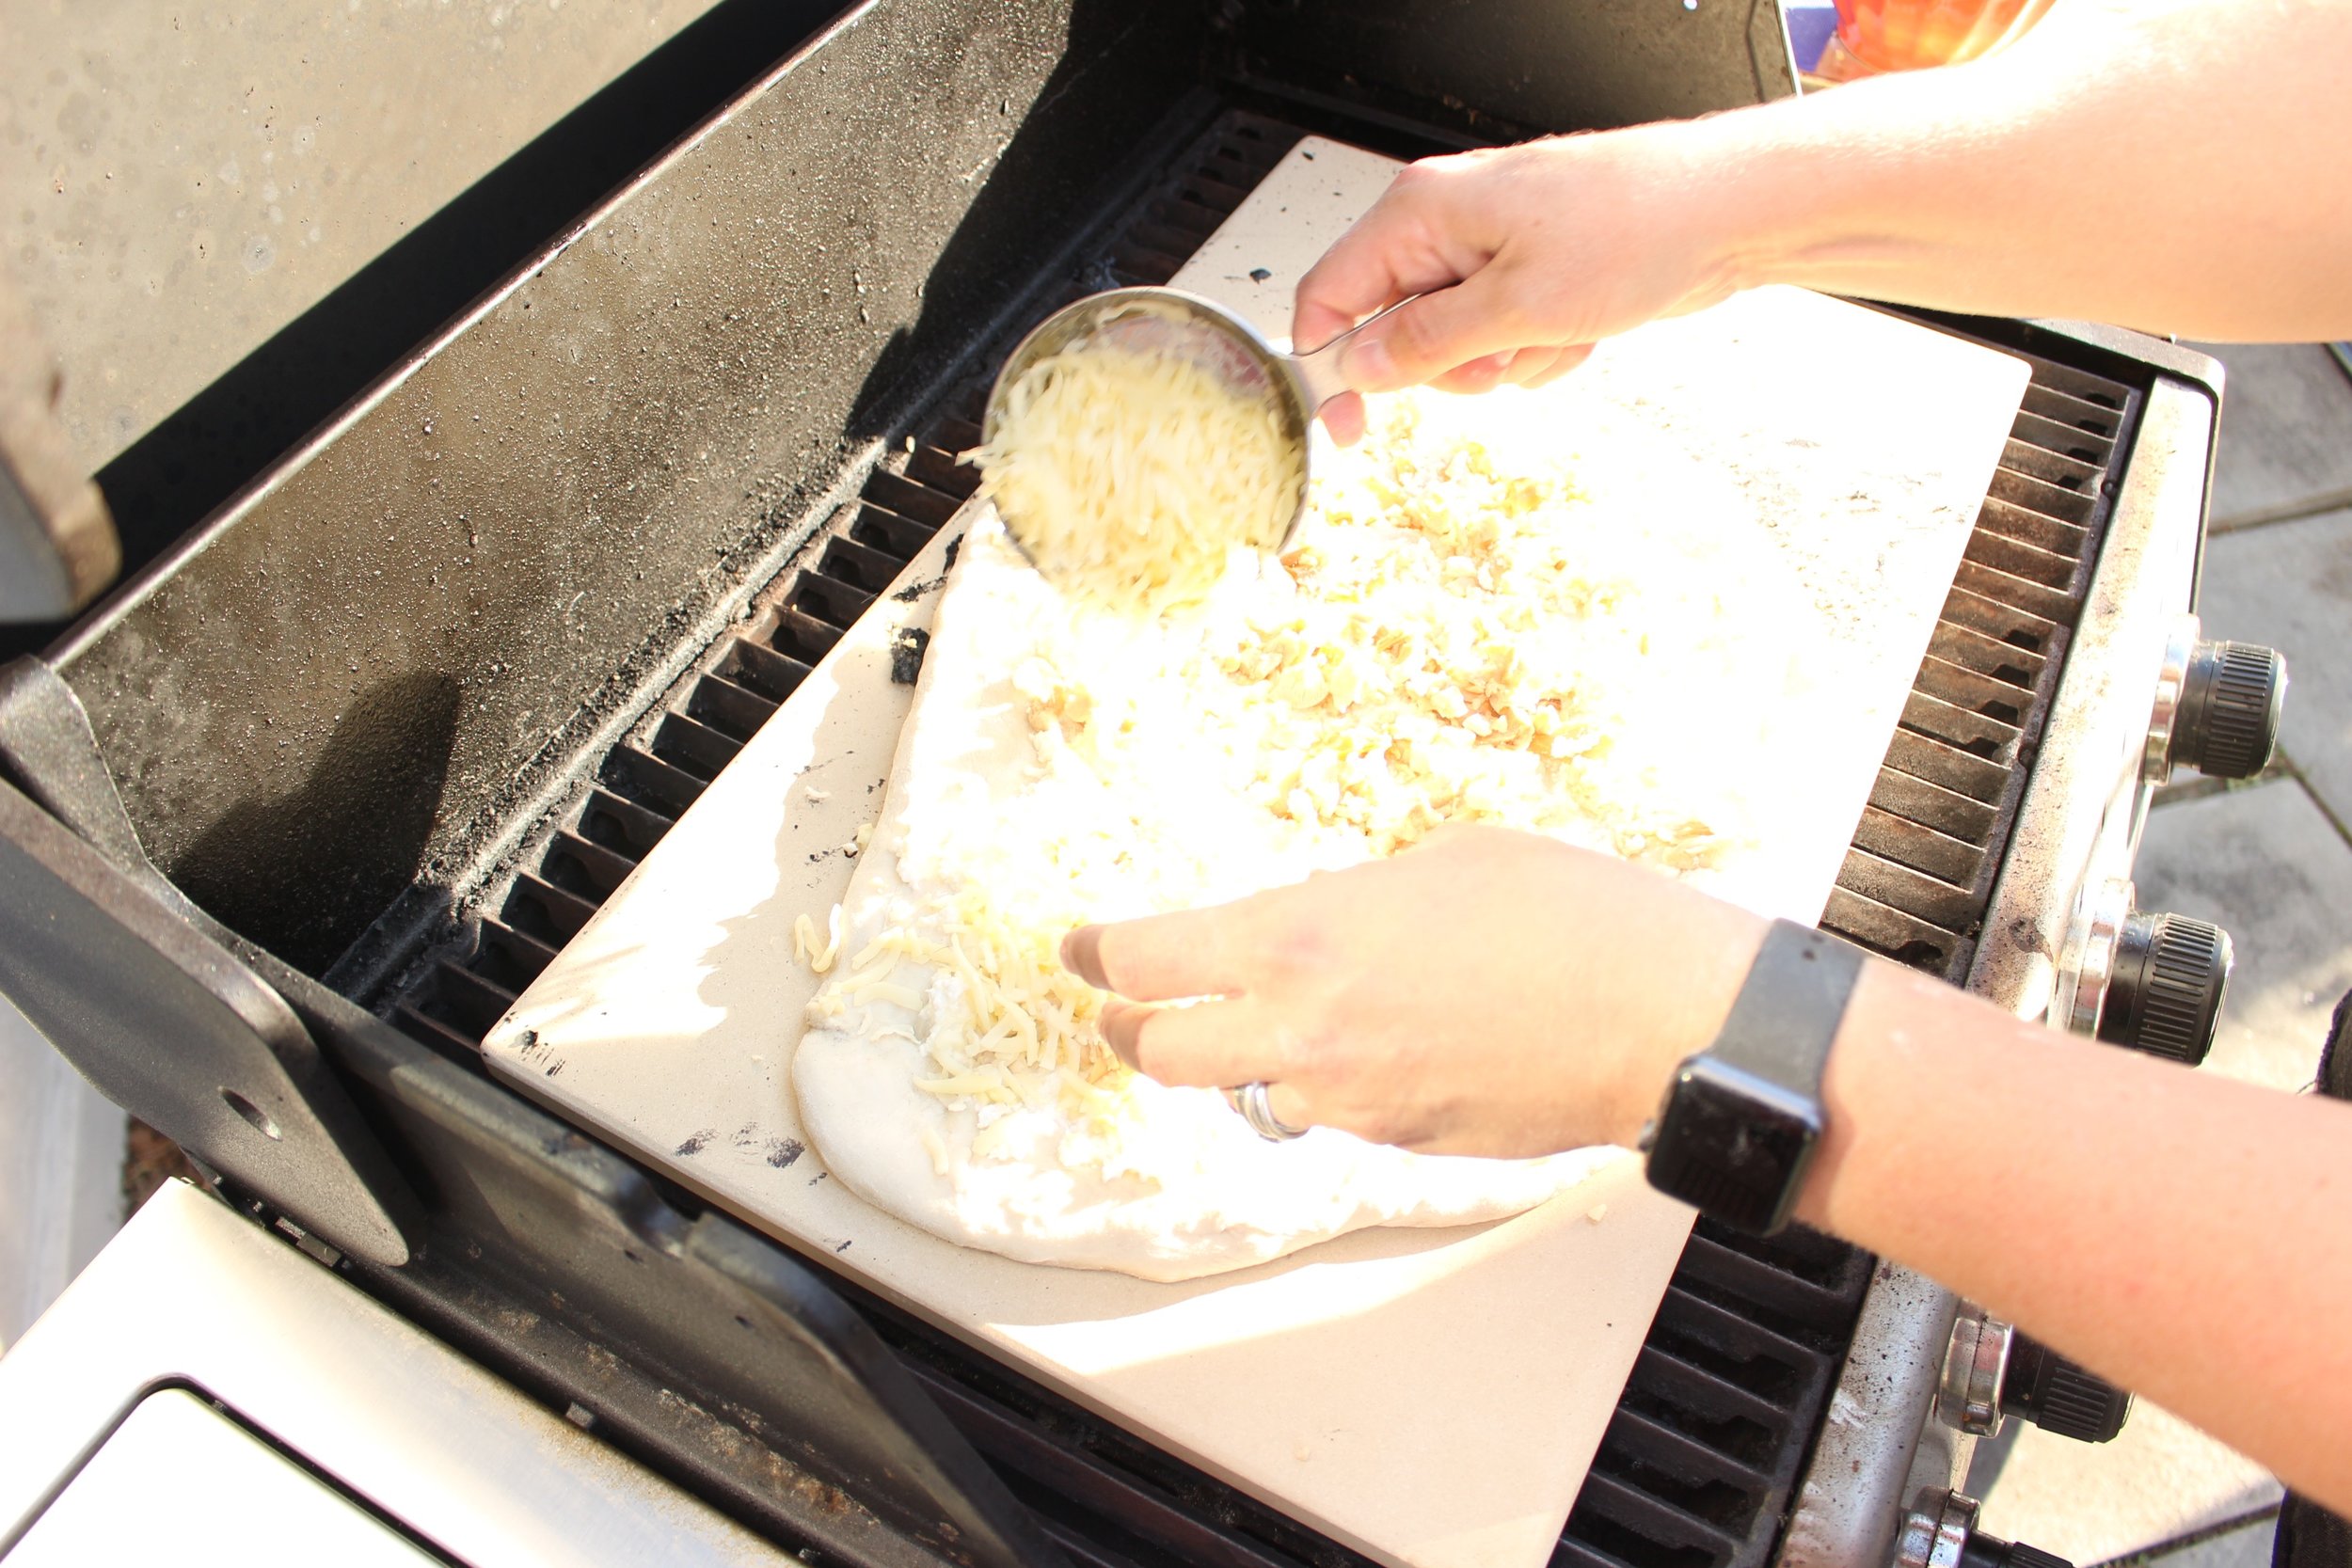
If cooking on the grill, make sure all of your toppings are measured and easily accessible. Slide the plain, raw dough onto your grill and quickly top with the ricotta, roasted and fresh garlic, the clams, and the shredded cheeses. Close the lid to the grill and let cook for 5 minutes. Check for doneness continue cooking for 2-3 minutes until the crust and cheese begin to brown.

Check the bottom crust for doneness (it should be golden brown and crispy).

Remove from the heat and top with chopped parsley, sea salt, lemon, and crushed red pepper flakes (optional).

One note about grilling: the number of burners on your grill will change the speed at which this pizza cooks. A 6-burner grill might take less than 5 minutes, so check it sooner. A 3-burner grill might take a minute more. Use your judgement based on your grill or oven.

Kitchen clambake

IMG_7794.jpg

What says summer more than a clambake? NOTHING! Well, maybe BBQ chicken, ice cream, popsicles, hamburgers, hotdogs, corndogs, corn, tomatoes, strawberries, blueberries, s'mores...you get the picture. But, clambakes are pretty darn summery. And did you know how easy they are? Super easy.

We've been using Martha Stewart's method for years and it's a pretty no-fail recipe as long as you cook things in the right order. However, Martha's recipe is HUGE and requires an extra large pot, which we don't have. Also, there are only three of us. So, I've scaled this one back and added some more tips to make sure you aren't overcooking any of the seafood.

IMG_7796.jpg

Also, this meal is so so quick to prepare and easy to clean up, leaving more time for all things summer.

IMG_7788.jpg

A couple of notes:
- Feel free to sub in water or stock instead if you want to avoid alcohol. But rest assured that the booze cooks out with the heat AND, the beer is only there for flavoring in the steam; You aren't actually eating it.
- Use the smallest potatoes you can find. If you have even golf ball sized potatoes, I would halve or quarter them to ensure that they cook enough.
- Clean the clams or mussels well. I like to put them all in a large pot of cool water a few hours before we cook them to let the shells open to release the sand.
- Swap in mussels for the clams or use a combination of both, but only use 1 lb. You can also use scallops, squid, or octopus in place of, or in combination with, the shrimp. I don't always love steaming those three because there's a thin margin of error for overcooking and turning them really tough, but if you like their flavor, go for it! But also use a total of 1 lb with those or a combination. 
- Don't skip the garlic butter for serving. This recipe is great without it, but the garlic butter takes it right over the top.
- For a dairy-free option, use clarified butter instead of regular butter. 

IMG_7782.jpg

Stovetop clambake

1 large onion
3 cloves garlic, smashed
1 cup beer
1 cup water
1 tsp sea salt
1 lb small potatoes (if slightly bigger, like the size of a golf ball, quarter the potatoes before cooking) 
8 oz sausage, cut into chunks (whatever your favorites are: I like chorizo or andouille. Just make sure it’s in a casing)
2 lobster tales (about 8-10 oz total)
1 lb clams or mussels (or a combination)
2-3 ears of corn cut in half or thirds
1 lb shrimp, in or out of the shell

4 Tbsp unsalted butter
1 large garlic clove, minced
Fresh parsley (optional; I left it out because I generally dislike parsley)
1 large lemon
Old bay seasoning

Chop the onions and smash the garlic. Add to a large pot with beer, water, and salt. Bring to a boil. Reduce heat to medium. (You still want some vigorous bubbling, but you don’t want too much of the liquid to evaporate.) Cover with a steamer basket (or, as we did, a small pizza sheet because we couldn't find the steamer basket. Whoops.)

Add the potatoes, sausage, and lobster tails to the steamer. Cook for 5-6 minutes until the shells start to turn orangey red.

Add the clams (or other hard-shelled seafood like mussels) and the corn. Steam for another 6-8 minutes until the shells open. Discard any shells that remain closed.

Add the shrimp (or other soft shelled or de-shelled seafood) and cook for about 4 more minutes until the shrimp is pink all over.  

While making the seafood, melt the butter in a ramekin and add the chopped garlic and parsley (if using). Stir to combine and set aside.

Dump out the seafood, veggies, and sausage onto a large, parchment-covered sheet pan. Sprinkle with old bay seasoning to taste. Serve with lemon wedges, extra old bay, and garlic butter.

Yield: A lot. This recipe comfortably feeds 2 adults and 2 kids, likely with leftovers.

IMG_7790.jpg
IMG_7799.jpg

Shrimp and black bean burgers

IMG_7741.jpg
IMG_7727.jpg

Shrimp is one of the things that M will almost always eat. Almost. He likes them cooked any way and in any flavor combination. But you know what? I worry about shrimp. There's a lot of variety and choice at the supermarket and it's hard to know what's best. Fresh or frozen? Large or small? Shells or no shells? Pink, white, tiger, or rock? Wild or farmed? Do I really need to spend $40 a pound? See? It's crazy making. I did a little (very very little) bit of research and there are a few guides out there to help determine what's right for you.

IMG_7681.jpg

Once you figure it out (or not, sometimes you just have to choose your choice and be done with it), these shrimp and black bean burgers are tasty and easy and summery and healthy. They're gluten-free because corn flour or corn meal are your binder. And though there's a long list of spices in there, the end result is subtle and complex, considering. 

And the chives add a nice green note to the burgers, but if you don't have any or can't find any, scallions are a nice substitution.

IMG_7687.jpg

A note about your choice of corn meal vs corn flour: I've made these with the the finest corn flour and the coarsest corn meal and they're good either way, so use what you have on hand. Just know that the finer the corn flour or meal, the better the patties stick together. The coarse meal works well, but you may have a bit of breakage in the cooking process.

IMG_7691.jpg
IMG_7697.jpg

Black bean and shrimp burgers

12 oz shrimp, uncooked
12 large or 20 small chives, torn or chopped into large pieces
1 tsp cumin
½ tsp coriander
½ tsp Mexican oregano
½ tsp onion powder
½ tsp garlic powder
¼ tsp chili powder
1/8 tsp cayenne
½ tsp salt
2 eggs
3/4 cup corn flour or meal
1 can black beans, drained and rinsed
lime wedges for serving

If using frozen shrimp, defrost in lukewarm water and squeeze lightly before measuring.

Add whole raw shrimp to a food processor with the chives and the spices and pulse about 10-12 times until the spices are distributed and the shrimp are chopped into medium pieces.

Turn the shrimp mixture out into a bowl and add the eggs, cornmeal, and black beans. Mix well, smashing some of the beans with your spoon or spatula.

Form into 12 balls or patties (about a heaping ¼ each) and chill for 20 minutes.

Heat a skillet with some oil over medium heat. When ready turn heat down to medium low and brown on one side for 3-5 minutes. Flip the patties and repeat on the other side. Cover the pan, turn heat down slightly, and cook for 10-12 minutes or until cooked through. (I usually just split one open to test it.) 

Yield: 12 patties

IMG_7704.jpg
IMG_7715.jpg
IMG_7743.jpg

Gnocchi clam chowder

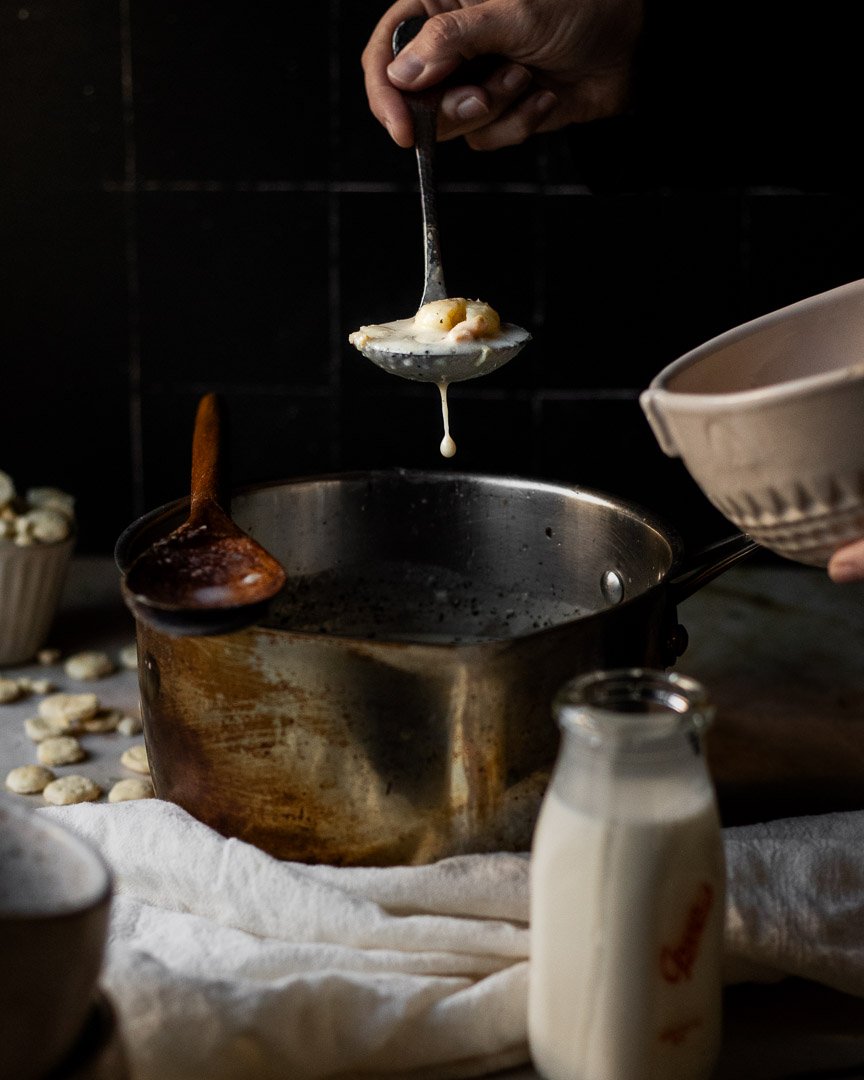
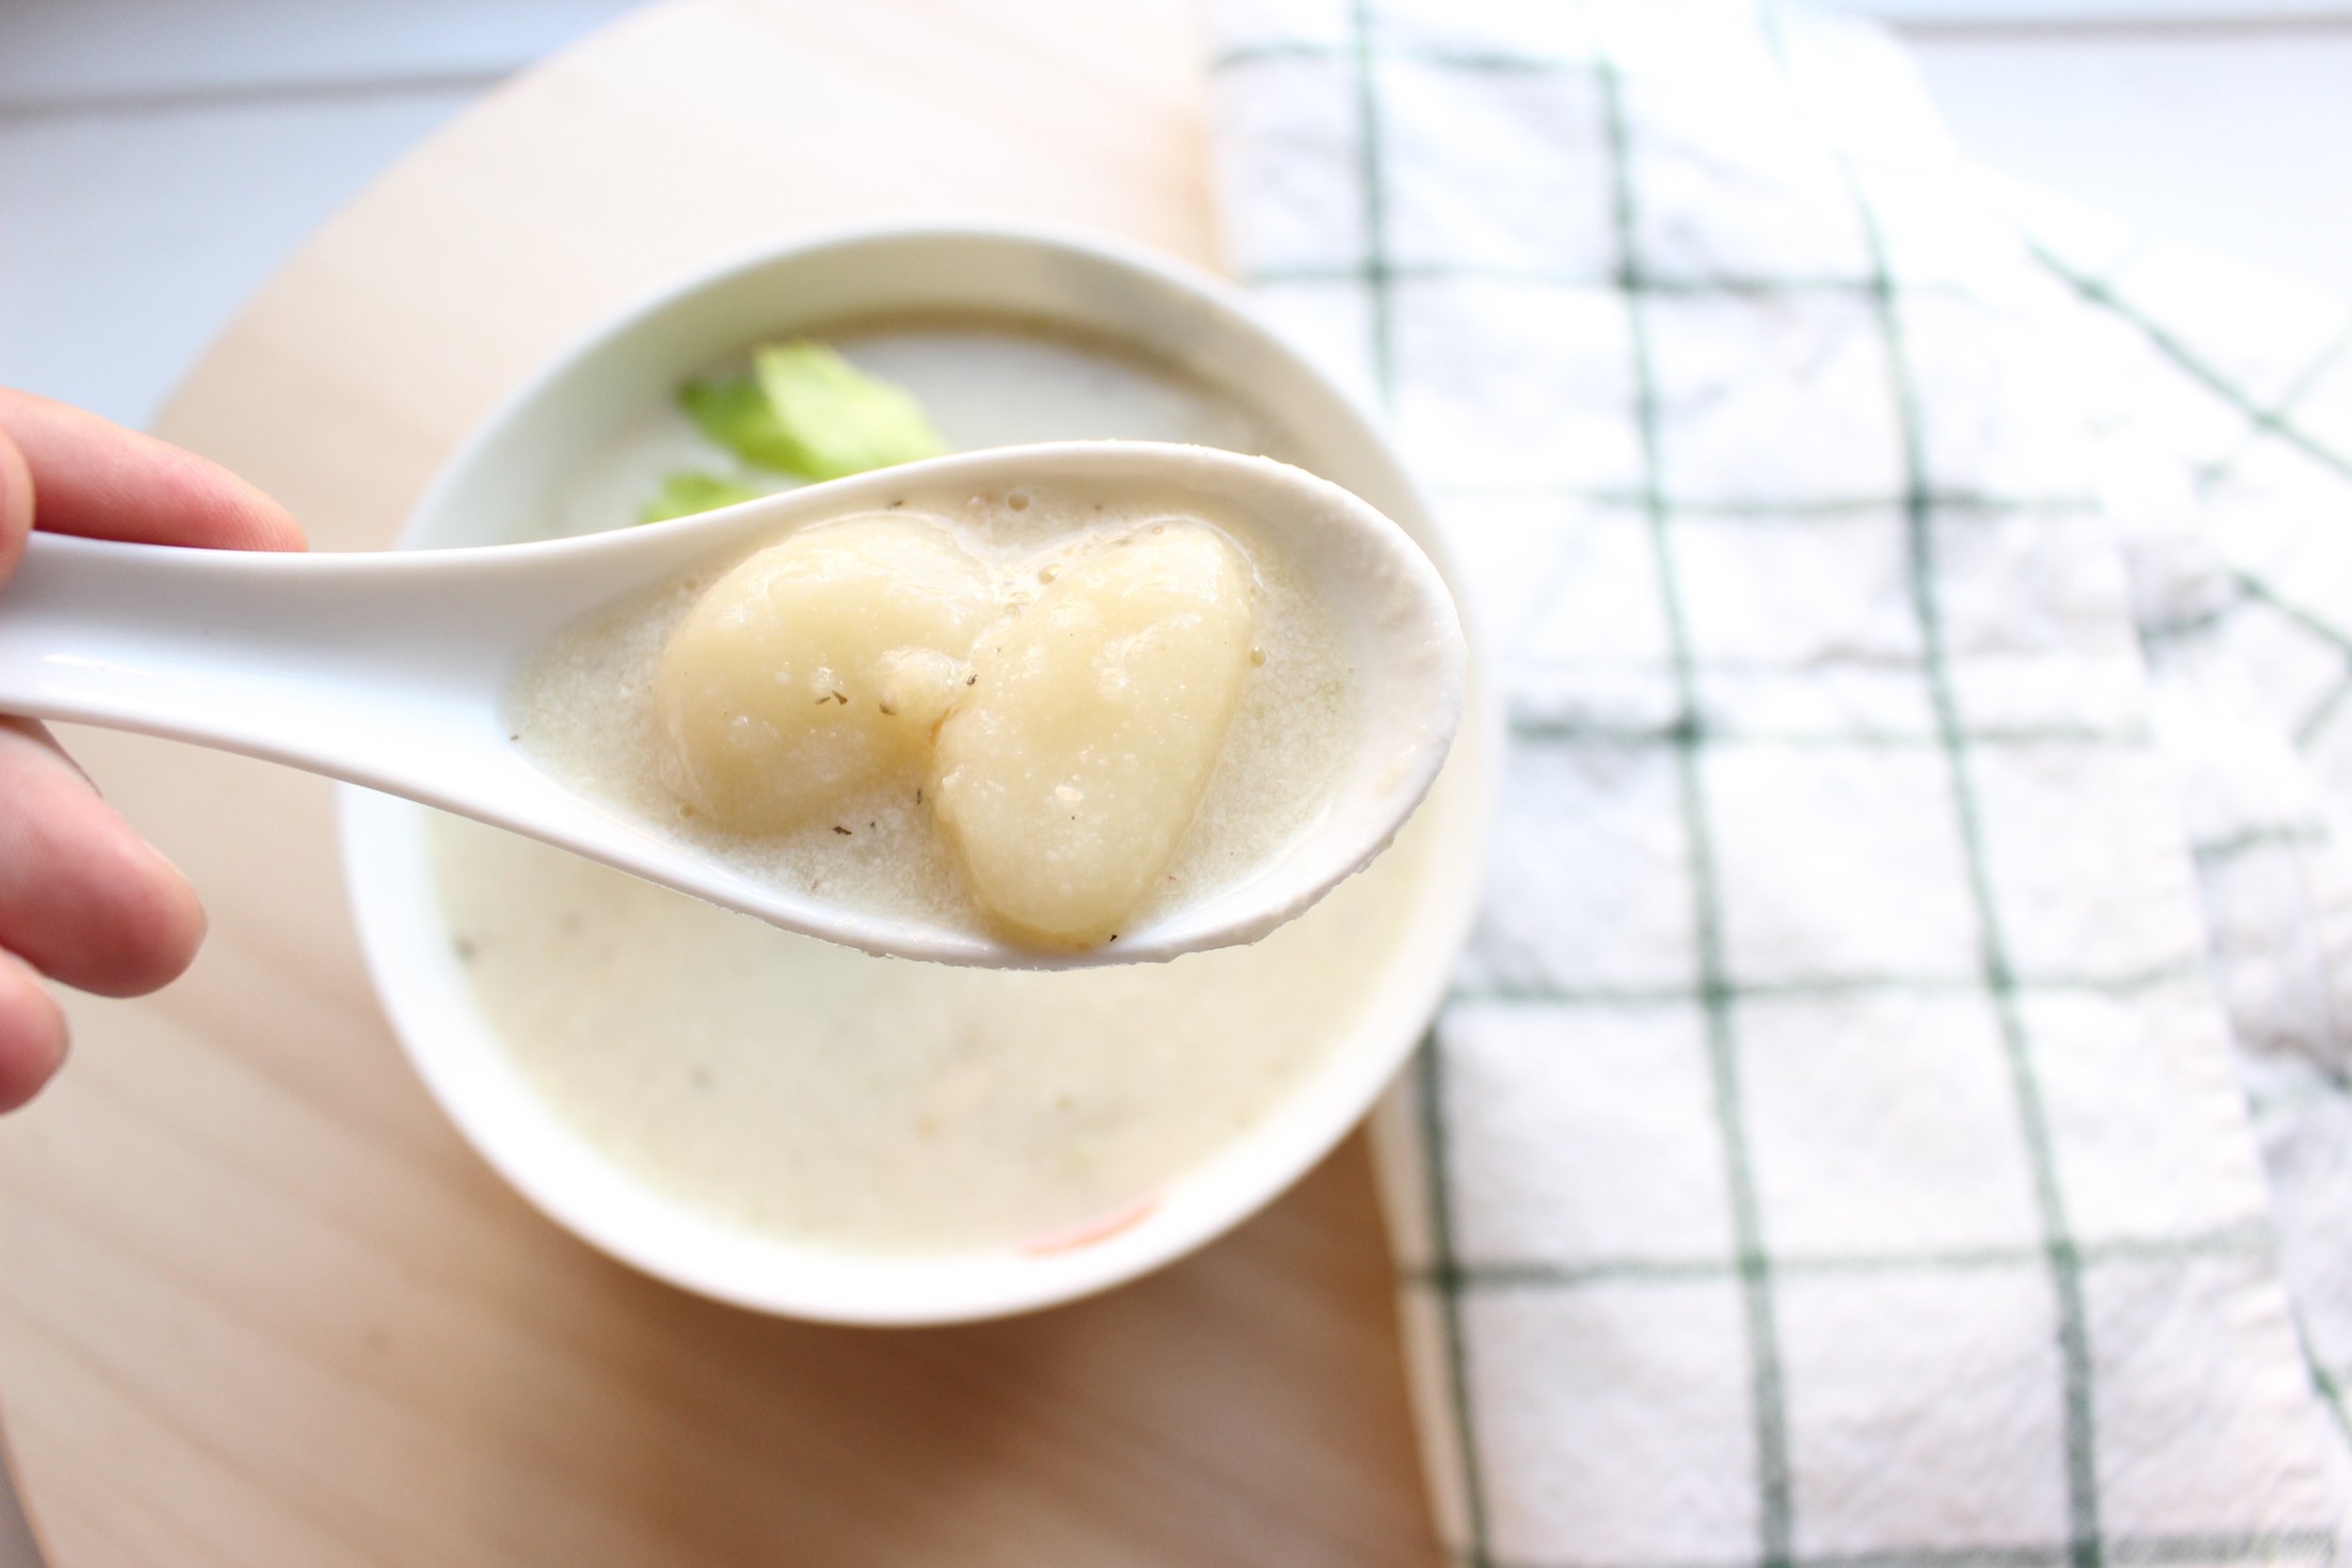
This here is the tastiest, fastest, easiest, most comforting clam chowder you may ever eat.

I start with Jasper White's legendary New England clam chowder recipe, but I use canned clams, a bottle of clam juice, and gnocchi instead of fresh clams, homemade clam juice, and potatoes. I'm sure the original, fully-handmade version is delicious, but who has the time? I also change up the technique so that this soup comes together in minutes, but tastes like it simmered for hours.

IMG_7092.jpg
IMG_7091.jpg

I also make this recipe using milk instead of cream because we NEVER have cream in the house. And when we do, I only need a tiny bit and then the rest goes bad because we don't use it. Instead, I use a little more butter when sauteing the aromatics to add richness.

IMG_7096.jpg

Just a note, this chowder is a soup-y chowder. Some people like their chowder to have a thick gloopy consistency, but I prefer a slightly thinner soup. The gnocchi is soft, so you do get a hint of a thicker soup, but with more broth. Win-win, I think. If going gluten-free, either look for gluten-free gnocchi or swap in diced potatoes for the gnocchi and cook the soup until the potatoes are fork tender.

IMG_7098.jpg

Gnocchi Clam chowder

2 6.5 oz cans of chopped clams (use brine to make up the 2 cups of clam juice)
2 cups (8 oz) bottled clam juice
1 Tbsp unsalted butter
2 large shallots
1 large clove garlic
1 large stalk celery
1 tsp dried thyme
1 cup milk
1 cups water
1 bay leaf
1 lb potato gnocchi (1 package)*

Open the cans of clams and drain the water into a measuring cup. Add more clam juice until you have two cups of liquid. Set aside the clams and the juice. 

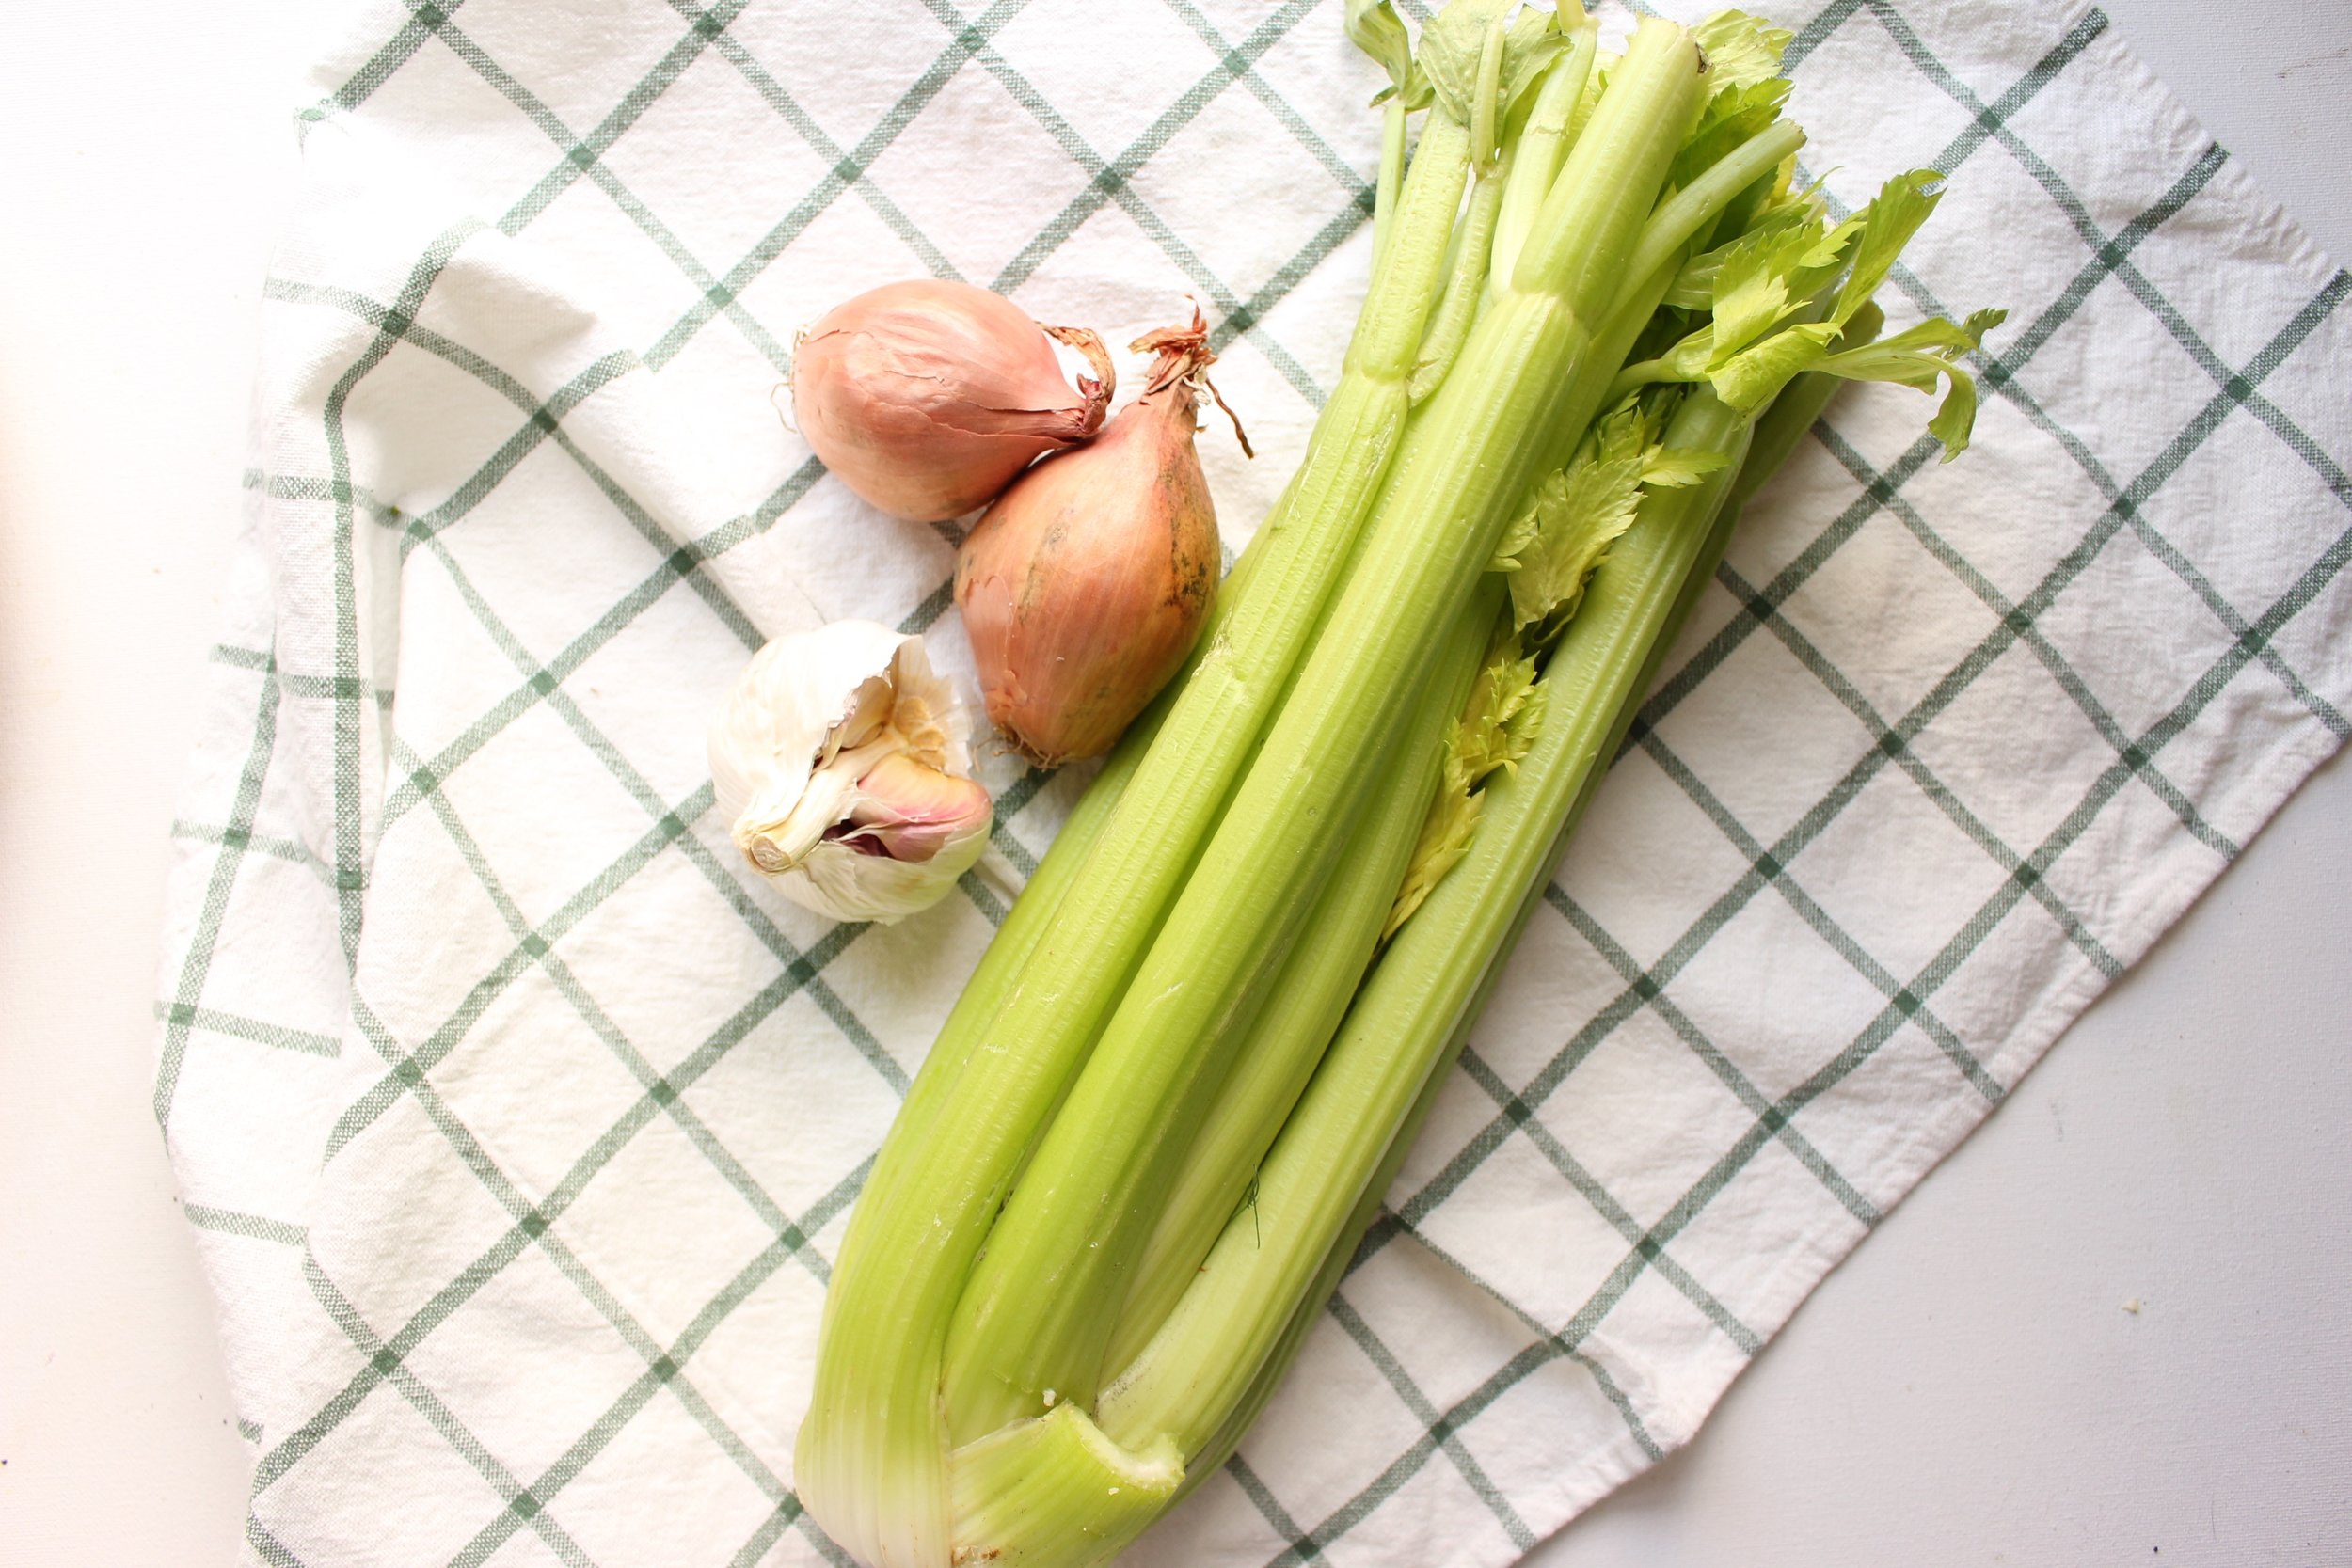
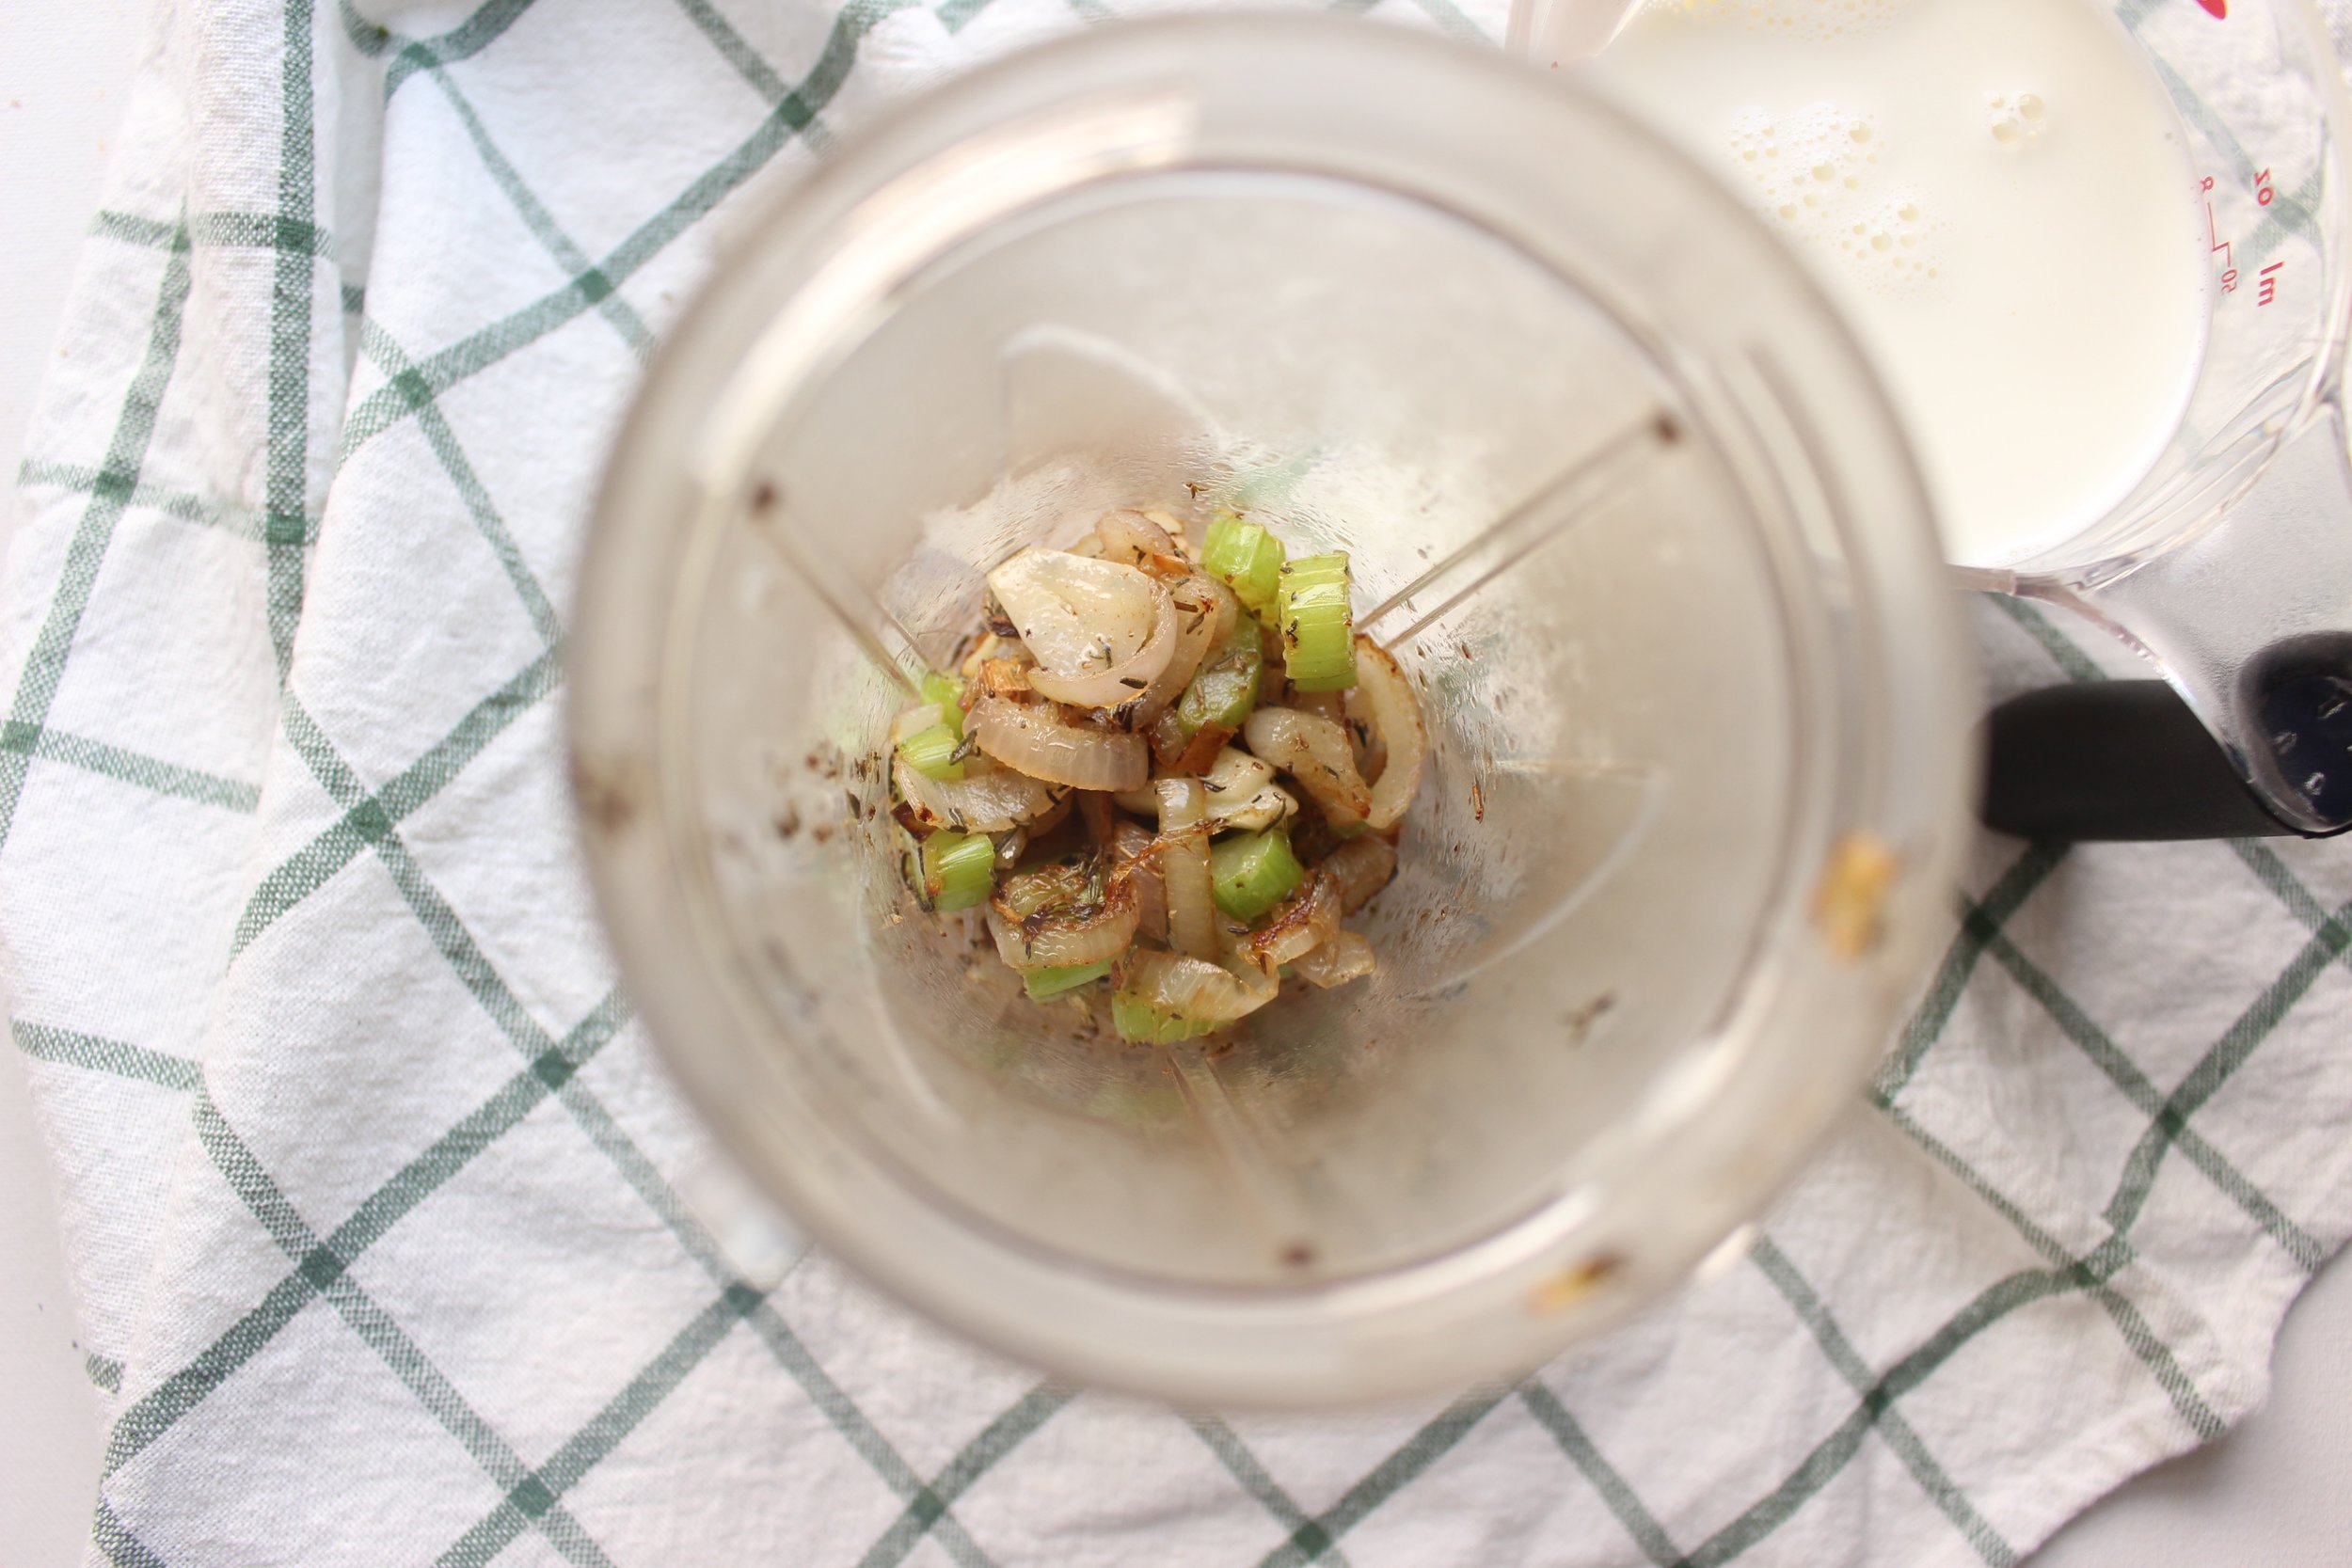
In a medium soup pot, melt the butter and sauté the shallots and celery until browned, about 5 minutes. Add the garlic and thyme and sauté until fragrant, about 1 minute.

Transfer the sautéed shallots, celery, garlic, and thyme to a blender or food processor. Add the milk and puree until smooth.

Return the milk puree to the large pan with the clam juice, water, thyme, and gnocchi. Bring to a boil and cook for 3 minutes, or according to package directions.

Add the reserved clams and cook for 1 minute more.

Remove the bay leaf. Season to taste with salt and pepper. Serve immediately.

Yield: 53 oz, or about 6 cups

*If making ahead of time, make the soup liquid up to the point where you add the gnocchi and boil. Instead of adding the gnocchi, combine the liquids and canned clams, transfer to storage container, and chill for up to 2-3 days. When you want to eat, transfer the liquid back to a pot, bring to a boil, add the gnocchi, and cook for 3 minutes, or until gnocchi begins to float.

IMG_7109.jpg

Shrimp rolls

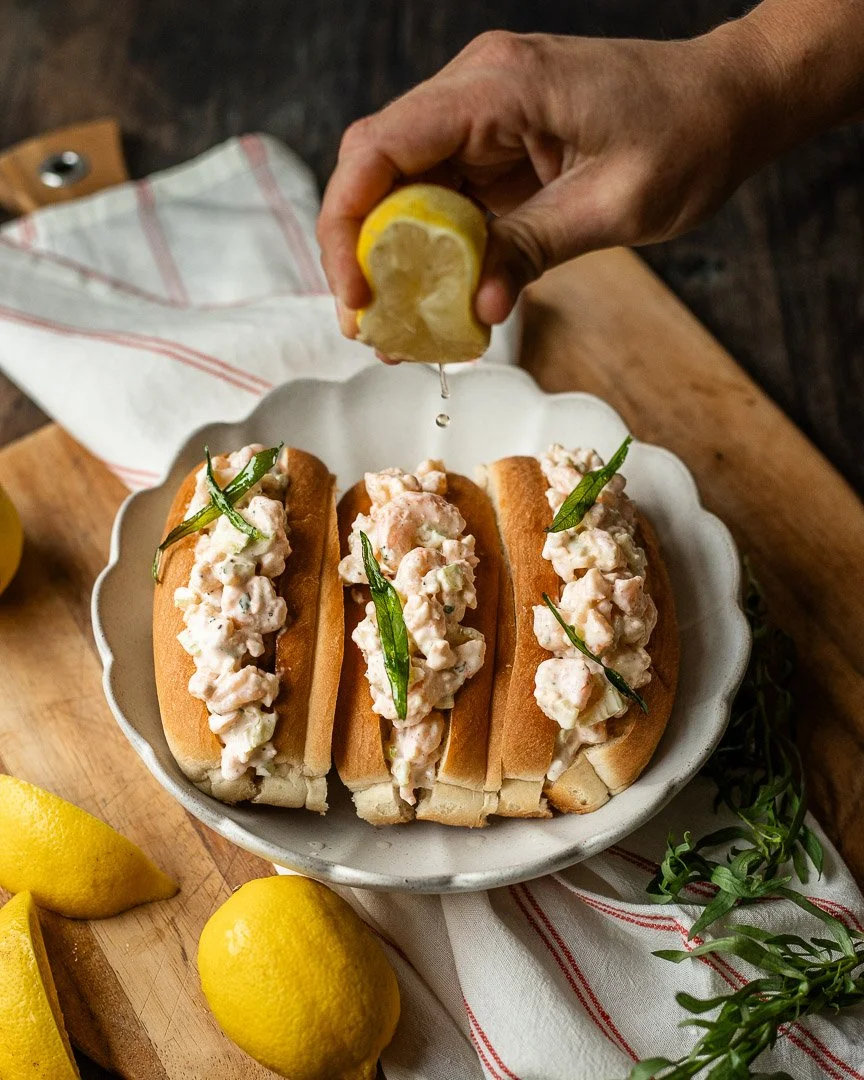
Shrimp rolls are a cheaper alternative to the classic lobster roll and scream NEW ENGLAND SUMMER! just as much.

Take me to the sandwiches.

How is it already mid-June? Things are changing so fast around here that the spring slipped away and now it's almost summer (though spring is doing its best summer impersonation as I sit outside writing this in 93 degree heat). We're also at the two-month mark in our countdown to leaving NYC...it's finally happening: We're moving to the burbs. I've lived here for 15 years, so it feels weird and exciting to live somewhere else. And to have a HOUSE! What are we even going to do with more than three rooms?

We're heading north to a great town in Connecticut and I'm excited to be a New Englander! In that spirit, here are some shrimp rolls that we make a lot during the summer. If you use pre-cooked shrimp, this is a no-cook dinner that screams summer at the beach (even sans beach). The fresh tarragon is pretty key to this concoction, but if you don't have any I would use fresh basil instead of subbing in dried tarragon.

Shrimp rolls

Time: 20-30 minutes, mostly active
Yield: 4 large rolls with about 1 cup shrimp mixture in each roll

2 lb raw shrimp (if using cooked shrimp, skip the butter; defrost overnight in the fridge or in lukewarm water, if needed)
2 Tbsp butter (plus 1-2 tsp for frying tarragon, if desired)
½ cup chopped celery (2 large stalks, minced)
2 Tbsp fresh tarragon, chopped (with a few leaves left over for frying at the end)
½ cup mayonnaise
1.5 Tbsp fresh lemon juice
1 tsp lemon zest
½ tsp old bay seasoning
large pinch salt
4 large brioche or potato hotdog buns

In a large skillet, melt the butter over a medium flame.

Add the shrimp and cook until they are pink throughout, about 5-8 minutes (longer if you start with frozen shrimp).

Chop the shrimp, celery, and tarragon and combine with the mayonnaise, lemon zest, lemon juice, old bay, and salt. Mix thoroughly.

Toast your hotdog buns and fill with shrimp mixture.

Melt another tsp or two of butter and fry whole tarragon leaves. Top the shrimp rolls with a few leaves and some more old bay seasoning. Serve immediately.