BBQ chicken

BBQ Chicken | Me & The Moose Truly the best route to BBQ chicken that is deeply flavorful and easy to make, whether grilled outside or roasted in your oven. #meandthemoose #chickenrecipes #BBQchicken #grilling #roasting

A short marinade in olive oil, apple cider vinegar, mustard, and soy sauce followed by the best ever spice rub (seriously, triple the recipe and use it on everything), makes this a BBQ chicken worthy of your most discerning guests.

Take me to the recipe!

BBQ Chicken | Me & The Moose Truly the best route to BBQ chicken that is deeply flavorful and easy to make, whether grilled outside or roasted in your oven. #meandthemoose #chickenrecipes #BBQchicken #grilling #roasting

We’ve used this marinade and rub on all kinds of chicken: breasts, thighs, bone-in, skin-on, boneless, skinless, and an entire chicken. It has worked with every iteration! I was really tired one day and put the sugar in the marinade instead of the rub—still great. My husband likes to put the rub on WITH the marinade and let the whole thing sit for 30 minutes—also great. So if, like me, your attention is divided while trying to make dinner, this is the recipe for you.

BBQ Chicken | Me & The Moose Truly the best route to BBQ chicken that is deeply flavorful and easy to make, whether grilled outside or roasted in your oven. #meandthemoose #chickenrecipes #BBQchicken #grilling #roasting

BBQ Chicken | Me & The Moose Truly the best route to BBQ chicken that is deeply flavorful and easy to make, whether grilled outside or roasted in your oven. #meandthemoose #chickenrecipes #BBQchicken #grilling #roasting

A note on cooking chicken:

  • Roast the chicken between 425 and 450. I use the lower temperature for skinless and boneless varieties to avoid drying out the meat. The higher temperature works with the bones and skin, but keep an eye out to ensure that the skin doesn’t burn. A loose piece of foil over top usually does the trick.

  • Grill the chicken by heating up the grill on the highest temperature and then turn it down to medium just before putting the chicken on the grill. Cook until the internal temperature is 165 in the fattest part.

BBQ Chicken | Me & The Moose Truly the best route to BBQ chicken that is deeply flavorful and easy to make, whether grilled outside or roasted in your oven. #meandthemoose #chickenrecipes #BBQchicken #grilling #roasting

BBQ Chicken

Yield: 3 lbs chicken
Time: 60-90 minutes, depending on how long you cook your chicken

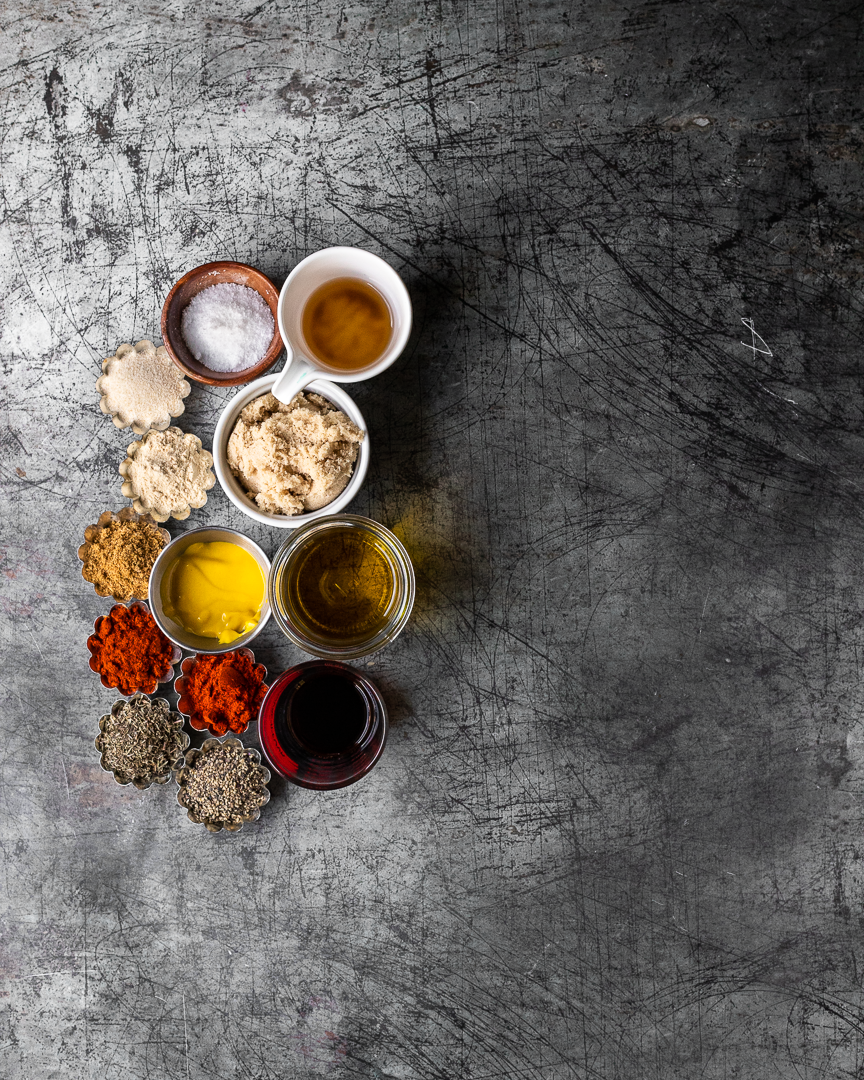
3 lbs chicken (any type, but I prefer boneless, skinless thighs or a whole spatchcocked chicken)
1/3 cup olive oil
2 Tbsp apple cider vinegar
1 1/2 Tbsp soy sauce
2 Tbsp yellow mustard
1 Tbsp kosher salt
1/4 cup brown sugar
1 1/2 tsp black pepper
1 1/2 tsp paprika
1 1/2 tsp smoked paprika
1 1/2 tsp cumin
1 1/2 tsp thyme
1 1/2 tsp garlic powder
1 1/2 tsp onion powder

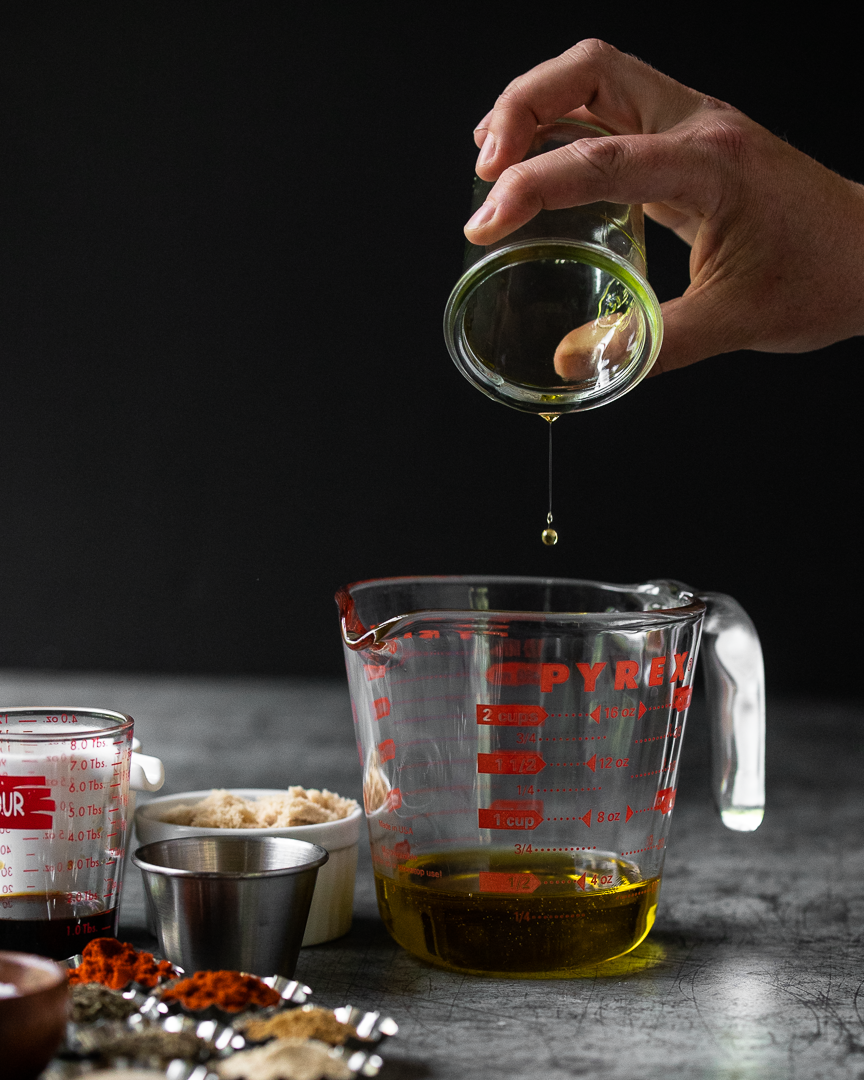
Combine the olive oil, apple cider, soy sauce, and yellow mustard. Place chicken in a large container (plastic bag, glass container, mixing bowl, or whatever will hold all of the chicken) and cover with the marinade. Let sit for at least 30 minutes, but up to an hour.

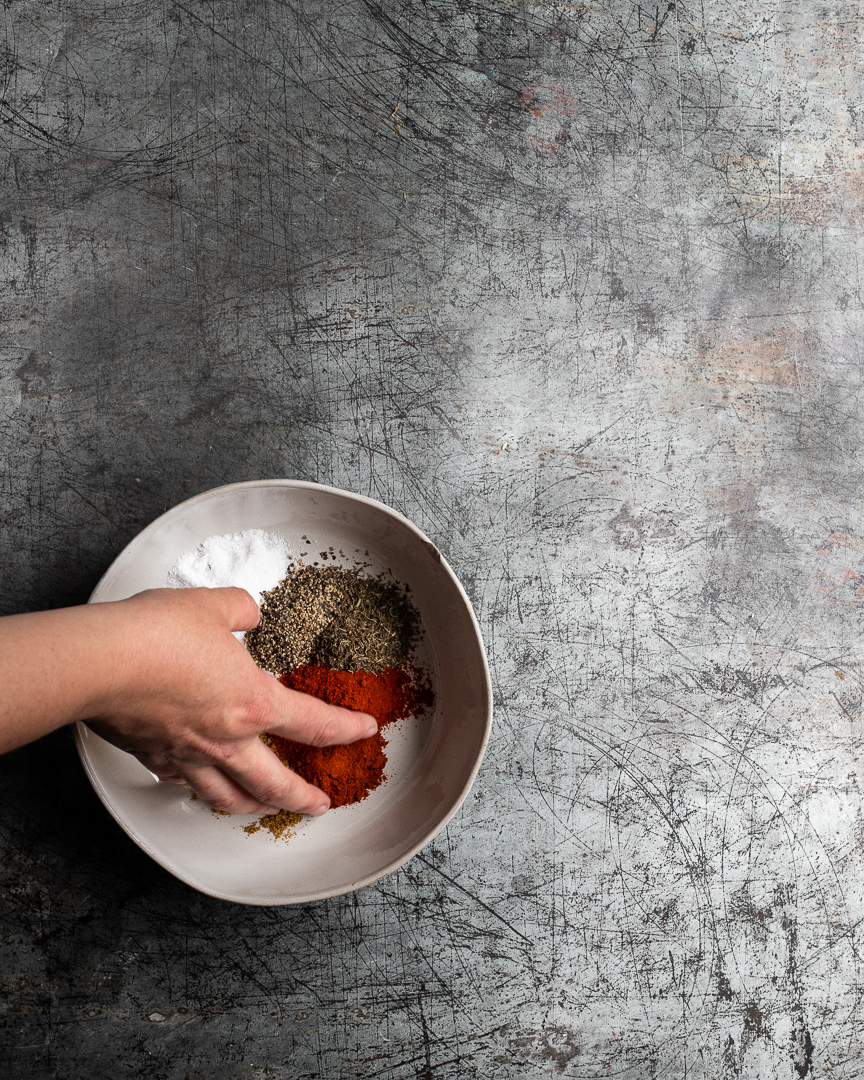
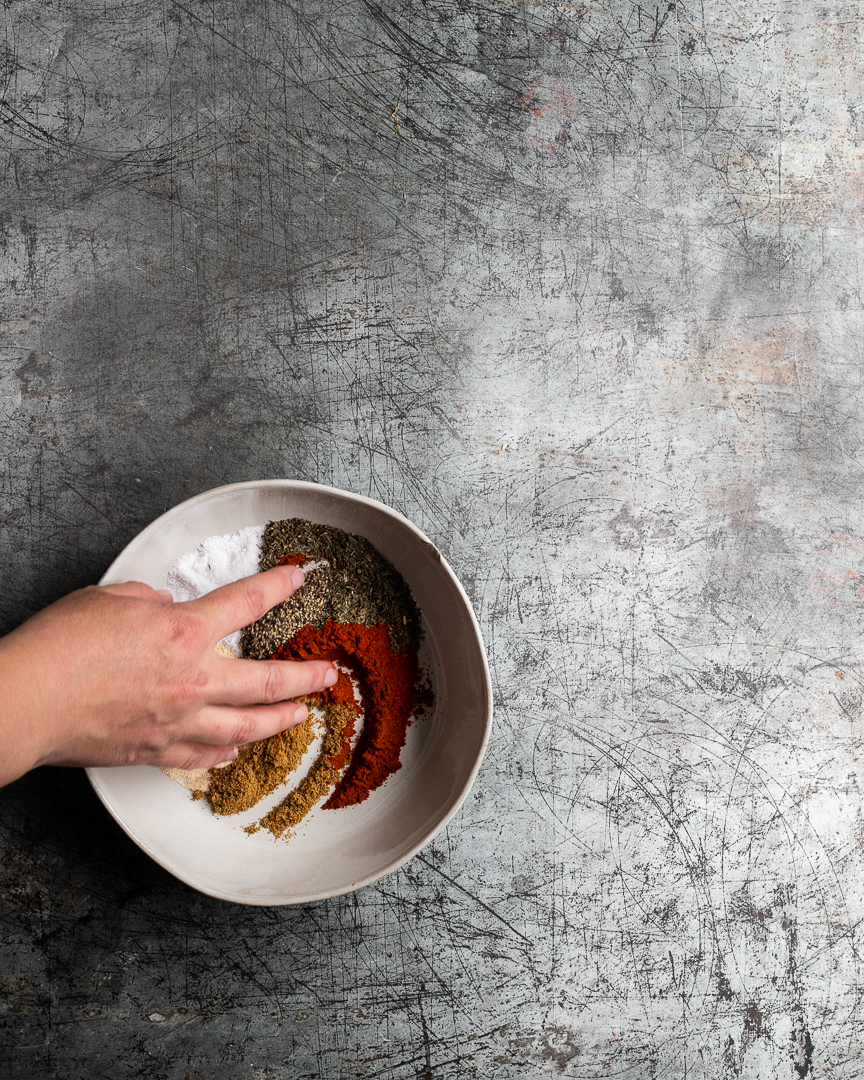
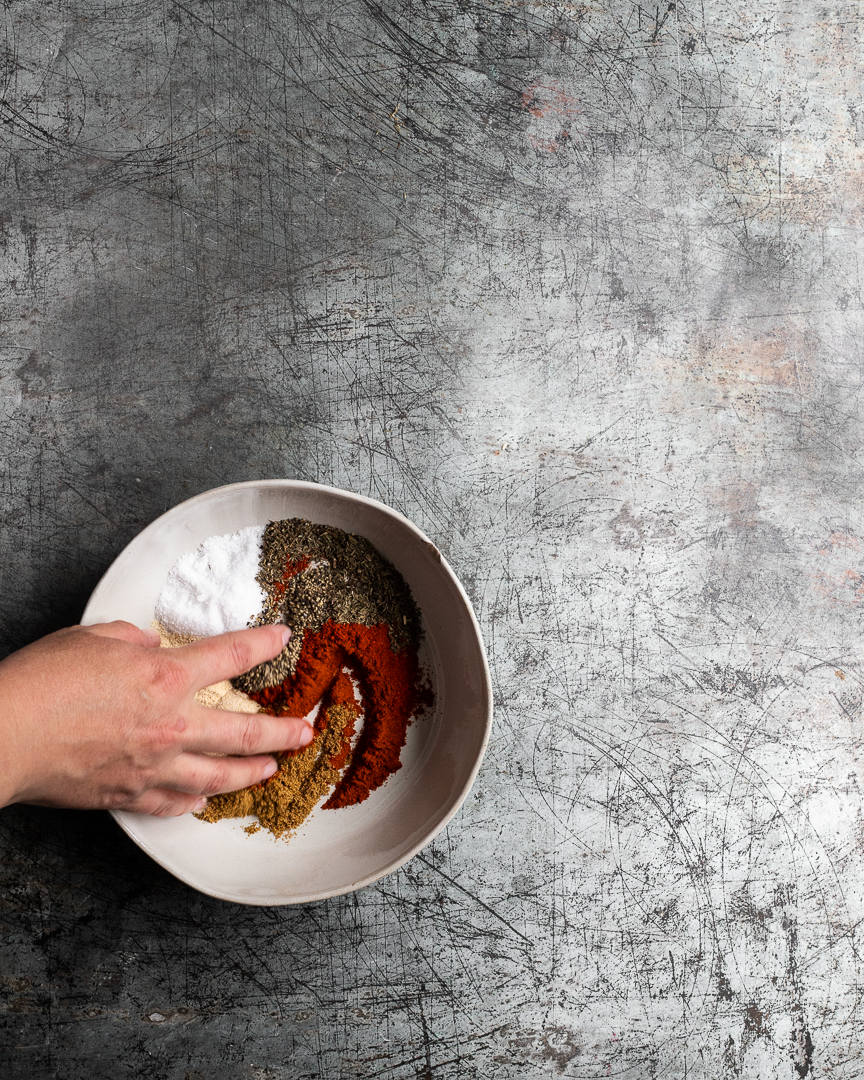
Combine the dry rub ingredients.

Heat the oven to 425-450 (see note above).

Take the chicken out of the marinade, but DO NOT pat dry- we want a little extra liquid. Cover with the spice rub on all sides and massage it into the chicken.

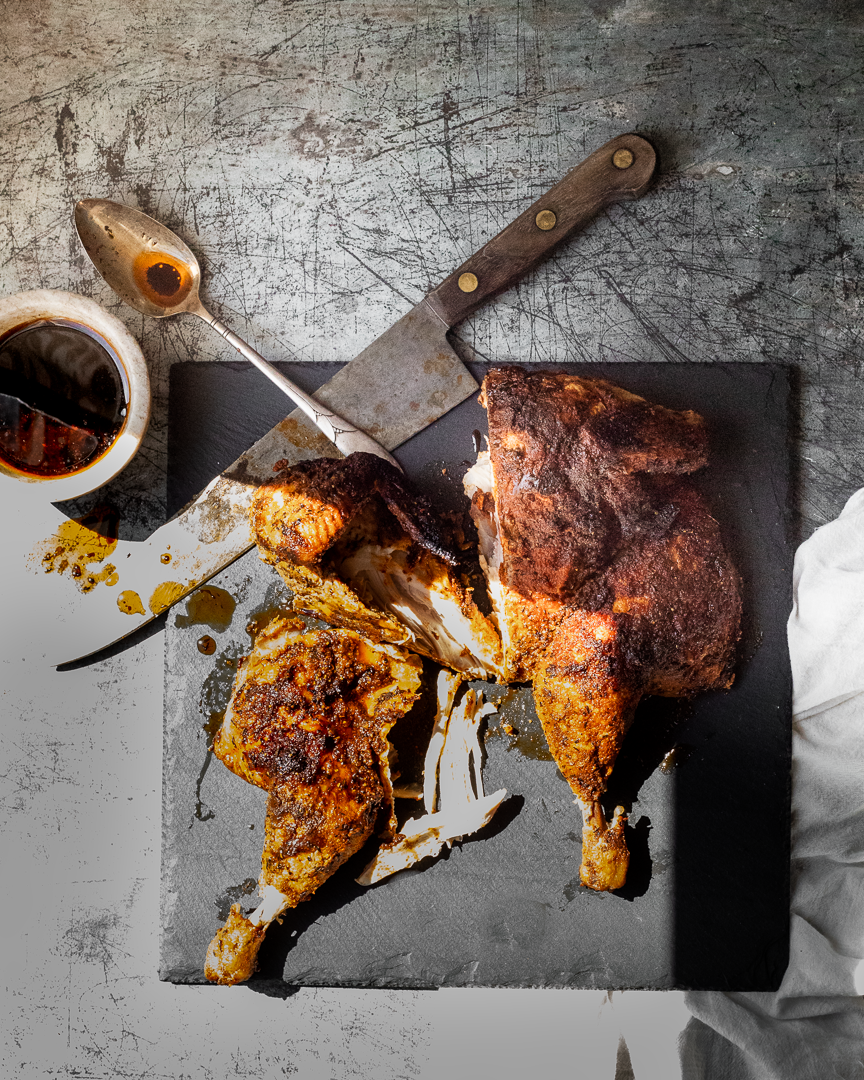
Place on a sheet pan or in a large cooking dish and cook, uncovered, for about 15 minutes (a whole chicken or very large chicken parts will take longer to cook, usually about 45-50 minutes). Check for doneness and cook until the internal temperature reaches 165 in the thickest part of the chicken.

If any sauce remains in the pan, save it for pouring onto the chicken before serving.
Cucumber, seaweed, and soba noodle salad

This easy, light salad combines a few ingredients into a subtle, delicious vegan dish that’s ready fast and is a great lunch or dinner option. #meandthemoose #lunch #dinner #recipes #easyrecipes #vegan #vegetarian

This easy, light salad combines a few ingredients into a subtle, delicious vegan dish that’s ready fast and is a great lunch or dinner option. #meandthemoose #lunch #dinner #recipes #easyrecipes #vegan #vegetarian

Before the well of summer cucumbers runs dry, make this easy, light salad that’s ready in a snap and is, at least in this house, very kid-approved!

Take me to the recipe!

This easy, light salad combines a few ingredients into a subtle, delicious vegan dish that’s ready fast and is a great lunch or dinner option. #meandthemoose #lunch #dinner #recipes #easyrecipes #vegan #vegetarian

This easy, light salad combines a few ingredients into a subtle, delicious vegan dish that’s ready fast and is a great lunch or dinner option. #meandthemoose #lunch #dinner #recipes #easyrecipes #vegan #vegetarian

We eat a lot of Japanese food in our house, so my love for these ingredients runs deep. I absolutely can’t turn down a seaweed salad. Ditto nutty buckwheat soba noodles. Unlike whole wheat or other whole grain noodles, soba doesn’t have that gummy (unless you WAAAAAY overcook it!) or gritty texture that can plague say, whole what spaghetti, so the flavor of the noodles really shines.

Everything about this salad is subtle. There aren’t any overwhelming flavors and all of the elements are in harmony with each other: A little salty, a little sweet, a little nutty, a little tangy, a little briny, and a little cool. The seaweed adds a salty, funky flavor and a little crunch. The cucumber adds even more crunch and and is a cooler counterpoint to the sauce that’s made of soy, rice vinegar, brown sugar, and sesame oil.

While this is a light salad that we usually eat as a side (though I’ve had it alone for lunch and it’s V satisfying), the soba offer some heft that leaves you feeling pretty full. My 6-year-old loves it because he loves anything with soy sauce and my almost 18-month-old loves it because he would eat noodles all day, every day.

But the real key to this salad is getting rid of the excess water from the cucumbers, noodles, and rehydrated seaweed. It’s a funny recipe because you have to add water to each element before you get rid of it. But the more you squeeze out, the more potent the sauce tastes. It’s worth a little elbow grease!

This easy, light salad combines a few ingredients into a subtle, delicious vegan dish that’s ready fast and is a great lunch or dinner option. #meandthemoose #lunch #dinner #recipes #easyrecipes #vegan #vegetarian

This easy, light salad combines a few ingredients into a subtle, delicious vegan dish that’s ready fast and is a great lunch or dinner option. #meandthemoose #lunch #dinner #recipes #easyrecipes #vegan #vegetarian

This easy, light salad combines a few ingredients into a subtle, delicious vegan dish that’s ready fast and is a great lunch or dinner option. #meandthemoose #lunch #dinner #recipes #easyrecipes #vegan #vegetarian

This easy, light salad combines a few ingredients into a subtle, delicious vegan dish that’s ready fast and is a great lunch or dinner option. #meandthemoose #lunch #dinner #recipes #easyrecipes #vegan #vegetarian

A couple of notes:

  • I used hijiki seaweed in developing this recipe because I love it, but have JUST NOW learned that it naturally contains a really high level of inorganic arsenic, which can be carcinogenic to humans. Whoopsie daisy. Instead, sub in wakame, which doesn’t contain the same levels of arsenic and is prepared roughly the same way—just rehydrate in water while you prep the rest of the salad.

  • In the US, you can find dried wakame seaweed in Japanese grocery stores, health food stores, or in the all-purpose grocery store (our Whole Foods has it).

  • Before you add the rice vinegar, check your bottle’s label and see if you have plain rice vinegar or “seasoned” rice vinegar. The “seasoned” variety has some added sugar already, so I decrease the brown sugar a little bit to avoid over-sweetening the sauce. See recipe note for exact changes.

This easy, light salad combines a few ingredients into a subtle, delicious vegan dish that’s ready fast and is a great lunch or dinner option. #meandthemoose #lunch #dinner #recipes #easyrecipes #vegan #vegetarian

This easy, light salad combines a few ingredients into a subtle, delicious vegan dish that’s ready fast and is a great lunch or dinner option. #meandthemoose #lunch #dinner #recipes #easyrecipes #vegan #vegetarian

Cucumber, seaweed, and soba noodle salad

Time: About 35 minutes
Yield: About 6 cups of salad

6 Tbsp dried seaweed (wakame or hijiki, but see note above!)
2 cups hot water
1 large cucumber, thinly sliced
1 tsp salt 
9 oz buckwheat soba noodles (2 bundles)
3-4 Tbsp unseasoned rice vinegar*
1.5 tsp brown sugar*
4 tsp soy sauce
4 tsp sesame oil
2 tsp white or black sesame seeds 


*if using “seasoned” rice vinegar, decrease the sugar to 1 tsp

Combine the dried seaweed with 2 cups of your hottest water from the tap (you can use boiling water, but hot water works just fine, in my experience). Set aside.

Slice the cucumber into very thin slices. Using a mandolin is great here, but if you don’t have one, a vegetable peeler also does the trick. Or just practice your knife skills- whatever works!

Place the cucumber slices in a strainer and top with 1 tsp salt. Massage a little with your hands and let sit in the sink to drain while you make the rest of the salad.

Boil the water. When the water boils, add the soba noodles and cook according to the package directions (usually about 5 minutes).

While the noodles cook, make the sauce. Combine the rice vinegar, sugar, soy sauce, and sesame oil in a small container and shake to combine.

When the noodles are cooked, drain very well. I even use a few paper towels to dab up some of the excess water.

Add the noodles to a large bowl and set aside.

Drain the seaweed really well. Again, I use a few paper towels to soak up some of the excess water, but I DO NOT squeeze out the seaweed.

Add the seaweed to the noodles in a large bowl and set aside again.

Rinse the salt off of the cucumbers and drain well. Add the cucumbers to a paper towel, cheesecloth, or dish towel and squeeze to remove as much excess water as possible. Add to the bowl of noodles and seaweed.

Stir the cucumbers, seaweed, and noodles to combine. Top with the sauce and stir well to coat.

Just before serving, top with sesame seeds.

Zucchini with sage and caramelized onions

This simple dish celebrates summer produce and herbs like zucchini and sage. #caramelizedonions #sage #simplerecipes #dinner #lunch #vegetarian

This simple dish celebrates summer produce and herbs like zucchini and sage. #caramelizedonions #sage #simplerecipes #dinner #lunch #vegetarian

This 5-ingredient dish (I’m not counting water, salt, and pepper) is super simple, but tastes surprisingly complex and can be customized in endless ways to suit your family’s tastes.

Take me to the recipe!

This simple dish celebrates summer produce and herbs like zucchini and sage. #caramelizedonions #sage #simplerecipes #dinner #lunch #vegetarian

This simple dish celebrates summer produce and herbs like zucchini and sage. #caramelizedonions #sage #simplerecipes #dinner #lunch #vegetarian

So, I love zucchini. I actually kind of grieved when my glorious early zucchini plant withered and died thanks to a hungry squash vine borer this summer. But, truth be told, zucchini is kind of a zero in the flavor department. One of its best qualities is that it takes on the personality of whatever it’s paired with, right?

Take zoodles, for example. You would think the titular veg would be the star of the show, but those fake noodles are nothing without a great sauce!

Anyway, THIS zucchini dish has caramelized onions and plenty of salt for flavor, sage for herbiness, and goat cheese to give everything a creamy, saucy vibe. The zucchini is really there for body and to provide a base for the other flavors and it totally does the job!

This simple dish celebrates summer produce and herbs like zucchini and sage. #caramelizedonions #sage #simplerecipes #dinner #lunch #vegetarian

This simple dish celebrates summer produce and herbs like zucchini and sage. #caramelizedonions #sage #simplerecipes #dinner #lunch #vegetarian

This simple dish celebrates summer produce and herbs like zucchini and sage. #caramelizedonions #sage #simplerecipes #dinner #lunch #vegetarian

This simple dish celebrates summer produce and herbs like zucchini and sage. #caramelizedonions #sage #simplerecipes #dinner #lunch #vegetarian

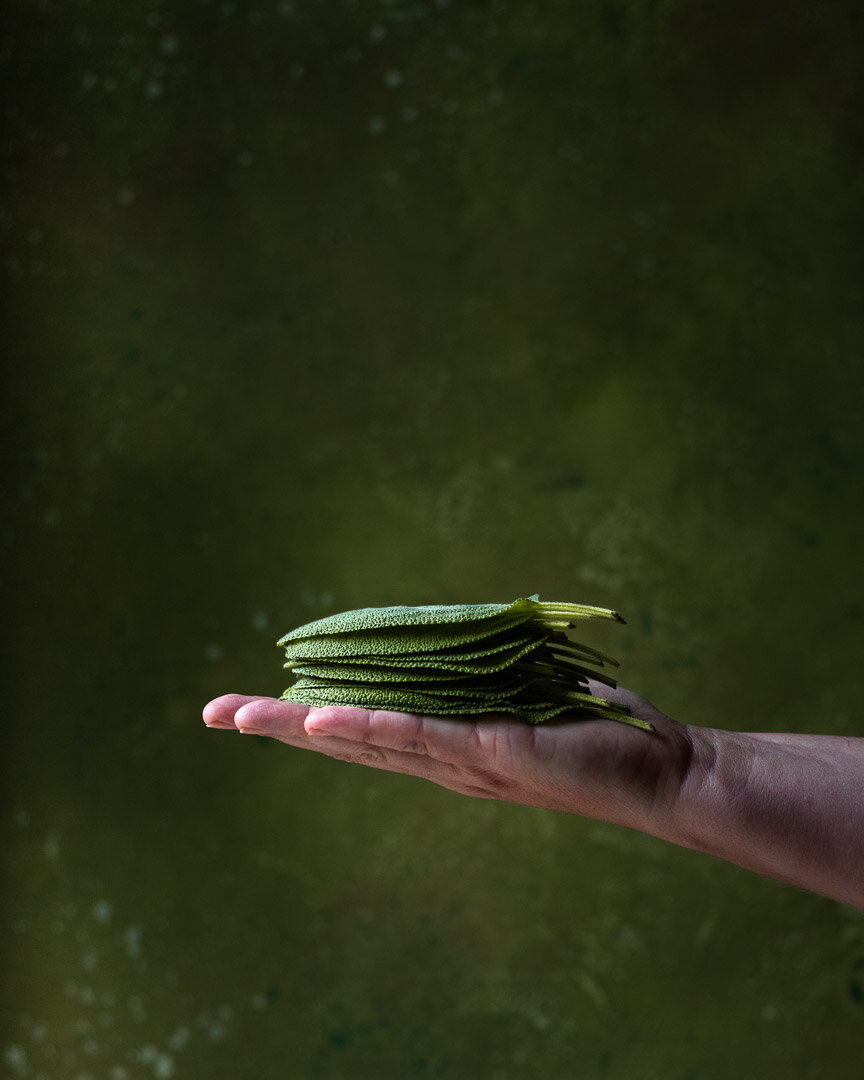
But can we talk about sage for a second? Where our zucchini flopped, our sage flourished and we ended up with the most gigantic and brilliant green leaves. But sage feels so autumnal that I struggle to use it in the summer time. And in all fairness, the combo of caramelized onions, goat cheese, and sage does have an autumn vibe. But when paired with the summery zucchini, you can totally eat this in July without feeling like you’re trying to speed up time.

A couple of notes:

  • I spiralized the zucchini, but when cooking the zoodles, they produce a lot of water. If you want something a little dryer or just don’t have/don’t want a spiralizer, just chop the zucchini into 1/2 inch cubes. They’ll be less wet, but no less delicious.

  • We added white fish to this dish the first time we made it and it was my favorite iteration by far. You can absolutely add a can of beans, shredded chicken, or any other protein as well. But anything that requires more than a few minutes of cooking time (the white fish was thin and cooked in about 6 minutes) should be pre-cooked and added along with the zucchini to heat up during the veg’s short cooking time.

This simple dish celebrates summer produce and herbs like zucchini and sage. #caramelizedonions #sage #simplerecipes #dinner #lunch #vegetarian

This simple dish celebrates summer produce and herbs like zucchini and sage. #caramelizedonions #sage #simplerecipes #dinner #lunch #vegetarian

Zucchini with caramelized onions and sage

Time: 30 minutes, all active
Yield: 2 large adult servings, 2 kid servings or more if you add protein

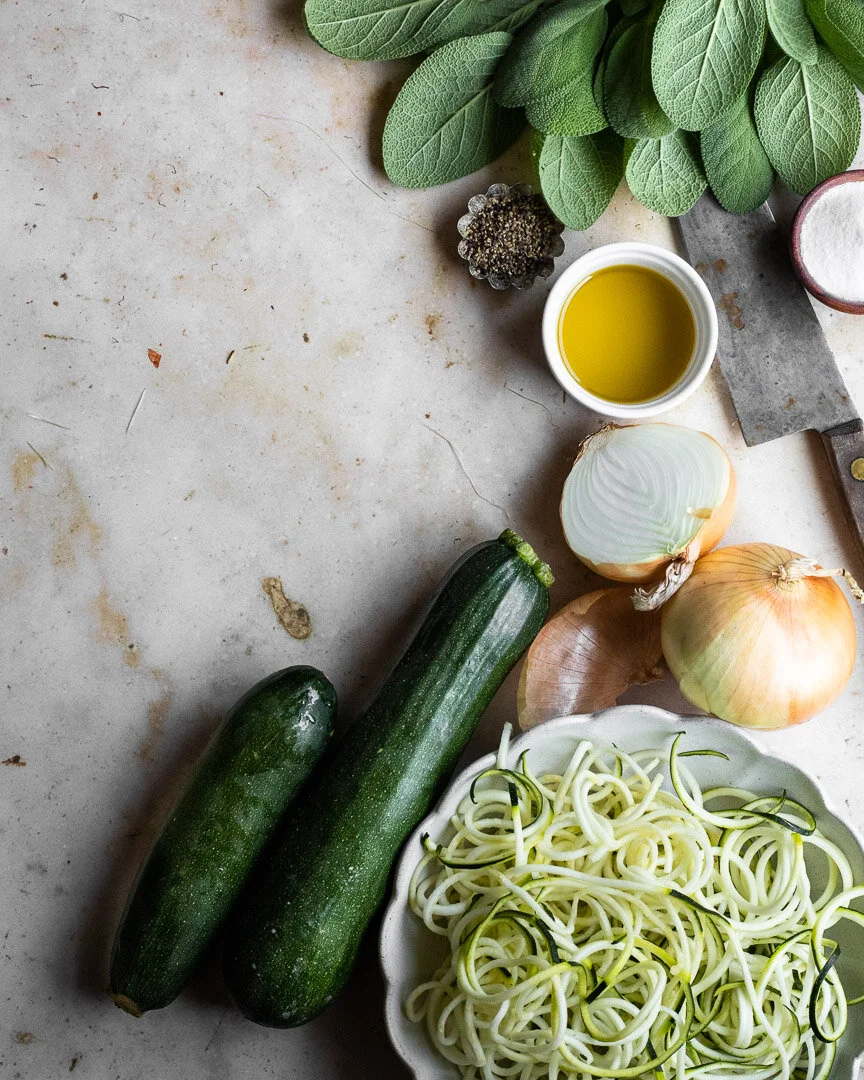
2 large onions, thinly sliced
2 Tbsp olive oil
2 -3 cups water
1 tsp salt, divided, or to taste
5-10 x-large sage leaves (about 1½ to 3 Tbsp chopped fresh sage), to taste
2 large zucchini, chopped or spiralized
Pepper, to taste
½ cup soft goat cheese, or to taste

Heat the olive oil in a large pan with a tight fitting lid until a drop of water sizzles. 

Turn the flame to medium* and add the onions. Stir frequently until some browning begins on the onions or in the pan. Once this happens, add 2-3 Tbsp of water (or, enough to loosen those browned bits from the bottom of the pan), stir and scrape to loosen the browned bits, cover with the lid, and let cook for 2 minutes.**

Repeat this process until the onions are soft and have turned a dark brown color.

*If the onions or the pan are browning too fast, turn down the flame. 

**If there is too much water in the pan when you take off the lid after letting the onions cook for 2 minutes, turn up the flame and let the onions cook with the cover off until there’s more browning on the pan that can be deglazed.

Once the onions are browned to your liking (I usually stop after about 20 minutes), add ½ tsp salt and pepper to taste. 

Add the sage and stir well. 

(If adding protein to the pan, add it now and cook to your preferred doneness.)

Add the zucchini and stir into the onions and sage. Cook for 2-3 minutes, or until the zucchini is slightly wilted. I like the zucchini to have a bit of crunch, so if you like it cooked a bit more, add a few more minutes here.

Add the rest of the salt and pepper to taste. 

Top with the goat cheese and serve.

S'mores ice cream sundaes

Combine graham cracker no-churn ice cream, milk chocolate magic shell, and freshly scorched gooey marshmallows to make the best and easiest ice cream sundaes to celebrate summer! #meandthemoose #nochurnicecream #s’mores #s’moresrecipes #nochurnicecr…

Combine graham cracker no-churn ice cream, milk chocolate magic shell, and freshly scorched gooey marshmallows to make the best and easiest ice cream sundaes to celebrate summer! #meandthemoose #nochurnicecream #s’mores #s’moresrecipes #nochurnicecreamrecipes

Combine graham cracker no-churn ice cream, milk chocolate magic shell, and freshly scorched gooey marshmallows to make the best and easiest ice cream sundaes to celebrate summer!

Take me to the sundaes!

Combine graham cracker no-churn ice cream, milk chocolate magic shell, and freshly scorched gooey marshmallows to make the best and easiest ice cream sundaes to celebrate summer! #meandthemoose #nochurnicecream #s’mores #s’moresrecipes #nochurnicecreamrecipes

Before we get to the ice cream, I need to vent a little. I haven’t been making these posts as person lately because there’s so much kerfuffle on the internet about how people hate reading food bloggers’ life stories. But I guess if you’re reading this, you’re one of the people who is, at worst, neutral on the topic, so here we go! (If you’re here by mistake, there’s a “jump to recipe” button above.)

I need a break from the mental load. We all have one. It’s made up of the stuff that weighs on us and feels like quicksand because there’s no way to think ourselves out of it, though we can’t stop trying. It’s made up of the constant to-do’s and the guilt when they constantly don’t get done.

I’m stuck under the mental load of parenthood and all the ways in which it affects my identity. Lately I’ve been thinking about how I invest too much in both parenthood and my blog/food photography to feel really masterful at either. I suppose one can argue that there’s no such thing as “investing too much” in parenthood, but I really enjoy writing and taking photos and that work helps me feel like I’m something other than “someone’s mom.”

But I also feel guilty about the times I let Z play by himself in his playroom (that’s part of our kitchen, don’t panic) when I want to work on a new recipe or catch a specific light. I’m sure someone would argue that I’m selfish while someone else would point out that kids need to learn independence. And, frankly, both of those people are me. But really, who added “constant playmate” to a parent’s job description?

Anyway, it’s hard to feel productive or creative when so much bandwidth is devoted to pediatrician appointments and camp drop-offs and nap times and making sure all the little things are accounted for. But when I do focus on work, I wonder if I’m depriving M and Z of quality time that will have lasting affects on their development? Maybe that’s way too dramatic. It feels a little dramatic as I write this.

And then I worry (maybe that’s my actual full time job?) that I spend SO MUCH time thinking about parenting and work that I neglect all of the other import things. Like, when do I think about my marriage? And developing new friendships? And nurturing old friendships? And exercising? And did we give the dog his heartworm medicine this month? And what do we do about that front porch pillar that seems to be sinking?

And then my brain short-circuits and I have to cool it down with an ice cream sundae. What a transition!

Combine graham cracker no-churn ice cream, milk chocolate magic shell, and freshly scorched gooey marshmallows to make the best and easiest ice cream sundaes to celebrate summer! #meandthemoose #nochurnicecream #s’mores #s’moresrecipes #nochurnicecr…

Combine graham cracker no-churn ice cream, milk chocolate magic shell, and freshly scorched gooey marshmallows to make the best and easiest ice cream sundaes to celebrate summer! #meandthemoose #nochurnicecream #s’mores #s’moresrecipes #nochurnicecreamrecipes

If, like me, your brain is a funny place to live sometimes, you want to combine elaborate and easy. This ice cream sundae is sort of a three-part recipe, but each part is dead simple. So, it feels like you’re doing something tricky but also not.

We start with a straightforward vanilla no-churn ice cream base that has soaked graham crackers in it. Then, we top it with a two-ingredient milk chocolate magic shell and freshly charred marshmallows.

You might be wondering, why wouldn’t you just combine the milk chocolate bits and charred marshmallows in the actual ice cream? And you absolutely CAN do that! BUT, frozen marshmallows bear no resemblance to fresh gooey ones. And why have plain chocolate bits when you can spend 30 seconds melting them with coconut oil and pour it over for some ice cream magic? And some of the magic shell probably won’t freeze, so you get the gooey marshmallows AND the gooey chocolate, which feels very much like the real s’mores deal.

ALSO, leaving the graham cracker ice cream alone makes it adaptable to soooo many other flavor combinations. Cheesecake ice cream? Yup. Key lime pie ice cream? Yup. PB&J on a graham cracker ice cream? You bet. The possibilities are endless.

So what are you waiting for???

A couple of notes:

  • You can let the graham crackers soak for as little as an hour or you can forget about them overnight. As long as the cookies are completely mushy, you’re good to go.

  • When making no-churn ice cream, i’m a big proponent of throwing everything together and whipping it in one step, but in this case, whip the cream/graham cracker mixture first and then fold in the condensed milk.

  • DON’T FORGET THE SALT! S’mores are a sweet affair to begin with. A nice pinch of kosher salt in the ice cream base before freezing cuts the sweetness just a bit.

  • For charring: if you don’t have a kitchen torch (but they really are super fun to use and you can get one at Target), roast your marshmallows over a fire or in the oven, but WATCH THEM LIKE A HAWK. Marshmallows can catch on fire under a broiler, so I set the temp to about 400/425 depending on your oven and move a rack up to the top third.

  • For the magic shell: I like to use filtered coconut oil because it doesn’t taste like coconut. Virgin is fine to use if that’s what you have, but it might taste faintly of coconut.

Combine graham cracker no-churn ice cream, milk chocolate magic shell, and freshly scorched gooey marshmallows to make the best and easiest ice cream sundaes to celebrate summer! #meandthemoose #nochurnicecream #s’mores #s’moresrecipes #nochurnicecr…

Combine graham cracker no-churn ice cream, milk chocolate magic shell, and freshly scorched gooey marshmallows to make the best and easiest ice cream sundaes to celebrate summer! #meandthemoose #nochurnicecream #s’mores #s’moresrecipes #nochurnicecreamrecipes

S’mores ice cream sundaes

Time: At least overnight, but about 15-20 minutes of active time
Yield: about 5-6 large sundaes

For the ice cream:
8 full sheets of graham crackers (or one package if they come three packages to a box)
1 pint heavy cream (2 cups)
14 oz sweetened condensed milk (1 small can)
1 tsp vanilla extract
1 large pinch fine kosher or sea salt

In a large bowl, mash the graham crackers into tiny bits. I use my hands for this because the bits don’t have to be uniform. Pour the cream over the bits and stir to combine. Cover and leave in the fridge until the graham crackers have turned to mush, about 1 hour or up to 1 day.

Once the graham crackers have softened, remove the large bowl from the fridge. Using a hand or stand mixer, whip just until the cream makes stiff-ish soft peaks (see photo above), about 45 seconds.

Add the condensed milk, vanilla, and salt and fold gently with a spatula.

Transfer to a freezable container and freeze for at least 8 hours or overnight.

For the magic shell:
6 oz milk chocolate (chips, chopped up bars, whatever)
2 Tbsp coconut oil (see notes above the recipe)

Marshmallows to taste

Combine the chocolate and coconut oil in a microwave-safe bowl. Microwave for 30 seconds and stir well. Repeat in 10 second bursts until fully melted. (Mine usually melted within 30 seconds, but it’s really hot here, so my chocolate and coconut oil were already soft.)

Let cool for 10-15 minutes while you char your marshmallows (see note above).

Assemble sundaes with ice cream, magic shell poured over and topped with marshmallows and an optional pinch of flaky sea salt.

Cauliflower Parmesan

Swap the meat and heavy breading with cauliflower and a crunchy, salty panko topping, and you have a hearty, satisfying pescatarian dish that’s quick, easy, and pleases everyone in the family. #meandthemoose #cauliflowerparmesan #lightercomfortfood …

Swap the meat and heavy breading with cauliflower and a crunchy, salty panko topping, and you have a hearty, satisfying pescatarian dish that’s quick, easy, and pleases everyone in the family. #meandthemoose #cauliflowerparmesan #lightercomfortfood #comfortfood #sheetpandinner #dinnerrecipes

This recipe replaces meat with cauliflower steaks and uses some crispy, briny, magical breadcrumbs to add a crunch that mimics breading without any dredging or frying necessary!

Take me to the recipe!

Swap the meat and heavy breading with cauliflower and a crunchy, salty panko topping, and you have a hearty, satisfying pescatarian dish that’s quick, easy, and pleases everyone in the family. #meandthemoose #cauliflowerparmesan #lightercomfortfood …

Swap the meat and heavy breading with cauliflower and a crunchy, salty panko topping, and you have a hearty, satisfying pescatarian dish that’s quick, easy, and pleases everyone in the family. #meandthemoose #cauliflowerparmesan #lightercomfortfood #comfortfood #sheetpandinner #dinnerrecipes

I put on real clothes for the first time post-pandemic and postpartum for a wedding last weekend and it felt…strange. Like, I’ve completely lost track of the parameters of my body. I ordered a couple of dresses that were all either wildly too big or wildly too small. Have clothes changed a lot in the past 23 months? Or do I need to add body dysmorpia to the list of fun things I have to deal with now???

Anyway, I need to get a grip on a lot of things. Firstly, clothes. Secondly, time. The pandemic made time seem both short and interminable. But one nice benefit to having my husband working from home for the past year was that I could hand him a baby monitor while Z napped or leave him with a barely moving infant while he worked so I could handle the 5-year-old. Now that Z is a one-toddler wrecking crew and Ethan will head back to the office soon, I have to account for the whereabouts of two children who are doing activities in the real world again. Ugh.

Well, this cauliflower parmesan sheet pan dinner solves both problems. Well, not SOLVES necessarily, but definitely fits the bill for a fast, light meal that everyone likes.

Swap the meat and heavy breading with cauliflower and a crunchy, salty panko topping, and you have a hearty, satisfying pescatarian dish that’s quick, easy, and pleases everyone in the family. #meandthemoose #cauliflowerparmesan #lightercomfortfood …

Swap the meat and heavy breading with cauliflower and a crunchy, salty panko topping, and you have a hearty, satisfying pescatarian dish that’s quick, easy, and pleases everyone in the family. #meandthemoose #cauliflowerparmesan #lightercomfortfood #comfortfood #sheetpandinner #dinnerrecipes

A couple of notes:

  • This recipe leaves a lot of wiggle room for more sauce, cheese, and breadcrumb topping to suit your tastes.

  • I use cauliflower here, but you could certainly use meat or any other vegetable you like topped with sauce, mozzarella, parmesan, and magical breadcrumbs.

  • I find this meal really filling for something sans meat, but my husband always asks for a sausage or some leftovers from another meal to go with it, so use this guy as a side or a main as you see fit.

  • I barely salt the cauliflower. Usually, it needs a lot of seasoning, but since the breadcrumbs are so salty, I don’t want to overdo it. You can always add, but you can’t subtract.

  • The cooking time will depending on how thinly you slice the cauliflower. Check it after 10 minutes and stop roasting when the stems are just fork tender.

Swap the meat and heavy breading with cauliflower and a crunchy, salty panko topping, and you have a hearty, satisfying pescatarian dish that’s quick, easy, and pleases everyone in the family. #meandthemoose #cauliflowerparmesan #lightercomfortfood …

Swap the meat and heavy breading with cauliflower and a crunchy, salty panko topping, and you have a hearty, satisfying pescatarian dish that’s quick, easy, and pleases everyone in the family. #meandthemoose #cauliflowerparmesan #lightercomfortfood #comfortfood #sheetpandinner #dinnerrecipes

Cauliflower Parmesan

Time: About 30 minutes, all active
Yield: 2-3 mains or 4-5 sides

1 very large or 2 medium heads of cauliflower, stems intact
¼ cup olive oil
Pinch of salt
1½ -2 cup tomato sauce (plus extra for dipping)
1½ cup shredded mozzarella 
¼ cup shredded or grated parmesan 
1 cup Magical breadcrumbs (recipe below)

Preheat oven to 425. 

Remove the leaves at the bottom of the cauliflower, but leave the stem intact. Cut the cauliflower into 1-inch thick slices and spread on a baking sheet. Some may break into florets and that’s okay! 

Spray or brush on half of the olive oil. Flip the cauliflower and spray or brush the other sides. Season one side of the cauliflower with a pinch of salt. 

Roast for 15-20 minutes, or until the stems of the cauliflower are fork tender. Start checking around 10 minutes.

While the cauliflower roasts, make the breadcrumbs (recipe below) 

When cauliflower is fork tender, remove it from the oven and turn on the broiler.

While the broiler is heating, top the cauli steaks with 1 cup of the sauce and all of the mozzarella. 

Broil until the cheese is golden brown, about 2 minutes. 

Top with the parmesan and magical breadcrumbs to taste.

Magical breadcrumbs
2 Tbsp olive oil or butter
2 whole anchovy filets (or 4 split filets depending on how your anchovies are canned)*
1 heaping cup panko
2 large garlic cloves, minced (about 2 Tbsp) 

Heat olive oil in a large skillet over a medium-low flame. Add the anchovies and cook, breaking them up with a wooden spoon or spatula until they’re completely dissolved, about 3-4 minutes.

Add the panko and cook, stirring frequently, for 3-4 minutes. If the breadcrumbs start to darken, turn the flame down.

Add the garlic and stir well. Let the mixture cook, untouched for 2-3 minutes or until the bottom of the breadcrumbs start to turn golden. Turn off the flame and mix the breadcrumbs. Let cool for a few minutes in the pan before using. 

If saving for later, let the breadcrumbs cool completely and then store, covered loosely, in the fridge for up to 4 days.