Chocolate anise crinkle cookies
Heading to the spice cabinet can up your cookie game considerably! A subtle hint of anise elevates this basic chocolate crinkle cookie, but is still chocolate-y enough to be a crowd favorite.
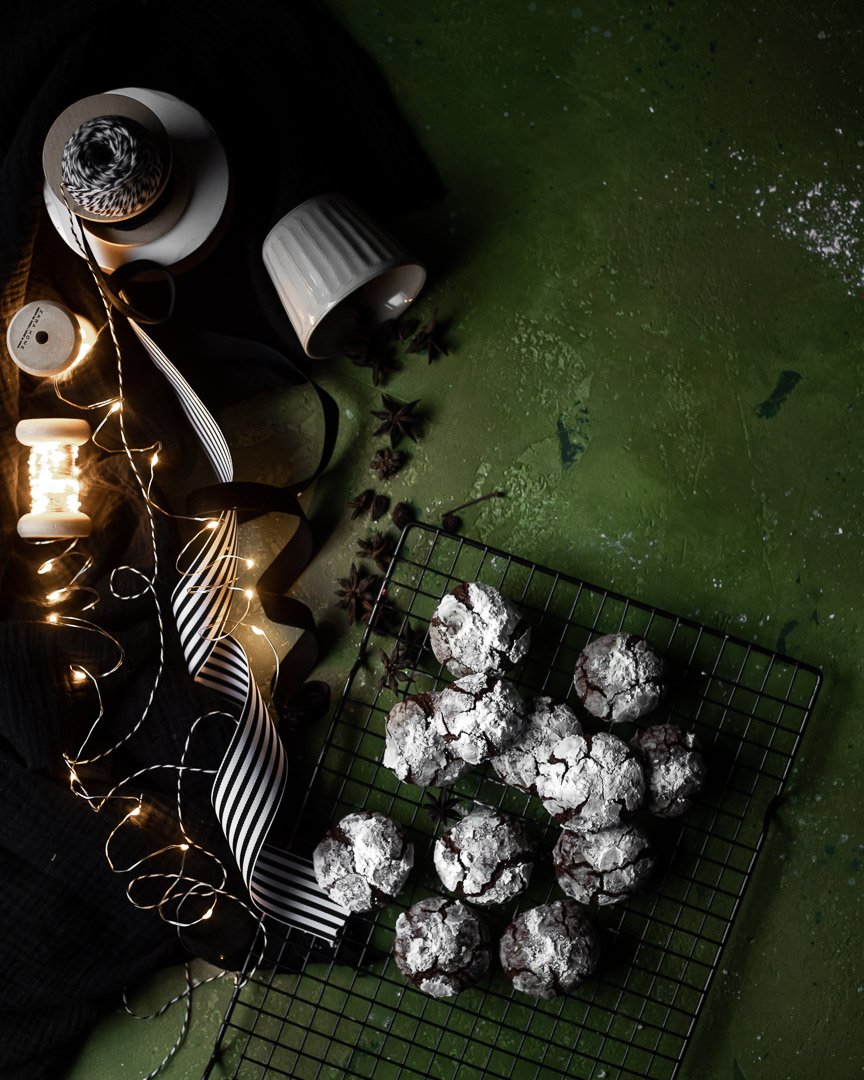
These are the easiest, fastest, one-bowl, low-fuss, sophisticated, delicious Chocolate Anise Crinkle Cookies for your holiday (or any day!) baking. #meandthemoose #Christmascookies #chocolateanisecrinklecookies #chocolate #crinklecookies #cookierecipes
I used to hate the flavor of licorice. HATE with a hard H, long A, and hard T. Hate. But somewhere between kid one and kid two, I had a weird impulse to try black licorice again and…I love it. I can eat a whole bag in one sitting. I can’t explain it. Except to say that tastes change and I’m not sure I ate a piece of licorice between the ages of 5 and 37, so I may have been unnecessarily denying myself for years.
So, if you think you hate the taste of licorice, maybe try again? Or try these cookies instead? The anise flavor is VERY subtle. It’s just enough to make you take another bite and wonder, “What is that? Licorice?”
The chocolate is still the star of the show and the texture is her very talented co-star.
This recipe is BARELY adapted from Dorie Greenspan’s one for Snowy Topped Brownie Drops from her cookbook Dorie’s Cookies. I made about 1 million of these cookies before circling back to this base recipe. I swapped in bread flour for the AP, tried a combo of melted chocolate and cocoa powder, and fiddled with many ingredient ratios. Nothing beat the original, which should come as absolutely no surprise to anyone who’s baked or tasted one of Dorie’s recipes.
What I love about these cookies isn’t just the taste and texture. I also love how they are SO EASY to make. Nothing needs to come to room temperature. You don’t need a mixer. You only need one pan. There are only a handful of ingredients, all of which you probably have in your cabinets right now. They are perfect.
These are the easiest, fastest, one-bowl, low-fuss, sophisticated, delicious Chocolate Anise Crinkle Cookies for your holiday (or any day!) baking. #meandthemoose #Christmascookies #chocolateanisecrinklecookies #chocolate #crinklecookies #cookierecipes
These are the easiest, fastest, one-bowl, low-fuss, sophisticated, delicious Chocolate Anise Crinkle Cookies for your holiday (or any day!) baking. #meandthemoose #Christmascookies #chocolateanisecrinklecookies #chocolate #crinklecookies #cookierecipes

These are the easiest, fastest, one-bowl, low-fuss, sophisticated, delicious Chocolate Anise Crinkle Cookies for your holiday (or any day!) baking. #meandthemoose #Christmascookies #chocolateanisecrinklecookies #chocolate #crinklecookies #cookierecipes
A quick note about oven temperatures: If I’ve said in once, I’ve said it 1,000 times: Get to know your oven. It will make you a better baker and save you heartache and wasted ingredients. I bought two cheap oven thermometers and placed one in the back of my oven and one in the front. Wouldn’t you know it, the back of my oven is about 25 degrees warmer than the front. So now I always set the oven slightly below whatever temp the recipe calls for and rotate my pans halfway through baking. Works like a charm!

These are the easiest, fastest, one-bowl, low-fuss, sophisticated, delicious Chocolate Anise Crinkle Cookies for your holiday (or any day!) baking. #meandthemoose #Christmascookies #chocolateanisecrinklecookies #chocolate #crinklecookies #cookierecipes
Chocolate anise crinkle cookies
Adapted from Dorie Greenspan
Time: 20 minutes of prep, 30 minutes of chilling, 12 minutes of baking
Yield: 12 cookies
2 1/2 Tbsp butter
4 oz chocolate chips
6 Tbsp granulated sugar (75 g)
1 egg
1/2 tsp vanilla extract
3/4 - 1 tsp ground anise
Heaping 1/4 tsp fine sea salt
6 Tbsp AP flour (51 g)
Powdered sugar for rolling
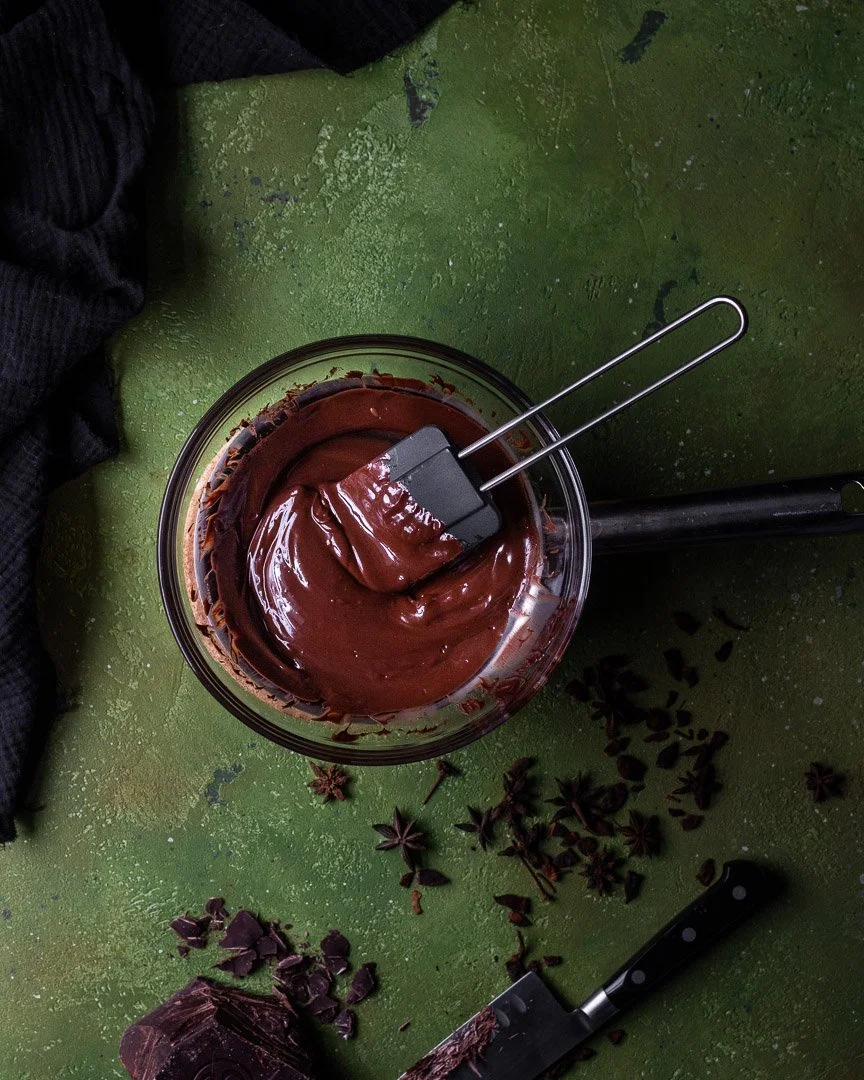
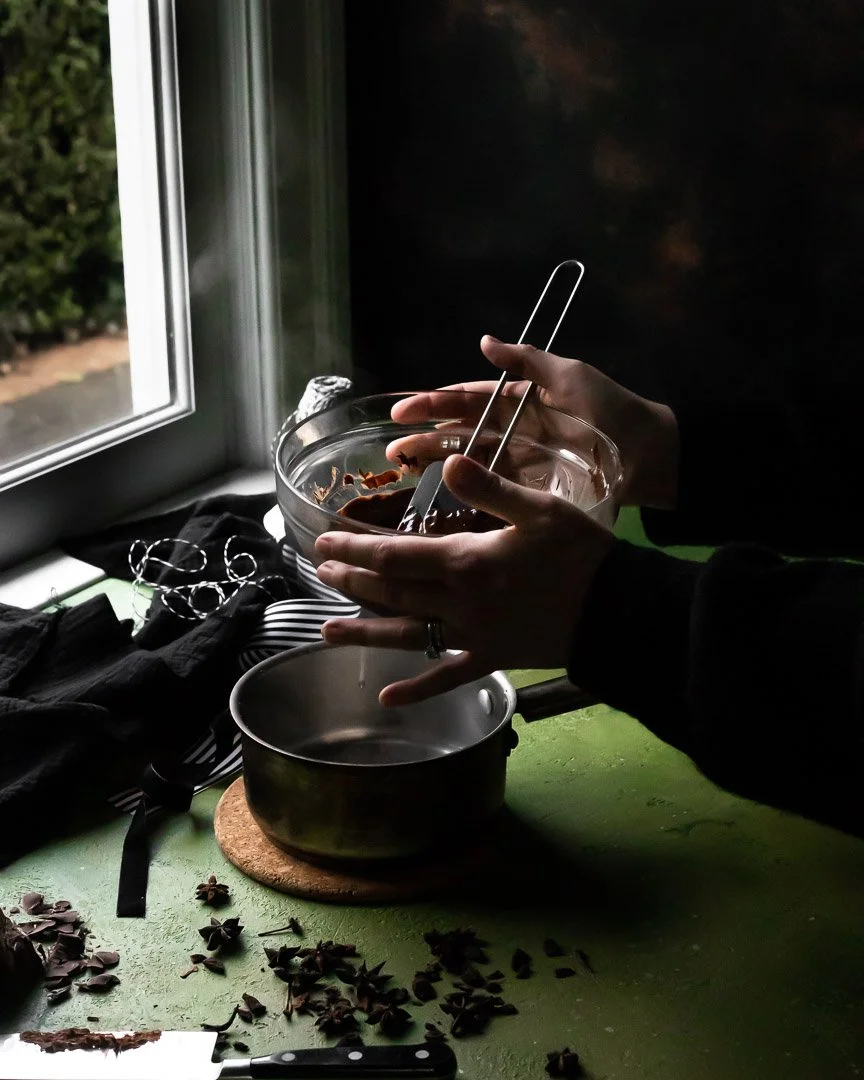
In a large bowl, melt the butter and chocolate chips in the microwave or over a small pan with 1/2 an inch of simmering water. If using the microwave, start by heating on high for 30 seconds. Stir, and then heat in 10-second bursts until everything is nearly melted. Stir well to let the residual heat finish the job.
Let cool for about 5 minutes.
Add the sugar and mix well with a spatula. Add the egg and the vanilla and mix well.
Add the anise, salt, and flour and mix well. If you are feeling fancy, you can whisk the dry ingredients together separately and then add them to the wet ingredients, but I have not had a problem with distribution when dumping everything into the bowl together.
Cover and freeze for 30 minutes.
Preheat the oven to 350. (See note above!)
Scoop about 1-2 Tbsp of batter and roll into a ball between your palms. Drop into the powdered sugar and cover completely and liberally with the powdered sugar.
Bake for 10-12 minutes, rotating the pans halfway through. The cookies should be slightly under-baked because we want them to have a gooey, brownie-like texture in the middle.