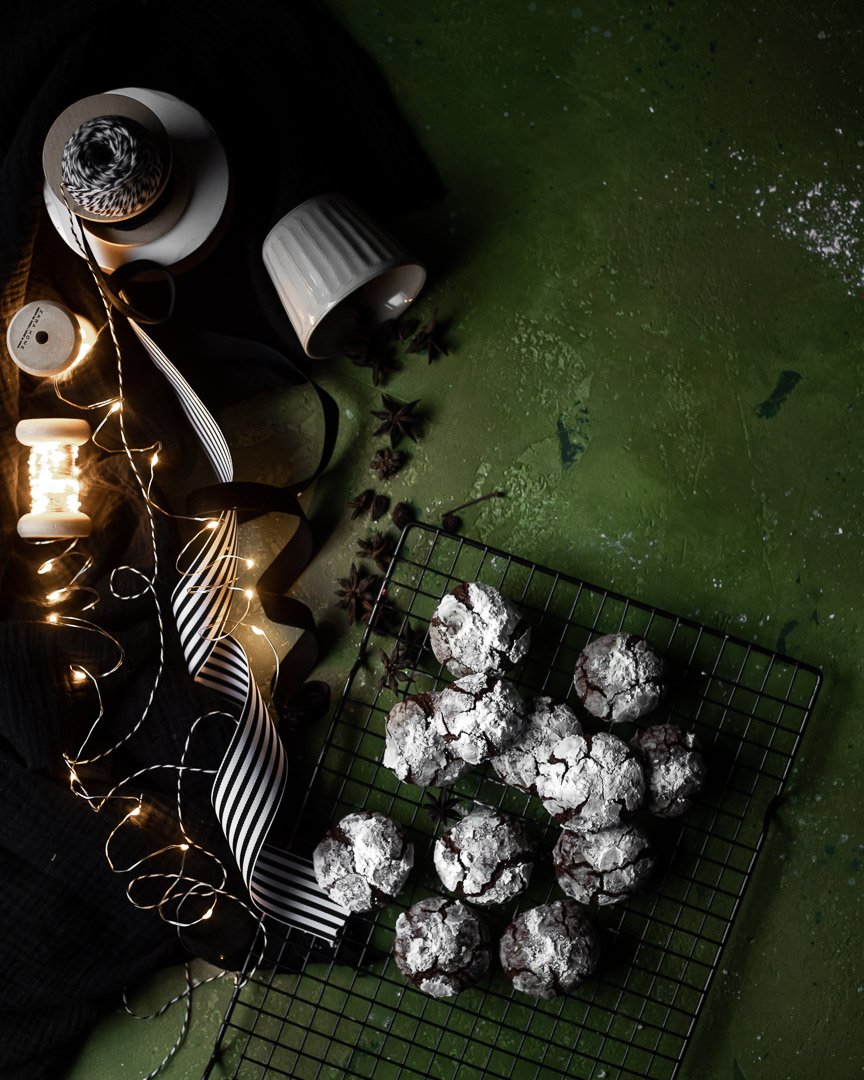
Chocolate anise crinkle cookies

These are the easiest, fastest, one-bowl, low-fuss, sophisticated, delicious Chocolate Anise Crinkle Cookies for your holiday (or any day!) baking. #meandthemoose #Christmascookies #chocolateanisecrinklecookies #chocolate #crinklecookies #cookierecipes

Heading to the spice cabinet can up your cookie game considerably! A subtle hint of anise elevates this basic chocolate crinkle cookie, but is still chocolate-y enough to be a crowd favorite.

Take me to the recipe!

These are the easiest, fastest, one-bowl, low-fuss, sophisticated, delicious Chocolate Anise Crinkle Cookies for your holiday (or any day!) baking. #meandthemoose #Christmascookies #chocolateanisecrinklecookies #chocolate #crinklecookies #cookierecipes

I used to hate the flavor of licorice. HATE with a hard H, long A, and hard T. Hate. But somewhere between kid one and kid two, I had a weird impulse to try black licorice again and…I love it. I can eat a whole bag in one sitting. I can’t explain it. Except to say that tastes change and I’m not sure I ate a piece of licorice between the ages of 5 and 37, so I may have been unnecessarily denying myself for years.

So, if you think you hate the taste of licorice, maybe try again? Or try these cookies instead? The anise flavor is VERY subtle. It’s just enough to make you take another bite and wonder, “What is that? Licorice?”

The chocolate is still the star of the show and the texture is her very talented co-star.

This recipe is BARELY adapted from Dorie Greenspan’s one for Snowy Topped Brownie Drops from her cookbook Dorie’s Cookies. I made about 1 million of these cookies before circling back to this base recipe. I swapped in bread flour for the AP, tried a combo of melted chocolate and cocoa powder, and fiddled with many ingredient ratios. Nothing beat the original, which should come as absolutely no surprise to anyone who’s baked or tasted one of Dorie’s recipes.

What I love about these cookies isn’t just the taste and texture. I also love how they are SO EASY to make. Nothing needs to come to room temperature. You don’t need a mixer. You only need one pan. There are only a handful of ingredients, all of which you probably have in your cabinets right now. They are perfect.

These are the easiest, fastest, one-bowl, low-fuss, sophisticated, delicious Chocolate Anise Crinkle Cookies for your holiday (or any day!) baking. #meandthemoose #Christmascookies #chocolateanisecrinklecookies #chocolate #crinklecookies #cookierecipes

These are the easiest, fastest, one-bowl, low-fuss, sophisticated, delicious Chocolate Anise Crinkle Cookies for your holiday (or any day!) baking. #meandthemoose #Christmascookies #chocolateanisecrinklecookies #chocolate #crinklecookies #cookierecipes

These are the easiest, fastest, one-bowl, low-fuss, sophisticated, delicious Chocolate Anise Crinkle Cookies for your holiday (or any day!) baking. #meandthemoose #Christmascookies #chocolateanisecrinklecookies #chocolate #crinklecookies #cookierecipes

A quick note about oven temperatures: If I’ve said in once, I’ve said it 1,000 times: Get to know your oven. It will make you a better baker and save you heartache and wasted ingredients. I bought two cheap oven thermometers and placed one in the back of my oven and one in the front. Wouldn’t you know it, the back of my oven is about 25 degrees warmer than the front. So now I always set the oven slightly below whatever temp the recipe calls for and rotate my pans halfway through baking. Works like a charm!

These are the easiest, fastest, one-bowl, low-fuss, sophisticated, delicious Chocolate Anise Crinkle Cookies for your holiday (or any day!) baking. #meandthemoose #Christmascookies #chocolateanisecrinklecookies #chocolate #crinklecookies #cookierecipes

Chocolate anise crinkle cookies

Adapted from Dorie Greenspan
Time: 20 minutes of prep, 30 minutes of chilling, 12 minutes of baking
Yield: 12 cookies

2 1/2 Tbsp butter
4 oz chocolate chips
6 Tbsp granulated sugar (75 g)
1 egg
1/2 tsp vanilla extract
3/4 - 1 tsp ground anise
Heaping 1/4 tsp fine sea salt
6 Tbsp AP flour (51 g)
Powdered sugar for rolling

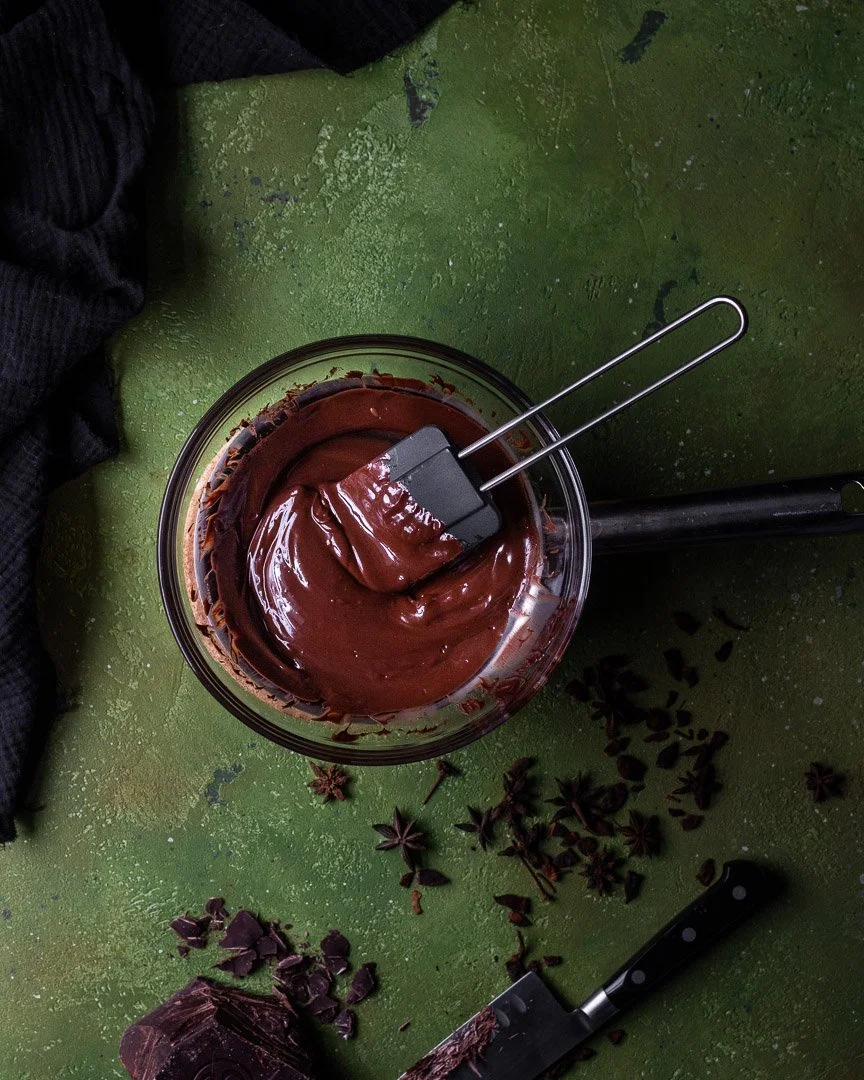
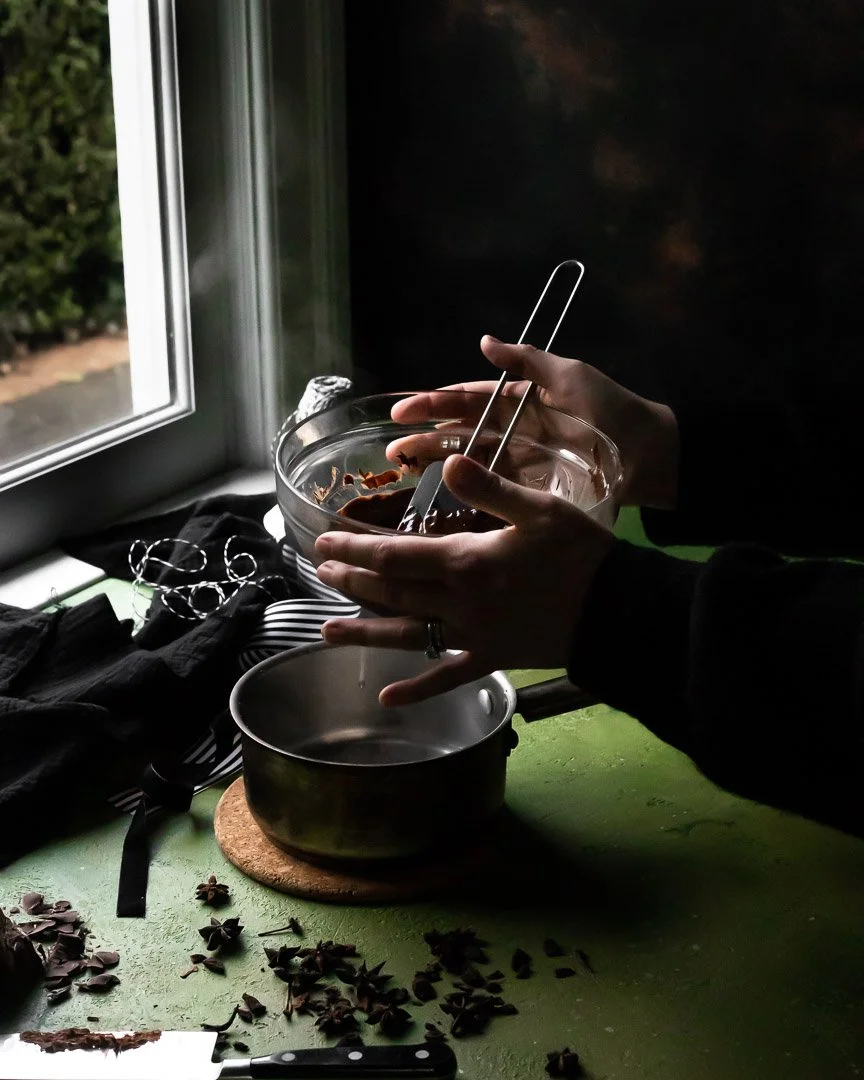
In a large bowl, melt the butter and chocolate chips in the microwave or over a small pan with 1/2 an inch of simmering water. If using the microwave, start by heating on high for 30 seconds. Stir, and then heat in 10-second bursts until everything is nearly melted. Stir well to let the residual heat finish the job.

Let cool for about 5 minutes.

Add the sugar and mix well with a spatula. Add the egg and the vanilla and mix well.

Add the anise, salt, and flour and mix well. If you are feeling fancy, you can whisk the dry ingredients together separately and then add them to the wet ingredients, but I have not had a problem with distribution when dumping everything into the bowl together.

Cover and freeze for 30 minutes.

Preheat the oven to 350. (See note above!)

Scoop about 1-2 Tbsp of batter and roll into a ball between your palms. Drop into the powdered sugar and cover completely and liberally with the powdered sugar.

Bake for 10-12 minutes, rotating the pans halfway through. The cookies should be slightly under-baked because we want them to have a gooey, brownie-like texture in the middle.

Pickled veggie pasta salad

This pasta salad requires a tiny bit of forethought so that you can let the veggies pickle for a few hours, but it’s well worth the effort for a crowd-pleasing, tangy and bright salad that complements any other BBQ dishes. #meandthemoose #pastasalad…

This pasta salad requires a tiny bit of forethought so that you can let the veggies pickle for a few hours, but it’s well worth the effort for a crowd-pleasing, tangy and bright salad that complements any other BBQ dishes. #meandthemoose #pastasalad #pastarecipes #summerbbq #pickles #pickledveggies

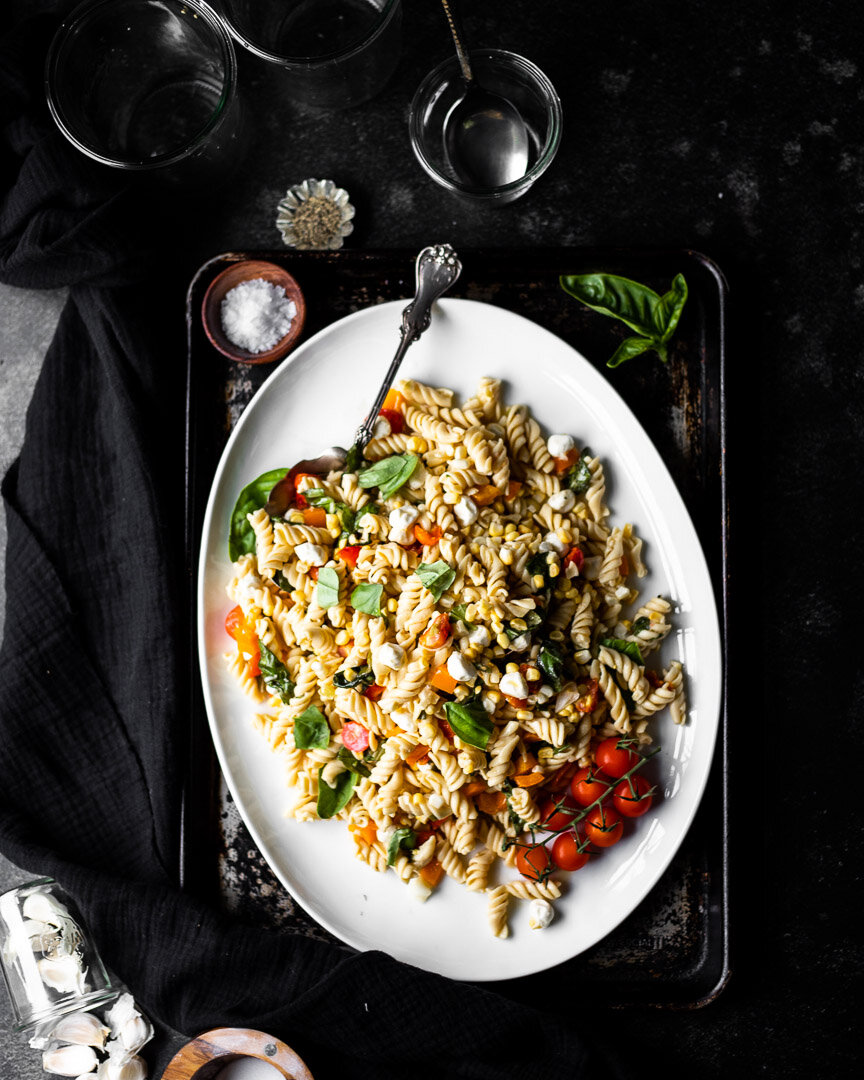
This is my platonic ideal of pasta salad: Tangy, bright, and crunchy, but also a little creamy and, frankly, oily. You can’t help but smell a smoky grill, hear kids laughing, and feel the sun in your face with this salad on your plate.

Just the pasta, please.

This pasta salad requires a tiny bit of forethought so that you can let the veggies pickle for a few hours, but it’s well worth the effort for a crowd-pleasing, tangy and bright salad that complements any other BBQ dishes. #meandthemoose #pastasalad…

This pasta salad requires a tiny bit of forethought so that you can let the veggies pickle for a few hours, but it’s well worth the effort for a crowd-pleasing, tangy and bright salad that complements any other BBQ dishes. #meandthemoose #pastasalad #pastarecipes #summerbbq #pickles #pickledveggies

So, pasta salad is often an underwhelming affair. It feels necessary at BBQs and is easy to produce in huge quantities. And sans eggs or mayo, it keeps in the sun for hours without risking a side of salmonella. But what a waste when it’s totally boring!

This recipe uses a huge quantity of quick-pickled seasonal vegetables and aromatics, which takes a little pre-planning, but is very worth it. My kid also happens to love pickles, which is a pretty good way to get him to eat veggies.

This pasta salad requires a tiny bit of forethought so that you can let the veggies pickle for a few hours, but it’s well worth the effort for a crowd-pleasing, tangy and bright salad that complements any other BBQ dishes. #meandthemoose #pastasalad…

This pasta salad requires a tiny bit of forethought so that you can let the veggies pickle for a few hours, but it’s well worth the effort for a crowd-pleasing, tangy and bright salad that complements any other BBQ dishes. #meandthemoose #pastasalad #pastarecipes #summerbbq #pickles #pickledveggies

The recipe I’ve developed here is best when left overnight, but the veggies can be eaten after about 3 hours and definitely taste pickled. Leaving them overnight helps the garlic to mellow, which can be considered a kindness to your guests, no? But also feel free to omit the garlic if you must.

And while I haven’t included anything but the pasta, dressing, and veggies in this recipe, you can customize this dish in whatever way suits your family. I make this for the three of us with mozzarella balls or feta. I’ve also thought about searing some salmon and flaking it in there or just opening a can of tuna and dumping that in. Also, the pickled veggies remind me of gardiniera, so I’m sure a salami or other Italian cured meat would be amazing in there. Experiment! Go crazy!

This pasta salad requires a tiny bit of forethought so that you can let the veggies pickle for a few hours, but it’s well worth the effort for a crowd-pleasing, tangy and bright salad that complements any other BBQ dishes. #meandthemoose #pastasalad…

This pasta salad requires a tiny bit of forethought so that you can let the veggies pickle for a few hours, but it’s well worth the effort for a crowd-pleasing, tangy and bright salad that complements any other BBQ dishes. #meandthemoose #pastasalad #pastarecipes #summerbbq #pickles #pickledveggies

A couple of notes:

  • I’ve made this salad by putting all of the veggies into one jar and I’ve made them by separating the different veggies into their own jars. If you do the veggies separately, you might need to increase the amount of pickling liquid. Just double or triple the amount of vinegar, sugar, and salt that you mix together and spread it among the different containers.

  • I opted for scallions because, though I LOVE a pickled red onion, they turn the pickling liquid (and everything else that’s being soaked) a bit pink.

  • I also used fresh corn because it’s in season and is so sweet and perfect right off of the cob that I can’t imagine not using it. But I’m sure frozen would do the trick too.

  • I give a range of oil and a range of pasta to use here. Some fancier pasta comes in smaller amounts (12-14 oz is a popular weight), but you can definitely use a whole pound of that’s the amount you have. Obviously, the more pasta you use, the less prominent the veggies will be and the more sauce you’ll need and vice versa.

  • I’ve also made this with chickpea pasta and, dare I say it, I might PREFER the bean pasta to regular white pasta. Shocking, I know.

This pasta salad requires a tiny bit of forethought so that you can let the veggies pickle for a few hours, but it’s well worth the effort for a crowd-pleasing, tangy and bright salad that complements any other BBQ dishes. #meandthemoose #pastasalad…

This pasta salad requires a tiny bit of forethought so that you can let the veggies pickle for a few hours, but it’s well worth the effort for a crowd-pleasing, tangy and bright salad that complements any other BBQ dishes. #meandthemoose #pastasalad #pastarecipes #summerbbq #pickles #pickledveggies

Pickled veggie pasta salad

Active time: About 30 minutes, mostly spent chopping and mixing
Total time: Anywhere from 3 hours to 1 week, depending on how much you let the pickles sit
Yield: About 9-10 cups of salad

¾ cup white vinegar
1½ Tbsp sugar
¾ tsp salt
3 large cloves garlic, peeled and smashed
½ large bunch scallions (about 4-5 large), trimmed and roughly chopped
1 pint cherry tomatoes, halved  
½ large orange bell pepper, roughly chopped
2-3 large ears corn, with kernels removed (or about 1½-2 cups)
12-16 oz dried pasta (depending on the ratio of vegetables to pasta that you prefer)
1/2- 3/4 cup olive oil
2 Tbsp red wine vinegar
½ tsp Dijon mustard
½ tsp kosher salt
¼ tsp fresh pepper
½ tsp dried or 1 tsp fresh oregano, well minced if using fresh
¼- ½ cup fresh basil leaves, torn

For the pickled vegetables:
In a small bowl, combine the vinegar, sugar, and salt and stir until the sugar has dissolved, about 2 minutes. (You won’t hear any more crunching on the bottom of the container.)

In a large container or several smaller containers with a tight fitting lid (see note above about the amount of pickling liquid if making the pickles in separate jars), add the smashed garlic, chopped scallions, and chopped vegetables. Pour in the vinegar mixture, seal the container, and shake a few times.

Place in the refrigerator and leave for 3 hours or up to 1 week.

For the salad:
Cook your pasta according to package directions in well-salted water.

While your pasta cooks, combine the oil, red wine vinegar, dijon mustard, salt, pepper, and oregano in a small container.

Once the pasta is cooked, drain it and add it to a very large bowl. Add half of the olive oil mixture and stir well.

With a large fork or slotted spoon, remove the vegetables from the pickling liquid, transferring as little of the brine as possible (though don’t go crazy). Set aside the garlic cloves and mince the pickled cloves. Add everything to the pasta and stir well.

Add more of the olive oil mixture to taste until you feel that the pasta salad is wet enough.

Mix in and top with the torn basil before serving.

Rainbow Chard Galette

Rainbow Chard Galette | Me & The Moose. This galette is a super-easy show stopper for Easter and beyond! we ate it for dinner last night and the preschooler didn’t bat an eye at the heaps of greens. #meandthemoose #rainbowchard #sidedishes #vege…

This Rainbow Chard Galette is so good (I mean, there’s cheese and puff pastry, what’s not to love) and a serious show stopper for your Easter feast (or any day, really).

Take me to the recipe!

OVENS, amiright? It recently occurred to me that the real secret to successful baking is knowing your oven well. I mean, measuring and experience and bringing things to room temperature and patience are also important, but seriously, if you know that your oven runs hot or cool or that it has uneven spots, you can really up your baking game.

As you can tell, I’m still adjusting to our oven even though we’ve lived in our current house for almost two years.

Luckily, I’ve found that store-bought puff pastry is fairly forgiving. As long as your filling isn’t too wet and the oven is at least 400 degrees, you’re pretty safe.

Which makes this easy galette a reliable option for your holiday table.

Rainbow Chard Galette | Me & The Moose. This galette is a super-easy show stopper for Easter and beyond! we ate it for dinner last night and the preschooler didn’t bat an eye at the heaps of greens. #meandthemoose #rainbowchard #sidedishes #vege…

A couple of notes:

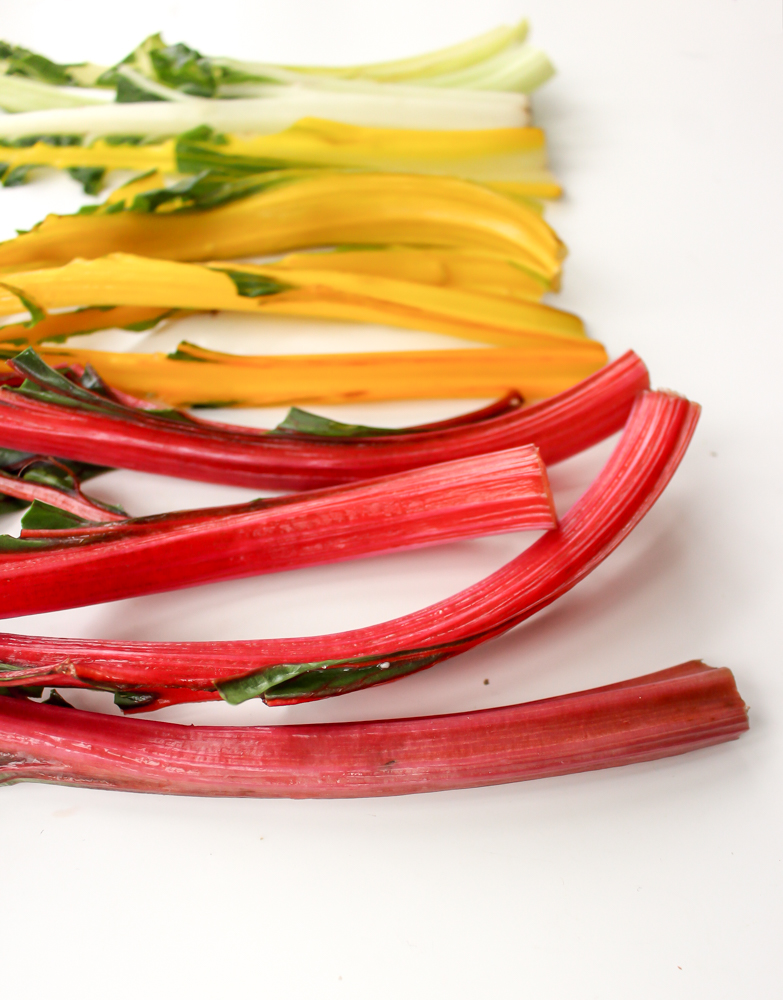
  • I like to rip the greens off of the stems and then arrange the stems in a way that flexes my OCD muscles. HOWEVER, you can opt to chop everything together to save time and that’s perfectly acceptable.

  • Roasting garlic makes the flavor mellow and mild, which I like here because it lets the chard sing. But if you like a stronger garlic flavor, chop the cloves and saute them with the spring onions and greens instead of roasting. Or you can do half and half.

  • This galette really needs salt. I salt at the beginning and end of wilting the greens and then finish with some more salt. I like salt. If you don’t, I urge you to salt at the beginning and end of wilting (and taste test to make sure it’s not too much) and then skip the final salting rather than waiting to add salt at the end.

Rainbow Chard Galette | Me & The Moose. This galette is a super-easy show stopper for Easter and beyond! we ate it for dinner last night and the preschooler didn’t bat an eye at the heaps of greens. #meandthemoose #rainbowchard #sidedishes #vege…

Rainbow chard galette


Time: 50-60 minutes (about 30 minutes active time, depending on how intense you get about arranging the chard stems)
Yield: 9 medium pieces


4 large garlic cloves
2 Tbsp olive oil + more for roasting the garlic (about ½ cup)
2 large spring onions (white/purple and green parts), chopped (about 1 heaping cup) sub scallions if necessary
10 cups chard leaves, measured after chopping, lightly packed (about 2 medium bundles)
2 tsp balsamic vinegar
1/4 tsp kosher salt (a few big pinches)
A few cracks of black pepper
1 cup ricotta
3/4 cup nutty cheese like gruyere or aged Gouda, shredded
1 puff pastry sheet
1 Tbsp roasted garlic oil (from earlier roasted garlic)
1 egg, whisked

Preheat oven to 425.

Smash four garlic cloves (no need to remove the skin) and place in an oven-safe ramekin. Add enough olive oil to cover the garlic. Cook in the oven for 6-8 minutes, or until you start to smell garlic and the cloves are fork tender.

Meanwhile, heat 2 Tbsp olive oil in a very large skillet. Add the spring onions and sauté until translucent and fragrant, about 2 minutes.

Add the greens and a large pinch of salt. Cook until wilted, about 8-10 minutes.

Add the balsamic vinegar, another large pinch of salt, and a few cracks of fresh black pepper and stir a few times.

Once wilted, place the onions and greens into a large bowl. Add the cheeses and roasted garlic. Mix well.

On a floured surface, roll out the puff pastry dough to a thickness of 1/8th to 1/16th of an inch (about 1/3 bigger than original packaging). Move the dough to your sheet pan.

Spread the greens and cheese on the puff pastry, leaving a 1-inch frame. Fold the bare edges over onto the greens and cheese mixture.  

Arrange the chard stems in your desired pattern.

Brush the chard stems with 1 Tbsp roasted garlic oil.

Brush the lightly beaten egg over the visible parts of the pastry crust.

Bake for 18-20 minutes or until the bottom and the edges are golden brown.

Rainbow Chard Galette | Me & The Moose. This galette is a super-easy show stopper for Easter and beyond! we ate it for dinner last night and the preschooler didn’t bat an eye at the heaps of greens. #meandthemoose #rainbowchard #sidedishes #vege…

Spooky seed butter graveyards!

Speaking of scary: I count myself so incredibly lucky that M doesn't have any food allergies. He's outgrown the tomato sensitivity he had early on, but that was an annoyance, not a life-threatening emergency. I can't even imagine worrying that a farmer, factory-worker, chef, teacher, babysitter, or other parent somehow mislabeled something or included an ingredient that could really hurt my kid. Especially from mid-October to January, there are treats everywhere!

In that vein, these Halloween goodies are nut-free and egg-free and can easily be made gluten- and dairy-free as well. The chocolate is all store-bought, so use your go-to brands to be safe. ALSO- and most importantly- these treats are SOOOOOOOO GGGGOOOOOOODDDDD and relatively healthy!

Seed butter graveyards | Me & The Moose. This spooky take on worms and dirt have chocolate candy skeletons, graves, and various types of dirt for your Halloween treats. #meandthemoose #halloween #veganoption #glutenfreeoption #dairyfreeoption #n…

Spooky seed butter graveyards

Chocolate skeletons
1 oz milk or dark chocolate
Wilton skull and bones sprinkles

Seed butter graveyards | Me & The Moose. #meandthemoose #halloween #veganoption #glutenfreeoption #dairyfreeoption #nutfreeoption #graveyards #wormsanddirt

Heat the chocolate in the microwave, 10 seconds at a time, until melted. On a plastic wrap covered plate, make nickle-sized circles or ovals of melted chocolate. Carefully place the skull and bone sprinkles into the chocolate. Refrigerate until set.
 

Chocolate mug cakes
Adapted from this recipe

6 Tbsp whole wheat flour (or gluten-free flour mix)
3 Tbsp + 1 tsp unsweetened cocoa powder
½ tsp baking powder
¼ tsp salt
1/4 cup maple syrup
4 tsp olive oil
6 Tbsp milk (I used dairy milk, but almond, cashew, or soy would also work)
1 tsp vanilla extract

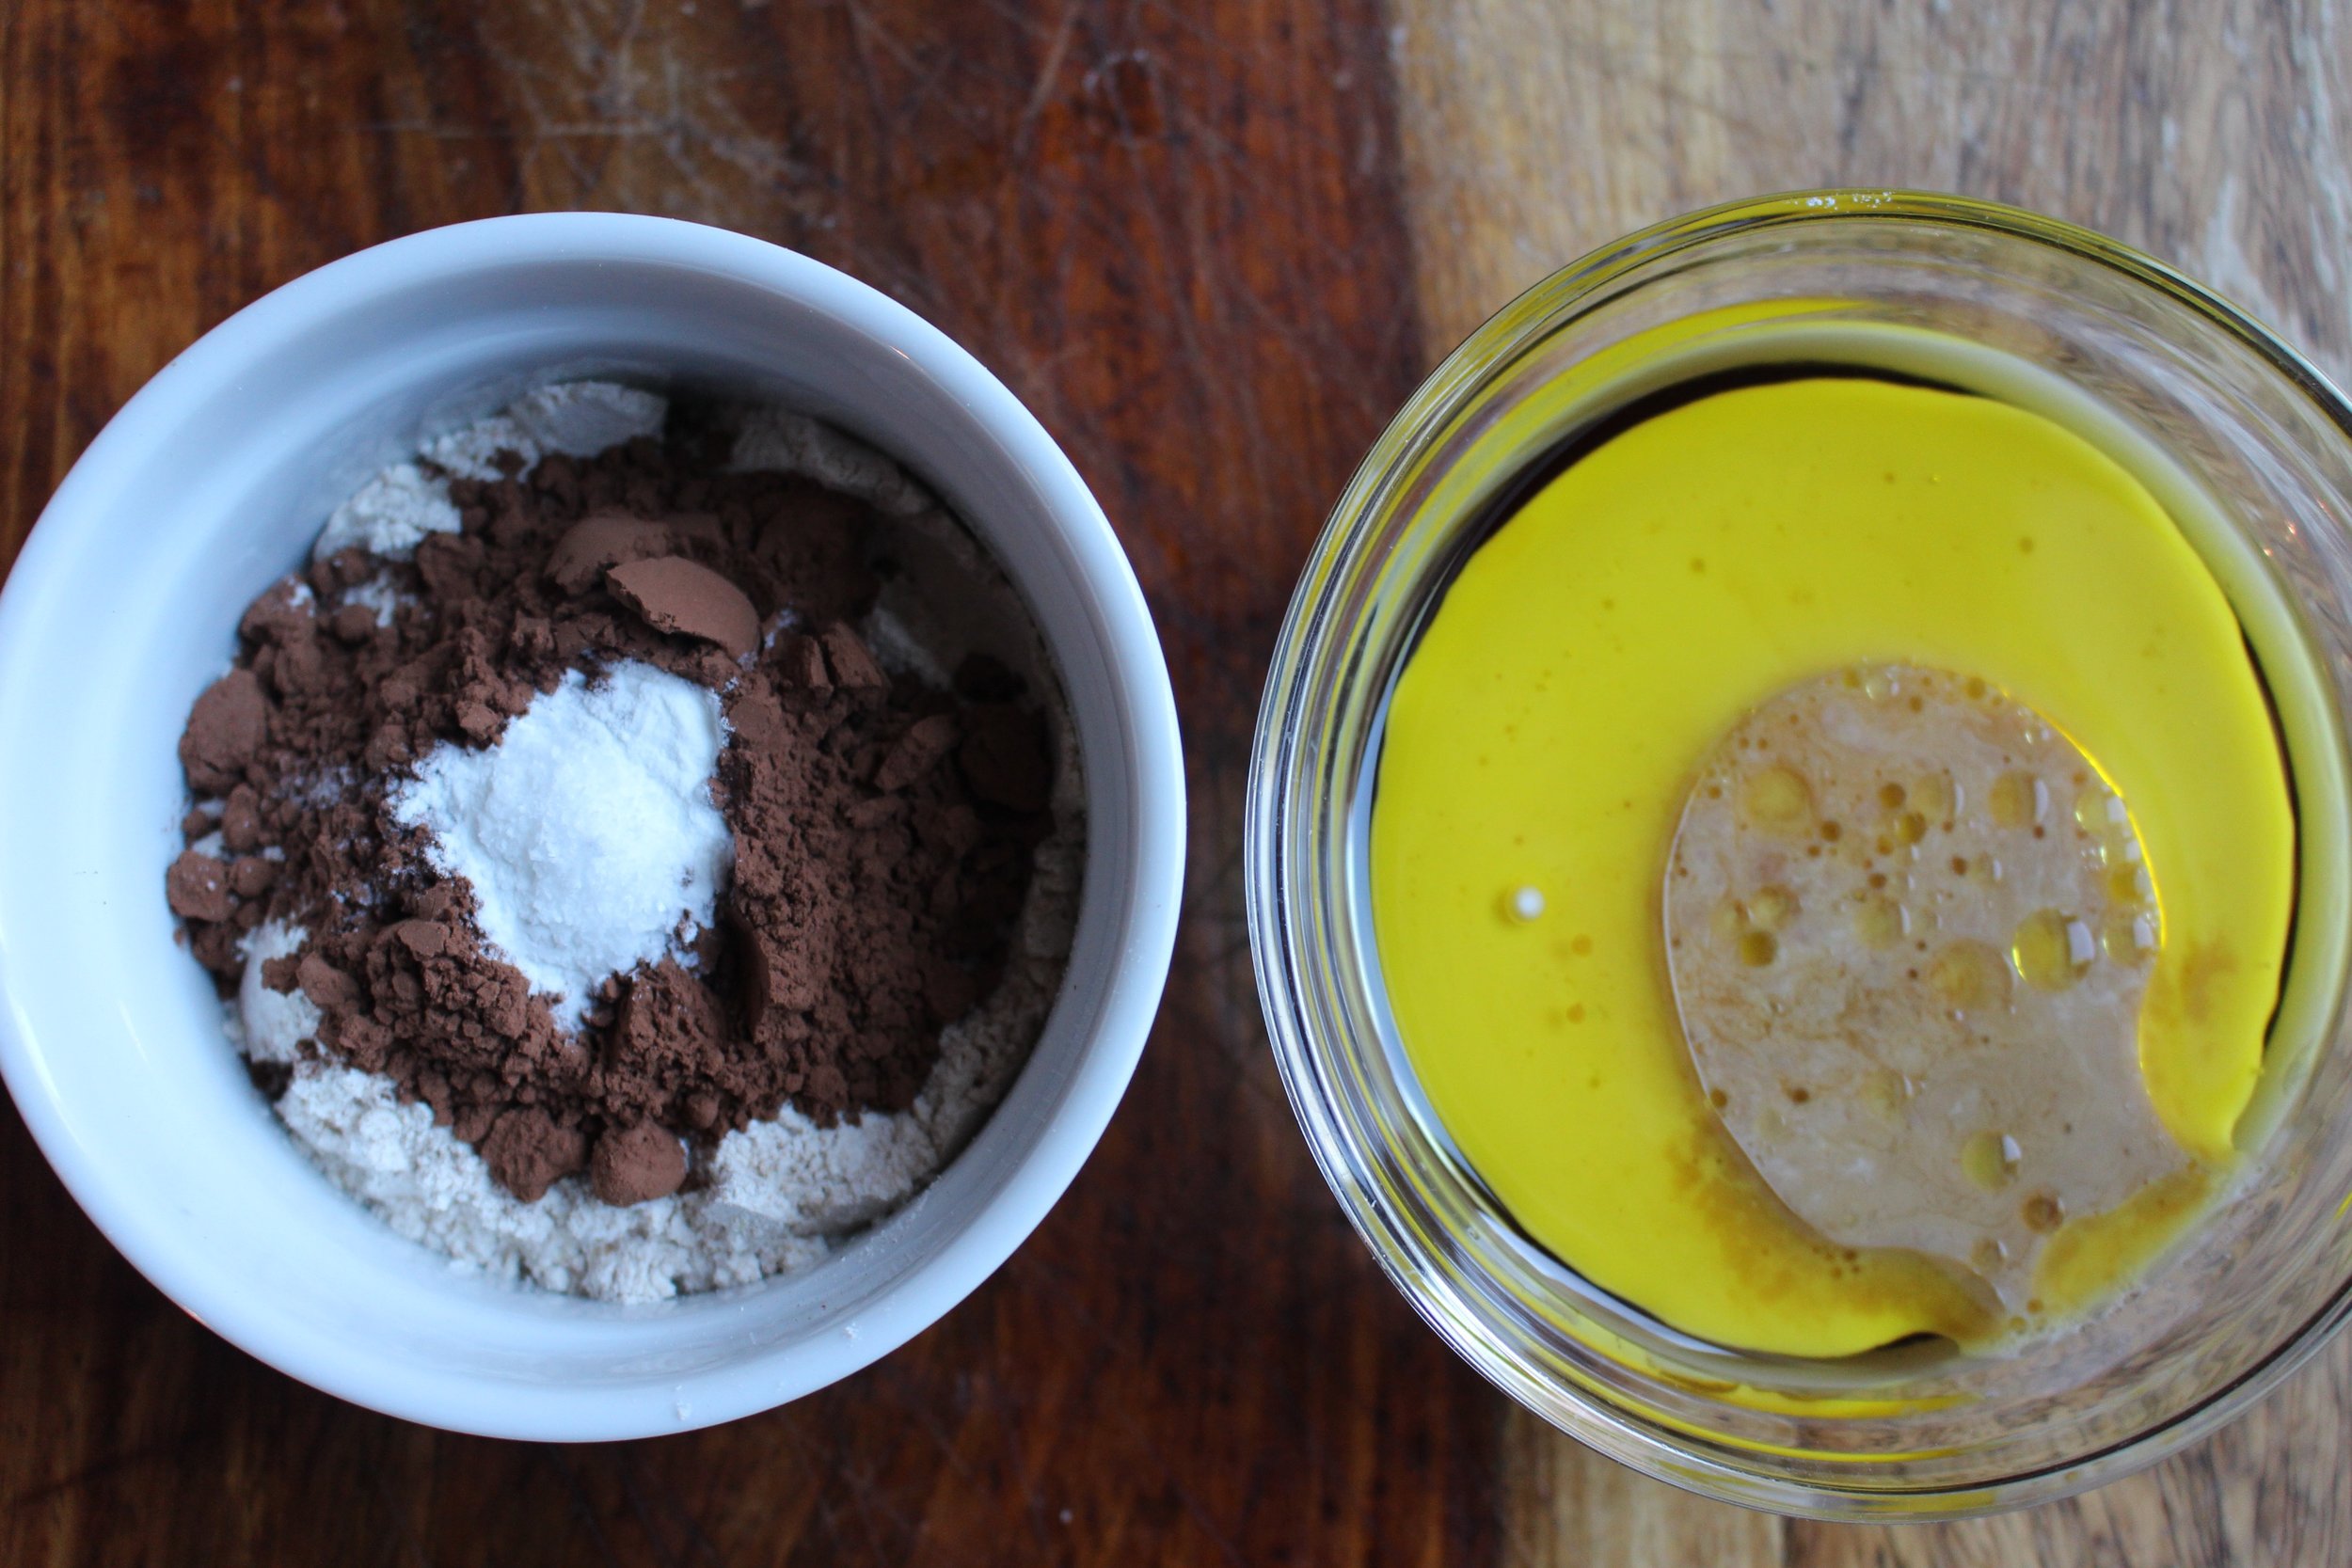
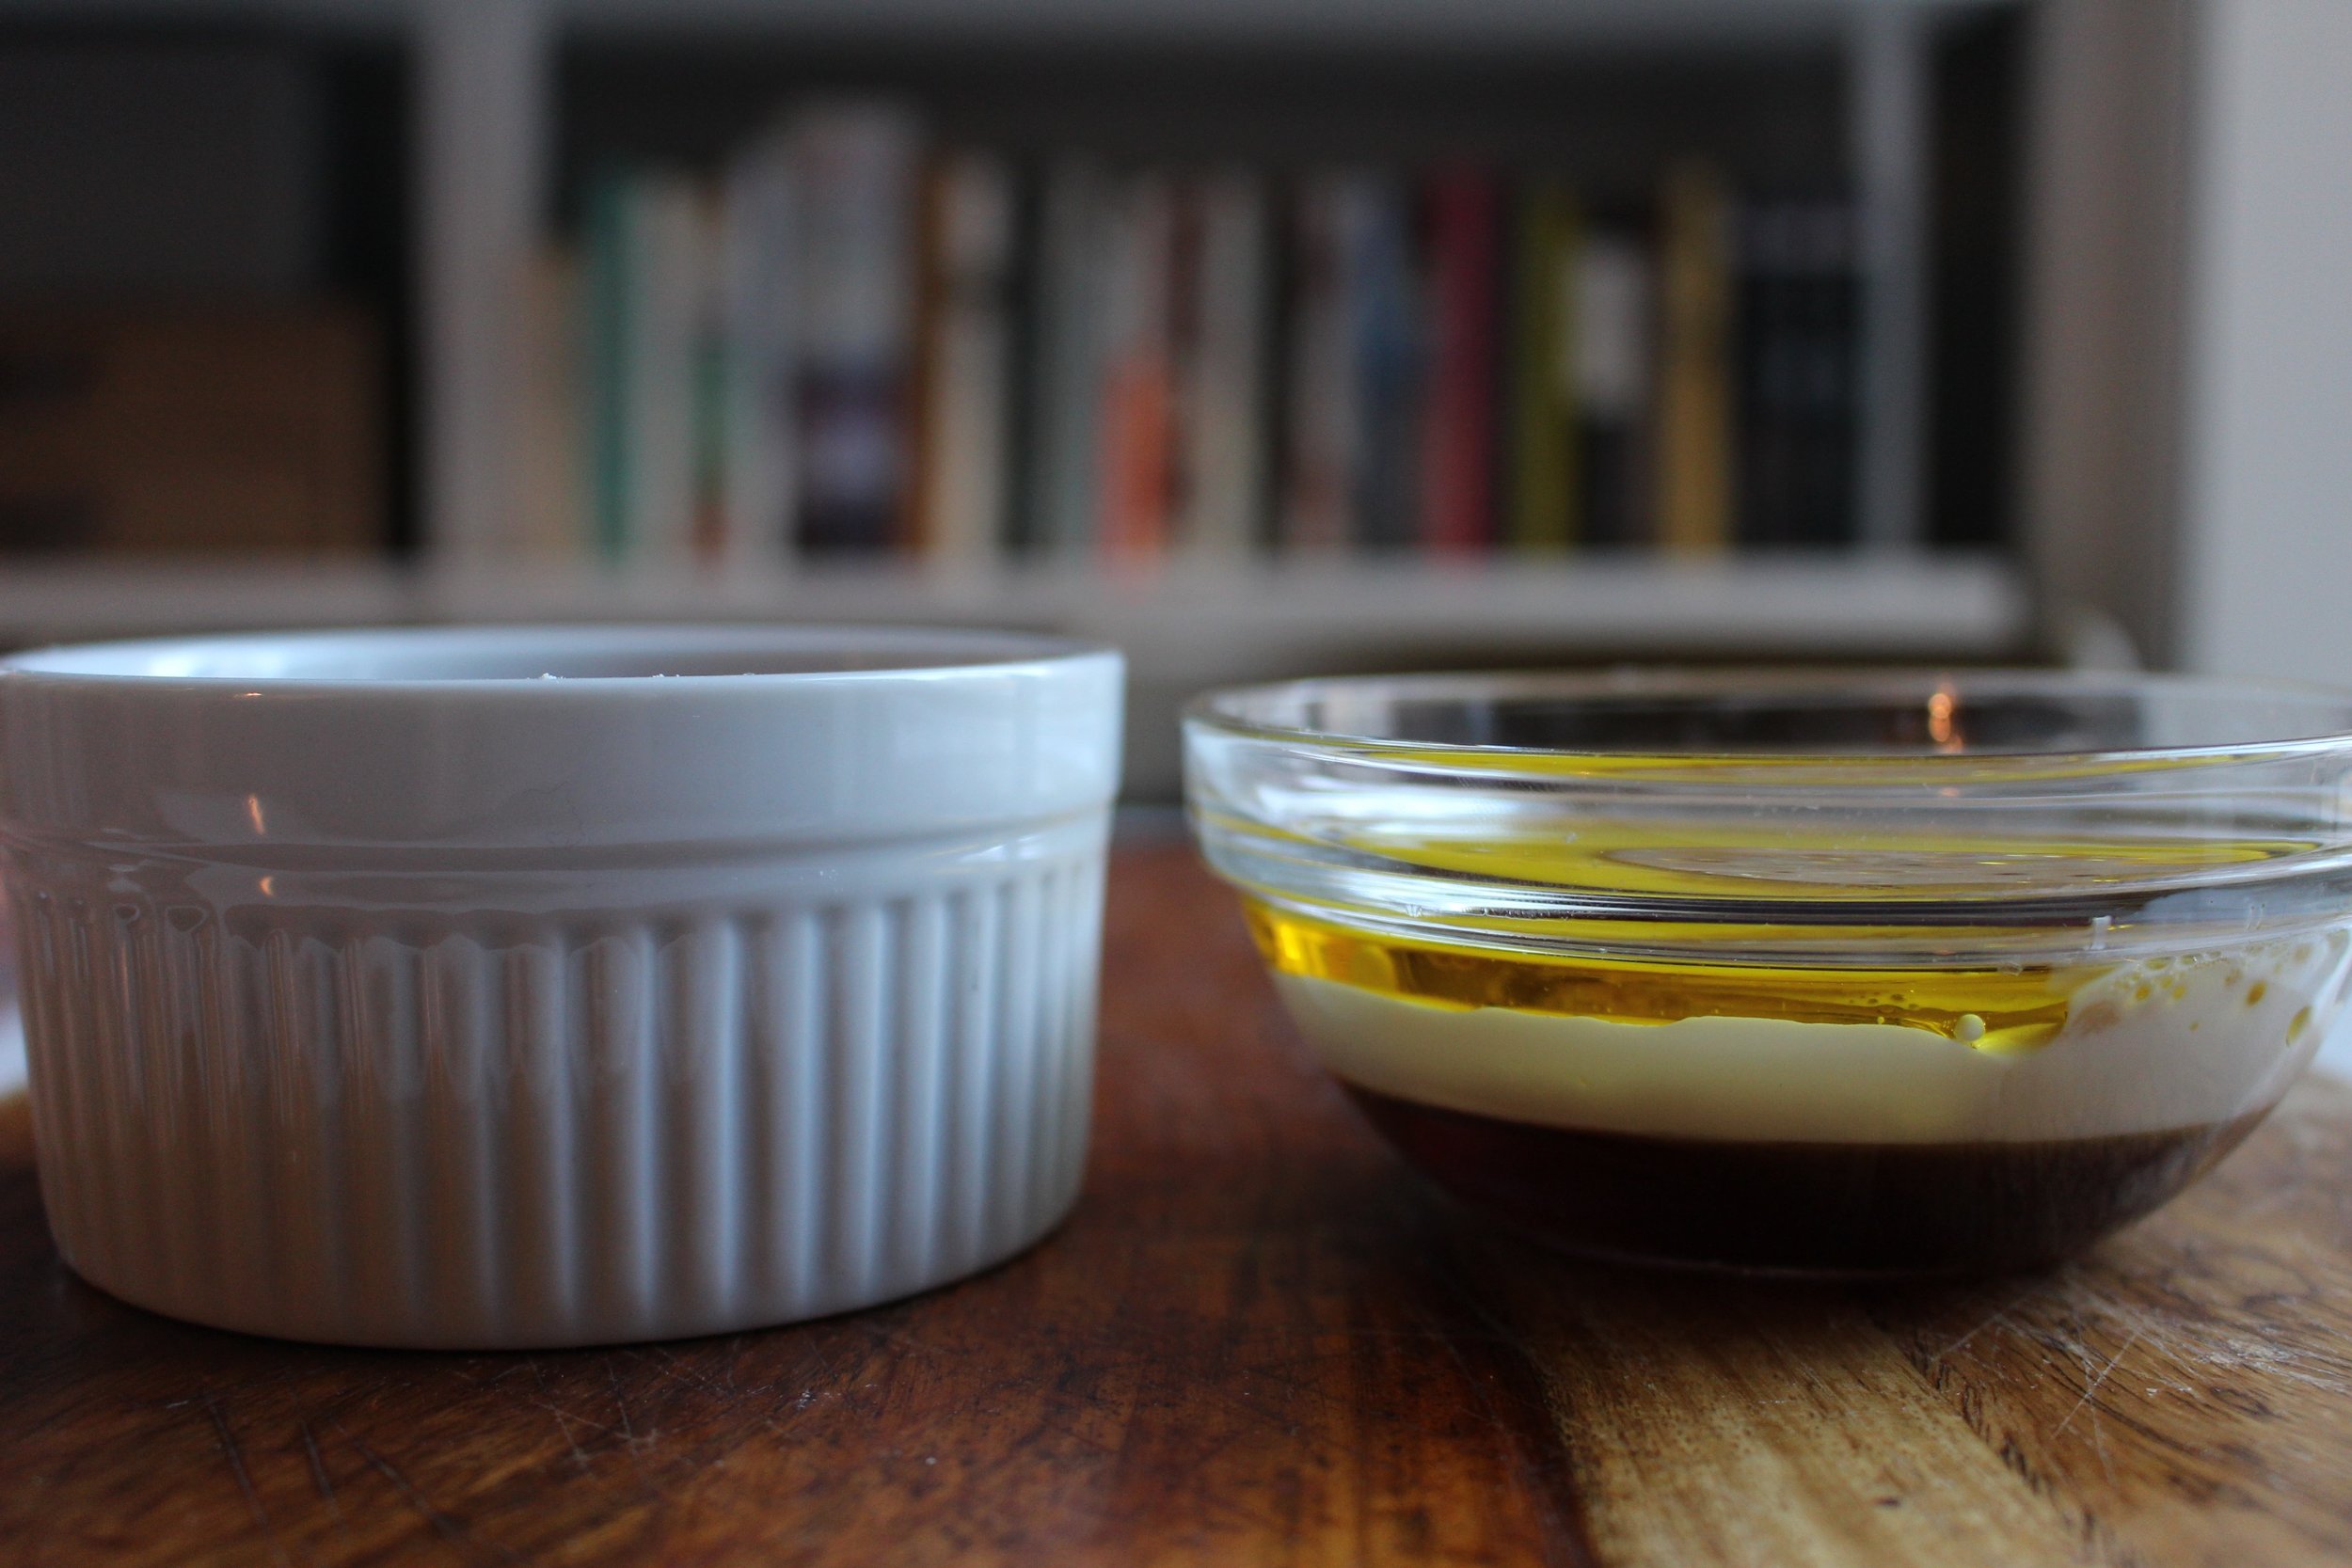
Combine the dry ingredients in a small bowl and whisk to remove lumps. Add the wet ingredients and stir to combine. Pour equal amounts into two ungreased mugs. With one mug at a time, microwave on high for 1 minute, check for doneness, and cook for 30 more seconds. (Note: we have a very weak microwave, so if you have a stronger one, check after 30 seconds. I usually tip the cup around to see if anything is moving.) When cakes are cooked, use a fork to remove them from the mugs and let them cool on a plate. Don’t worry about removing them cleanly, as they’ll be broken up for the “dirt” in the graveyards. Let cool.

Seed butter graveyards | Me & The Moose. Chocolate mug cakes are the easy and surprisingly healthy. #meandthemoose #halloween #veganoption #glutenfreeoption #dairyfreeoption #nutfreeoption #graveyards #wormsanddirt

Sunflower-seed butter chocolate avocado pudding
Adapted from this recipe

¾ large ripe avocado (mine was about 7.5 oz with pit and peel)
½ large ripe banana (mine was 7 oz with peel)
¼ cup unsweetened cocoa powder
¼ cup maple syrup
¼ cup Spiced seed butter
2 Tbsp milk (I used dairy, but almond, cashew, or soy would also work)

Combine all of the ingredients in a food processor and blend until smooth and creamy. If making the Spiced Seed Butter specifically for these graveyards, be sure to read the directions and follow them exactly. You won't be sorry; this seed butter is GREAT. Makes about 1.25 cups of pudding.

Seed butter graveyards | Me & The Moose. Chocolate mug cake, avocado chocolate pudding, and some store-bought candies make an easy, festive Halloween treat. #meandthemoose #halloween #veganoption #glutenfreeoption #dairyfreeoption #nutfreeoption…

Assembling the graveyards

Remove the chocolate skeletons from the fridge to warm up. Pour a few chocolate rocks on the bottom of your graveyard container(s). (Possible substitutions include chocolate-covered raisins, chocolate chips, carob chips, or you could skip this part entirely.) Nestle your chocolate skeleton(s) on the side of the glass container, pressing gently to try and mold the chocolate to your container (or skip this step too for allergen sensitivity, if needed).

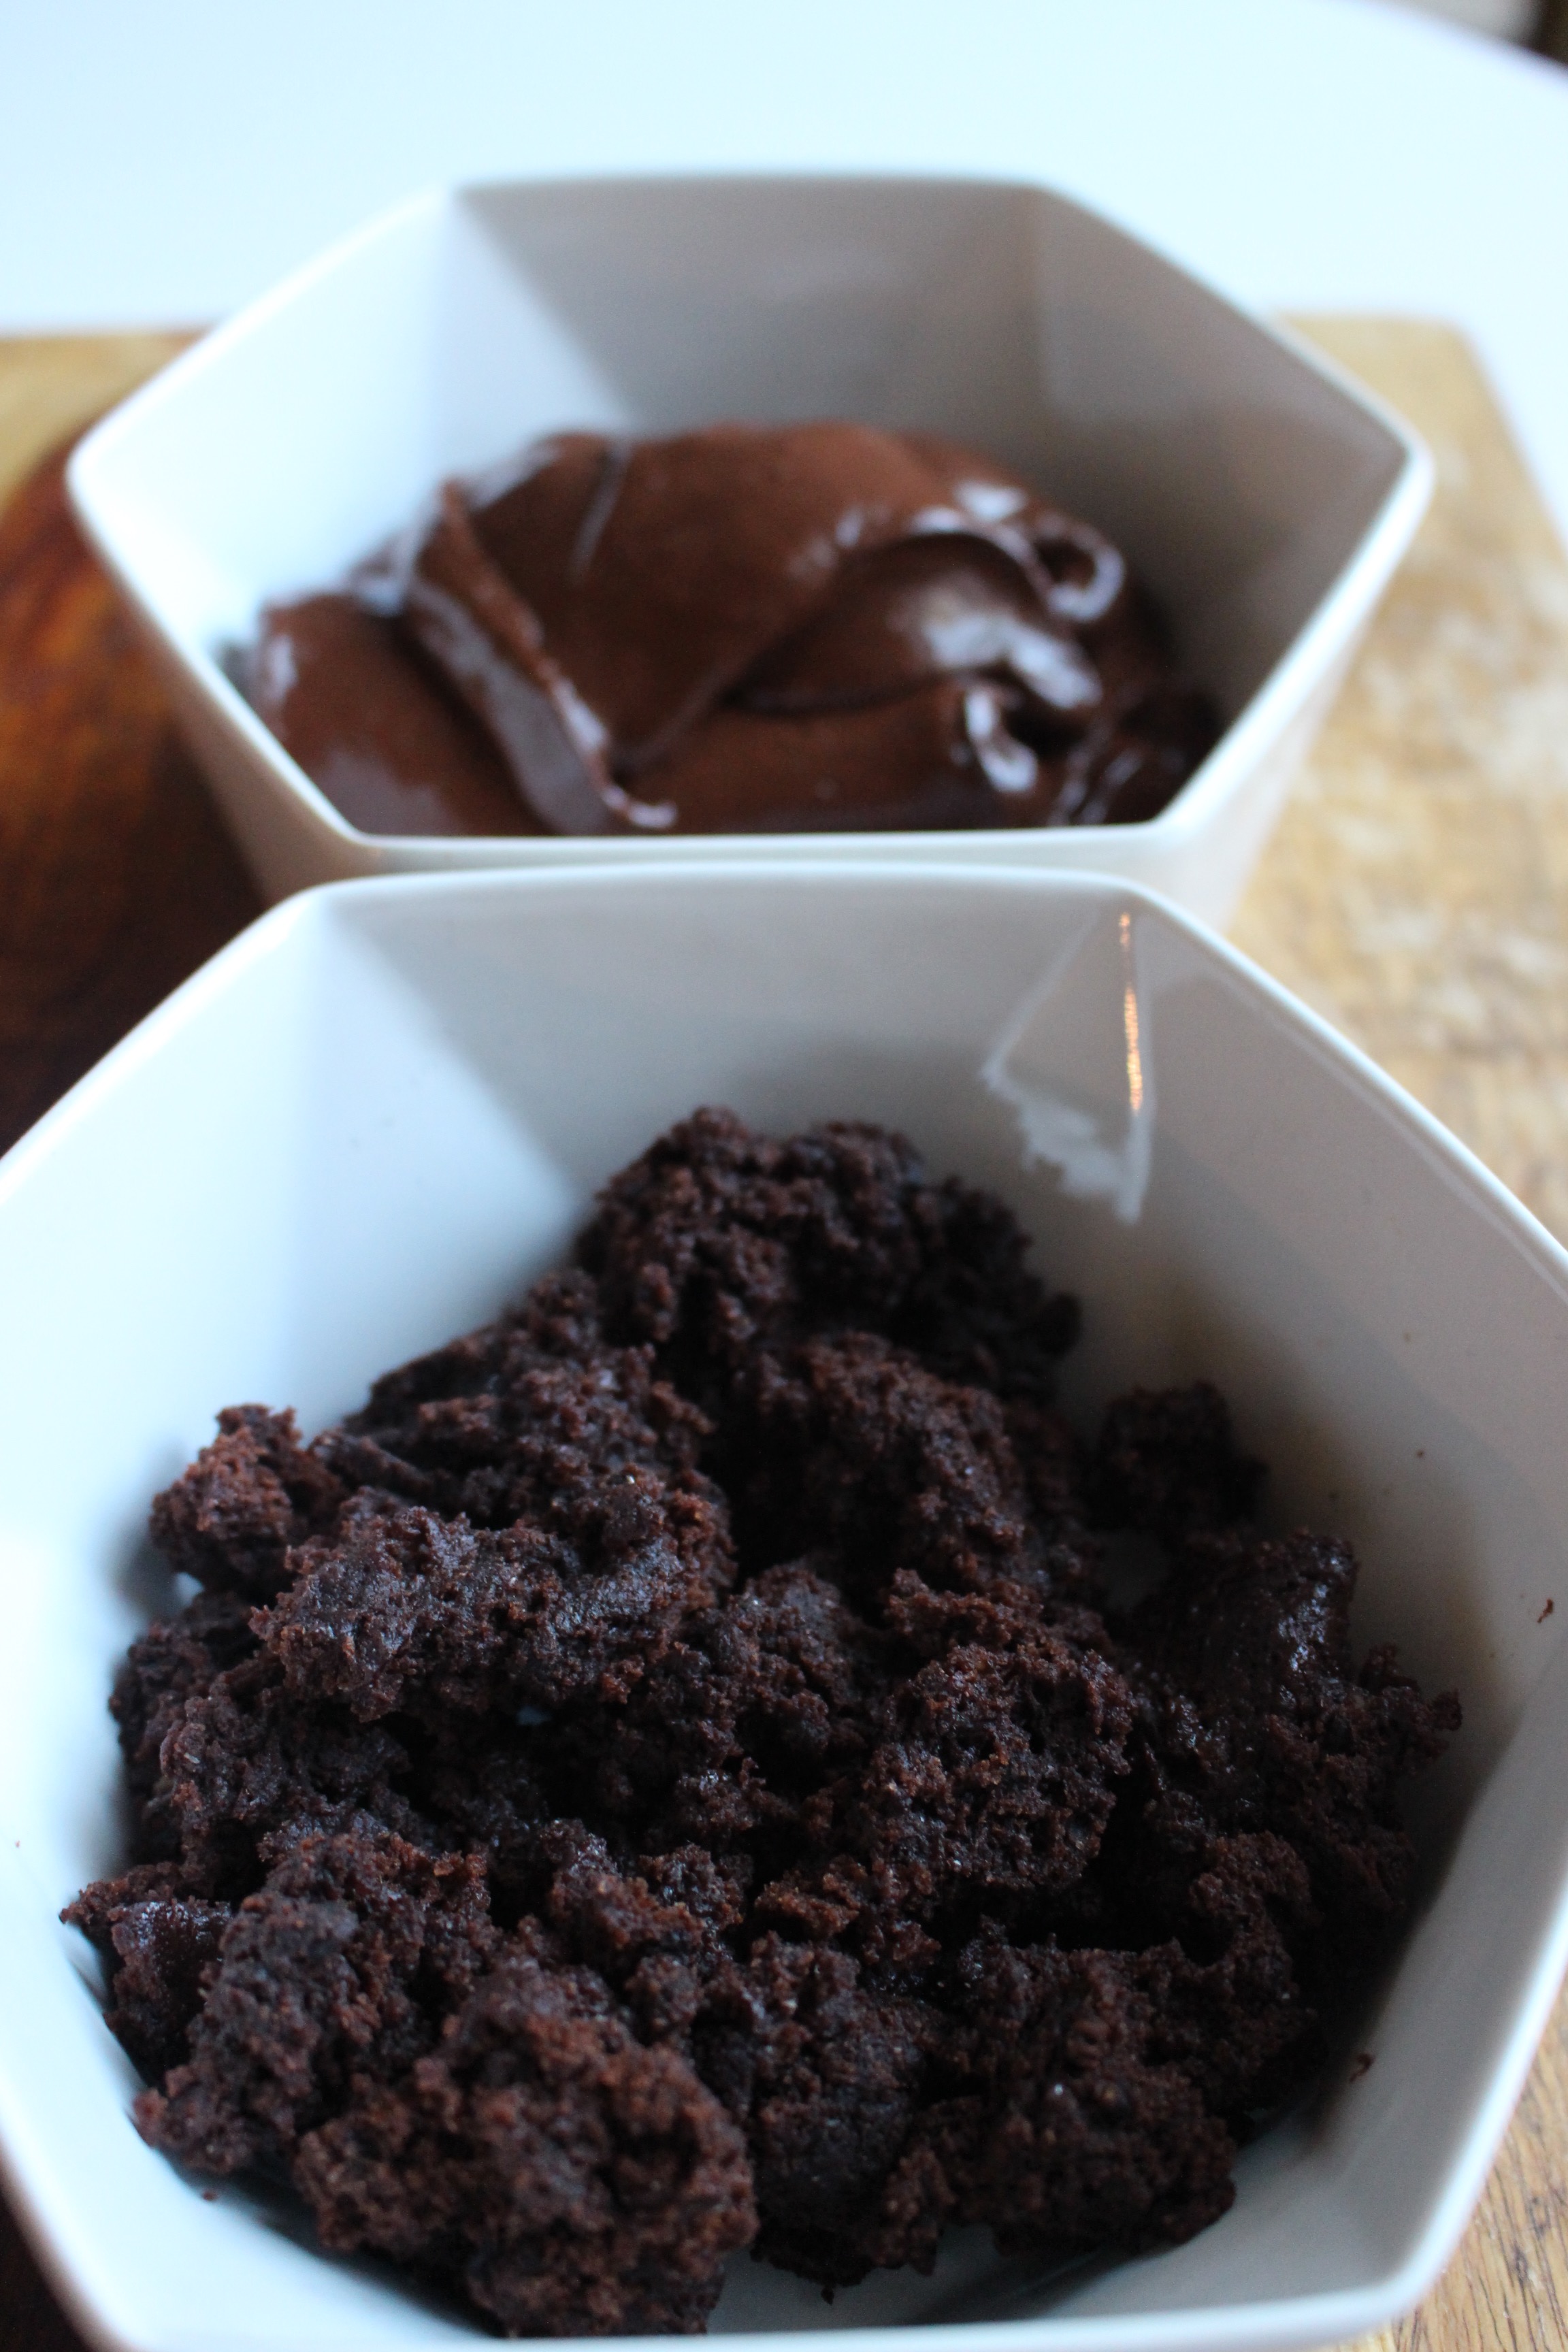
Crumble the chocolate cake completely and gently add a layer of cake crumbles, pressing down lightly. Be sure to keep the cake crumbles behind your chocolate skeletons, if using.

Add a pudding layer and press gently to remove air bubbles. Clean up the sides of the glass container. Cover with more cake crumbles.

For the graves: Roll out a small amount of gray or white fondant using powdered sugar to prevent sticking. (I bought a tiny container of Wilton gray fondant at Michael's and threw away the box before checking the ingredients and can't find the information online. If fondant isn't an option, gluten-, dairy-, and/or egg-free cookies or marshmallows also make good "graves.") Cut out a very small square and tap with your fingers to round the corners. With an edible pen, melted chocolate, or gel frosting, write RIP on the grave and nestle into the cake crumbs. Place a crumb or two behind the grave to prop it up.

Yield: 4 medium graveyards or 6 small graveyards

Seed butter graveyards | Me & The Moose. Chocolate mug cake, chocolate avocado pudding, and some store-bought candies make an easy and festive Halloween treat. #meandthemoose #halloween #veganoption #glutenfreeoption #dairyfreeoption #nutfreeopt…

Candy sushi!

Candy sushi | Me & The Moose. Rice krispy treats, candy, and fruit rollups are all you need for a silly gluten- and egg-free treat. #meandthemoose #candysushi #sweetsushi #ricekrispytreats

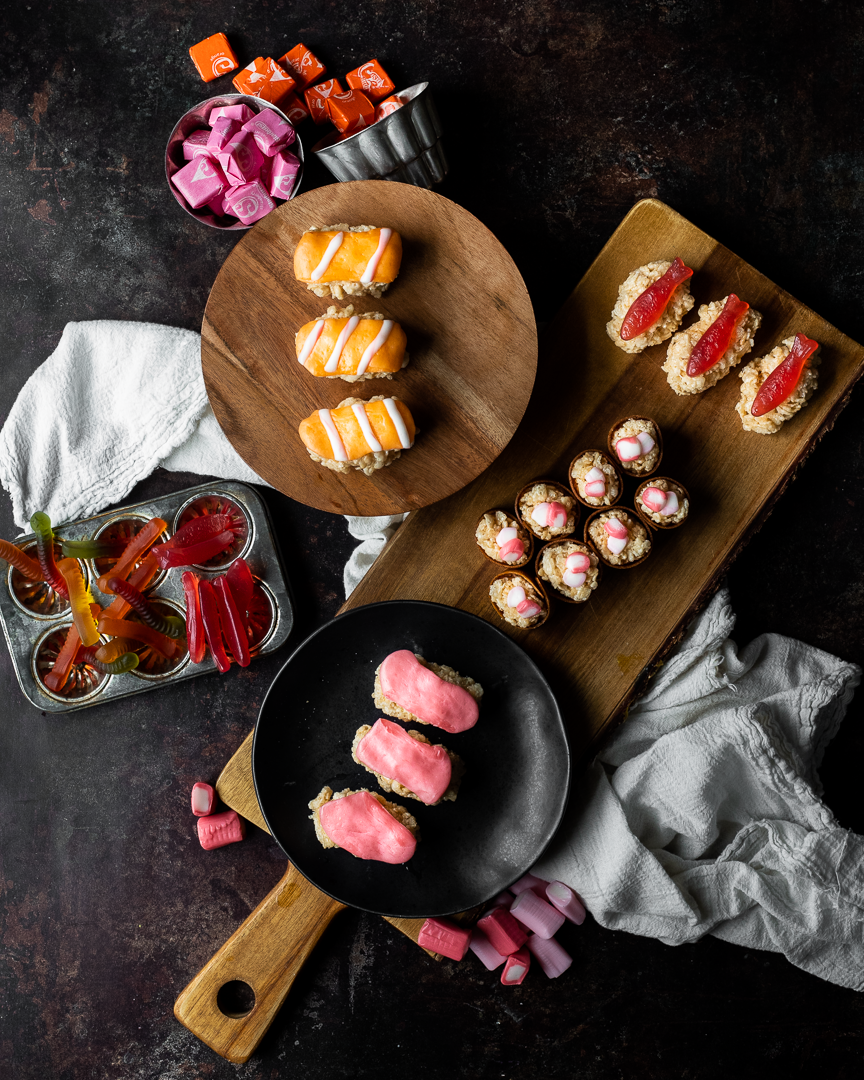
Whether you make them look “realistic” or just go with a rainbow of candy and ingredients, these Rice Krispy treat “sushi rolls” are easy, tasty, fast, and endlessly customizable.

Take me to the sushi!

Candy sushi | Me & The Moose. Rice krispy treats, candy, and fruit rollups are all you need for a silly gluten- and egg-free treat. #meandthemoose #candysushi #sweetsushi #ricekrispytreats

Candy sushi | Me & The Moose. Rice krispy treats, candy, and fruit rollups are all you need for a silly gluten- and egg-free treat. #meandthemoose #candysushi #sweetsushi #ricekrispytreats

There is nothing more to these sweets than making a batch of Rice Krispy treats, letting it cool slightly, and topping it with cut up or squished up candy.

Not only are these fun for parties or special occasions, they’re also a good project for rainy days with kids of basically any age. With a lot of direction, but 2-year-old was able to help and my 7-year-old could almost make these himself.

Candy sushi | Me & The Moose. Rice krispy treats, candy, and fruit rollups are all you need for a silly gluten- and egg-free treat. #meandthemoose #candysushi #sweetsushi #ricekrispytreats

These also make a really fun egg and gluten-free treat that can help kids with allergies to feel included. You can also swap in vegan butter to make these dairy-free. Obviously, check your candy and marshmallow labels if allergies are part of the equation.

Candy sushi | Me & The Moose. Rice krispy treats, candy, and fruit rollups are all you need for a silly gluten- and egg-free treat. #meandthemoose #candysushi #sweetsushi #ricekrispytreats

Candy sushi | Me & The Moose. Rice krispy treats, candy, and fruit rollups are all you need for a silly gluten- and egg-free treat. #meandthemoose #candysushi #sweetsushi #ricekrispytreats

Candy sushi | Me & The Moose. Rice Krispies treats, fruit rollups, Hi-Chew, Starburst, and Swedish Fish make excellent candy sushi. #meandthemoose #candysushi #sweetsushi #ricekrispytreats

Candy sushi | Me & The Moose. Rice krispy treats, candy, and fruit rollups are all you need for a silly gluten- and egg-free treat. #meandthemoose #candysushi #sweetsushi #ricekrispytreats

You'll need:

3 Tbsp butter
6 cups Rice Krispies
10 oz large marshmallows or 5 cups mini marshmallows

Melt the butter in a large saucepan. Add the marshmallows and melt, stirring frequently. When the marshmallows have mostly lost their shape, add Rice Krispies and stir to coat.

Let cool until the mixture can be handled.


Fruit rollups
Large Swedish fish
Hi-Chew candies, Mike n’ Ikes, gummy bears, gummy worms or any other candy you can cut up into tiny pieces
Starburst
Orange sprinkles (either sanding sugar or sugar pearls, but not jimmies)

Tools:

Water
Sharp knife
Pizza cutter

To assemble:

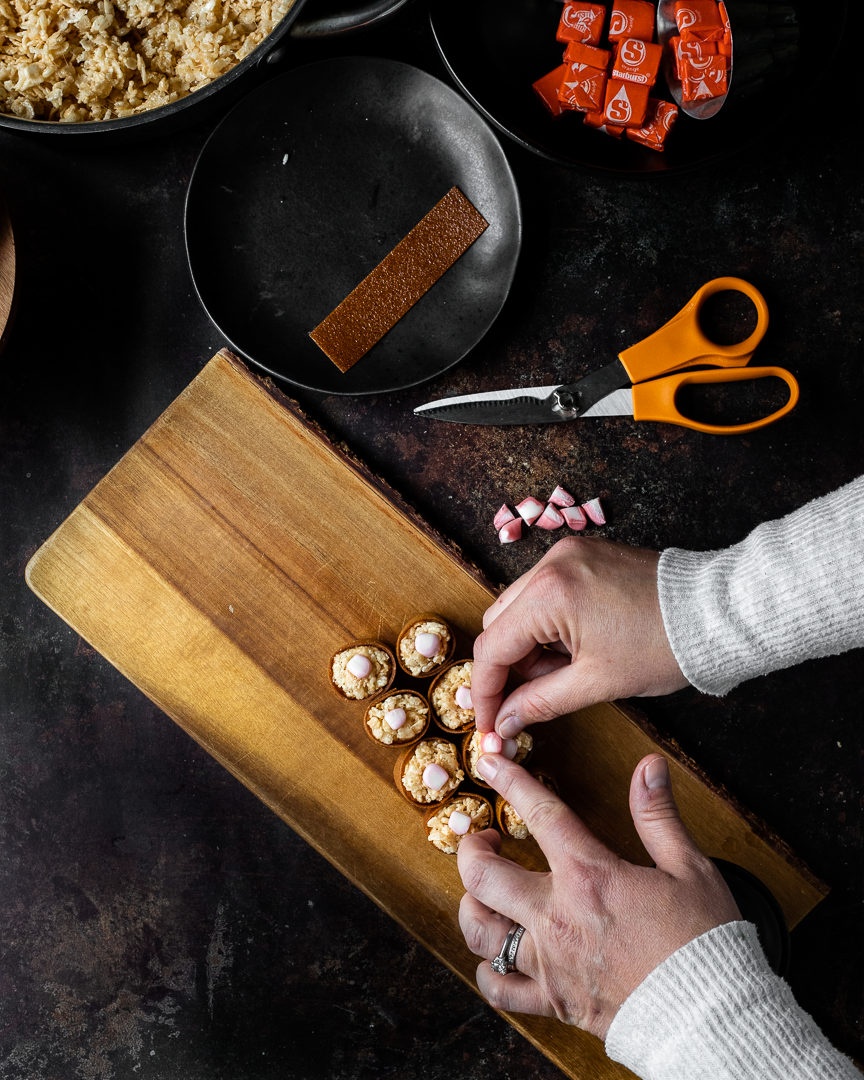
For the rolls: Cut up some Hi-Chews or Mike ‘n Ikes into small bits. Cut the fruit rollup into 1-inch strips. With wet hands, roll a small handful of the Rice Krispy mixture into a ball. Wrap the fruit rollup strips around the outside and squish the top and bottom of the bottom of the circle down a bit. Take a few pieces of the cut up candies and squish them into the Rice Krispies at the top of the roll.

For the pieces: Unroll a fruit roll and cut into 1/2 inch strips with the pizza cutter. With wet hands, roll a small handful cereal mixture into a ball and squish into more of a rectangle. Top with a Swedish Fish and wrap a strip of fruit roll around the whole Swedish fish/cereal combo. Secure the ends of the fruit roll strip with a few drops of water.

For the roe pieces (not pictured): Unroll a fruit roll and cut into 1-inch strips. With wet hands, roll a small handful cereal mixture into a ball and squish into more of a rectangle. Wrap a strip of fruit roll around the outside of the cereal mixture and secure the ends of the strip with a few drips of water. Let dry for a few minutes. Pick up the entire piece and dip the top into 2-3 Tbsp of orange sanding sugar OR top with orange sugar pearls.

For more candy sushi inspiration: Super professional candy sushi / Candy sushi birthday party / Molded fish candy sushi