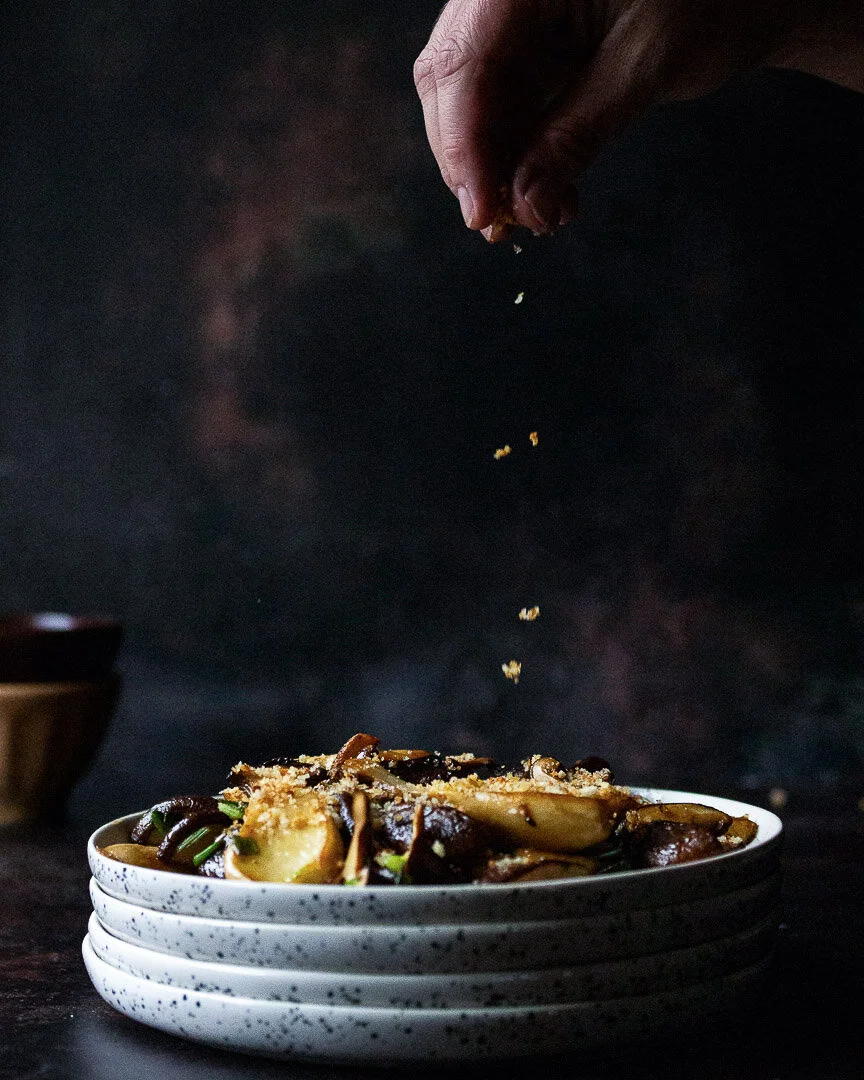
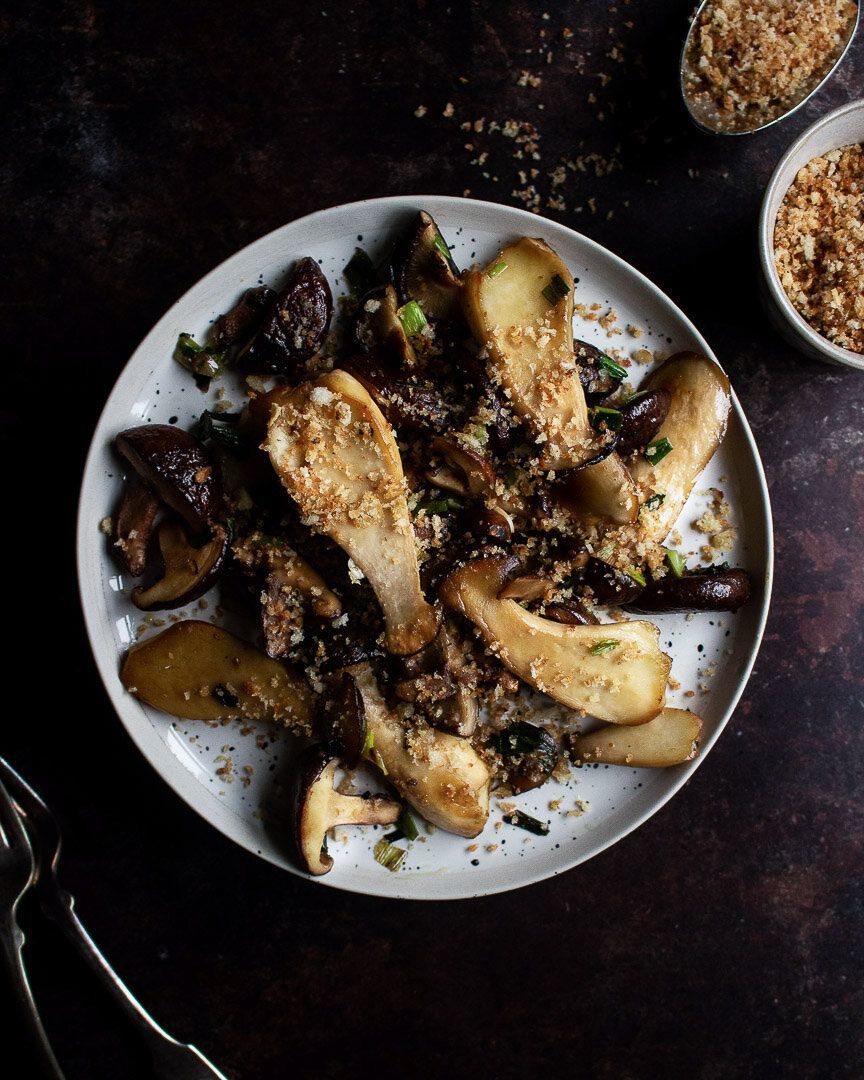
Magical breadcrumbs with mushrooms and scallions

Make these easy, quick, and delicious magical breadcrumbs to top these mushrooms and scallions and then use them to add breading and crunch to literally anything. #meandthemoose #easysidedishes #sidedishes #pescatarian #recipes #easyrecipes

The breadcrumbs are the star of this show, but don’t sleep on the mushrooms and scallions either. A simple, make-ahead side dish that’s fast, easy, and relatively healthy, but seems just the opposite!

Take me to the recipe!

Make these easy, quick, and delicious magical breadcrumbs to top these mushrooms and scallions and then use them to add breading and crunch to literally anything. #meandthemoose #easysidedishes #sidedishes #pescatarian #recipes #easyrecipes

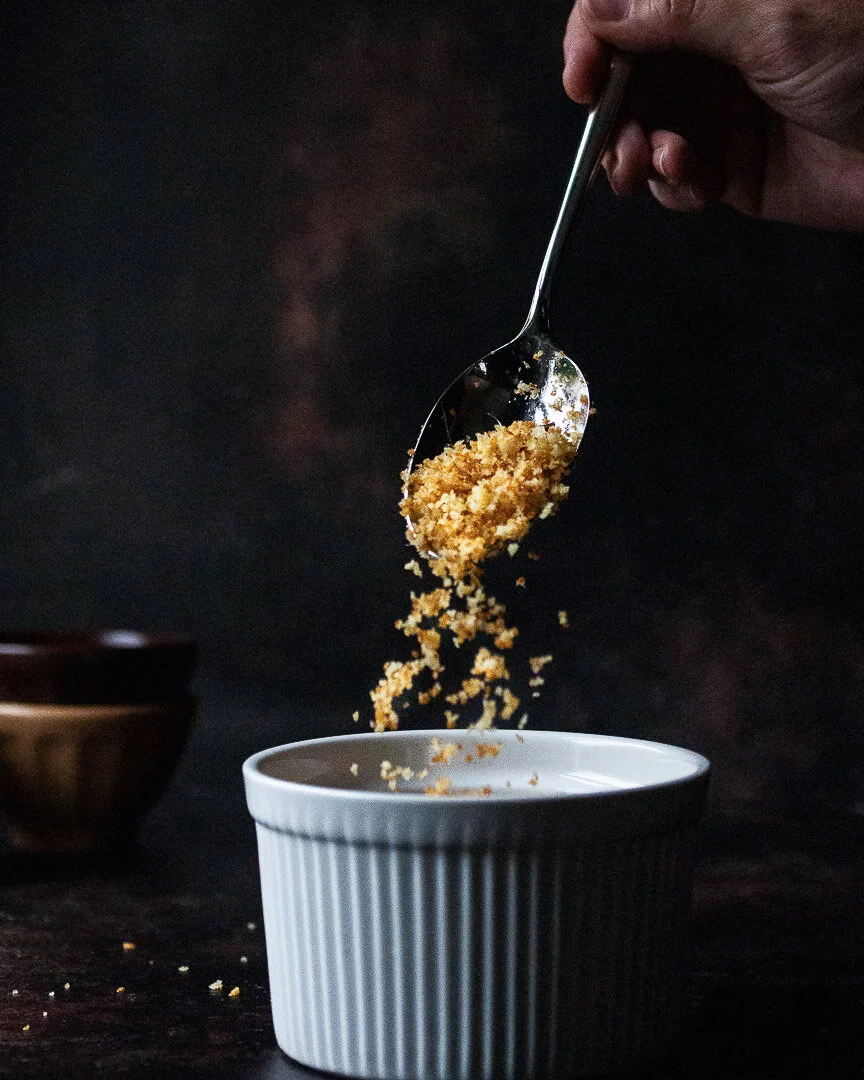
First things first, we have to talk about these magical breadcrumbs. What could be so great about a humble breadcrumb, you might ask? I’ll tell you!

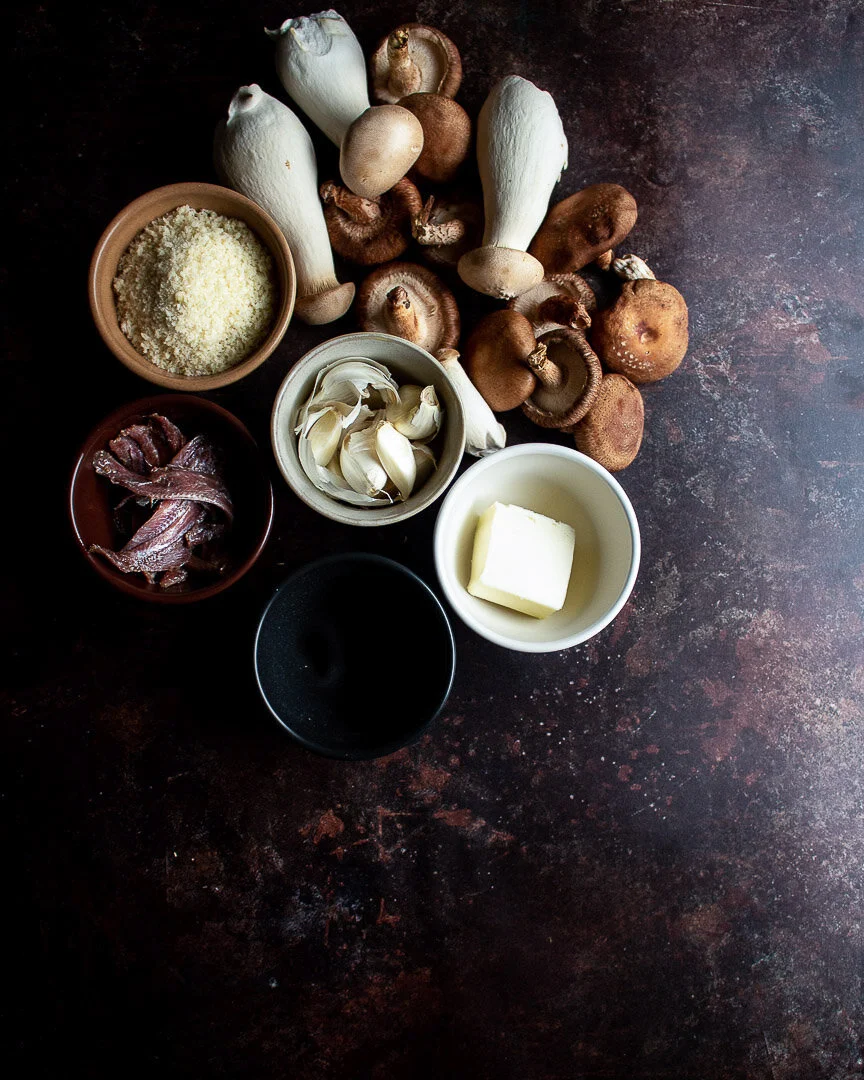
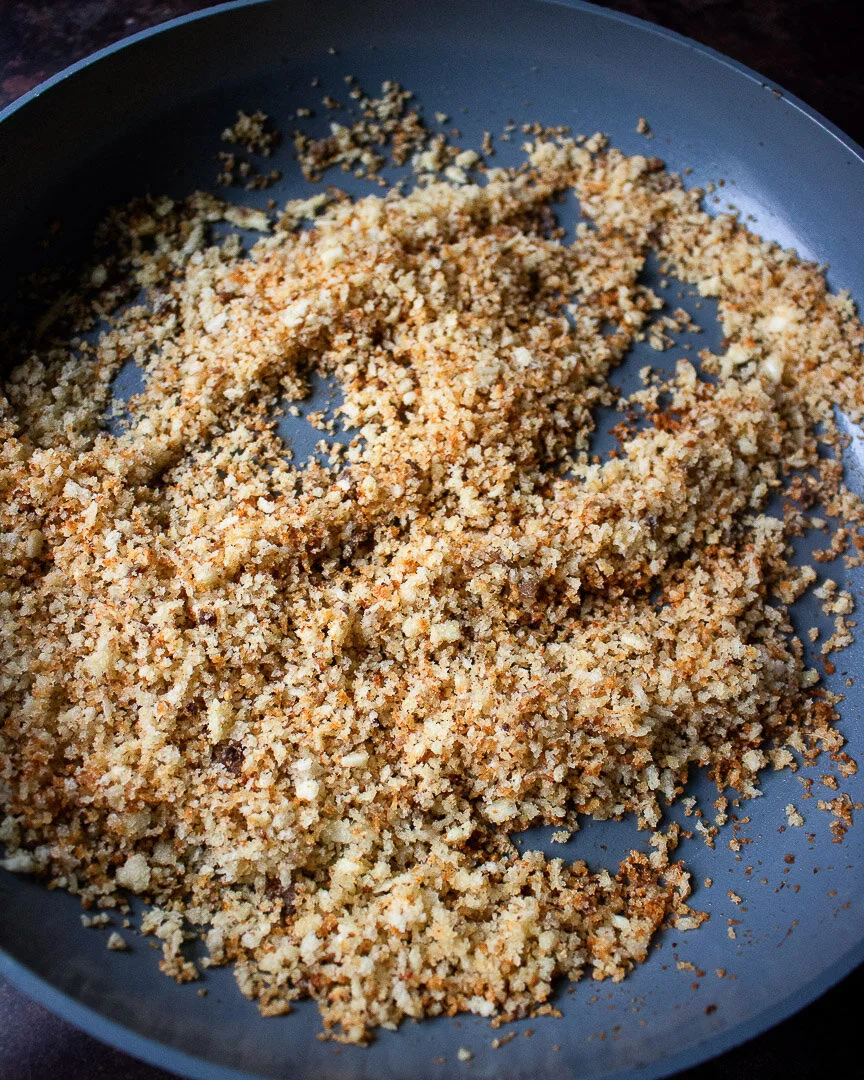
They’re crunchy, salty, briny, and aromatic and elevate anything they top. Using panko maximizes the crispiness while the anchovies add a salty, funky note and the garlic lends a spicy bite. We bathe everything in a little olive oil or butter to mildly tame the funk and the bite while increasing the crunch. The results: magical.

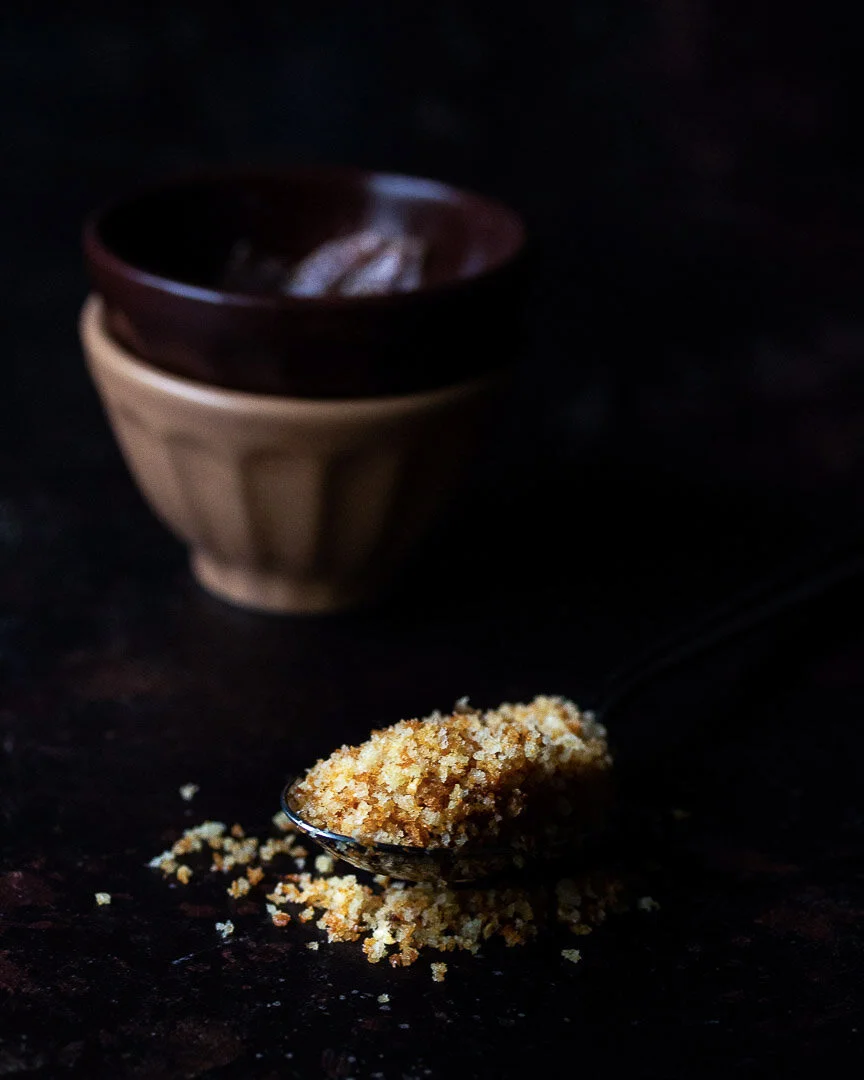
There are other fantastic things about these breadcrumbs too: Sub them in for breading or croutons and they make any dish lighter and easier to prepare. They also stay crispy in the fridge for up to 4 days, so make them in advance and top any side dish just before serving.

Make these easy, quick, and delicious magical breadcrumbs to top these mushrooms and scallions and then use them to add breading and crunch to literally anything. #meandthemoose #easysidedishes #sidedishes #pescatarian #recipes #easyrecipes

For this dish, I’ve used the breadcrumbs to top this umami bomb of mushrooms, scallions, butter, and soy sauce. Each time I’ve made these mushrooms, we’ve INHALED them. This dish is simple, quick, and tastes so much more complex than its humble ingredients would suggest.

A quick note: This is a relatively small recipe because I’m guessing (hoping, encouraging, BEGGING) that we’re all having small Thanksgiving meals this year, but if you’re cooking for a (socially distanced) crowd, definitely increase the mushroom portion of this recipe. You’ll have more than enough breadcrumbs with the measurements given.

Also: Be judicious with the salt in this recipe. We are SALT LOVERS in this house, but the anchovies are so salty that we didn’t really need much more than the big pinch of sea salt that I add while cooking the mushrooms. But you do you.

Make these easy, quick, and delicious magical breadcrumbs to top these mushrooms and scallions and then use them to add breading and crunch to literally anything. #meandthemoose #easysidedishes #sidedishes #pescatarian #recipes #easyrecipes

Magical breadcrumbs with mushrooms and scallions

Time: 10 minutes for the breadcrumbs, 12 minutes for the mushrooms, all active
Yield: About 1 1/2 cups of breadcrumbs (depending upon how “heaping” your cup of panko is), 3 adult side servings of mushrooms (but to be fair, I’ve eaten all of the mushrooms in one sitting topped with a runny egg for lunch)

Mushrooms and scallions:
2 Tbsp olive oil
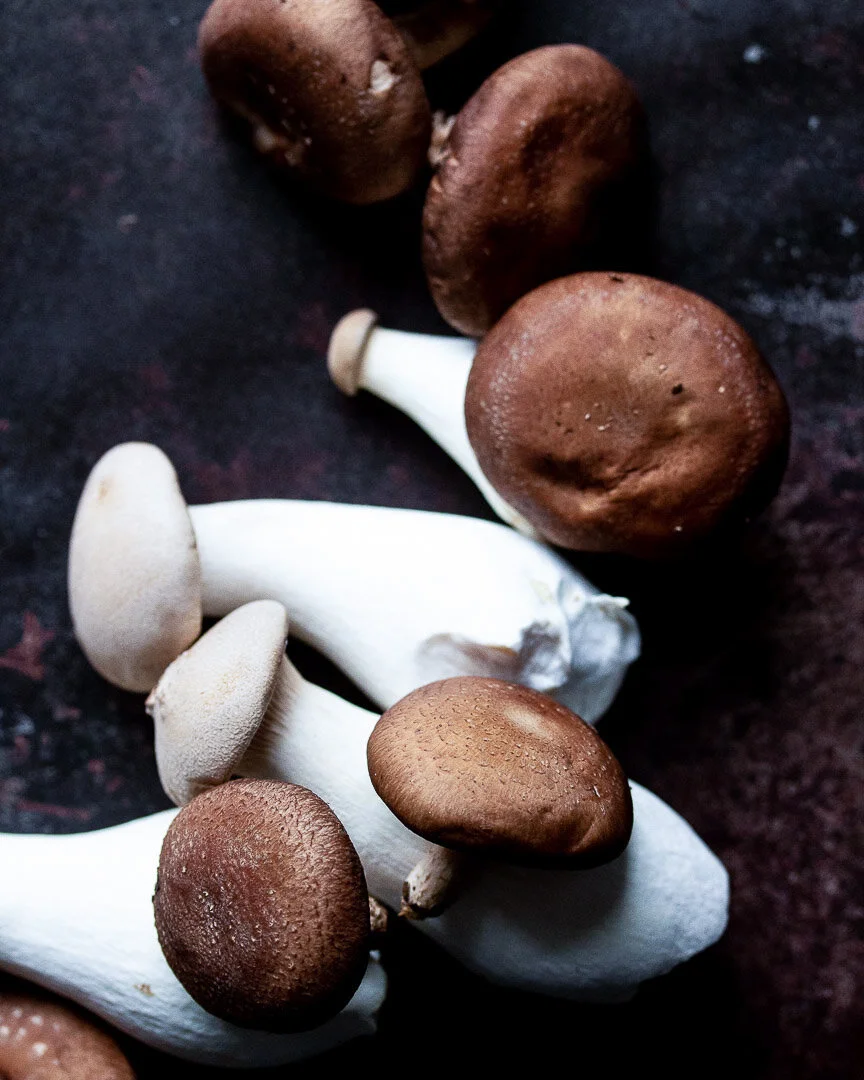
8 oz mushrooms (any variety, about two containers)
Large pinch of salt
4 large scallions, roughly chopped
1 Tbsp butter
1/2-1 tsp soy sauce, to taste
1/4- 1/2 cup Magical breadcrumbs (recipe below), to taste
Flaky sea salt, to taste

Heat the olive oil over a medium flame. When hot, sear the mushrooms on one side and then shake the pan and sear the other side. Cook, shaking the pan occasionally, until the mushrooms turn a darker, golden color, about 5 minutes. If cooking too fast, turn down the heat. Season with a large pinch of salt.

Add the scallions and cook until they begin to wilt and soften, about 4-5 minutes.

If, during the cooking of the mushrooms and scallions, the pan feels too dry or the veggies start to stick, add a little bit more olive oil. But keep in mind that the mushrooms may release their juices as they cook more."**

**Depending on the type of mushrooms you use, they may release a lot of water. If this happens, you can either turn up the flame and cook, stirring frequently to avoid burning, until the liquid has evaporated. Or, if your mushrooms and scallions are nearly cooked and there’s still a lot of water in the pan, drain it before adding the butter.

When the mushrooms and scallions are cooked, turn the flame all the way down. Add the butter. When it’s melted, add the soy sauce and stir to coat. Turn off the flame. Taste and add more soy sauce if necessary.

Top with breadcrumbs (recipe below) and flaky sea salt if necessary, just before serving.

Magical breadcrumbs
2 Tbsp olive oil or butter
2 whole anchovy filets (or 4 1/2 filets depending on how your anchovies are canned)*
1 heaping cup panko
2 large garlic cloves, minced (about 2 Tbsp)


Heat olive oil in a large skillet over a medium-low flame. Add the anchovies and cook, breaking them up with a wooden spoon or spatula until they’re completely dissolved, about 3-4 minutes.

Add the panko and cook, stirring frequently, for 3-4 minutes. If the breadcrumbs start to darken, turn the flame down.

Add the garlic and stir well. Let the mixture cook, untouched for 2-3 minutes or until the bottom of the breadcrumbs start to turn golden. Turn off the flame and mix the breadcrumbs. Let cool for a few minutes in the pan before using.

If saving for later, let the breadcrumbs cool completely and then store, covered loosely, in the fridge for up to 4 days.

*A quick note about anchovies: Sometimes they’re cleaned and the two sides are left connected when they’re canned. I consider that a “whole” anchovy. If they two sides are separated, I consider that 1/2 of a filet)
Pickled veggie pasta salad

This pasta salad requires a tiny bit of forethought so that you can let the veggies pickle for a few hours, but it’s well worth the effort for a crowd-pleasing, tangy and bright salad that complements any other BBQ dishes. #meandthemoose #pastasalad…

This pasta salad requires a tiny bit of forethought so that you can let the veggies pickle for a few hours, but it’s well worth the effort for a crowd-pleasing, tangy and bright salad that complements any other BBQ dishes. #meandthemoose #pastasalad #pastarecipes #summerbbq #pickles #pickledveggies

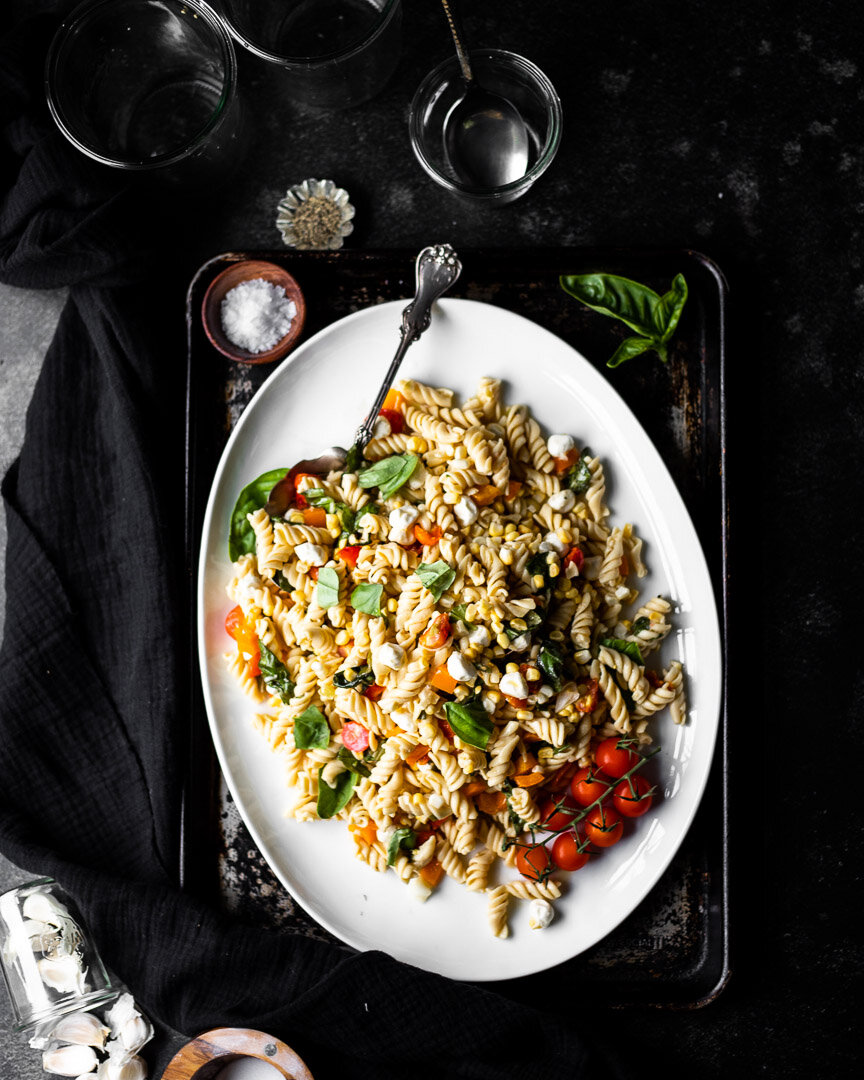
This is my platonic ideal of pasta salad: Tangy, bright, and crunchy, but also a little creamy and, frankly, oily. You can’t help but smell a smoky grill, hear kids laughing, and feel the sun in your face with this salad on your plate.

Just the pasta, please.

This pasta salad requires a tiny bit of forethought so that you can let the veggies pickle for a few hours, but it’s well worth the effort for a crowd-pleasing, tangy and bright salad that complements any other BBQ dishes. #meandthemoose #pastasalad…

This pasta salad requires a tiny bit of forethought so that you can let the veggies pickle for a few hours, but it’s well worth the effort for a crowd-pleasing, tangy and bright salad that complements any other BBQ dishes. #meandthemoose #pastasalad #pastarecipes #summerbbq #pickles #pickledveggies

So, pasta salad is often an underwhelming affair. It feels necessary at BBQs and is easy to produce in huge quantities. And sans eggs or mayo, it keeps in the sun for hours without risking a side of salmonella. But what a waste when it’s totally boring!

This recipe uses a huge quantity of quick-pickled seasonal vegetables and aromatics, which takes a little pre-planning, but is very worth it. My kid also happens to love pickles, which is a pretty good way to get him to eat veggies. And when you do the pickling, you control the salt, sugar, and other junk that enters the mix.

This pasta salad requires a tiny bit of forethought so that you can let the veggies pickle for a few hours, but it’s well worth the effort for a crowd-pleasing, tangy and bright salad that complements any other BBQ dishes. #meandthemoose #pastasalad…

This pasta salad requires a tiny bit of forethought so that you can let the veggies pickle for a few hours, but it’s well worth the effort for a crowd-pleasing, tangy and bright salad that complements any other BBQ dishes. #meandthemoose #pastasalad #pastarecipes #summerbbq #pickles #pickledveggies

The recipe I’ve developed here is best when left overnight, but the veggies can be eaten after about 3 hours and definitely taste pickled. Leaving them overnight helps the garlic to mellow, which can be considered a kindness to your guests, no? But also feel free to omit the garlic if you must.

And while I haven’t included anything but the pasta, dressing, and veggies in this recipe, you can customize this dish in whatever way suits your family. I make this for the three of us with mozzarella balls or feta. I’ve also thought about searing some salmon and flaking it in there or just opening a can of tuna and dumping that in. Also, the pickled veggies remind me of gardiniera, so I’m sure a salami or other Italian cured meat would be amazing in there. Experiment! Go crazy!

This pasta salad requires a tiny bit of forethought so that you can let the veggies pickle for a few hours, but it’s well worth the effort for a crowd-pleasing, tangy and bright salad that complements any other BBQ dishes. #meandthemoose #pastasalad…

This pasta salad requires a tiny bit of forethought so that you can let the veggies pickle for a few hours, but it’s well worth the effort for a crowd-pleasing, tangy and bright salad that complements any other BBQ dishes. #meandthemoose #pastasalad #pastarecipes #summerbbq #pickles #pickledveggies

A couple of notes:

  • I’ve made this salad by putting all of the veggies into one jar and I’ve made them by separating the different veggies into their own jars. If you do the veggies separately, you might need to increase the amount of pickling liquid. Just double or triple the amount of vinegar, sugar, and salt that you mix together and spread it among the different containers.

  • I opted for scallions because, though I LOVE a pickled red onion, they turn the pickling liquid (and everything else that’s being soaked) a bit pink.

  • I also used fresh corn because it’s in season and is so sweet and perfect right off of the cob that I can’t imagine not using it. But I’m sure frozen would do the trick too.

  • I give a range of oil and a range of pasta to use here. Some fancier pasta comes in smaller amounts (12-14 oz is a popular weight), but you can definitely use a whole pound of that’s the amount you have. Obviously, the more pasta you use, the less prominent the veggies will be and the more sauce you’ll need and vice versa.

  • I’ve also made this with chickpea pasta and, dare I say it, I might PREFER the bean pasta to regular white pasta. Shocking, I know.

This pasta salad requires a tiny bit of forethought so that you can let the veggies pickle for a few hours, but it’s well worth the effort for a crowd-pleasing, tangy and bright salad that complements any other BBQ dishes. #meandthemoose #pastasalad…

This pasta salad requires a tiny bit of forethought so that you can let the veggies pickle for a few hours, but it’s well worth the effort for a crowd-pleasing, tangy and bright salad that complements any other BBQ dishes. #meandthemoose #pastasalad #pastarecipes #summerbbq #pickles #pickledveggies

Pickled veggie pasta salad

Active time: About 30 minutes, mostly spent chopping and mixing
Total time: Anywhere from 3 hours to 1 week, depending on how much you let the pickles sit
Yield: About 9-10 cups of salad

¾ cup white vinegar
1½ Tbsp sugar
¾ tsp salt
3 large cloves garlic, peeled and smashed
½ large bunch scallions (about 4-5 large), trimmed and roughly chopped
1 pint cherry tomatoes, halved  
½ large orange bell pepper, roughly chopped
2-3 large ears corn, with kernels removed (or about 1½-2 cups)
12-16 oz dried pasta (depending on the ratio of vegetables to pasta that you prefer)
1/2- 3/4 cup olive oil
2 Tbsp red wine vinegar
½ tsp Dijon mustard
½ tsp kosher salt
¼ tsp fresh pepper
½ tsp dried or 1 tsp fresh oregano, well minced if using fresh
¼- ½ cup fresh basil leaves, torn

For the pickled vegetables:
In a small bowl, combine the vinegar, sugar, and salt and stir until the sugar has dissolved, about 2 minutes. (You won’t hear any more crunching on the bottom of the container.)

In a large container or several smaller containers with a tight fitting lid (see note above about the amount of pickling liquid if making the pickles in separate jars), add the smashed garlic, chopped scallions, and chopped vegetables. Pour in the vinegar mixture, seal the container, and shake a few times.

Place in the refrigerator and leave for 3 hours or up to 1 week.

For the salad:
Cook your pasta according to package directions in well-salted water.

While your pasta cooks, combine the oil, red wine vinegar, dijon mustard, salt, pepper, and oregano in a small container.

Once the pasta is cooked, drain it and add it to a very large bowl. Add half of the olive oil mixture and stir well.

With a large fork or slotted spoon, remove the vegetables from the pickling liquid, transferring as little of the brine as possible (though don’t go crazy). Set aside the garlic cloves and mince the pickled cloves. Add everything to the pasta and stir well.

Add more of the olive oil mixture to taste until you feel that the pasta salad is wet enough.

Mix in and top with the torn basil before serving.

Dumpling lettuce wraps

Dumpling lettuce wraps | Me & The Moose. This dish is so simple, is ready in under 30 minutes, and will make everyone at your table happy one way or another. #meandthemoose #dinner #thirtyminutemeals #easydinner #dinnerrecipes #dumplings #pork

This dish is a so simple and ready in less than 30 minutes, so basically the easiest route to a delicious dinner. AND it can be customized to suit different tastes, which usually makes for a less stressful dinner time in our house.

Take me to the recipe!

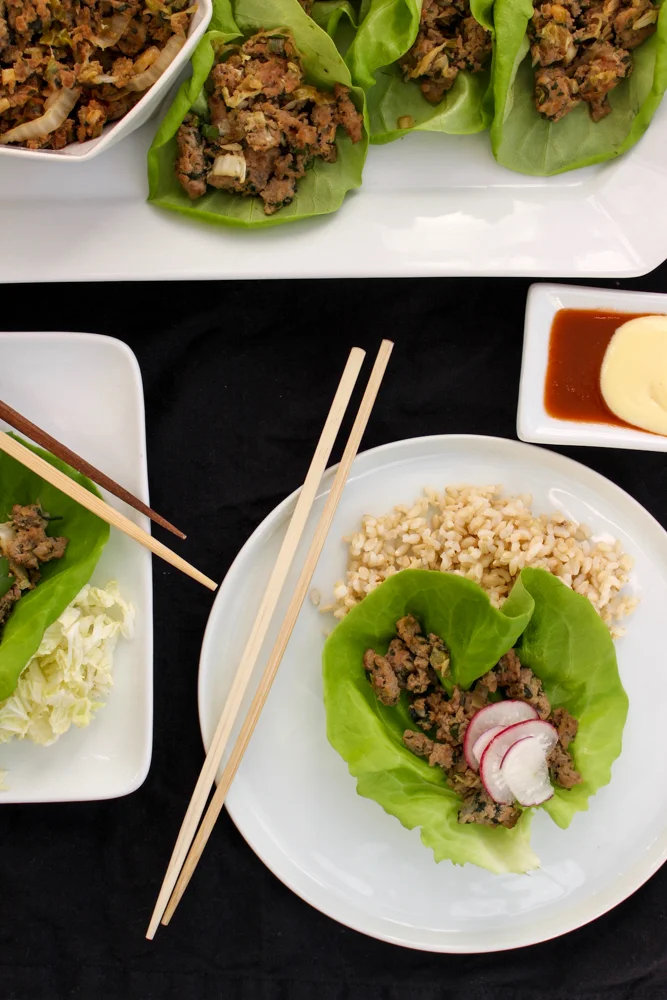
For example, we served the pork in lettuce wraps to lighten it up for the adults and used it to top brown rice for M who’s in a “rice bowl” phase. Don’t ask.

Dumpling lettuce wraps | Me & The Moose. This dish is so simple, is ready in under 30 minutes, and will make everyone at your table happy one way or another. #meandthemoose #dinner #thirtyminutemeals #easydinner #dinnerrecipes #dumplings #pork

M has been obsessed with dumplings since time immemorial, so, obviously, we made our own a few weeks ago for Lunar New Year. I, obviously, got lazy half way through the giant stack of dumpling wrappers and decided to saute the rest of the filling and call it a day.

Dumpling lettuce wraps | Me & The Moose. This dish is so simple, is ready in under 30 minutes, and will make everyone at your table happy one way or another. #meandthemoose #dinner #thirtyminutemeals #easydinner #dinnerrecipes #dumplings #pork

The saltyness from the soy sauce as well as the garlic and scallions cut through the fatty pork. There’s also a lot of cabbage in there that M doesn’t even realize he’s eating. You could probably throw in a host of other veggies too if that’s your bag.

Dumpling lettuce wraps | Me & The Moose. This dish is so simple, is ready in under 30 minutes, and will make everyone at your table happy one way or another. #meandthemoose #dinner #thirtyminutemeals #easydinner #dinnerrecipes #dumplings #pork

One could also swap out half or all of the pork for a less fatty ground meat or shrimp to lighten this up a bit too.

Dumpling lettuce wraps | Me & The Moose. This dish is so simple, is ready in under 30 minutes, and will make everyone at your table happy one way or another. #meandthemoose #dinner #thirtyminutemeals #easydinner #dinnerrecipes #dumplings #pork

Seriously, there are a lot of dinners out there that claim to be ready in less than 30 minutes, but aren’t really done that fast. This is sincerely one of the quickest dinners in our repertoire.

Dumpling lettuce wraps

1 lb ground pork
3 cups green cabbage, finely chopped (about ½ of a small Napa cabbage)
6 scallions, minced
2 large cloves garlic, minced
½ bunch cilantro, minced (stems and all)
2 Tbsp soy sauce
1 Tbsp fish sauce
1 Tbsp sesame oil
1 egg, lightly beaten

For serving:
Thinly sliced radishes
Sliced cucumbers
Sriracha
Spicy mayo
Raw cabbage
Cilantro
Pickled onions
Kimchi

Chop the cabbage, scallions, garlic, cilantro, sauces, pork, and beaten egg to a large bowl and mix well tom combine.

Heat the oil in a large skillet over medium heat until hot. Turn the flame to medium low.

Add the meat mixture to the skillet and cook until no pink remains, about 10-12 minutes, adjusting the heat as necessary.

There may be a lot of liquid that comes out in the cooking. If so, turn up the heat to medium high and cook for 1-2 minutes, until the water has evaporated and the meat has browned underneath.

Serve in lettuce leaves, wraps, tortillas, or over rice, cauliflower rice, or anything else.

Yield: about 3.5 cups of filling, or about 3-4 servings with toppings.

Dumpling lettuce wraps | Me & The Moose. This dish is so simple, is ready in under 30 minutes, and will make everyone at your table happy one way or another. #meandthemoose #dinner #thirtyminutemeals #easydinner #dinnerrecipes #dumplings #pork

Sheet pan dinner: Roasted white fish and cabbage tacos

Roasted white fish, cabbage, and scallion tacos that all cook together on a sheet pan.
Roasting the fish, scallions, and cabbage on a sheet pan make an easy weeknight taco night with almost no clean up.

The dog days of summer are here in the Northeast and it. is. sweaty. I'm hankering for things that are raw or minimally cooked, so a sheet pan dinner may seem counterintuitive. But the cooking here is very quick, requires very few dishes, and the end product leaves us feeling satisfied, but not stupified because being really hot and really full is like entering the third ring of hell.

Taco night, but easier, healthier, and more interesting.

(As always, skip to the next photo to avoid the toddler update.)

Speaking of hell (KIDDING), we're in that annoying place where the things our kid does seem SO AWFUL to us, but when I tell others about his behavior, I'm usually met with, "Yeah, that sounds about right for a 3-year-old." For instance, I just about blacked out with rage (though I think I handled it okay), when M aimed his stream directly at the back of the toilet instead of into the bowl, effectively spraying our entire bathroom with pee. He thought this was HILARIOUS, while I floated out of my body and burst into a million pieces. The first person I told about this replied, "If he ever has a brother, they'll probably do it together."

Don't get me wrong, it's VERY comforting when other people are completely unfazed by M's behavior. But I'm still left wondering if I'm the world's least effective parent. It can be hard to process.

But I also get it. When I tell someone else about M's behavior that's driving me crazy, to them, it's an isolated incident. But when I'm asking him to put on his shoes for the 20th time after struggling to get him to do five other things in the past hour, that shoe battle feels so much more intense and difficult.

Basically what I'm saying is that 3 has been a tough age so far and that on exhausting days, the last thing I want to do is fight with dinner too (what a segue, huh?).

The white fish roasts on a bed of lemons and limes.

This dinner is partly steamed and partly roasted. Roasting the fish with the veggies proved counterproductive because a lot of liquid came out of the fish while it cooked, which led to steamed veggies instead of roasted ones. No thanks. 

Green and red cabbage are perfect for roasting with fish because they cook fast and get both melty and crispy.

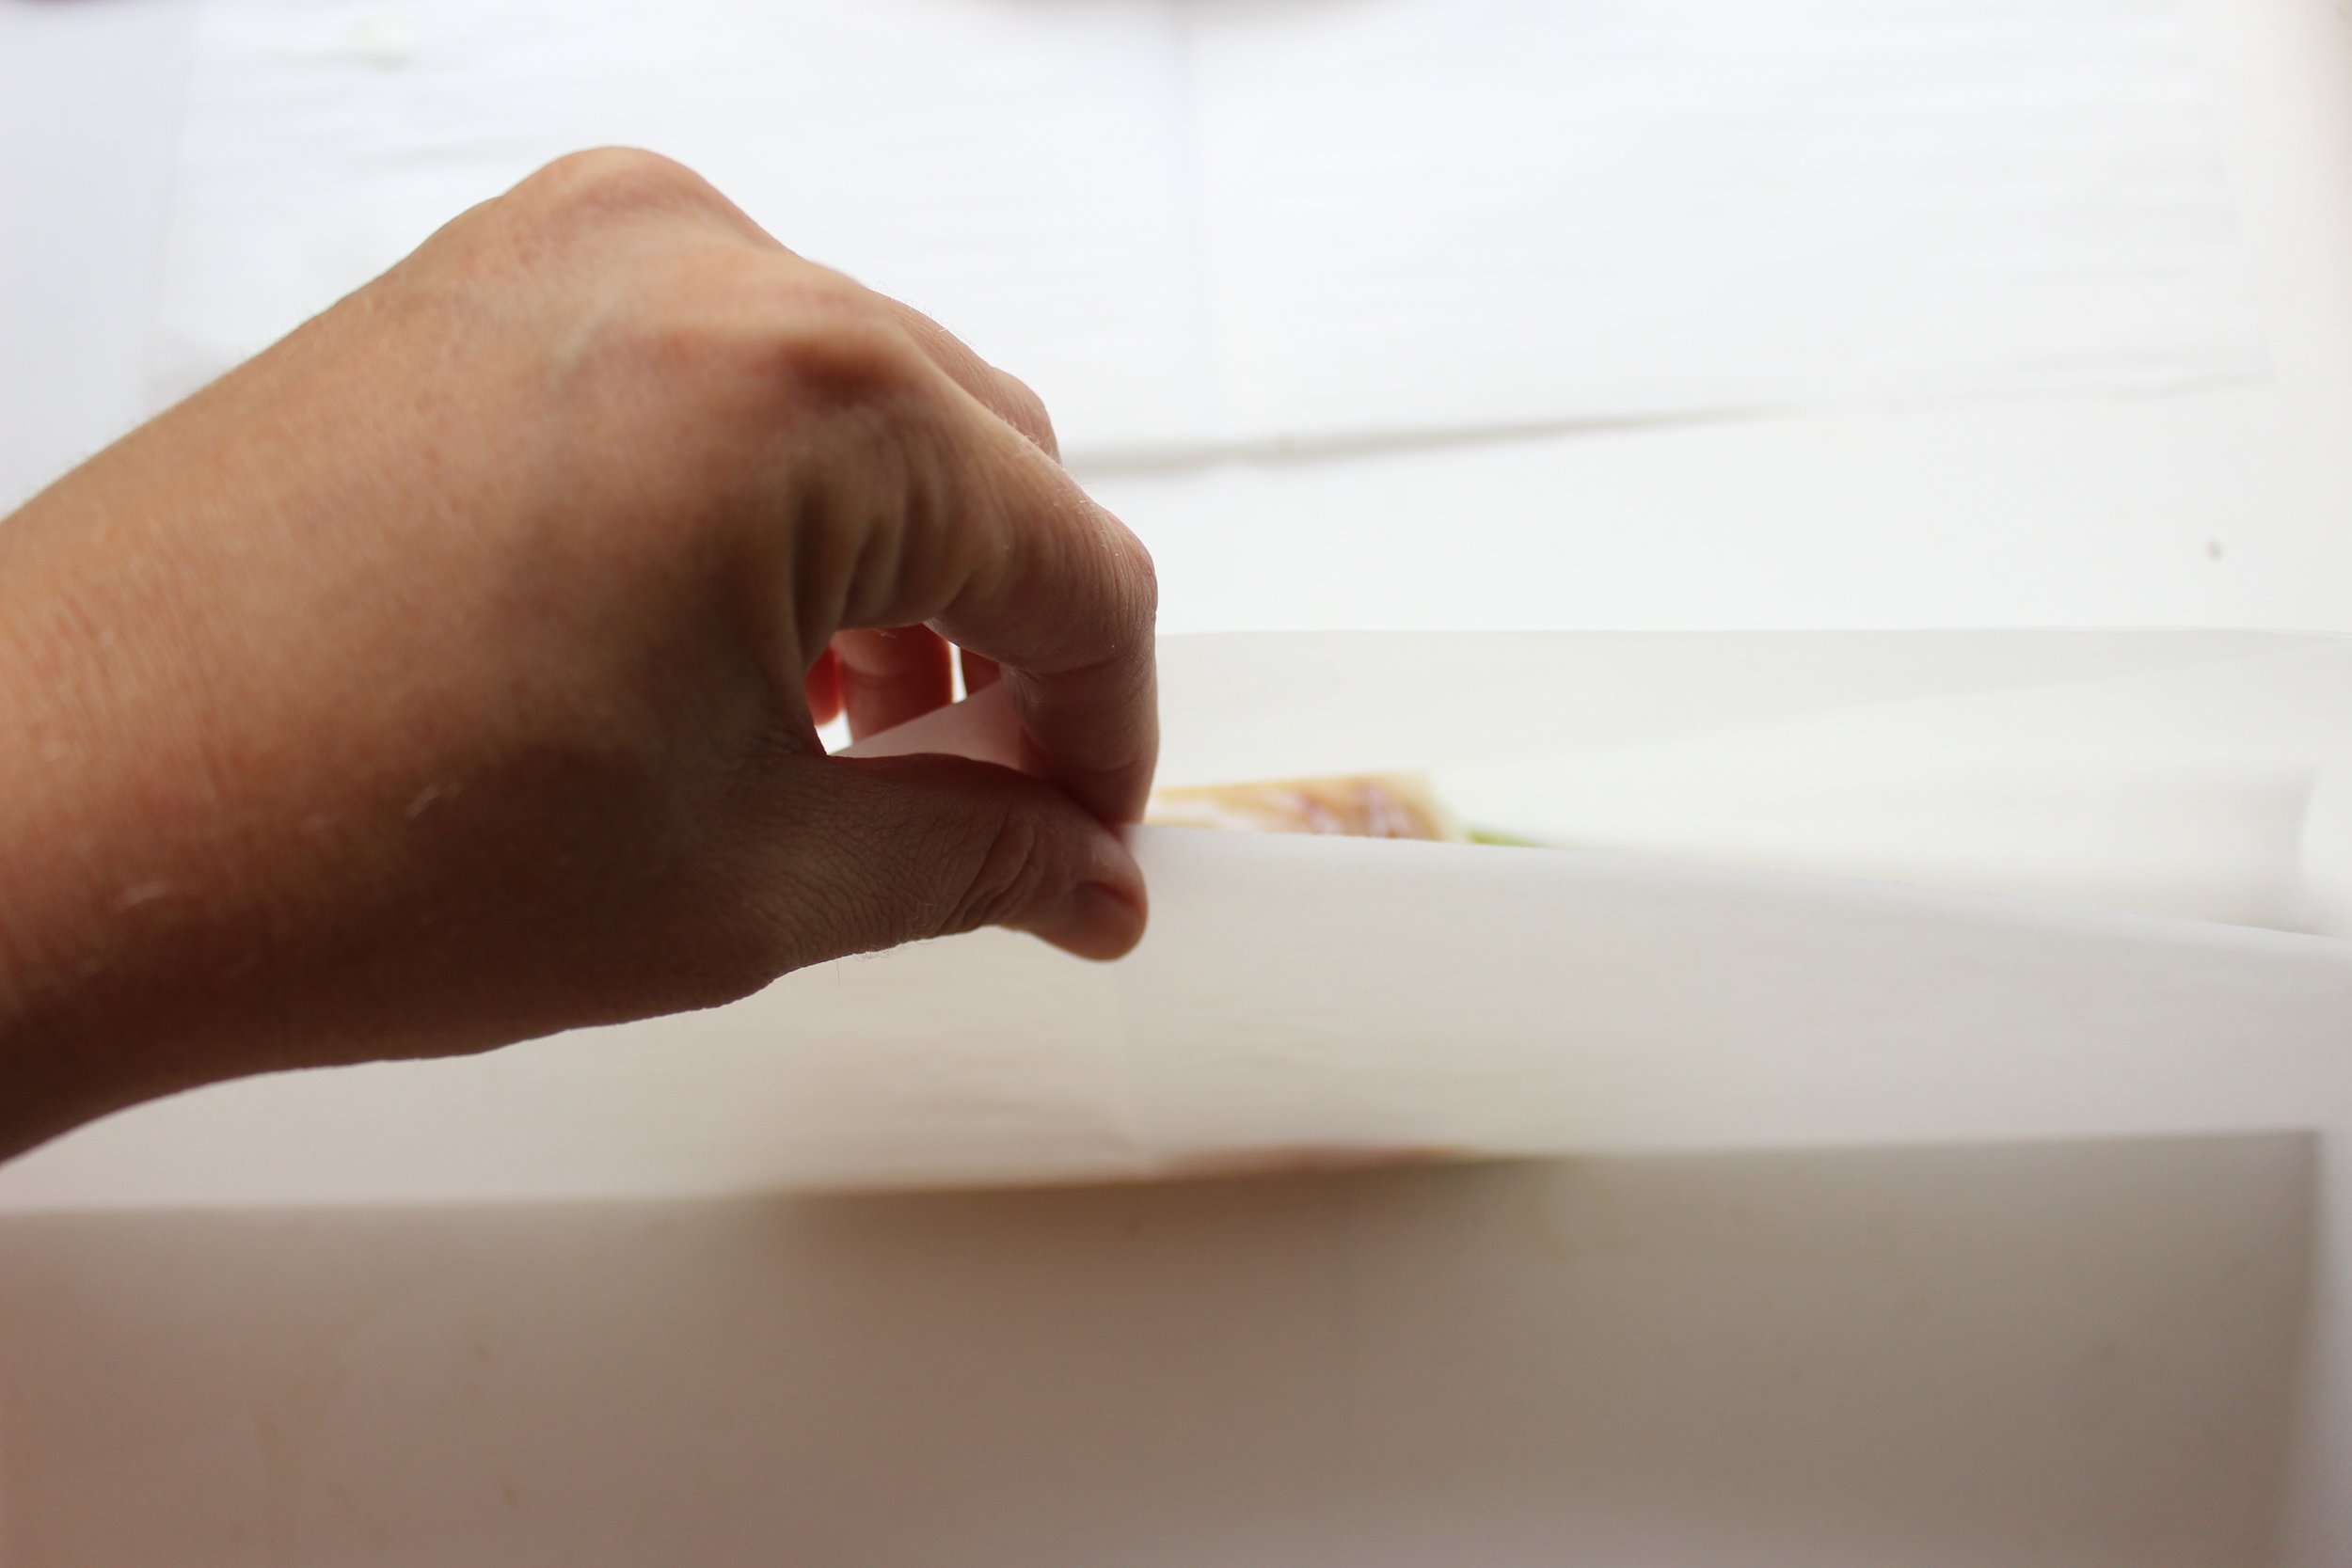
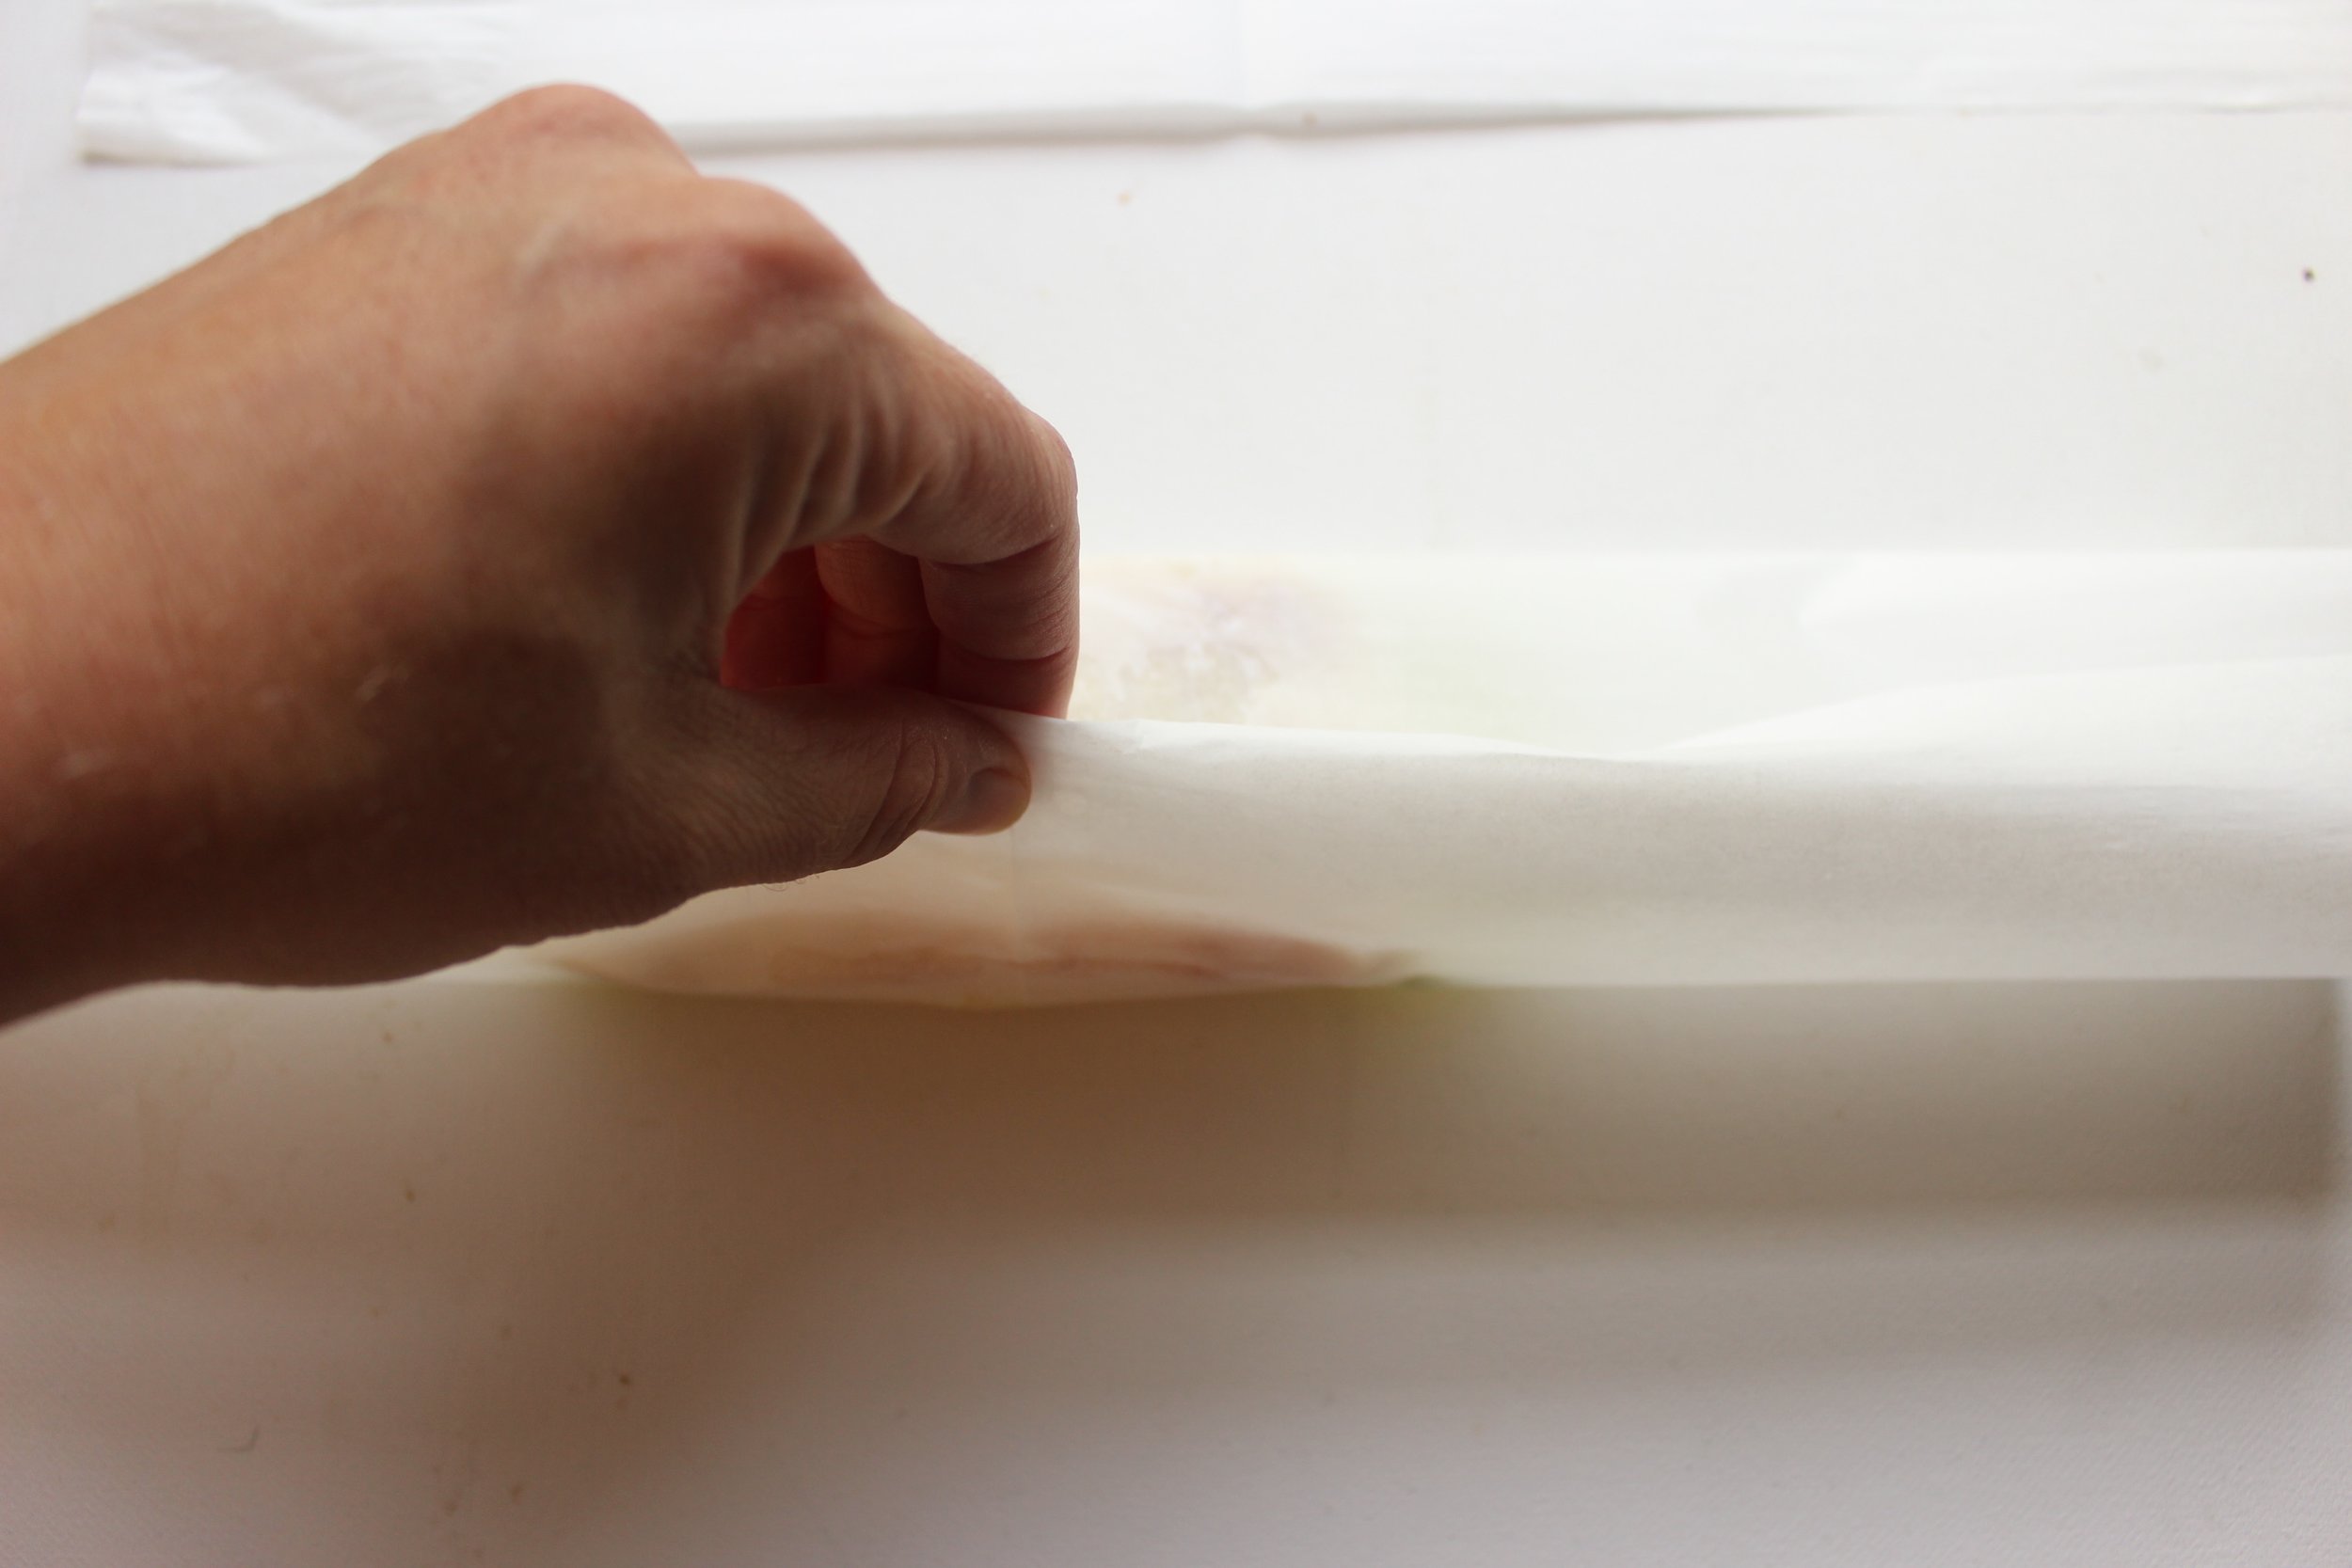
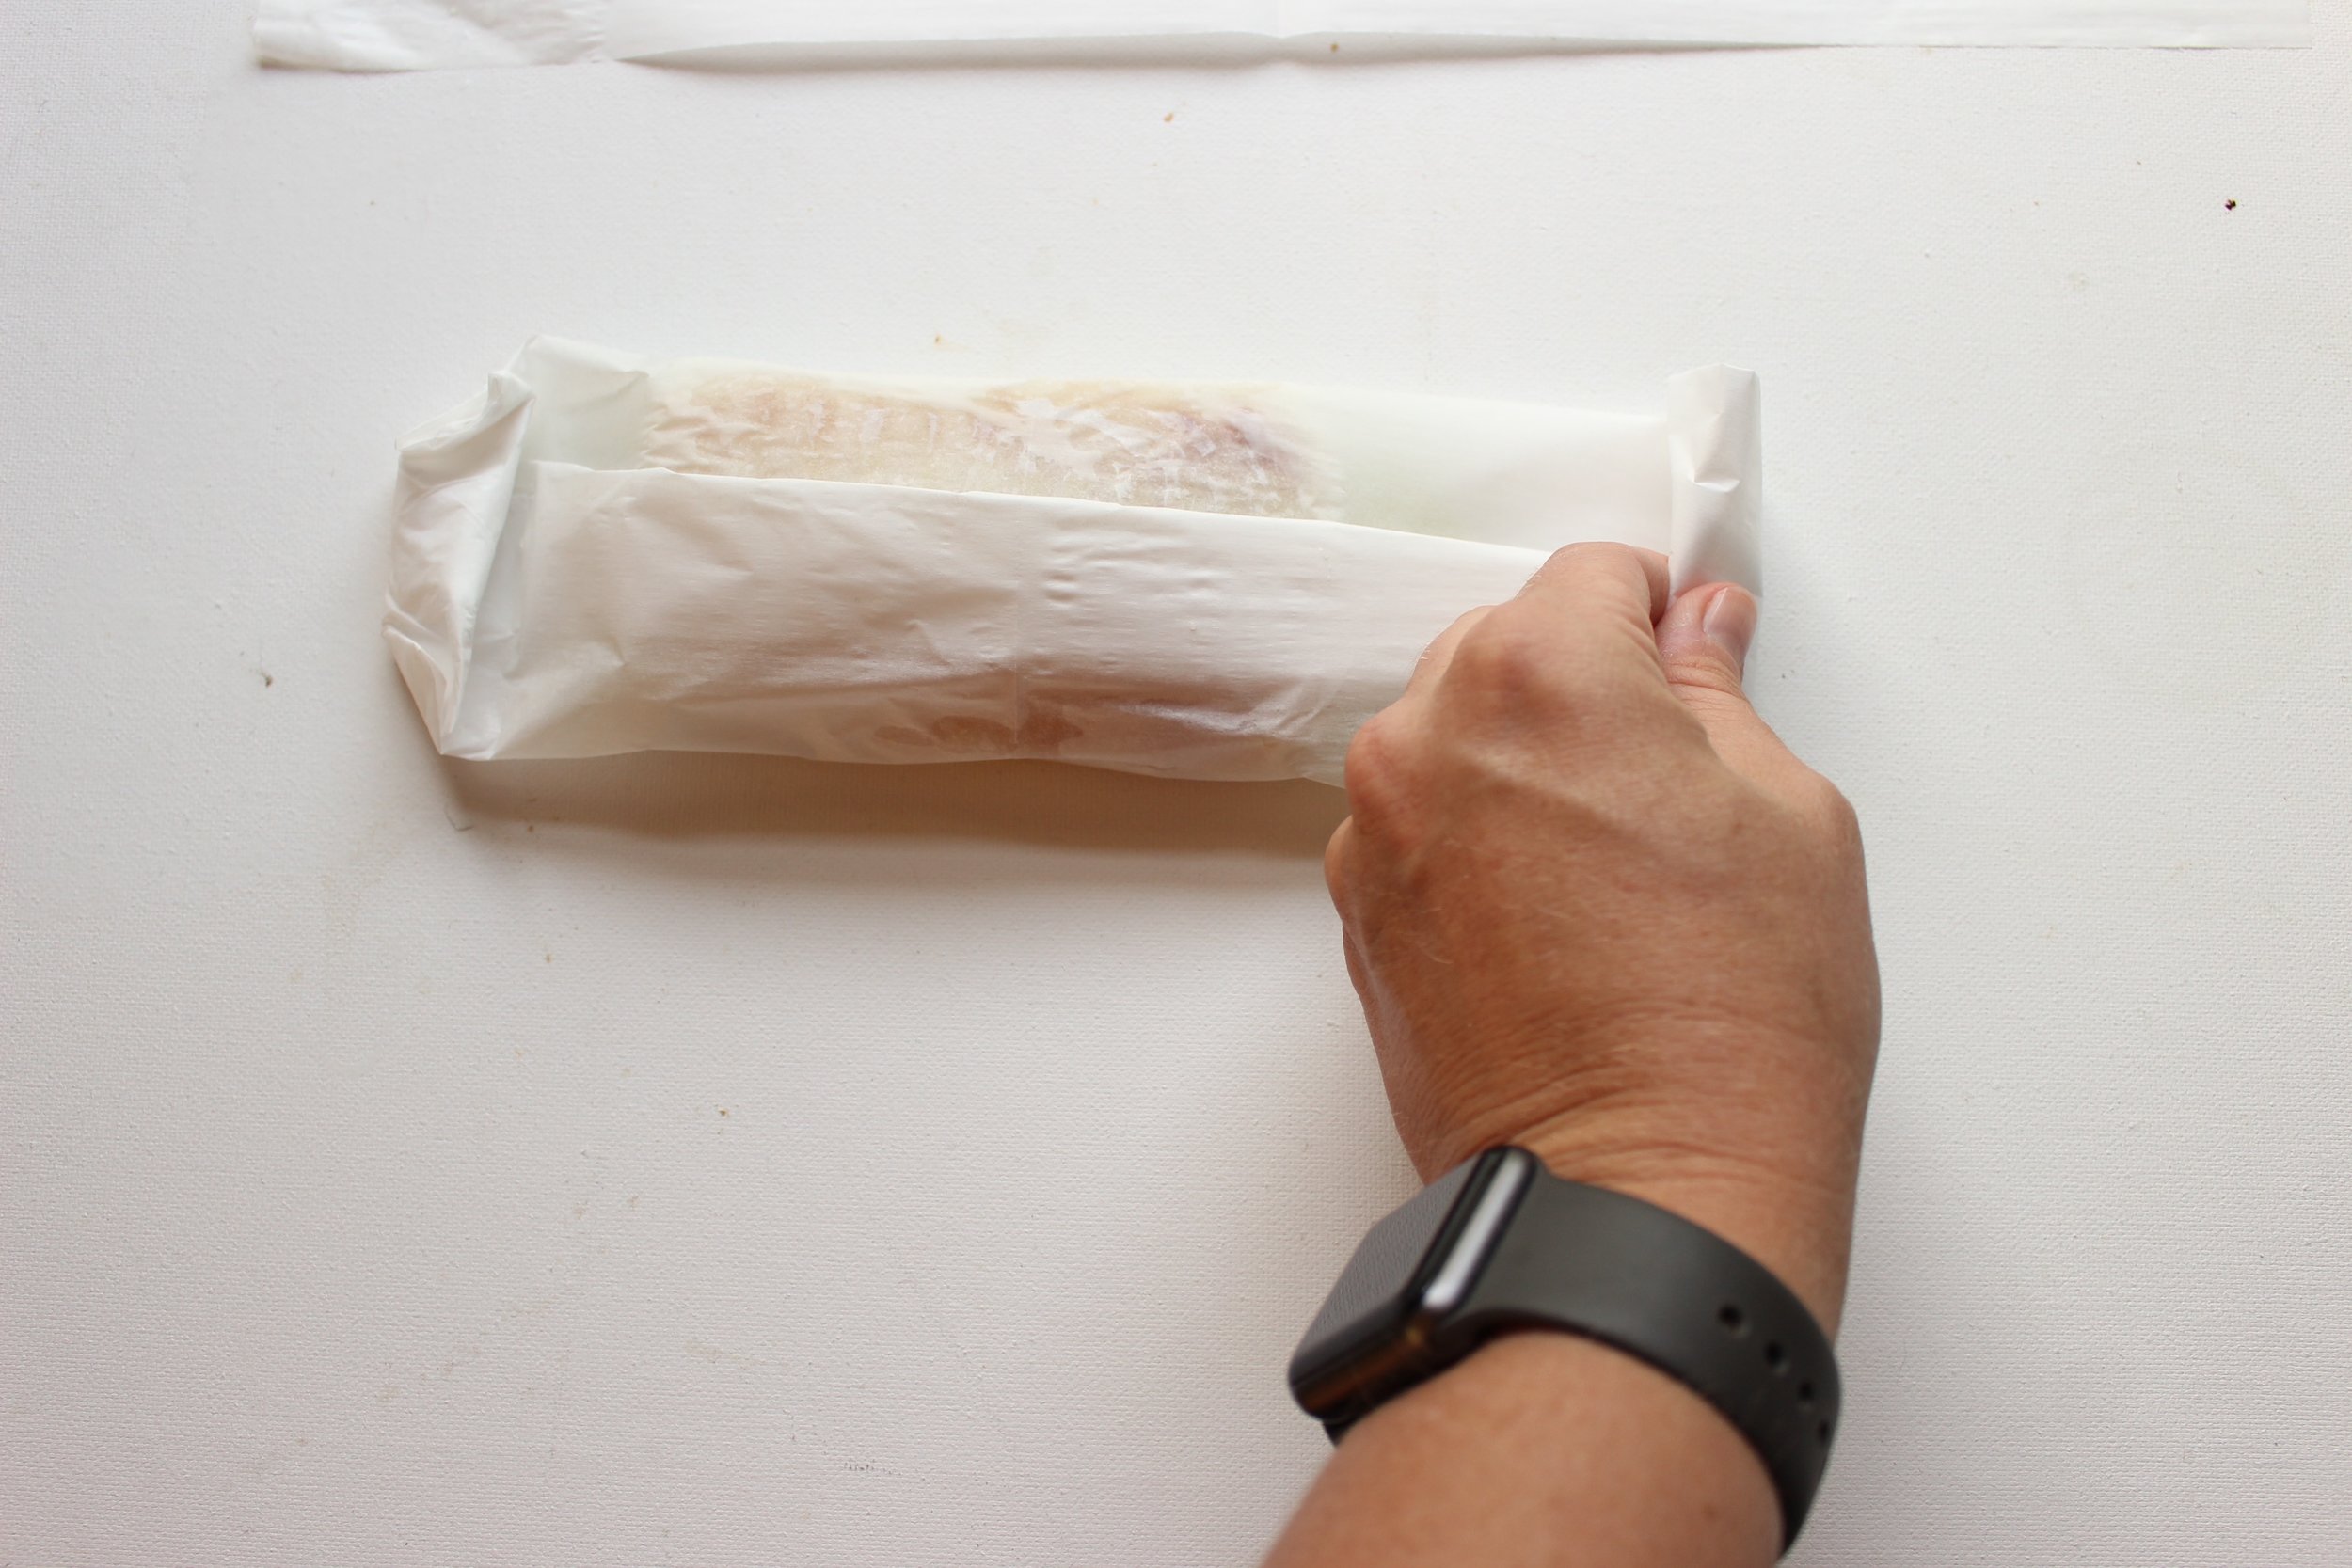
Instead, you're going to wrap up the fish on a bed of lemon and lime in parchment bundles and let them steam on top of the cabbage and scallions to achieve the best of both cooking methods while still only using one pan. Because, it's hot. Here is a handy illustration of my favorite folding method:

So! Wrap up the fish and let it steam in the citrus. Chop the cabbage and scallions, toss with some olive oil, and throw the whole mess into the oven. While it's cooking, heat some taco shells, whizz some avocado crema in the blender, and prep any other toppings you might want (cheese, tomatoes, jicama, beans, etc). Tonight's dinner can be ready in about 30 minutes and is a nice departure from the usual taco night.

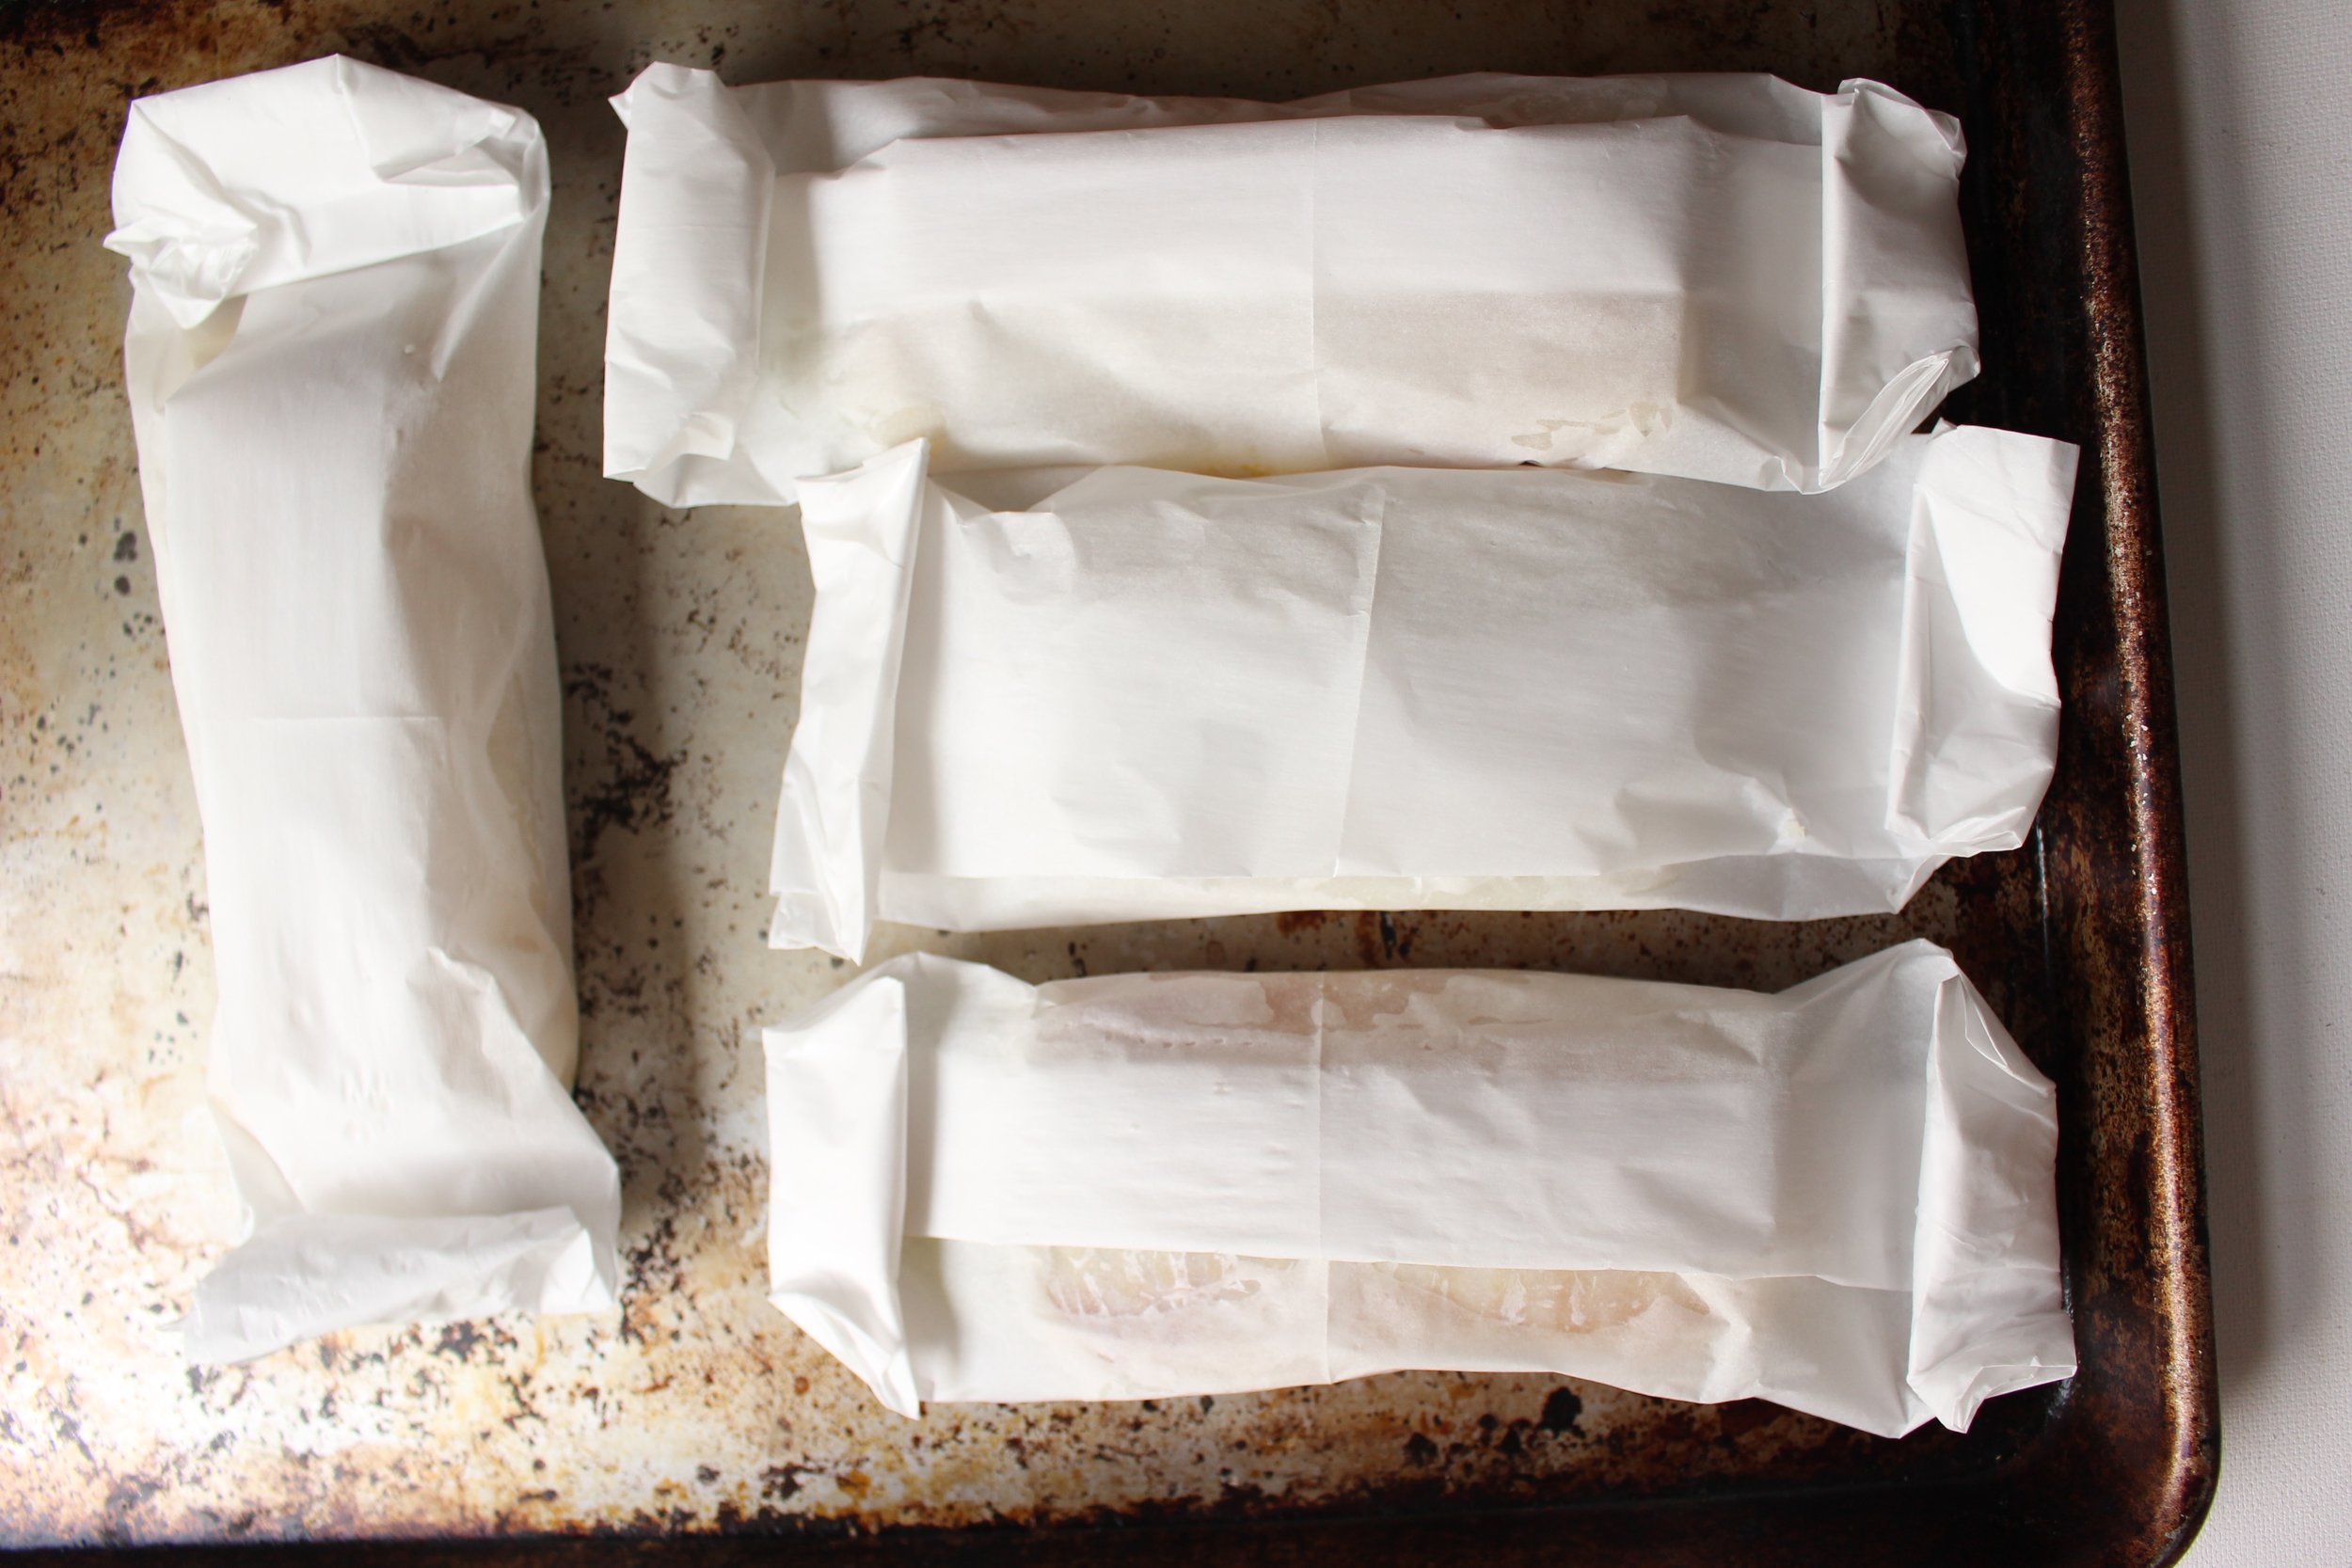
Wrapping the white fish in parchment packages helps retain their moisture while also letting the cabbage and scallions get roasted and crispy. It also decreases the mess even more.
Parchment contains the moisture so that the fish steams while the veggies roast.

Roasted cabbage fish tacos with avocado chipotle crema  

½ small head of red cabbage, roughly chopped
½ small head of napa cabbage, roughly chopped (about 6 cups total cabbage)
8 scallions, trimmed and cut in half width-wise
2 Tbsp olive oil
1 large lemon
3 large limes, divided
1 ¼ lb cod or other firm white fish (four medium fillets)
1 Tbsp mayo
1 large avocado
Juice of 1 lime (about 1-2 Tbsp)
4-6 Tbsp water
1 small clove garlic
1-2 tsp chipotles in adobo or chipotle hot sauce
1/2 tsp kosher salt
12 corn tortillas

Preheat oven to 400.

Toss the cabbage and scallions with 2 Tbsp of olive oil and salt and spread onto a baking sheet. Set aside.

Slice the lemon and one of the limes. Spread out four sheets of parchment paper or tin foil on your countertop. Place 2 or 3 slices of the lemon and lime in the middle of the parchment. Place one fish filet onto the citrus bed and sprinkle with salt and pepper.

To fold the bundles, bring the edges of the two longest sides of the parchment together and fold over three or four times until you can’t fold anymore without hitting the fish inside. Next, fold the sides toward the middle until you’ve made a tight rectangle around the fish. Place on top of the veggies, making sure to move the scallions out from beneath the fish and toward the edges of the sheet pan.

Roast until the veggies are wilted and lightly browned and the fish flakes easily with a fork, about 15 minutes. If desired, carefully remove the fish bundles, being aware of steam that might escape, and roast the veggies for another 5 minutes.

Meanwhile, make the chipotle avocado crema. Combine the mayo, avocado, lime juice, water, garlic, chipotles or hot sauce, and salt in a blender or food processor and blend until smooth. If too thick, scrape down the sides and add more water a little bit at a time and blend again until you've reached the right consistency. 

Toast the corn tortillas and prep any other fixings you might want with your tacos (cheese, more avocado, beans, tomatoes, etc). Squeeze some more lime juice over the assembled tortillas and serve.

Yield: 4 servings of three tacos and 1 fish fillet each

Taco night and sheetpan dinner night in one! No mess!
Colorful and healthy family taco night.
Roasted cabbage and scallions are mellow enough for toddlers and picky eaters.

Sheet pan dinner: Chicken, potatoes, poblanos, and scallions

Sheet pan dinner: chicken thighs with poblano peppers, potatoes, and scallions.

Guys, this is one of the fastest, easiest dinners you can make. As long as the chicken is defrosted (always dicey in our house as I am notorious for leaving things in the freezer), this can be on your table about 30 minutes. Ready...go! 

Fresh poblano peppers and scallions mellow considerably when roasted.

I love a sheet pan dinner for so many reasons. It's fast. The cleanup is easy. Roasting is a simple way to add flavor and texture by using heat to crisp and caramelize everything. And obviously, wrapping things in a tortilla and serving it in a taco truck like this one is a surefire way to get my toddler to eat anything.

AND, this sheet pan is customizable for any dietary need. Want gluten-free? Choose corn or gluten free tortillas. Doing a Whole 30 or following a Paleo diet? Forget the cheese and tortillas altogether or eat this as a hearty salad over greens with avocado and an olive oil and lime dressing. Vegetarian or vegan? Swap in tofu for the chicken or increase the veggies and put the spices directly onto the potatoes. See? Something for everyone.

This Tex-Mex rub is cumin, oregano, chili powder, coriander, garlic powder and salt.

A couple of notes:

  • I've listed two tablespoons of oil in the ingredients, but use the second tablespoon sparingly. The fat that renders from the chicken when cooking is usually enough for the potatoes and other veggies. I spray the parchment with olive oil before adding the potatoes to prevent sticking and then let the chicken fat do the rest of the work.

  • The poblano peppers and chili powder that I've used in this recipe are really mild and fine for my almost-3-year-old. If you're concerned about spiciness, feel free to sub a can or two of roasted poblano peppers that are marked "mild" and don't cook them; just stir them into the hot veggies and chicken at the end. Also, taste your chili powder before using it to gauge its heat. If it feels too hot for your kiddos, swap in an equal amount of paprika or skip it altogether.

Ingredients list: chicken thighs, scallions, poblano peppers, and potatoes. Add olive oil and a Tex-Mex spice mix for a sheet pan dinner that will please the entire family.

Sheet pan chicken with potatoes, poblanos, and scallions

2 lb skinless boneless chicken thighs
2 Tbsp olive oil, divided
1 tsp cumin
½ tsp Mexican oregano (or regular oregano)
½ tsp mild chili powder
½ tsp coriander
½ tsp garlic powder
½ tsp kosher salt
1 lb Yukon potatoes
2 large poblano peppers
1 bunch scallions

Preheat the oven to 425. Cover a large sheet pan with parchment paper or tin foil and set aside.

In a large plastic bag, combine the chicken, 1 Tbsp of olive oil, and the dry spices. Close the bag tightly and shake and squish around to combine and distribute. I like to mix the spices together in a small jar to avoid any pockets of one flavor, but that’s not strictly necessary. Set aside.

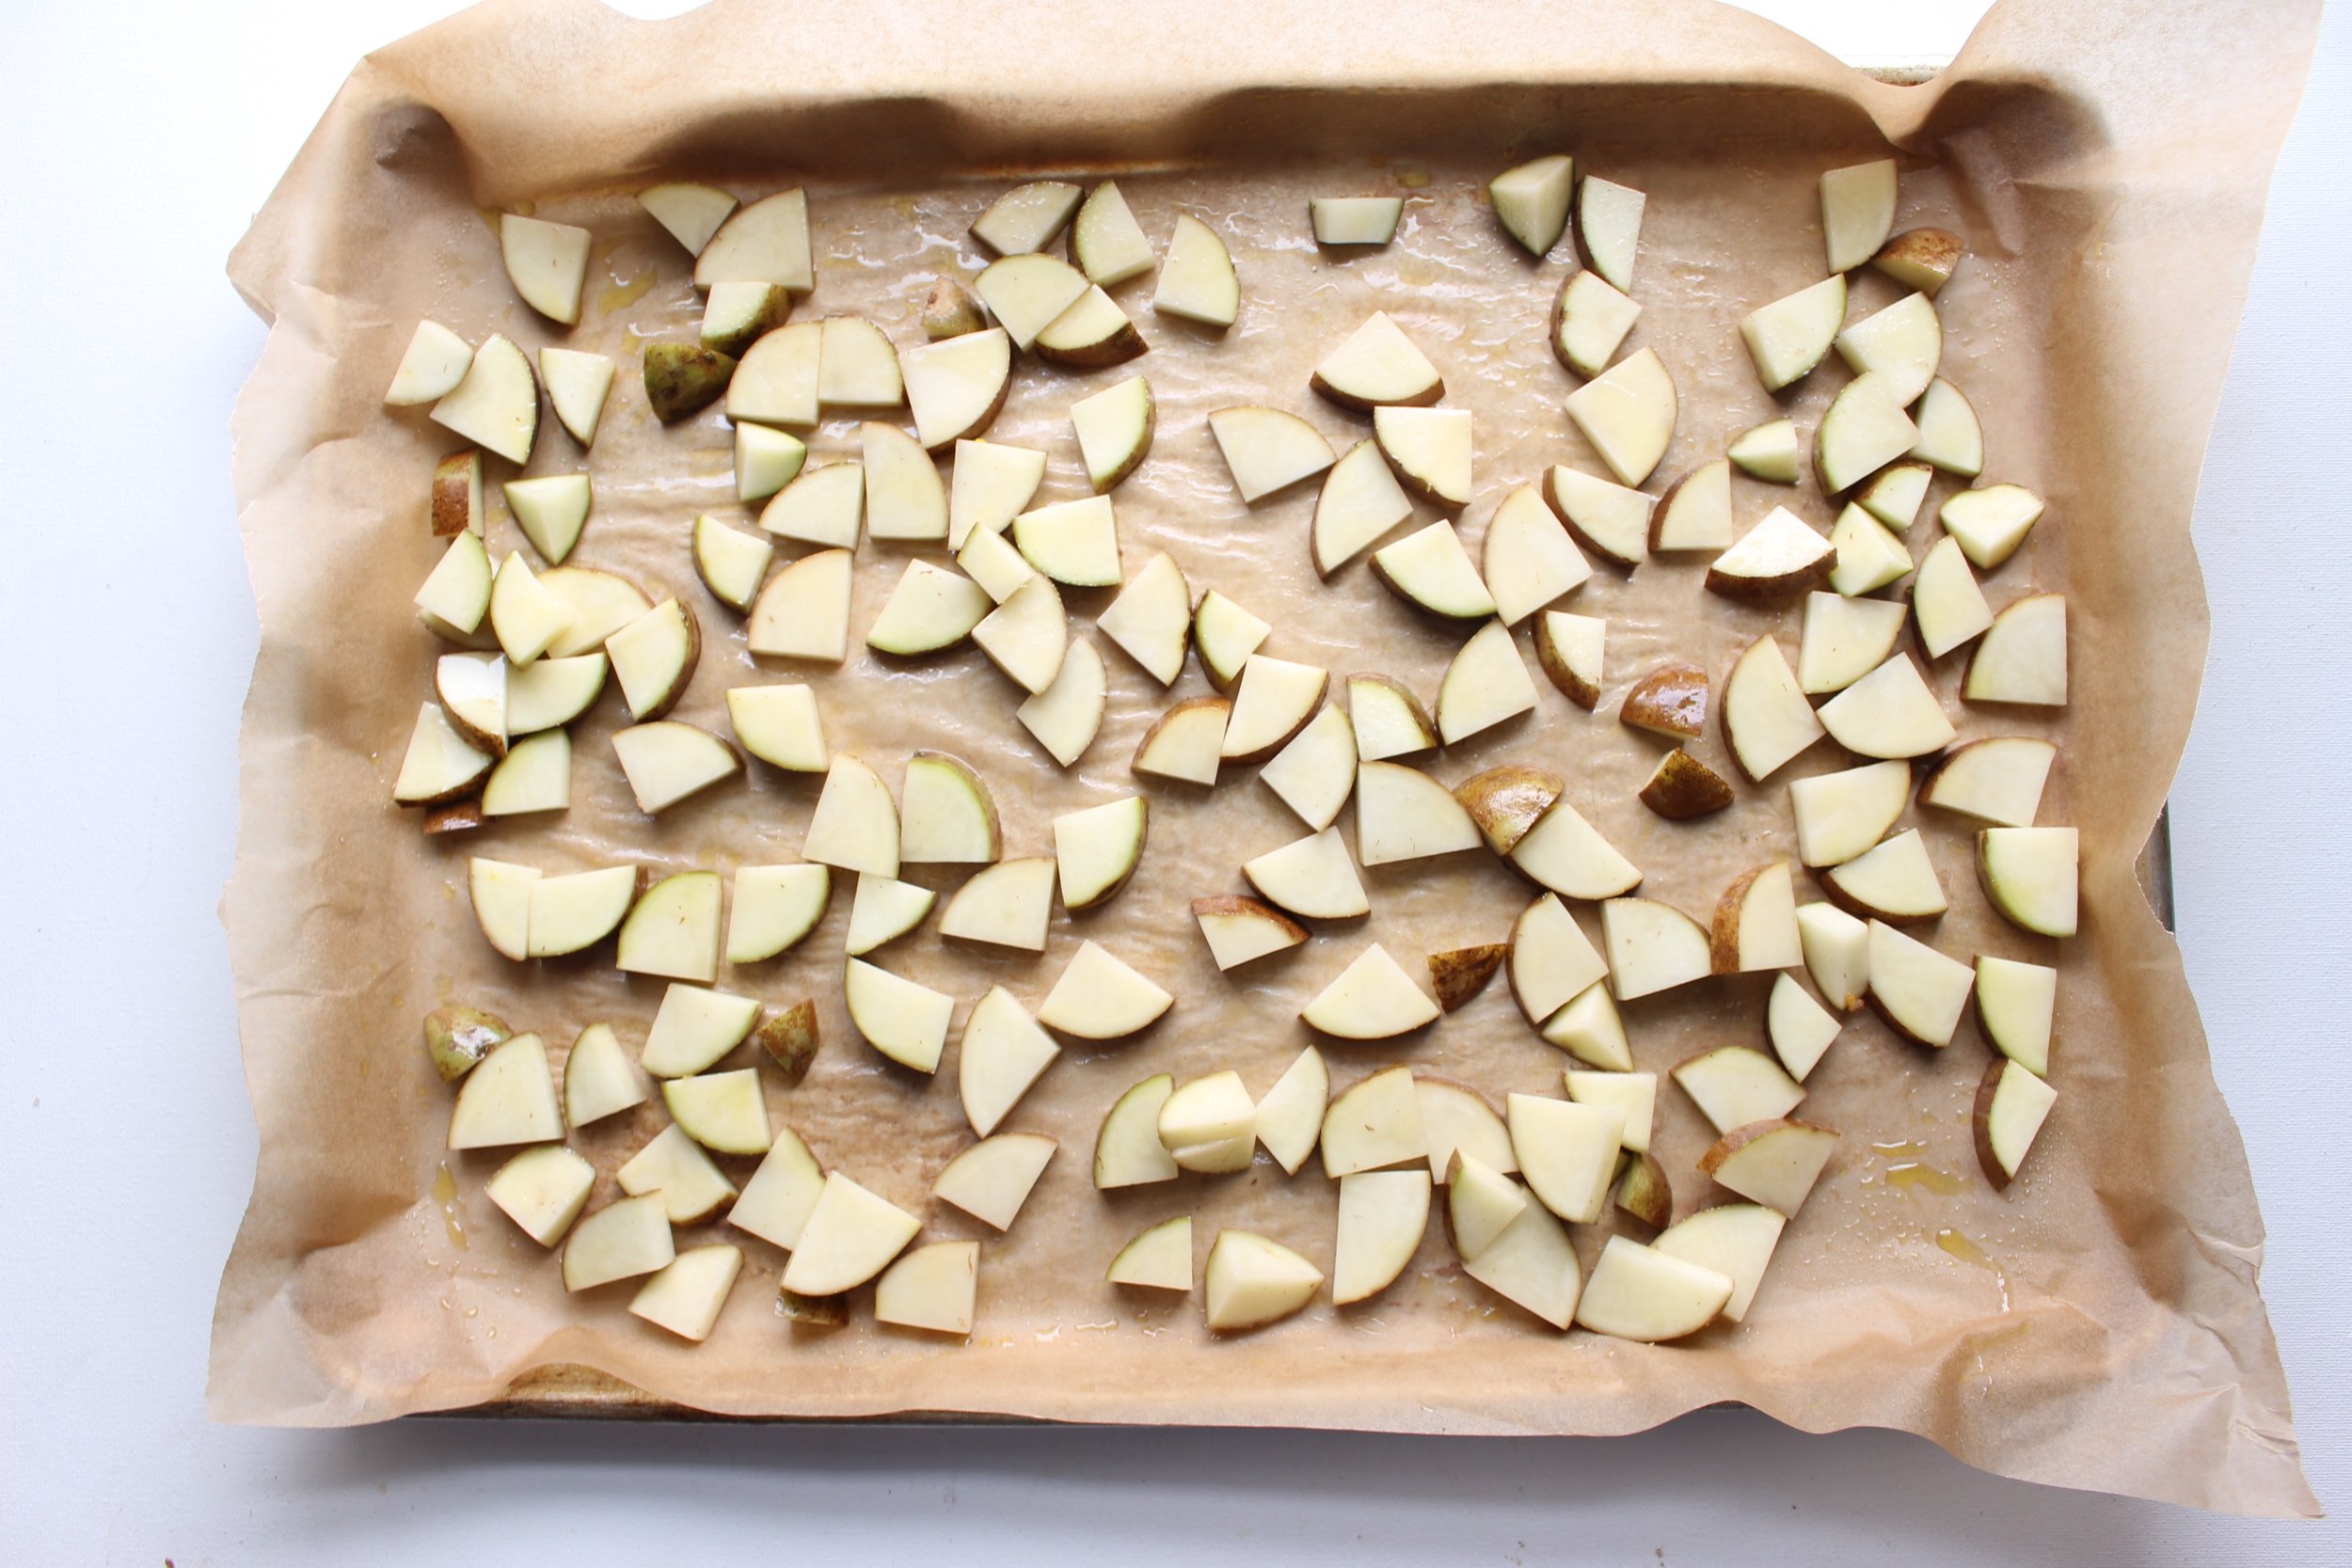
Chop your potatoes into medium-small cubes. Mine are about 1 inch long and ½ an inch wide, but every potato is shaped differently. You want your cubes to be small enough that they’ll roast quickly, but large enough that they won’t turn to mush.

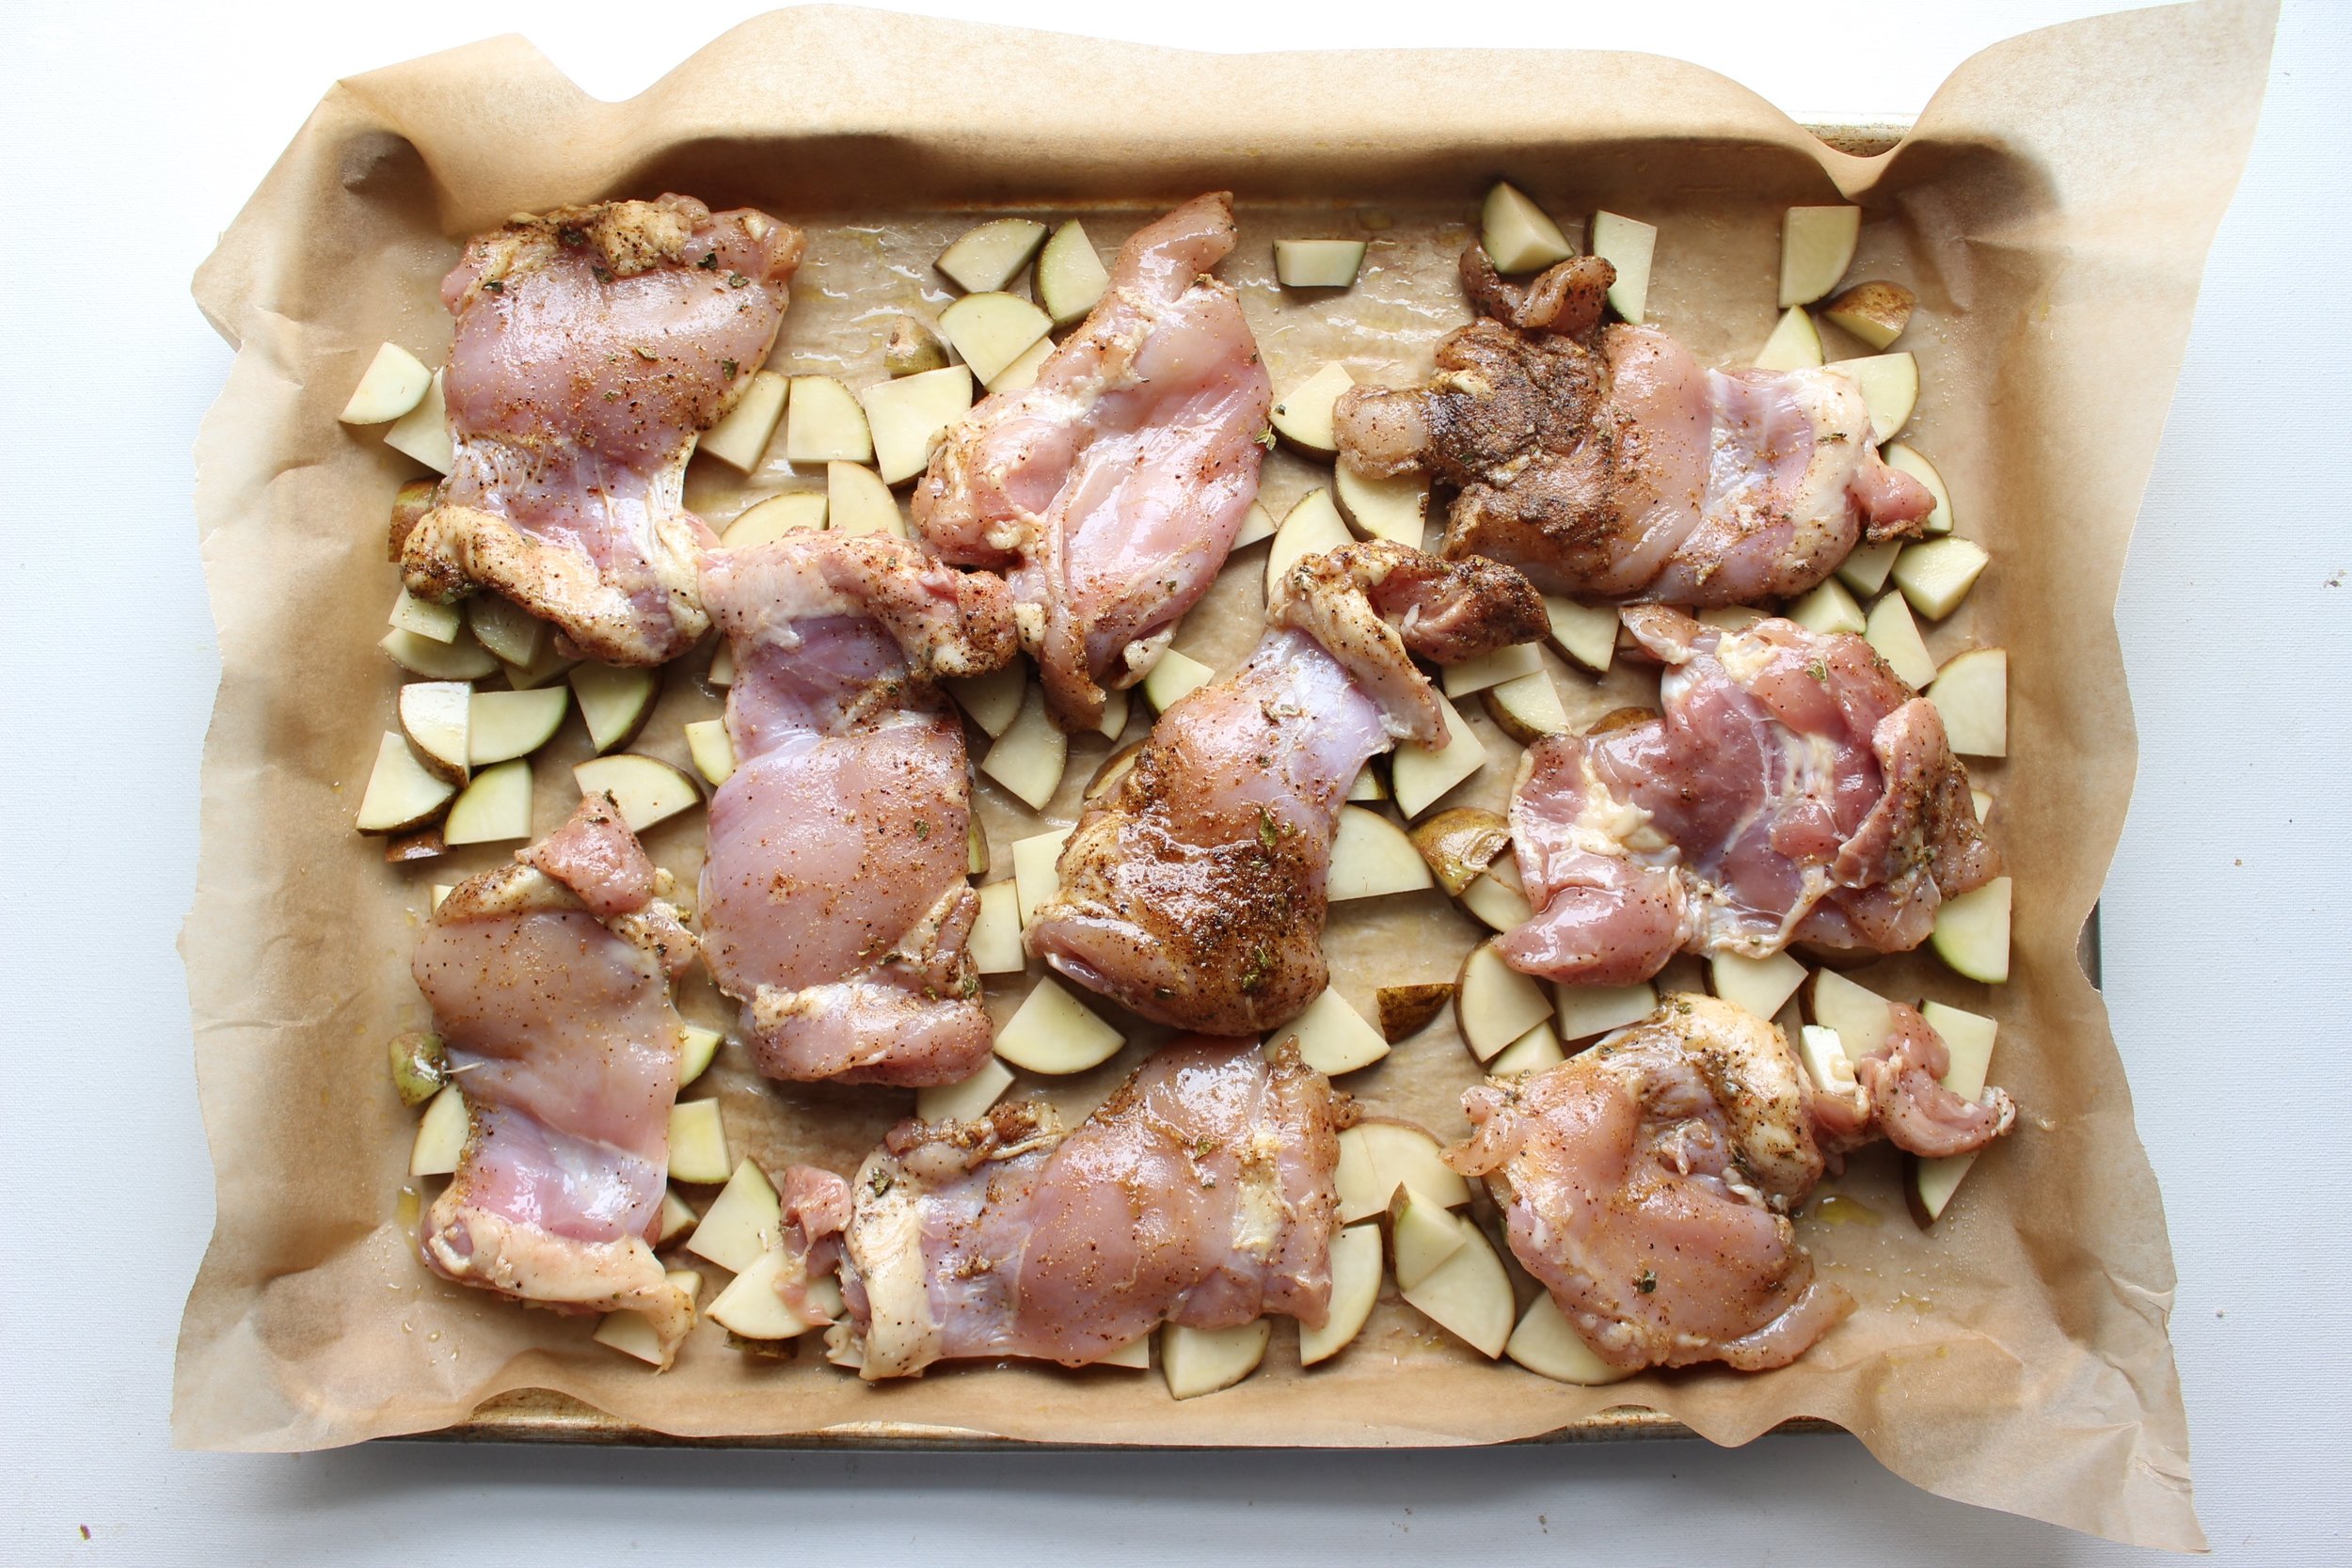
Lightly oil the parchment and then spread the potatoes in a single layer on the parchment-covered pan (see note above). Sprinkle the potatoes VERY lightly with salt. (There's a fair amount of salt and spice on the chicken that will transfer to the veggies during cooking, so don't go overboard.) Remove the chicken from the bag and place the pieces on top of the potatoes.

Roast for 12 minutes.

While the chicken and potatoes are cooking, slice the poblanos into thin sticks. Trim the hairy bottoms and any yucky bits from the scallions. Set aside.

After 12 minutes, remove the pan from the oven and scatter the scallions and peppers evenly over the pan. Using tongs, carefully fish out the chicken pieces and place them on top of the scallions and peppers. Put the whole shebang back into the oven and cook for 5 more minutes until a thermometer in the thickest part of the chicken reads at least 165.

Remove the chicken with tongs and set aside. Continue to cook the vegetables for 5 more minutes or as needed to reach your desired doneness. We're usually set after 5 minutes.

See serving suggestions above, but however you eat this roasted goodness, first SPRINKLE ALL OF IT WITH LIME JUICE!

Yield: 4 servings

This sheet pan dinner is delicious served in a taco or on its own. Use corn tacos for a gluten-free meal either way.
Serve this sheet pan dinner as a salad or rice bowl for another healthy dinner option that can suit anyone at your table.