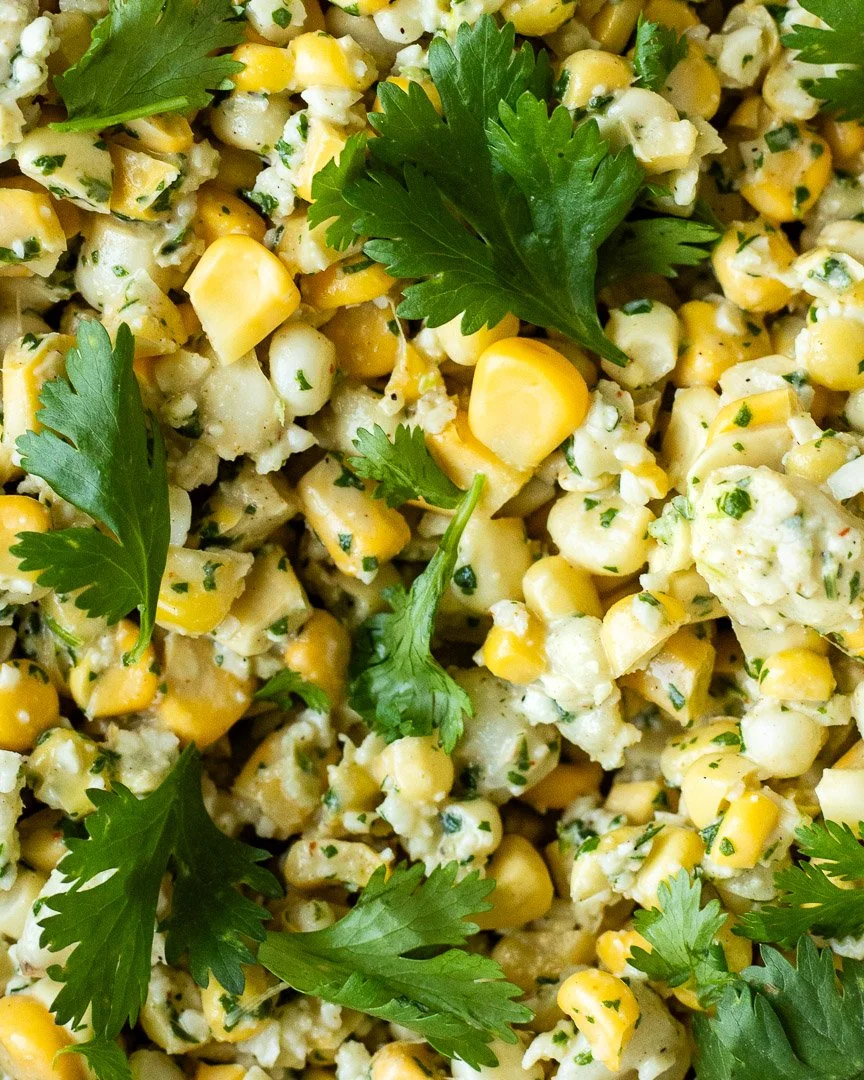
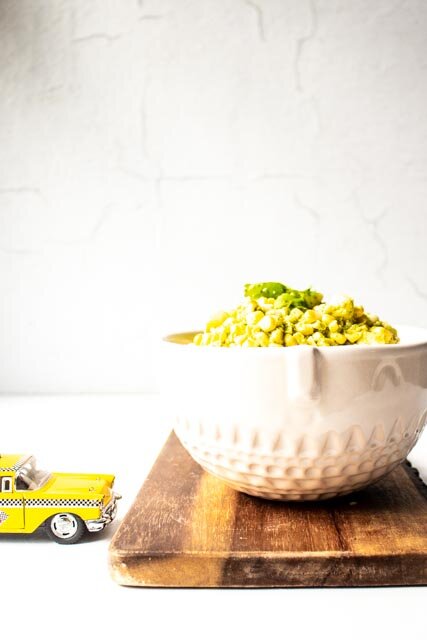
Corn and hominy salad
Take advantage of corn season with this raw, refreshing, and super flavorful corn and hominy salad.

This salad was inspired by elote or Mexican street corn. When we lived in NYC, my favorite thing to get at the street fairs that popped up on summer weekends (we called them “socks and sausages”) was the grilled corn with mayo, chili powder, cilantro, and cotija cheese. Spray a little lime over those babies and they were the perfect mix of smoky, salty, creamy, and acidic.
I started developing this recipe last summer and never got around to posting it before corn season was over. This salad uses raw corn, so you really want to get the freshest cobs at the peak of their season. You can use frozen or otherwise not-peak corn and give it a quick saute before making the salad, but the fresh, raw stuff is truly the best.


So, there are about 12 million elote salad recipes on the interwebs, so what makes this one different, you ask? Hominy!
Hominy is dried corn kernels that have been soaked in an alkaline solution. Hominy is actually used to make masa, which is the key ingredient in corn tortillas, tamales, and other staples of Mexican cuisine. It has a light corn flavor with a slightly nutty aftertaste. Actually, once you taste hominy, you know that it tastes exactly the way corn tortillas taste.
The hominy adds bulk to the salad that makes it more versatile than a side dish. I’ve added this corn concoction into other meal salads and eaten it on its own with some shredded rotisserie chicken. So, while technically a side dish, this salad can easily transform into the star of the show.
A couple of notes:
I only use 1/2 of a garlic clove because I want to be able to taste all of the ingredients rather than just raw garlic. If you really like garlic, feel free to use more, but I REALLY REALLY like garlic and 1/2 of a clove was more than enough for me.
You can find prepared hominy in cans at basically any grocery store. If you have some dried hominy that you want to rehydrate, find instructions here.
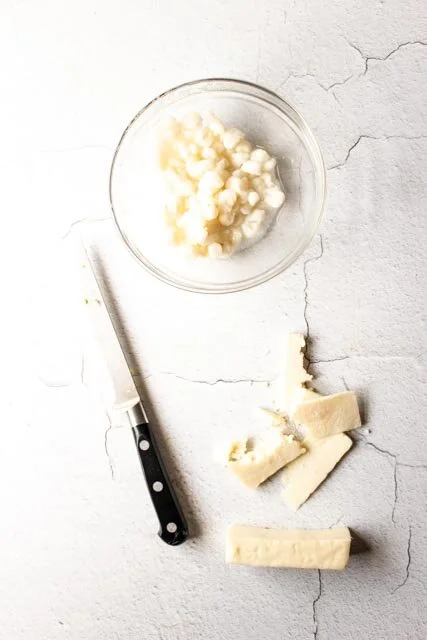
Cotija cheese is a dry, salty cheese that’s close to a farmer’s cheese. Kind of like if Feta and Parmesan had a baby. If you can’t find it, substitute a dry, nutty, crumbly cheese.
Corn and hominy salad
Yield: about 5 cups of salad
Time: 10 minutes
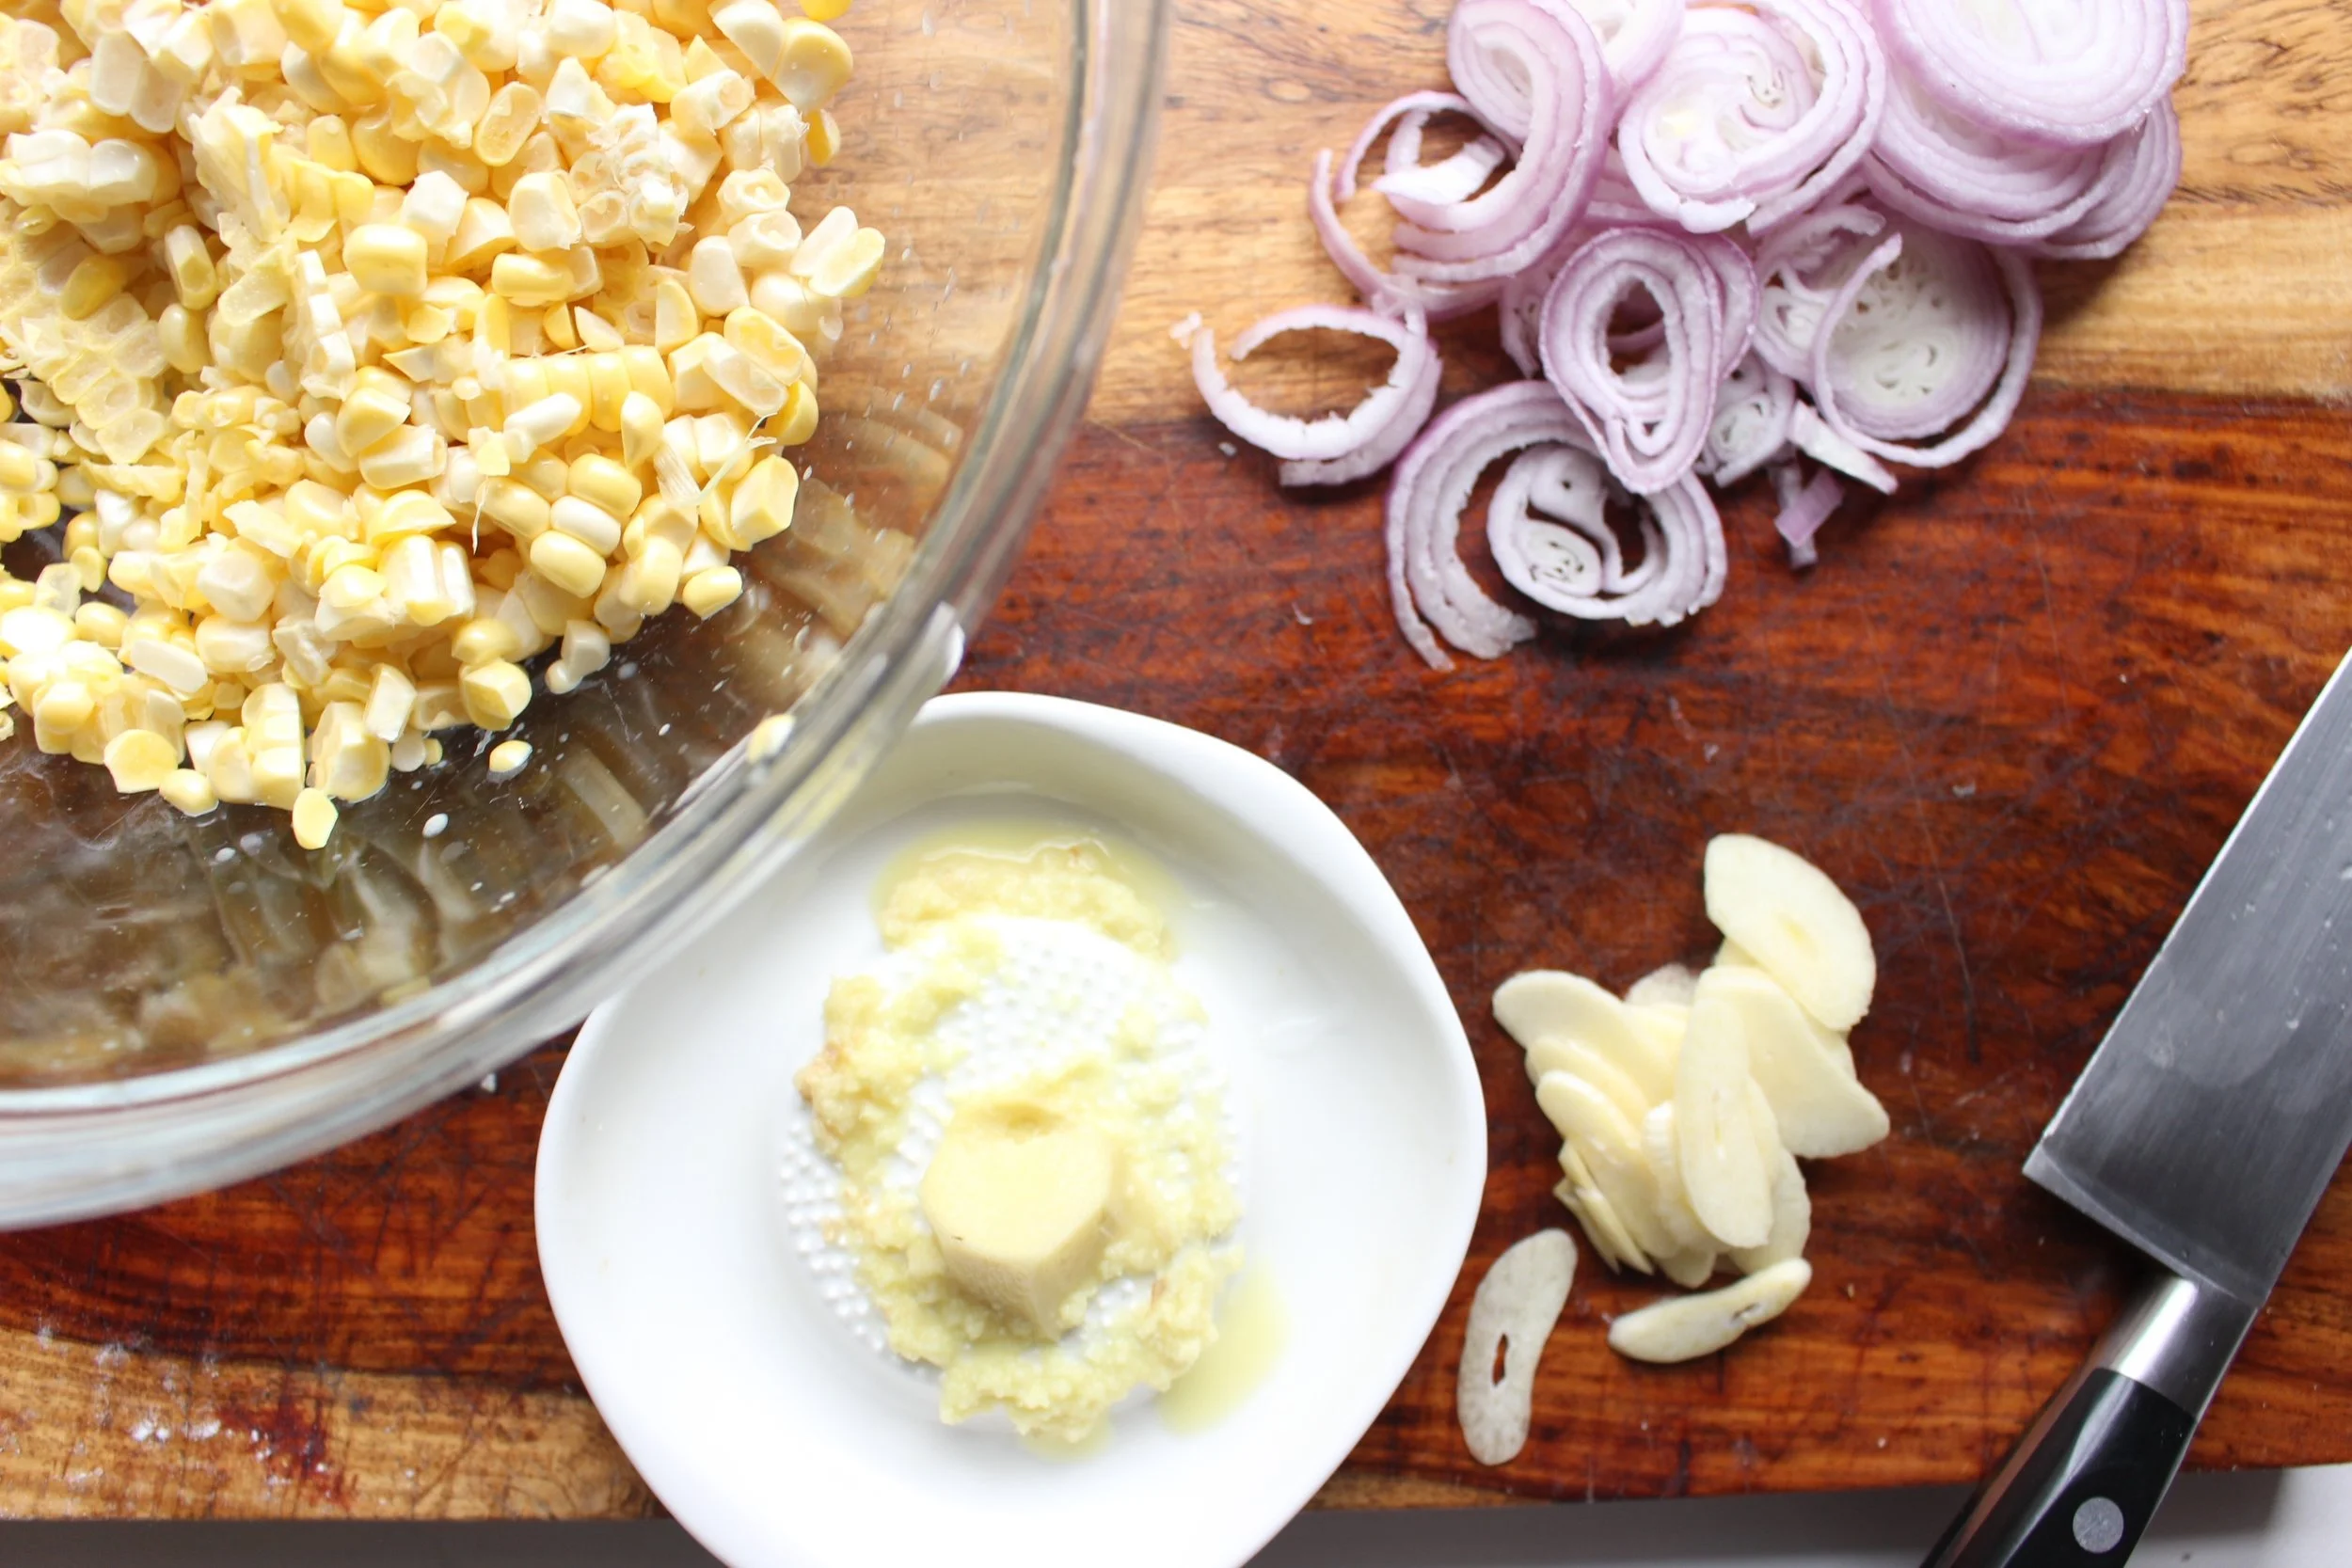
4 medium ears of corn, kernels removed (about 3½ cups)
1 cup hominy
1/3 cup fresh cilantro, tightly packed (stems and leaves are fine)
3 Tbsp mayo
½ tsp kosher salt
Juice of 1 large lime (1 Tbsp)
½-1 tsp chili powder, to taste
½ large garlic clove
Water, as needed to thin out the dressing, added 1 tsp at a time
3 oz cotija cheese
Remove the corn kernels with a knife. I like to use a bundt pan to catch them as they fly around, but any old bowl will do.
Rinse the hominy and add it to the bowl of corn.
In a blender or food processor, add the cilantro, mayo, oil, salt, lime juice, chili powder (start with 1/2 tsp and add more to taste), and garlic and blend until smooth, adding tiny amounts of water to thin out the sauce as necessary.
Mix the cilantro dressing into the corn and hominy.
Taste for seasoning and add more salt, chili powder or lime juice.
Mix in the shredded or grated cojita.