Stovetop lasagna

Stovetop turkey lasagna | Me & The Moose. This one-pot meal is the fastest, easiest route to cheesy pasta that will comfort anyone in these cold, dark months. #meandthemoose #lasagna #stovetoplasagna #onepotmeals #easydinner #dinnerrecipes #dinn…

Listen, chatty Kathy, take me to the recipe

It’s so cold. And so dreary. And so dark. All I want to do is hibernate under a giant blanket and eat cheesy pasta. You?

But, I also feel really low energy. Like, I don’t have the wherewithal for a complicated, multi-step, multi-method recipe. So, I reconcile these incompatible ideas with stovetop lasagna. Cook the noodles in a jarred sauce, top with cheese, and serve. Seriously, so so easy and so so good.

Stovetop turkey lasagna | Me & The Moose. This one-pot meal is the fastest, easiest route to cheesy pasta that will comfort anyone in these cold, dark months. #meandthemoose #lasagna #stovetoplasagna #onepotmeals #easydinner #dinnerrecipes #dinn…

A few notes:

  • I added turkey to this dish to increase the protein, but feel free to leave it out to make it vegetarian.

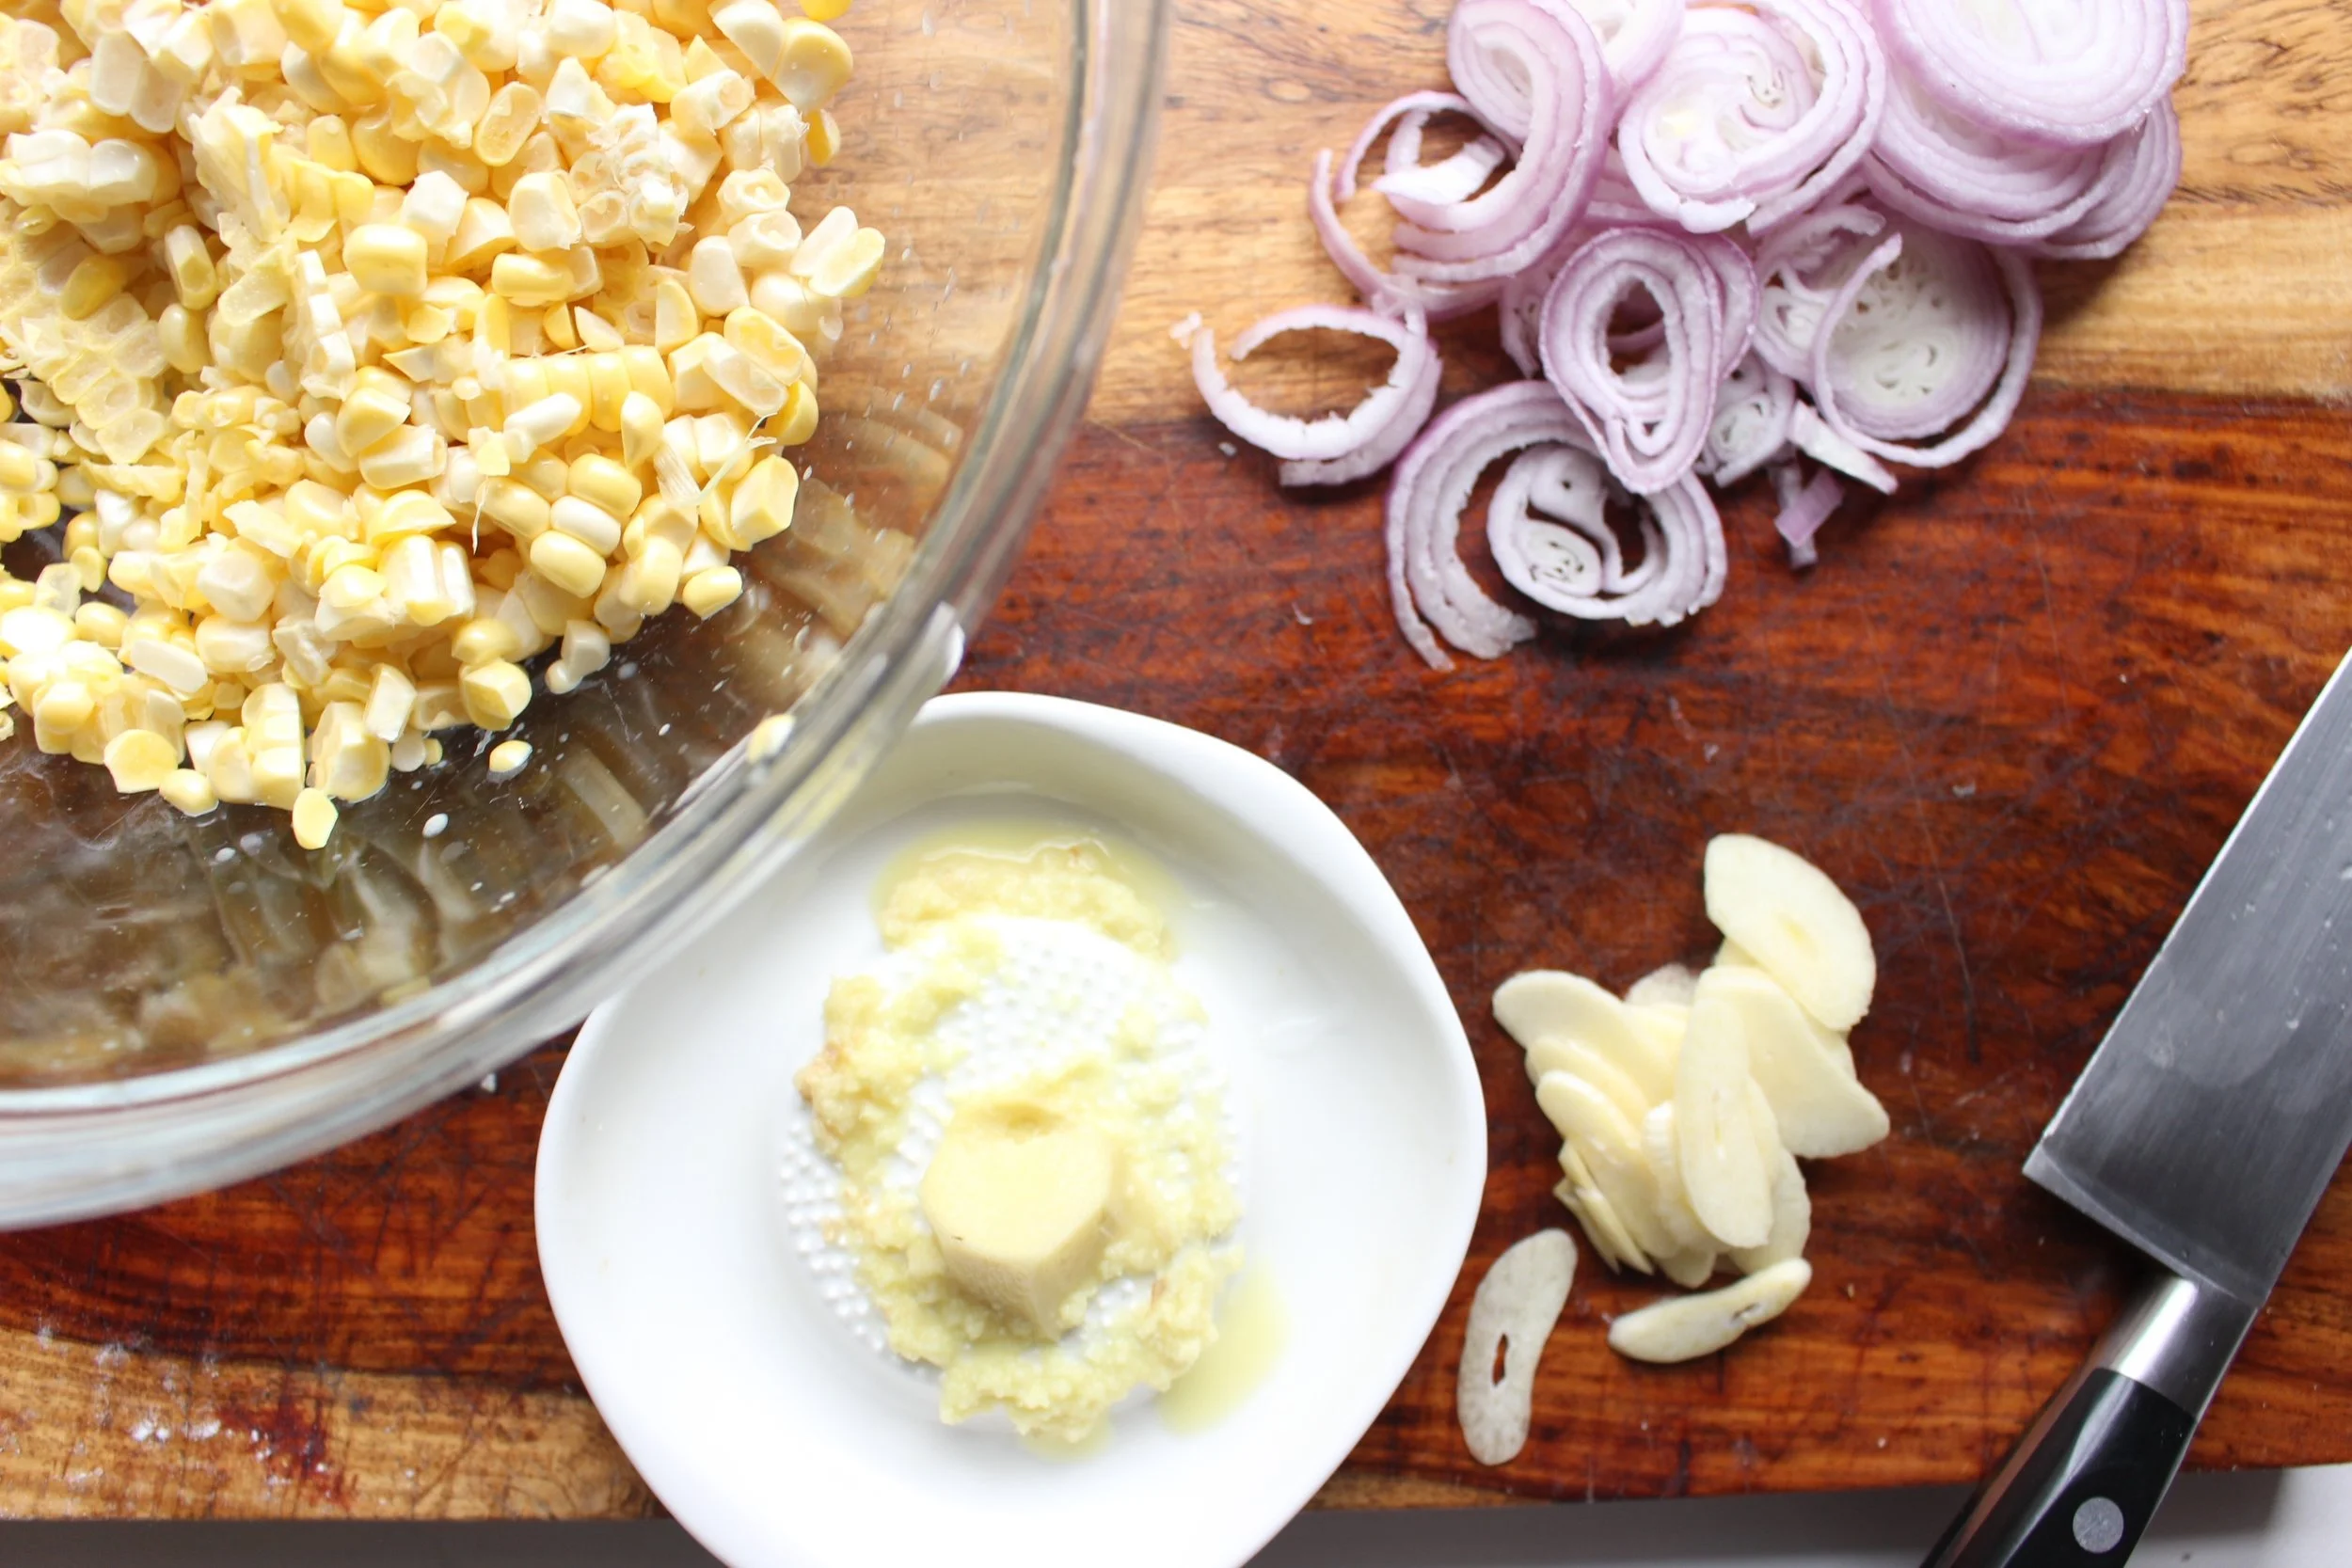
  • There’s pesto in the ingredients photo because adding some dollops of pesto in this dish is fab. But I bought a mass-market brand pesto that was, in a word, inedible. So, I wanted to add it to the photo, but we actually eat the food I photograph and I could NOT stomach this sauce. Use one you’ve had before and liked, one you’ve made, or skip it.

  • When you start the noodle cooking, make sure the noodles aren’t touching (see the photo above). They’ll start touching through the cooking process and you’ll stir to keep them from sticking together, but I’ve found that as long as you start off with the noodles not touching, they’re easy to separate later on.

  • It might seem like a lot of liquid, but the noodles soak up a lot of it and you still want the sauce to be saucy.

Stovetop turkey lasagna | Me & The Moose. This one-pot meal is the fastest, easiest route to cheesy pasta that will comfort anyone in these cold, dark months. #meandthemoose #lasagna #stovetoplasagna #onepotmeals #easydinner #dinnerrecipes #dinn…

Stovetop lasagna

1 Tbsp olive oil or butter
1 small onion, minced
2-3 large garlic cloves, minced
1 lb ground turkey
3 cups tomato sauce (about a 32 oz jar of sauce)
2 cup stock (turkey, chicken, or vegetable), divided  
13 regular or no-boil lasagna noodles (half of a box, uncooked, broken in half)
Mozzarella balls

In a large cast iron pan (with a lid) or Dutch oven, saute the onions on medium heat until translucent and starting to brown, about 5 minutes. Add the garlic and cook for one more minute, until fragrant.

Add the turkey and cook, breaking up any large chunks, until no pink remains, about 10 minutes.

Add the tomato sauce and broth and stir to combine. Turn the heat to high to start heating the sauce.

Break the uncooked noodles roughly into halves or thirds (don’t mind the noodle shrapnel that will ensue; just toss it all in the pot) and tuck them into the sauce, making sure they don’t touch each other. (You want them to be perpendicular to how you would normally layer the noodles in lasagna.)

Turn the heat to medium high and cover your pot and cook the lasagna for five minutes.

Turn the heat down to medium or medium low and stir the noodles around (it’s okay if they touch now), cover, and cook for another 5 minutes.

Uncover and stir the noodles and separate any that have begun to stick together. If the sauce looks like it’s cooking down too much, add more stock ¼ cup at a time.

Cook, uncovered, for 3-5 more minutes. Stir the noodles and sauce frequently to ensure that nothing is sticking or cooking too fast. Add more stock as needed. Cook until the noodles are al dente and just about done.

Add the cheese, cover, and cook for another 5 minutes until the cheese melts.

Yield: 6 large bowls

Stovetop turkey lasagna | Me & The Moose. This one-pot meal is the fastest, easiest route to cheesy pasta that will comfort anyone in these cold, dark months. #meandthemoose #lasagna #stovetoplasagna #onepotmeals #easydinner #dinnerrecipes #dinn…

French onion steak skillet

French Onion Steak Skillet | Me & The Moose. This one-pan meal is decadent enough for a special occasion, but quick and easy enough for a weeknight. #frenchonion #steak #valentinesdayrecipes #dinner #onepanmeal #quickrecipes #datenightrecipes

Valentine’s Day is on the horizon, folks. This is a holiday that I don’t particularly enjoy. If you’re not in a relationship or in one that’s complicated, it can feel like a giant middle finger. If you are in a relationship, it can be stressful and/or tedious to have a mandated celebration of your love. AND EXPENSIVE, AMIRIGHT? There’s definitely surge pricing for restaurants and babysitters. Bleh. I hate it.

So instead, we’ll put the kiddo to bed early, open a bottle of wine, and make this easy French Onion Steak Skillet that requires VERY little work and even less cleanup.

But even on non-holiday nights, if your kids like French Onion Soup or steak, they’ll dig in. No need to save this for a special, adults-only meal.

Also, I think I’ve finally cracked the code for getting GENUINELY caramelized onions (not fried, frizzled, or straight-up burned) in about 20 minutes. I know, I know. Most recipes claim that it takes 20 minutes when it actually takes an hour or more to get that deep uniform jammy brownness. Behold this before and after:

French Onion Steak Skillet | Me & The Moose. This one-pan meal is decadent enough for a special occasion, but quick and easy enough for a weeknight. #frenchonion #steak #valentinesdayrecipes #dinner #onepanmeal #quickrecipes #datenightrecipes

After a deep dive through Youtube videos and Cook’s Illustrated articles, I’ve achieved great results much faster than usual. Here are a few secrets to speeding up this otherwise slow process:

  1. Use a large pan with a tight fitting lid. You’ll melt butter and olive oil together and then cook the onions for 3 minutes at a time with the pan covered.

  2. Use medium high heat the whole time. You want the onions to brown and stick to the bottom of the pan just a little bit. If they stick too much and/or blacken rather than brown, turn the heat down slightly. If the onions aren’t sticking to the bottom, turn the heat up.

  3. Add water or stock every 3 minutes and scrape the browned bits off of the bottom and mix them into the onions while they’re cooking.

  4. Repeat the process: Cook 3 minutes over high heat/ add liquid/ scrape the browned bits/ cover and cook for 3 more minutes. After about 15-20 minutes, the onions will be done!

  5. Add 1/8 tsp baking powder at the very end to make the onions sweeter. You can’t add it at the beginning or the onions will break down too much, but adding it at the end lends just the right amount of jamminess.

French Onion Steak Skillet | Me & The Moose. This one-pan meal is decadent enough for a special occasion, but quick and easy enough for a weeknight. #frenchonion #steak #valentinesdayrecipes #dinner #onepanmeal #quickrecipes #datenightrecipes

French onion steak skillet

4 large onions, sliced in ¼ inch slices  
1 Tbsp olive oil
3 Tbsp butter, divided
5 large sprigs of thyme
2½ cups beef stock
¼ tsp salt
1/8 tsp baking soda
1 lb skirt steak, strip steak, flank steak, or tri-tip steak (basically any moderately thin steak) Salt and pepper to taste
½ large baguette, sliced
1 clove garlic, halved
3 oz gruyere cheese, thinly sliced or grated
Flaky sea salt

For the onions:
In a large, ovenproof skillet or pot with a tight fitting lid, heat the olive oil and 1 Tbsp of butter over a medium high flame. Add the onions and thyme, cover, and cook for 3 minutes. If the onions start to burn, turn the heat down slightly (but try to maintain a high heat). After 3 minutes, remove the cover, add ¼ cup of stock, and scrape the browned bits from the bottom of the pan and mix the onions around. Re-cover and cook for another 3 minutes, and then repeat the stock/scrape/mix process. Repeat this 3-minute process until the onions are uniformly soft and brown, about 15-20 minutes.

Turn off the heat and mix in ¼ tsp kosher salt and 1/8 tsp of baking soda. Remove the onions to a separate plate and wipe out the pot.

For the skillet:
Whole the onions are cooking, slice the bread and toast lightly in the toaster. Rub the raw garlic over one side of the bread. Shred the gruyere. Set aside.

When the onions are done and removed to another container, heat the broiler to high.

Melt the other 2 Tbsp of butter in your wiped-out skillet over high heat. Sear the steak for about 3-4 minutes per side. While the steak is seering on one side, season with salt and pepper. Repeat when you flip to the other side.

Turn off the heat and add the cooked onions back to the pan.

Pour 3-4 Tbsp of stock over the onions in the pan. Nestle the slices of bread in the onions around the steak and top with cheese.

Place the entire pan under the broiler until the cheese is bubbly and slightly browned.

Slice the steak to test doneness. Sprinkle with more flaky sea salt and fresh thyme sprigs.


Yield: 2 grown up and 2 kid servings

French Onion Steak Skillet | Me & The Moose. This one-pan meal is decadent enough for a special occasion, but quick and easy enough for a weeknight. #frenchonion #steak #valentinesdayrecipes #dinner #onepanmeal #quickrecipes #datenightrecipes

Coconut creamed corn

Creamed corn isn’t generally considered a “healthy” side. But swap in coconut milk for regular old dairy or a heavy bechamel sauce and you have a much lighter version of this classic that celebrates the beauty of late summer corn.

IMG_8536.jpg

This dish also comes together in minutes and is full of herbs and aromatics like garlic, shallot, ginger, lime zest, and basil. Add some quick sauteed shrimp, some grilled or roasted white fish, or a rotisserie chicken and you have a very quick dinner filled with healthy fats and real ingredients. You’re also free of gluten, dairy, sugar, nuts, and soy if you have corn leftovers for tomorrow’s lunchbox.

IMG_8533.jpg

Coconut creamed corn

½ tsp coconut oil
2 medium or 3 small garlic cloves, sliced or minced  
1 very large or 2 smaller shallots, sliced or minced
½-inch piece of fresh ginger, minced or shredded
3 large ears corn with kernels removed from the cob (about 2 heaping cups of kernels)
6 Tbsp coconut milk
Heaping ¼ tsp lime zest
15-20 basil leaves, chopped
¼-½ tsp flaky sea salt
Pepper

Heat the coconut oil over a medium flame and when hot, add the sliced or minced shallots. Saute for 1-2 minutes, until the shallots are translucent and starting to brown.

Turn the heat down to medium low and add the sliced or minced garlic. Saute for another 1-2 minutes until fragrant. If the onions or garlic brown too quickly, turn down the heat.

Add the minced or shredded ginger and sauté for one more minute.

Add the corn kernels and sauté for 4-5 minutes. Add the coconut milk and let bubble for one minute until the milk has reduced to more of a sauce than a milk, but don’t let it disappear.

Remove from the heat. Add the lime zest, minced basil, salt, and pepper and stir to combine. Taste for seasoning and adjust according to your taste.

Yield: 3 servings

IMG_8542.jpg

Kitchen clambake

IMG_7794.jpg

What says summer more than a clambake? NOTHING! Well, maybe BBQ chicken, ice cream, popsicles, hamburgers, hotdogs, corndogs, corn, tomatoes, strawberries, blueberries, s'mores...you get the picture. But, clambakes are pretty darn summery. And did you know how easy they are? Super easy.

We've been using Martha Stewart's method for years and it's a pretty no-fail recipe as long as you cook things in the right order. However, Martha's recipe is HUGE and requires an extra large pot, which we don't have. Also, there are only three of us. So, I've scaled this one back and added some more tips to make sure you aren't overcooking any of the seafood.

IMG_7796.jpg

Also, this meal is so so quick to prepare and easy to clean up, leaving more time for all things summer.

IMG_7788.jpg

A couple of notes:
- Feel free to sub in water or stock instead if you want to avoid alcohol. But rest assured that the booze cooks out with the heat AND, the beer is only there for flavoring in the steam; You aren't actually eating it.
- Use the smallest potatoes you can find. If you have even golf ball sized potatoes, I would halve or quarter them to ensure that they cook enough.
- Clean the clams or mussels well. I like to put them all in a large pot of cool water a few hours before we cook them to let the shells open to release the sand.
- Swap in mussels for the clams or use a combination of both, but only use 1 lb. You can also use scallops, squid, or octopus in place of, or in combination with, the shrimp. I don't always love steaming those three because there's a thin margin of error for overcooking and turning them really tough, but if you like their flavor, go for it! But also use a total of 1 lb with those or a combination. 
- Don't skip the garlic butter for serving. This recipe is great without it, but the garlic butter takes it right over the top.
- For a dairy-free option, use clarified butter instead of regular butter. 

IMG_7782.jpg

Stovetop clambake

1 large onion
3 cloves garlic, smashed
1 cup beer
1 cup water
1 tsp sea salt
1 lb small potatoes (if slightly bigger, like the size of a golf ball, quarter the potatoes before cooking) 
8 oz sausage, cut into chunks (whatever your favorites are: I like chorizo or andouille. Just make sure it’s in a casing)
2 lobster tales (about 8-10 oz total)
1 lb clams or mussels (or a combination)
2-3 ears of corn cut in half or thirds
1 lb shrimp, in or out of the shell

4 Tbsp unsalted butter
1 large garlic clove, minced
Fresh parsley (optional; I left it out because I generally dislike parsley)
1 large lemon
Old bay seasoning

Chop the onions and smash the garlic. Add to a large pot with beer, water, and salt. Bring to a boil. Reduce heat to medium. (You still want some vigorous bubbling, but you don’t want too much of the liquid to evaporate.) Cover with a steamer basket (or, as we did, a small pizza sheet because we couldn't find the steamer basket. Whoops.)

Add the potatoes, sausage, and lobster tails to the steamer. Cook for 5-6 minutes until the shells start to turn orangey red.

Add the clams (or other hard-shelled seafood like mussels) and the corn. Steam for another 6-8 minutes until the shells open. Discard any shells that remain closed.

Add the shrimp (or other soft shelled or de-shelled seafood) and cook for about 4 more minutes until the shrimp is pink all over.  

While making the seafood, melt the butter in a ramekin and add the chopped garlic and parsley (if using). Stir to combine and set aside.

Dump out the seafood, veggies, and sausage onto a large, parchment-covered sheet pan. Sprinkle with old bay seasoning to taste. Serve with lemon wedges, extra old bay, and garlic butter.

Yield: A lot. This recipe comfortably feeds 2 adults and 2 kids, likely with leftovers.

IMG_7790.jpg
IMG_7799.jpg

Turkey and kale spanakopita

IMG_7561.jpg

Aack! Monday! (I am a Kathy comic, in case you were wondering.)

Monday, you're a bummer. What should be a fresh start is always an uphill climb for me. Weekends with a toddler are exhausting and getting back on schedule is tough after two days of loosening the reigns. Enter, spanakopita: An easy, healthy, and totally customizable way to keep your food making and eating on track.

IMG_7544.jpg
IMG_7552.jpg

Spanakopita is a traditional Greek dish that usually employs spinach and a lot of spices (dill, oregano, etc). However, while I love spinach, M does not. And dill is my MORTAL ENEMY. So, this is my version, which uses kale, turkey, feta, oregano, and Aleppo pepper and wraps everything up in a freeform galette.

The beauty of this dish is in its adaptability. Skip the meat for a veggie version or use ground lamb, ground beef, or shredded rotisserie chicken. If you can't find frozen kale, any frozen greens will do. But, definitely use frozen veggies that you thaw and squeeze dry instead of anything fresh.

IMG_7555.jpg

Don't be intimidated by filo dough. While it can dry out and crack relatively fast, we're talking about a few minutes, not a few seconds. Some people recommend covering the dough with a lightly damp towel while others recommend brushing butter or olive oil on each layer. I say, if you organize your ingredients and work fast, you don't need to do any of those things. At least, not for this recipe.

*One quick note: I completely forgot to add the eggs when I made this dish for the photos! See also: "Aack! Monday!" So, yours will be considerably less crumbly than these photos imply. However, if you happen to forget the eggs in yours, it will still be delicious.

IMG_7568.jpg


Turkey and kale spanakopita

1 lb frozen kale (or spinach or collard greens or mixed greens, whatever you like), thawed and squeezed
2 Tbsp olive oil, divided
1 lb ground turkey
2 cloves garlic
¼ tsp aleppo pepper or ¼ tsp smoked paprika + 1/8 tsp cayenne
½ tsp oregano
6 oz crumbled feta (or about 1½ cup)
3 eggs
6-8 sheets of filo dough

Preheat oven to 350.

If the kale is straight from the freezer, empty the bag into a large bowl and microwave for 2-3 minutes, just until the ice has melted. Squeeze well with a cloth or paper towel to get out as much moisture as possible. Set aside.

Saute the turkey just until no pink remains, breaking into tiny pieces with the back of a spoon while cooking. Add the garlic, Aleppo pepper, oregano, and salt and cook for one more minute, or until fragrant. Add to the bowl with the squeezed kale.

Add feta to the large bowl and mix well. Taste for seasoning before adding the eggs and adjust accordingly. Add all three eggs and mix well.

Prep your workspace before opening your filo package. Cut a piece of parchment and place on a baking sheet. Have your bowl of fillings and a small bowl and brush or spray can of olive oil ready.

Next, unwrap and unroll the package of filo and, working quickly, lay out one sheet of the dough. Then, take the next sheet and rotate it slightly so that the points of the sheet underneath stick out. Repeat, rotating the third sheet of filo in the other direction. Repeat the first three steps again exactly until you have six sheets of filo in a rough star shape. (See photos to better illustrate what I mean.)

Dump the filling mixture into the middle of the six filo sheets and spray or brush the filling and the filo with olive oil. Then, wrap the sides of the filo over the filling. If there is a very large gap in the center revealing a lot of the filling, crinkle up one or two more sheets of filo and stick them on the top. Spray or brush the whole packet with olive oil.

Bake for 25-30 minutes or until the top is golden brown.

Yield: 4-6 servings

IMG_7565.jpg
IMG_7571.jpg
IMG_7576.jpg