Weeknight beef stew

A deeply flavored, rich, and cozy beef stew is usually an all-day, multiple-pan affair. But this recipe simplifies the steps so that you can have this stew, which is mostly hands-off cooking, on the table in a maximum of 2 hours. #meandthemoose #beefstew #dinnerrecipes #beefrecipes

A deeply flavored, rich, and cozy beef stew is usually an all-day, multiple-pan affair. But this recipe simplifies the steps so that you can have this stew, which is mostly hands-off cooking, on the table in a maximum of 2 hours.

Take me to the recipe!

A deeply flavored, rich, and cozy beef stew is usually an all-day, multiple-pan affair. But this recipe simplifies the steps so that you can have this stew, which is mostly hands-off cooking, on the table in a maximum of 2 hours. #meandthemoose #beefstew #dinnerrecipes #beefrecipes

Okay, so I’ve tried every beef stew recipe out there. (No, I haven’t, but I’ve tried A LOT.) The best ones require time and effort: Multiple cooking methods, multiple steps, multiple pans, etc. And the results have largely been worth the effort. BUT, if you have a busy family, young kids, a demanding job, or just don’t feel like tending a stew all day, there is a simpler beef stew option!

I did a bunch of research and tried a bunch of tricks. My goal was to achieve a rich flavor without using every pan in my kitchen and without requiring a ton of work. Some of my shortcuts worked and some didn’t. I think I’ve landed at a happy medium that isn’t exactly “set it and forget it” but that will get you a lot more bang for your flavor buck than a quick stew made in, say, the slow-cooker.

A deeply flavored, rich, and cozy beef stew is usually an all-day, multiple-pan affair. But this recipe simplifies the steps so that you can have this stew, which is mostly hands-off cooking, on the table in a maximum of 2 hours. #meandthemoose #beefstew #dinnerrecipes #beefrecipes

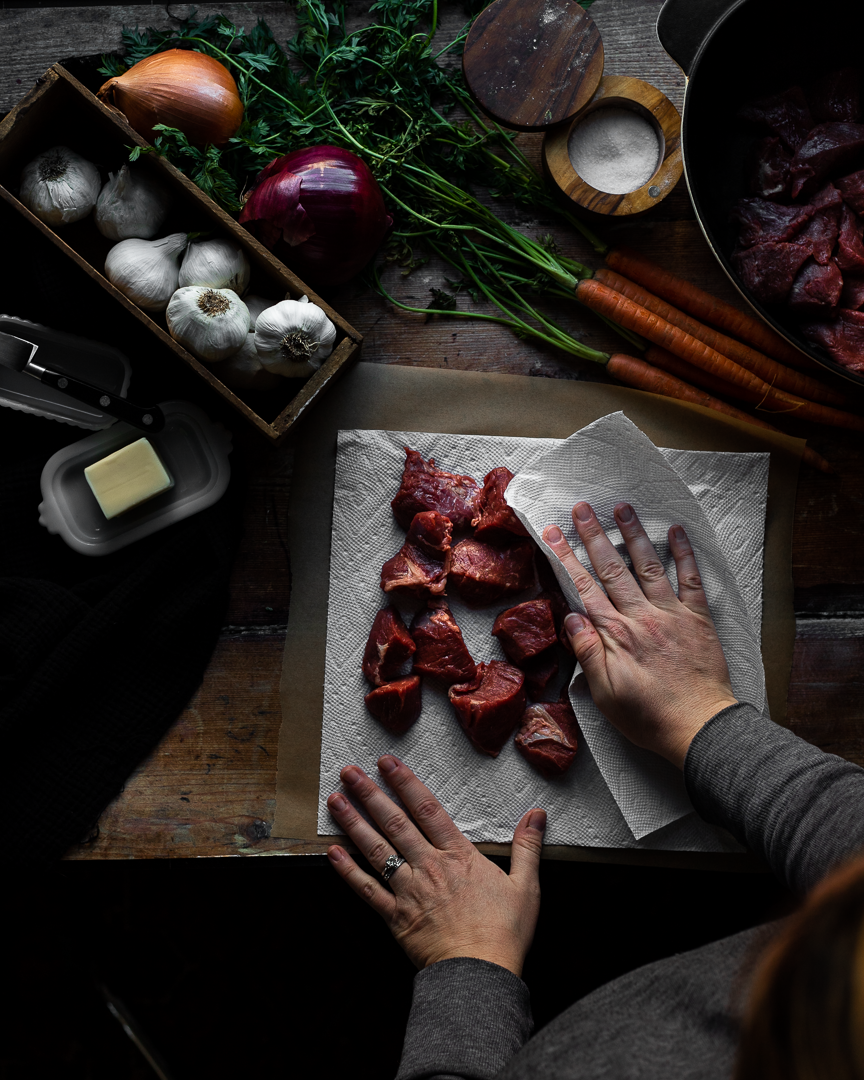
My first shortcut was to brown the meat in one batch in the oven instead of searing it in multiple batches on the stovetop. I know searing is the way to lock in moisture and to achieve some caramelization on the outside of the meat, but it takes me FOREVER and my hand gets very tired from holding the tongs and rotating the cubes until they’re evenly browned. So instead, I patted everything dry and roasted it at high heat in the oven for a few minutes to get that caramelization.

AN IMPORTANT NOTE ABOUT SALT: I found that if I didn’t salt the meat at all before the roasting, the end results were slightly bland. However, when I over salted the meat before roasting, it dried out because too much moisture came out during that initial cook. So, use a judicious pinch of salt before roasting and then generously salt the rest of the dish at various points in the cooking.

A deeply flavored, rich, and cozy beef stew is usually an all-day, multiple-pan affair. But this recipe simplifies the steps so that you can have this stew, which is mostly hands-off cooking, on the table in a maximum of 2 hours. #meandthemoose #beefstew #dinnerrecipes #beefrecipes

Then, I stirred in some flour right after that initial roast and along with the onions and carrots. I found that adding in the flour at this stage rather than at the end, allowed the flour to cook and thicken the sauce without any added fuss.

A deeply flavored, rich, and cozy beef stew is usually an all-day, multiple-pan affair. But this recipe simplifies the steps so that you can have this stew, which is mostly hands-off cooking, on the table in a maximum of 2 hours. #meandthemoose #beefstew #dinnerrecipes #beefrecipes

My next major shortcut was to whizz a majority of the ingredients in a blender and pour it all over the meat and veggies before a long, slow braise. Less chopping! No garlic fingers! Win win! But, if you don’t want to dirty your blender or food processor (which I completely understand) a traditional chop will do just fine.

A deeply flavored, rich, and cozy beef stew is usually an all-day, multiple-pan affair. But this recipe simplifies the steps so that you can have this stew, which is mostly hands-off cooking, on the table in a maximum of 2 hours. #meandthemoose #beefstew #dinnerrecipes #beefrecipes

Weeknight beef stew

Time: 1 3/4- 2 hours
Yield: 4-6 servings

2 lbs stew beef cubes
1 Tbsp kosher salt, divided (see note above)
3 Tbsp butter 
2 Tbsp flour 
2 cups beef stock 
1 cup red wine 
2 anchovies 
6 large garlic cloves, divided 
1/2 tsp dried thyme 
1/2 tsp black pepper 
1 large onion 
2 large carrots 

Optional topping:
1/2 lb mushrooms (optional) 
1 Tbsp olive oil or butter, or a combination
1 tsp balsamic vinegar


Preheat oven to 500. Pat the beef cubes dry. Add in a single layer to a large Dutch oven. Top with 3 Tbsp of butter cut into 6-9 small cubes. Sprinkle very lightly with salt. Roast, uncovered, for 15 minutes. Remove from the oven.

While the beef is roasting, add the beef stock, wine, anchovies, 3 cloves garlic, thyme, 1-2 very large pinches of salt, and pepper to a blender or food processor and whizz for 30 seconds.

Once the beef is quickly caramelized, turn the oven down to 375. Sprinkle 2 Tbsp of flour over the meat and mix. Add the onions and carrots and remaining 3 large garlic cloves to the pot. Sprinkle with another judicious pinch of salt. Stir.

Top with the liquid and bake in the oven, uncovered, for 1¼-1½  hours, stirring once halfway through the cooking time. The dish is done once the liquid has cooked down and thickened into a gravy-like consistency.

Optional topping:
While the beef is cooking, chop or slice the mushrooms and sauté in butter and olive oil. Once they have released their water and that water has evaporated, add the vinegar and cook for 1-2 more minutes until the vinegar has also evaporated.

Creamy mushroom soup

This creamy mushroom soup is a far cry from the gloopy, gray stuff that comes in a can, but is almost as easy to make.

Take me to the recipe!

Two mushroom recipes so close together, huh? Yes! But hear me out. This recipe is so unctuous, so creamy, so warming, and so filling, that I couldn’t hold onto it any longer.

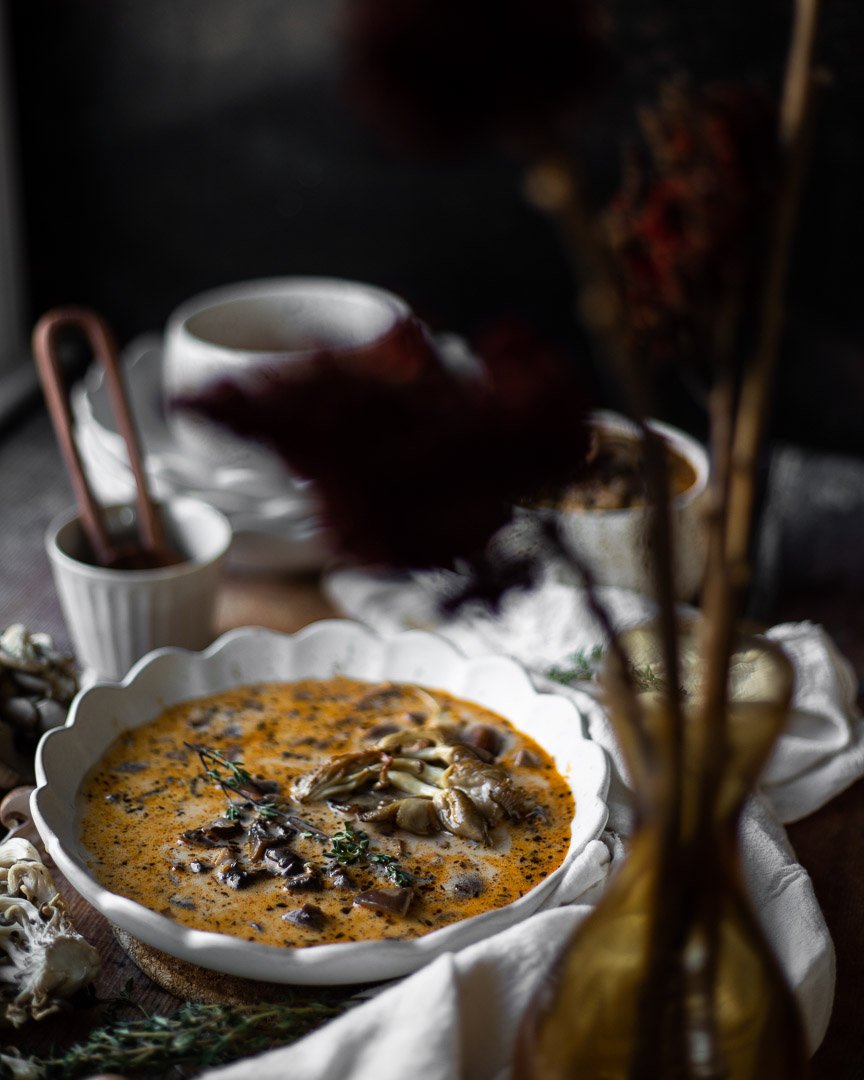
What makes this better than the canned version? Well, the color, first of all. The golden sautéed mushrooms, the purple shallots, and the red paprika lend this soup a much richer and nicer color than the gray stuff (it’s not delicious).

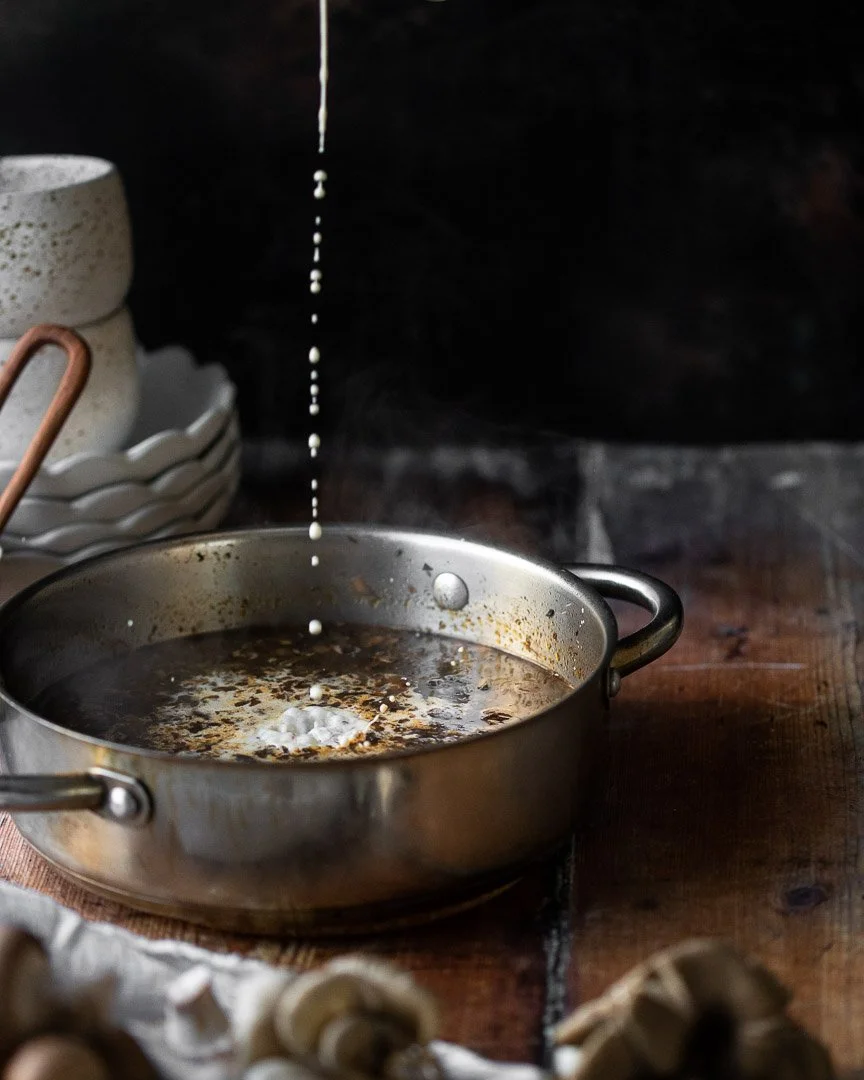
A note about adding dairy to hot soup: It’s possible to split the cream if you add cold dairy to other hot liquids. Split dairy basically looks like you’ve added thousands of little dots of cream rather than the soup looking uniformly creamy. Does that makes sense? It’s totally fine to eat and will taste good, but it sometimes doesn’t look as appetizing.

To avoid this, you can either heat up the dairy or cool down the base soup. The fattier the dairy, the less likely it is to split, so if you’re using heavy cream as I recommend for this recipe, let the cream sit at room temperature while making the rest of the soup. If it still feels chilly when you’re ready to add it, microwave it for 30 seconds before adding. If using a lighter milk or non-dairy milk, I would actually heat it to just simmering in a separate pan on the stove or significantly cool the base soup before adding it.

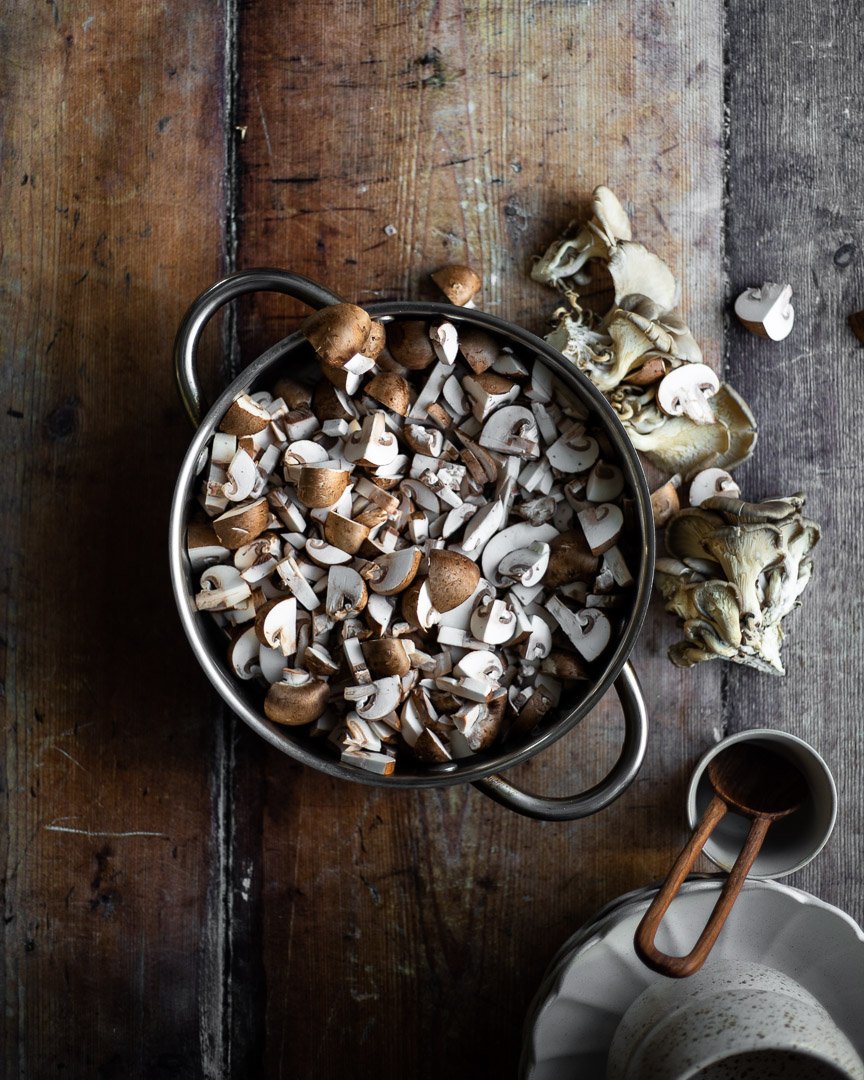
The texture is also completely different to the canned version. Theoretically, you could throw the mushrooms into a food processor and whizz for a few seconds to quickly chop the whole lot, but I like to cut them myself to get a range of sizes and shapes. I halve the really small shrooms, quarter the medium sized ones, and chop up the large ones. Remove the stems or don’t- that’s entirely up to you.

A note about how I tell if my mushrooms are cooked enough: I cook the mushrooms until they release some water and then that water evaporates. They will have cooked down significantly.

Creamy mushroom soup

½ cup heavy cream
24 oz mushrooms, cut into various sizes
1 Tbsp butter
2 Tbsp olive oil, divided
Heaping ½ tsp dried thyme
½ tsp paprika 
2 tsp kosher salt
3 large garlic cloves, minced
2-3 large shallots, minced
½ cup white wine
4 cups stock (chicken, beef, or vegetable)

Time: about 45 minutes
Yield: 5-6 cups of soup

Measure out the heayy cream and let sit at room temperature while you make the rest of the soup. See note above about using other types of dairy in this soup.

Chop the mushrooms in varying sizes (see note above).

In a large pan, melt 1 Tbsp of butter and 1 Tbsp of olive oil over a medium flame. Once the pan is heated, add the mushrooms and cook over a medium flame, until the mushrooms have released their liquid and that liquid has evaporated, about 8-10 minutes. 

Prep the rest of the ingredients while the mushrooms cook.

Once the mushrooms are relatively dry, add the thyme, paprika, salt, garlic, and shallots. Cook until the garlic and onions are fragrant and translucent, about 3 minutes. If the mixture seems very dry, add another Tbsp of olive oil.

Add the wine and stir, while scraping the brown bits from the bottom of the pan. Cook for another 2-3 minutes. 

Add the stock and increase the flame to medium high. Bring to a boil. Lower the flame all the way and simmer, covered, for 20 minutes. 

Add the cream and stir.

Maitake mushroom salad

This warm, simple salad is so special thanks to the maitake mushrooms and the variety of textures and flavors. Made from expensive ingredients, this salad is meant for special occasions (or just the occasion of treating yourself), but I promise it’s worth it! #meandthemoose #salad #maitakemushrooms #warmsalad #saladrecipes #sidedishes

This warm, simple salad is so special thanks to the maitake mushrooms and the variety of textures and flavors. Made from expensive ingredients, this salad is meant for special occasions (or just the occasion of treating yourself), but I promise it’s worth it!

Take me to the recipe!

This warm, simple salad is so special thanks to the maitake mushrooms and the variety of textures and flavors. Made from expensive ingredients, this salad is meant for special occasions (or just the occasion of treating yourself), but I promise it’s worth it! #meandthemoose #salad #maitakemushrooms #warmsalad #saladrecipes #sidedishes

This salad is based on my best memories from a tiny little restaurant in Brooklyn called Little Dishes that I used to frequent with my husband before it tragically closed. I remember running to this place in the thick snow when someone was having a craving for their Mac and cheese. Their food was so simple, but so thoughtfully prepared that the dishes ended up being much greater than the sum of their humble parts.

This warm, simple salad is so special thanks to the maitake mushrooms and the variety of textures and flavors. Made from expensive ingredients, this salad is meant for special occasions (or just the occasion of treating yourself), but I promise it’s worth it! #meandthemoose #salad #maitakemushrooms #warmsalad #saladrecipes #sidedishes

This warm, simple salad is so special thanks to the maitake mushrooms and the variety of textures and flavors. Made from expensive ingredients, this salad is meant for special occasions (or just the occasion of treating yourself), but I promise it’s worth it! #meandthemoose #salad #maitakemushrooms #warmsalad #saladrecipes #sidedishes

Maitake mushrooms, sometimes called Hen of the Woods, are my absolute favorite variety. They’re meaty and slightly herby with a wee bit of forest floor funk. I state from the outset that this is an expensive salad because maitakes definitely don’t come cheap and I wouldn’t substitute any other mushroom variety here. I mean, you CAN, but your salad with end up fine, instead of ethereal.

The original recipe used a local cheese that was somewhere between parmesan and gruyere. Use either in this recipe or any other favorite cheese that falls in the nutty, slightly dry realm.

This warm, simple salad is so special thanks to the maitake mushrooms and the variety of textures and flavors. Made from expensive ingredients, this salad is meant for special occasions (or just the occasion of treating yourself), but I promise it’s worth it! #meandthemoose #salad #maitakemushrooms #warmsalad #saladrecipes #sidedishes

A couple of notes:

  • Cooking the mushrooms: I like to leave the mushrooms in slightly large pieces. It will feel awkward to cook them at first because they’re pretty stiff until they heat up somewhat. Once you sear them on one side, the mushrooms will get much floppier and easier to cook.

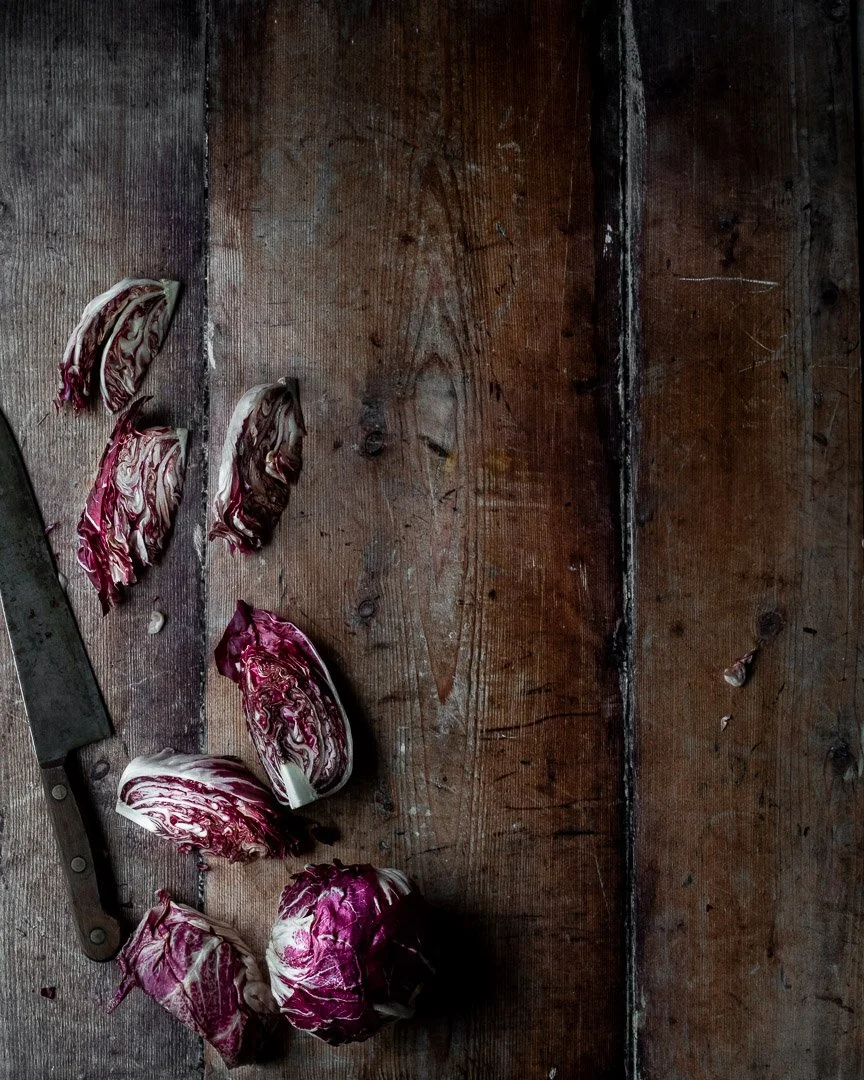
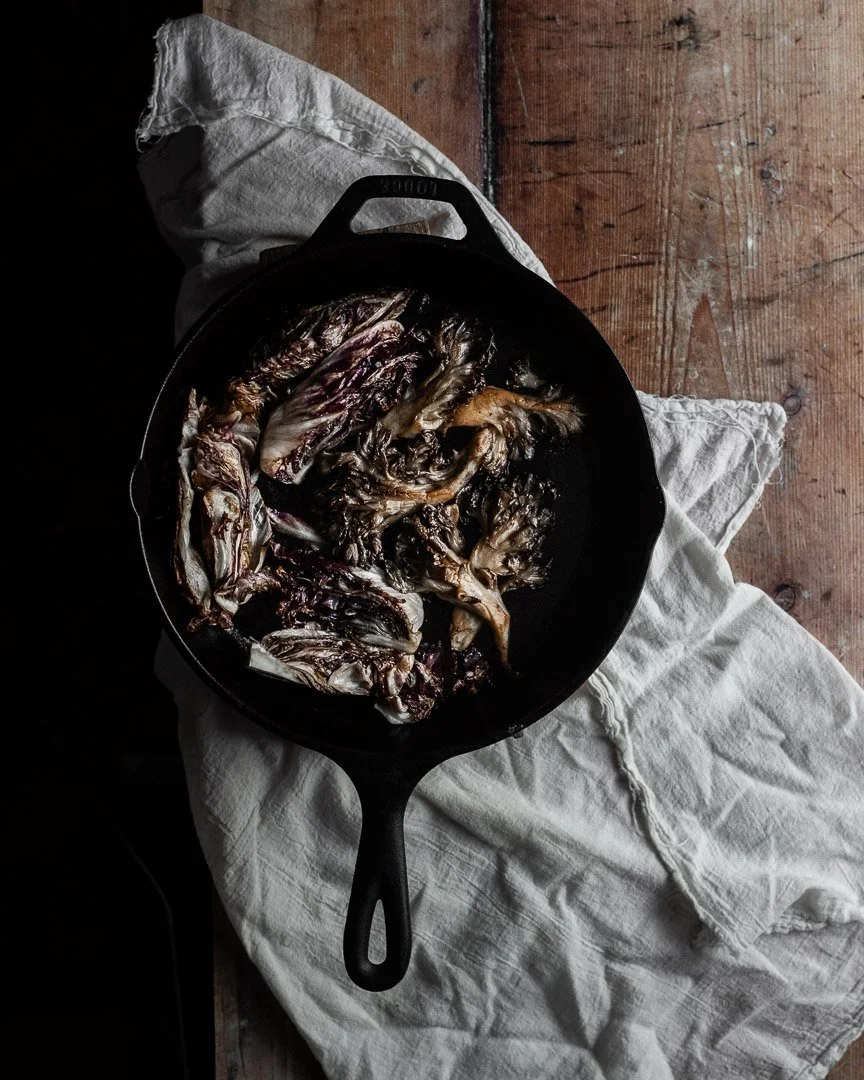
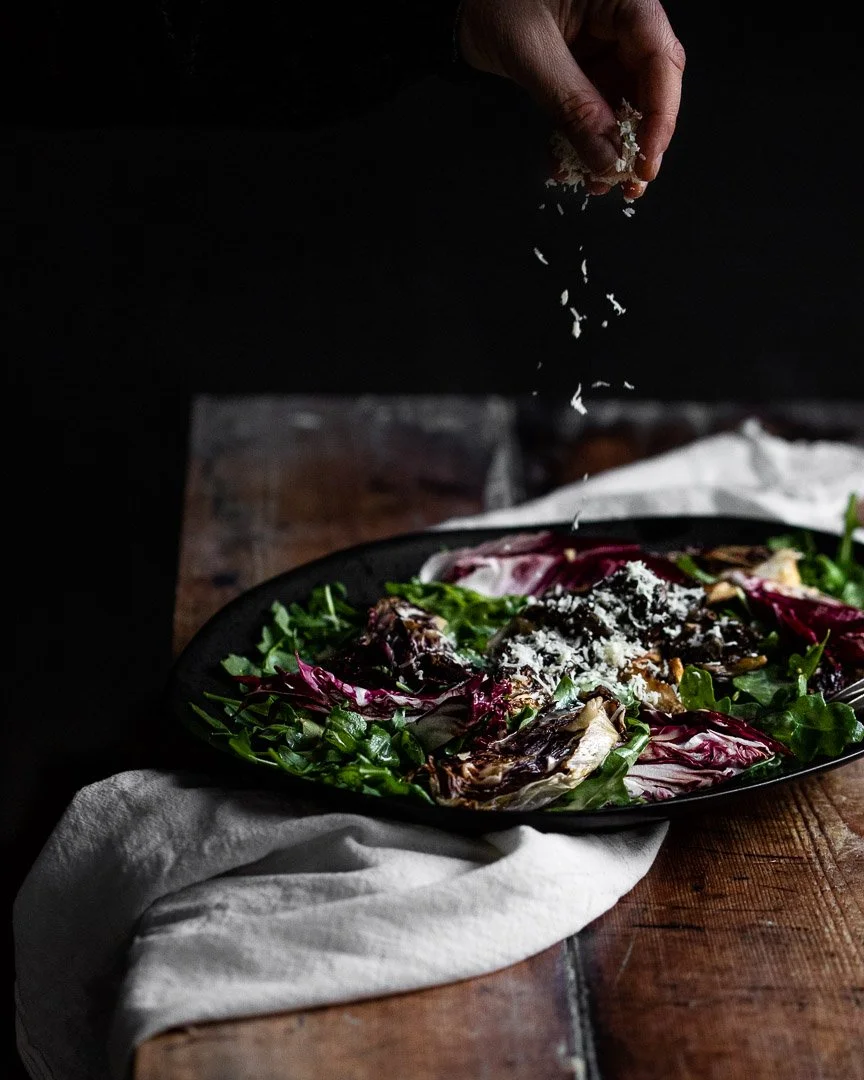
  • Cooking the radicchio: I seared half of the bitter lettuce and left the other half raw for a bit of textural difference, but you don’t strictly need to do this step. I left the lettuce in pretty large pieces for the photos, but definitely slice them much thinner for the real salad.

This warm, simple salad is so special thanks to the maitake mushrooms and the variety of textures and flavors. Made from expensive ingredients, this salad is meant for special occasions (or just the occasion of treating yourself), but I promise it’s worth it! #meandthemoose #salad #maitakemushrooms #warmsalad #saladrecipes #sidedishes

Maitake mushroom salad

2-3 large maitake mushrooms, each cut into about 4 large pieces
1 small head of radicchio, sliced into very thin wedges
1 Tbsp butter
1 Tbsp olive oil
4-5 cups arugula (1 small bag of pre-washed lettuce is perfect)
Shallot vinaigrette (recipe below), to taste
Parmesan or gruyere cheese, to taste

Shallot vinaigrette
2 Tbsp olive oil
2 Tbsp sherry or red wine vinegar
1 Tbsp minced shallot
1/2 tsp dijon mustard
1 tsp mayonnaise
1 large pinch of salt

Heat the butter in a large skillet over a medium high flame. When the butter has begun to bubble and brown slightly, add the mushrooms and cook, turning every 1-2 minutes, until well browned on all sides and very floppy, about 6-8 minutes. Remove the mushrooms to a plate and sprinkle with salt.

Add the olive oil to the pan and heat until very hot, but not smoking. Sear half of the radicchio on one side and then flip to the other side and sear again. If the pan is hot enough, this should take about 5-6 minutes. Turn off the heat and sprinkle with salt.

Add the mushrooms back to the pan with the radicchio to warm back up, but don’t turn the flame back on.

Add the arugula and the raw radicchio to a large plate or bowl. Add half of the dressing and toss well. Sprinkle with sea salt.

Top with the warm mushrooms and radicchio. Pour on more dressing to taste.

Add large flakes of the nutty, salty cheese on top to taste. Serve immediately.

Magical breadcrumbs with mushrooms and scallions

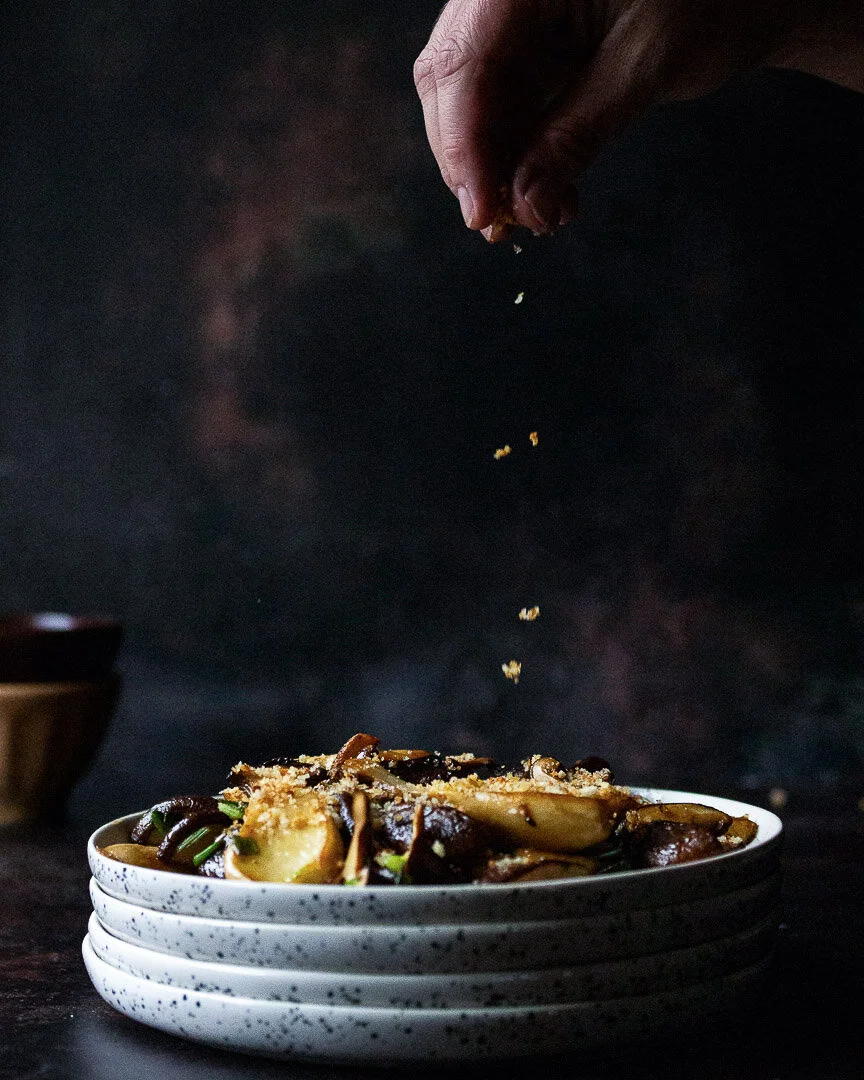
Make these easy, quick, and delicious magical breadcrumbs to top these mushrooms and scallions and then use them to add breading and crunch to literally anything. #meandthemoose #easysidedishes #sidedishes #pescatarian #recipes #easyrecipes

The breadcrumbs are the star of this show, but don’t sleep on the mushrooms and scallions either. A simple, make-ahead side dish that’s fast, easy, and relatively healthy, but seems just the opposite!

Take me to the recipe!

Make these easy, quick, and delicious magical breadcrumbs to top these mushrooms and scallions and then use them to add breading and crunch to literally anything. #meandthemoose #easysidedishes #sidedishes #pescatarian #recipes #easyrecipes

First things first, we have to talk about these magical breadcrumbs. What could be so great about a humble breadcrumb, you might ask? I’ll tell you!

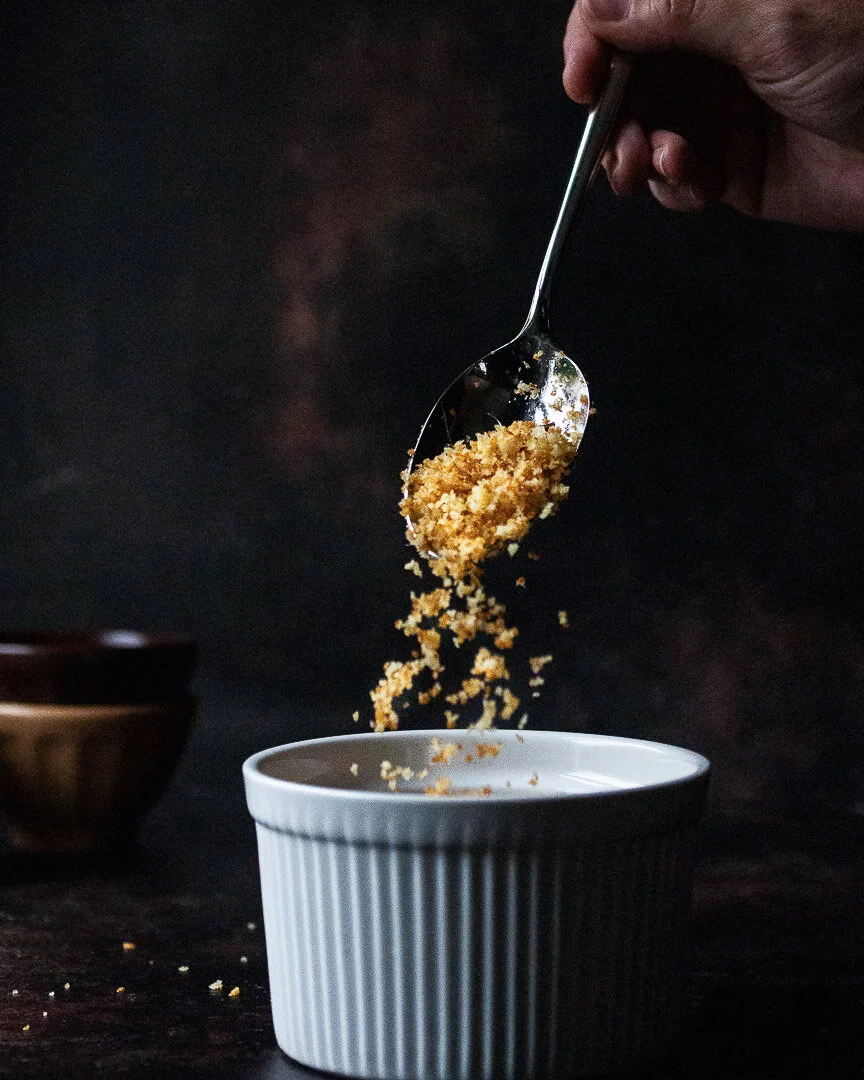
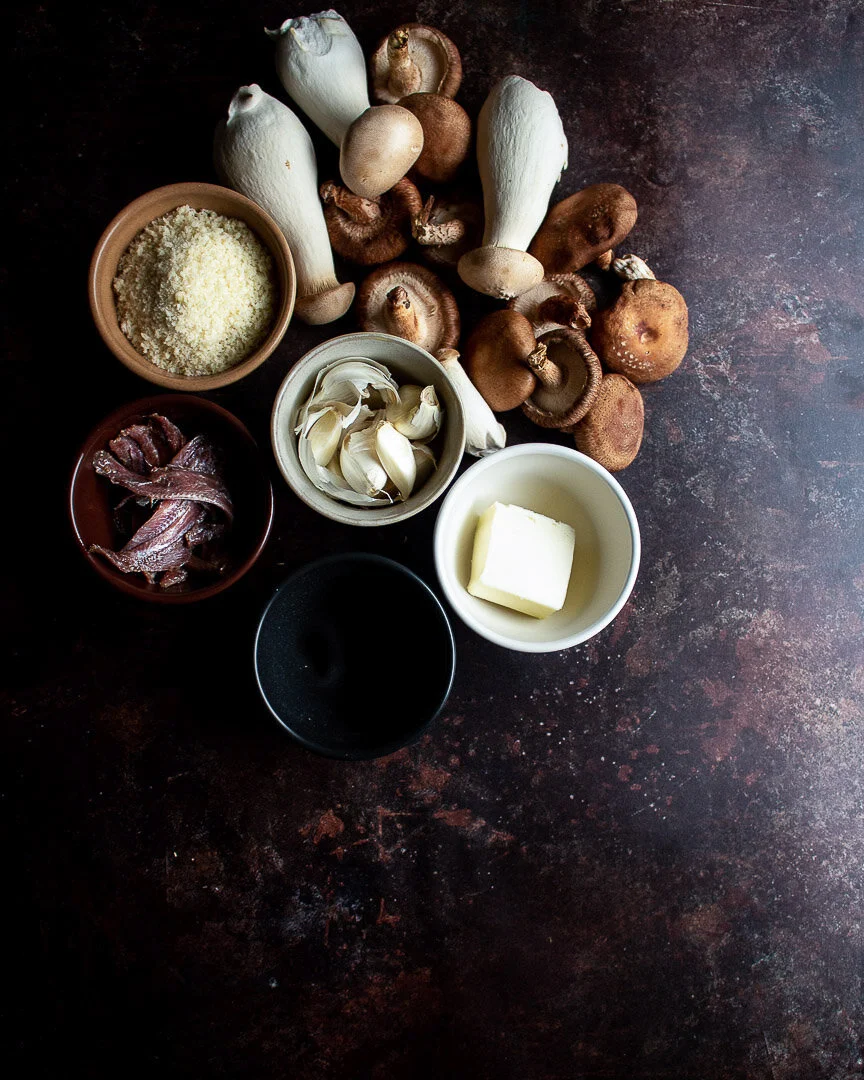
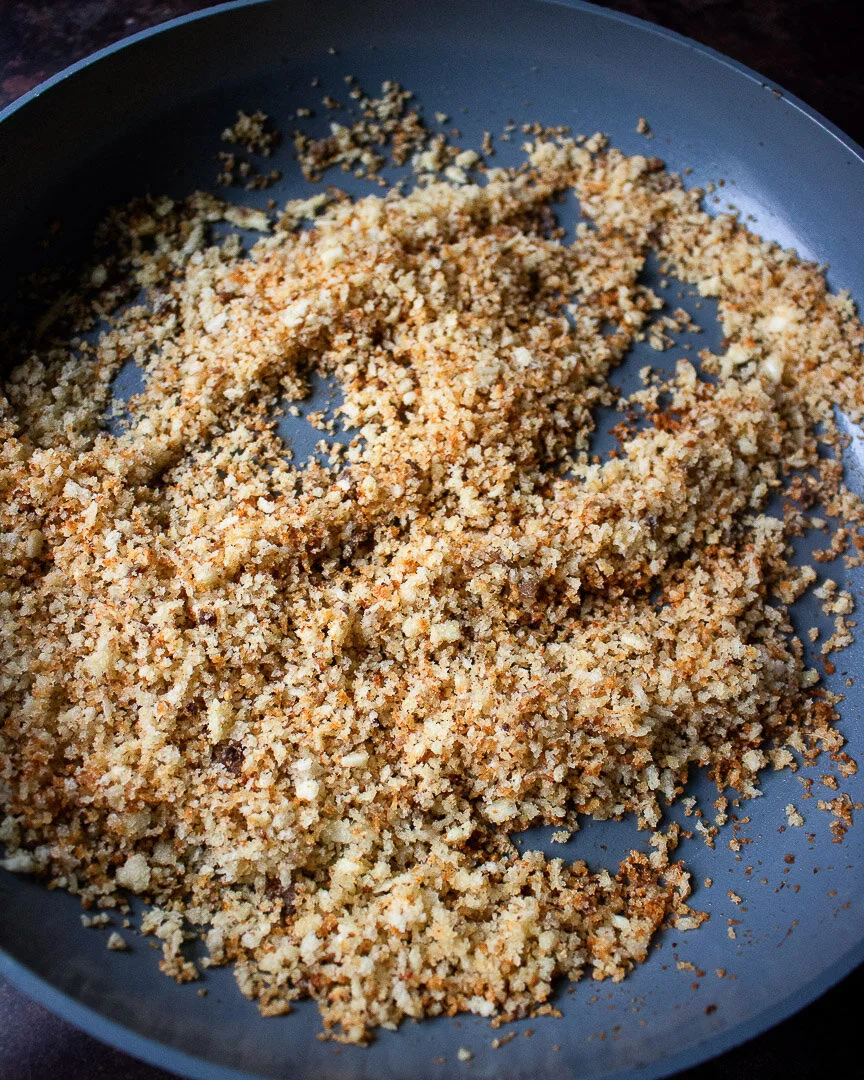
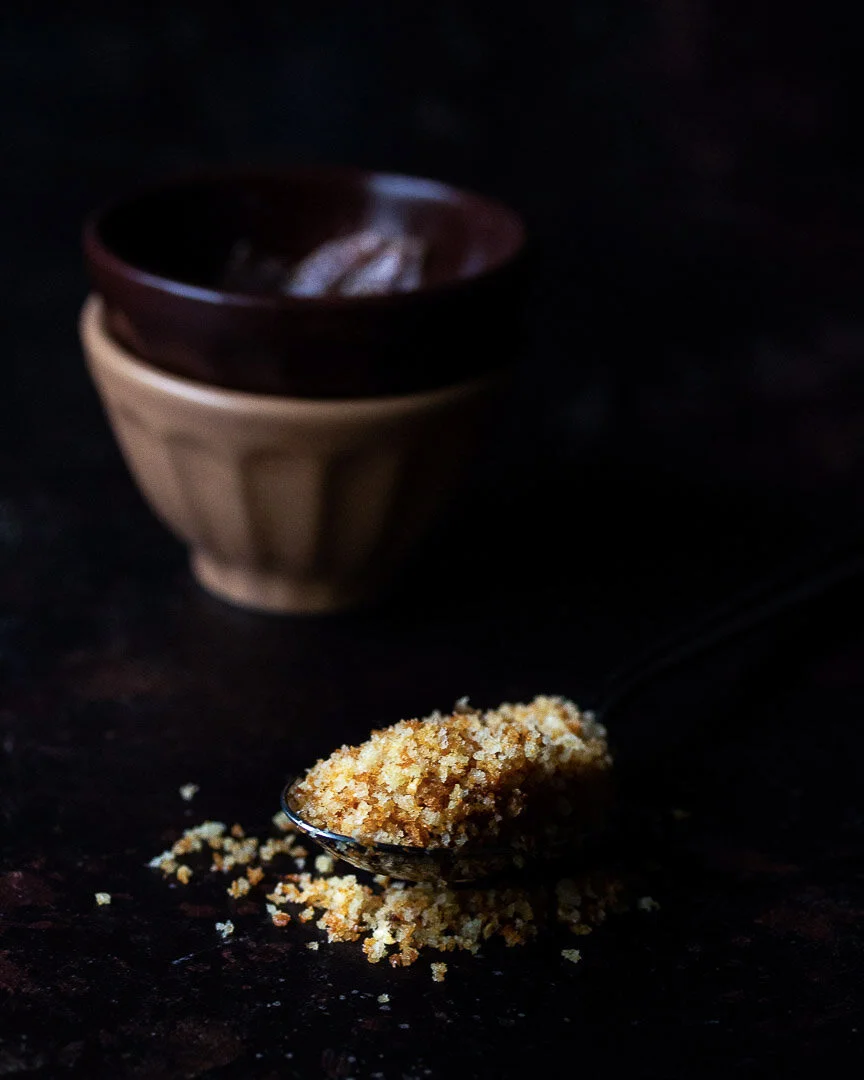
They’re crunchy, salty, briny, and aromatic and elevate anything they top. Using panko maximizes the crispiness while the anchovies add a salty, funky note and the garlic lends a spicy bite. We bathe everything in a little olive oil or butter to mildly tame the funk and the bite while increasing the crunch. The results: magical.

There are other fantastic things about these breadcrumbs too: Sub them in for breading or croutons and they make any dish lighter and easier to prepare. They also stay crispy in the fridge for up to 4 days, so make them in advance and top any side dish just before serving.

Make these easy, quick, and delicious magical breadcrumbs to top these mushrooms and scallions and then use them to add breading and crunch to literally anything. #meandthemoose #easysidedishes #sidedishes #pescatarian #recipes #easyrecipes

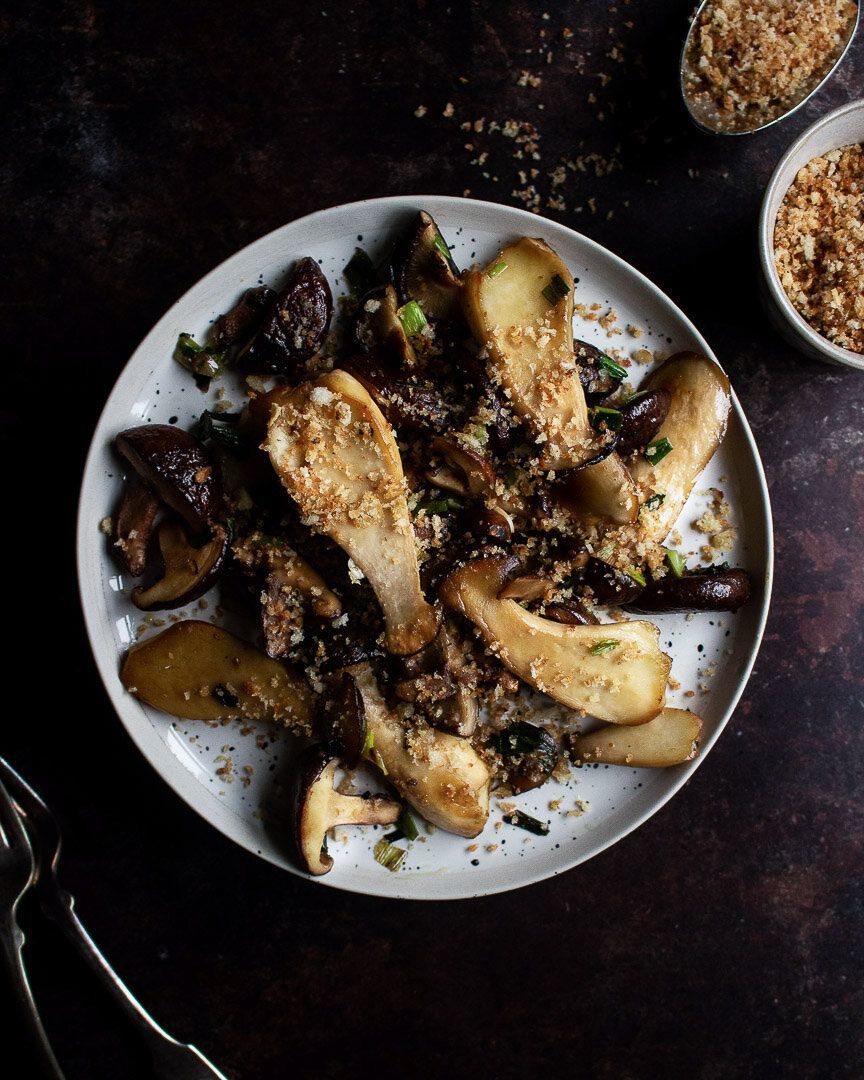
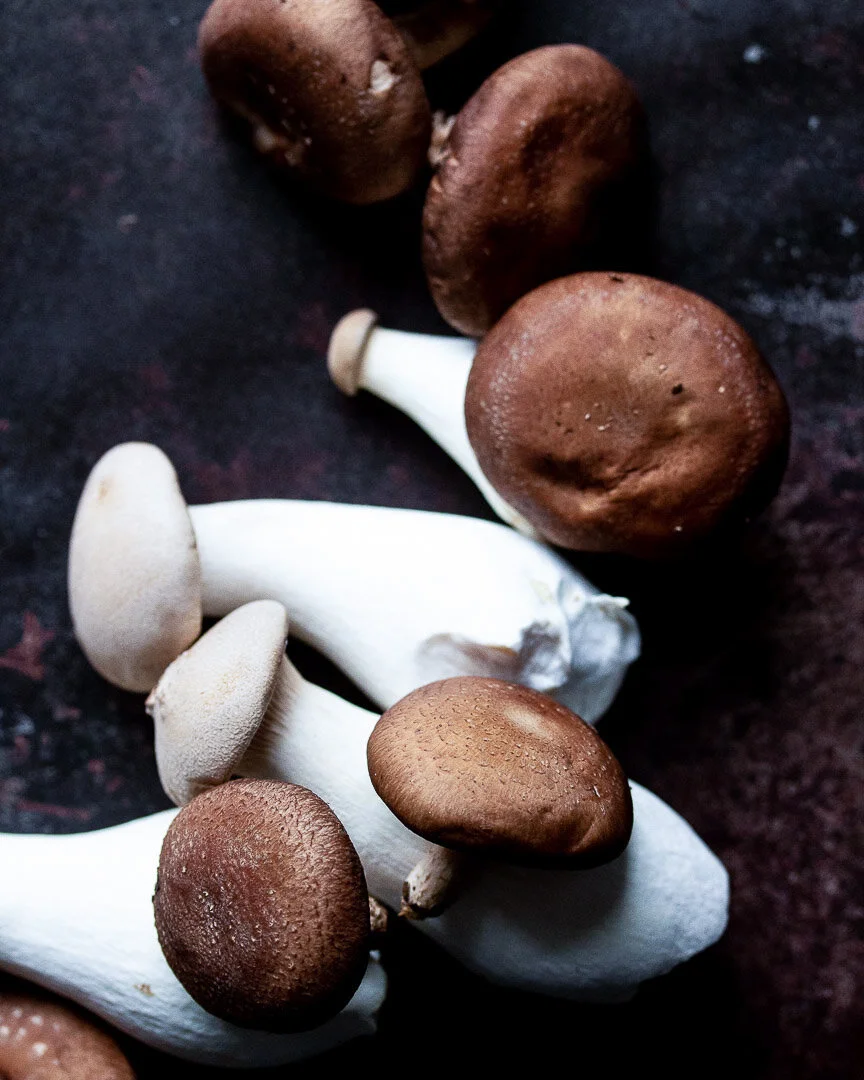
For this dish, I’ve used the breadcrumbs to top this umami bomb of mushrooms, scallions, butter, and soy sauce. Each time I’ve made these mushrooms, we’ve INHALED them. This dish is simple, quick, and tastes so much more complex than its humble ingredients would suggest.

A quick note: This is a relatively small recipe because I’m guessing (hoping, encouraging, BEGGING) that we’re all having small Thanksgiving meals this year, but if you’re cooking for a (socially distanced) crowd, definitely increase the mushroom portion of this recipe. You’ll have more than enough breadcrumbs with the measurements given.

Also: Be judicious with the salt in this recipe. We are SALT LOVERS in this house, but the anchovies are so salty that we didn’t really need much more than the big pinch of sea salt that I add while cooking the mushrooms. But you do you.

Make these easy, quick, and delicious magical breadcrumbs to top these mushrooms and scallions and then use them to add breading and crunch to literally anything. #meandthemoose #easysidedishes #sidedishes #pescatarian #recipes #easyrecipes

Magical breadcrumbs with mushrooms and scallions

Time: 10 minutes for the breadcrumbs, 12 minutes for the mushrooms, all active
Yield: About 1 1/2 cups of breadcrumbs (depending upon how “heaping” your cup of panko is), 3 adult side servings of mushrooms (but to be fair, I’ve eaten all of the mushrooms in one sitting topped with a runny egg for lunch)

Mushrooms and scallions:
2 Tbsp olive oil
8 oz mushrooms (any variety, about two containers)
Large pinch of salt
4 large scallions, roughly chopped
1 Tbsp butter
1/2-1 tsp soy sauce, to taste
1/4- 1/2 cup Magical breadcrumbs (recipe below), to taste
Flaky sea salt, to taste

Heat the olive oil over a medium flame. When hot, sear the mushrooms on one side and then shake the pan and sear the other side. Cook, shaking the pan occasionally, until the mushrooms turn a darker, golden color, about 5 minutes. If cooking too fast, turn down the heat. Season with a large pinch of salt.

Add the scallions and cook until they begin to wilt and soften, about 4-5 minutes.

If, during the cooking of the mushrooms and scallions, the pan feels too dry or the veggies start to stick, add a little bit more olive oil. But keep in mind that the mushrooms may release their juices as they cook more."**

**Depending on the type of mushrooms you use, they may release a lot of water. If this happens, you can either turn up the flame and cook, stirring frequently to avoid burning, until the liquid has evaporated. Or, if your mushrooms and scallions are nearly cooked and there’s still a lot of water in the pan, drain it before adding the butter.

When the mushrooms and scallions are cooked, turn the flame all the way down. Add the butter. When it’s melted, add the soy sauce and stir to coat. Turn off the flame. Taste and add more soy sauce if necessary.

Top with breadcrumbs (recipe below) and flaky sea salt if necessary, just before serving.

Magical breadcrumbs
2 Tbsp olive oil or butter
2 whole anchovy filets (or 4 1/2 filets depending on how your anchovies are canned)*
1 heaping cup panko
2 large garlic cloves, minced (about 2 Tbsp)


Heat olive oil in a large skillet over a medium-low flame. Add the anchovies and cook, breaking them up with a wooden spoon or spatula until they’re completely dissolved, about 3-4 minutes.

Add the panko and cook, stirring frequently, for 3-4 minutes. If the breadcrumbs start to darken, turn the flame down.

Add the garlic and stir well. Let the mixture cook, untouched for 2-3 minutes or until the bottom of the breadcrumbs start to turn golden. Turn off the flame and mix the breadcrumbs. Let cool for a few minutes in the pan before using.

If saving for later, let the breadcrumbs cool completely and then store, covered loosely, in the fridge for up to 4 days.

*A quick note about anchovies: Sometimes they’re cleaned and the two sides are left connected when they’re canned. I consider that a “whole” anchovy. If they two sides are separated, I consider that 1/2 of a filet)

Mushroom pasta

This easy, spring-y mushroom pasta isn’t exactly made from pantry staples, but this lockdown will end one day, so bookmark this one and dream about when we can go to the store again! #meandthemoose #easydinner #pasta #mushrooms #mushroompasta #30min…

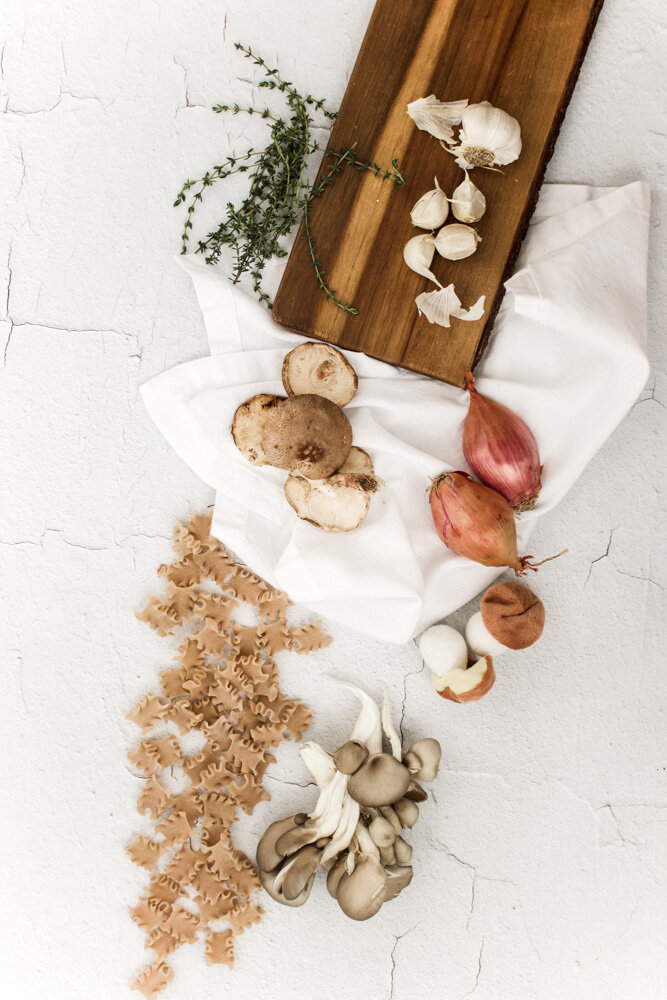
I know we’re all eating canned goods from here on out, so maybe bookmark this one as a spring-y, post-virus meal for when the world feels real again? Or, if you impulse bought mushrooms during your panic shop, use them now!

I don’t want to hear more about this freaking virus: Take me to the recipe!

This easy, spring-y pasta isn’t exactly made from pantry staples, but this lockdown will end one day, so bookmark this one and dream about when we can go to the store again! #meandthemoose #easydinner #pasta #mushrooms #mushroompasta #30minutemeals …

I haven’t posted much in recent weeks because, and I know I’m not alone here, I’ve been in a deep, dark pit of worry about Coronavirus. While healthy kids are at much lower risk for developing symptoms, I’m 38 weeks pregnant and about to bring a newborn into this mess. Like, any day now. Newborns are not kids. This also means, I have to go to a HOSPITAL in a few days, just about the last place I want to be.

Oh, and we’re self-quarantining for as long as possible because we need a grandparent to come watch M when I go into labor and all of them have between two and seven of the risk factors that make this a much more serious illness. Can you imagine if we infected one of them because we were carriers and didn’t know?

And, in the event that one of us gets sick, I don’t know what that means for delivery. If M or Ethan are sick and a grandparent can’t come, do I have to give birth alone? Do I have to stay in the hospital and away from M for longer? Will I be separated from my newborn if it’s me that develops symptoms?

Everything feels so scary and overwhelming and unknown. I don’t generally think of myself as someone with strong “mama bear” instincts, but this crisis has awakened a desperate need to protect my family.

This easy, spring-y pasta isn’t exactly made from pantry staples, but this lockdown will end one day, so bookmark this one and dream about when we can go to the store again! #meandthemoose #easydinner #pasta #mushrooms #mushroompasta #30minutemeals …

So, anyway, you probably just want to hear about food, yes? This pasta is really good. It’s also fast and easy and full of flavor. The preschooler didn’t love it, though he did have a few bites. I think he’ll learn to like it. He has no choice because it’s so good, I’m not going to stop making it!

A couple of notes:
- Feel free to swap in dried thyme for fresh if you don’t have any.
-The vinegar gives the pasta a little tang and acid, but if you don’t like it or LOVE IT and want more of it, feel free to skip or add more. I also like a little sprinkle of vinegar splashed on at the end.
-I add the cheese at the end as a garnish, but fee free to add up to a cup of cheese while the pasta is still hot and mixing it in with the melting butter to make a thicker sauce.
-Julia would be APPALLED by how much I crowd the mushrooms when I make this dish. I can’t help it. I have no sense of volume when it comes to mushrooms and the appropriate pan in which to cook them. I find that it doesn’t really matter. They cook down significantly, so as long as you’re okay with rescuing a few escaped shrooms at the start of cooking while you give things a mix, eventually, they’ll all fit in the pan just fine.

This easy, spring-y pasta isn’t exactly made from pantry staples, but this lockdown will end one day, so bookmark this one and dream about when we can go to the store again! #meandthemoose #easydinner #pasta #mushrooms #mushroompasta #30minutemeals …

Mushroom pasta

Yield: 5-6 adult servings
Time: 25 minutes, mostly active

14 oz-1 lb whole wheat pasta, cooked until al dente
4 Tbsp butter, divided
1 Tbsp olive oil
2 large shallots, thinly sliced
1 leek, halved and thinly sliced
1 lb mixed mushrooms, sliced
4 large garlic cloves, minced
1 tsp fresh thyme (3-4 stems), or ½ tsp dried
½ Tbsp red wine vinegar (or more to taste)
Salt/ pepper to taste
Nutty cheese, such as Parmesan, Gruyere, Romano, or Gouda

Cook pasta in well-salted water.

In a large skillet, melt 2 Tbsp butter and 1 Tbsp olive oil over medium heat. Add the shallots and leeks and let cook for 5 minutes until translucent and soft., stirring frequently to avoid browning.

Add the mushrooms and cook for another 5 minutes, stirring occasionally, until the mushrooms start to cook down and release some of their juices. If they haven’t cooked enough at the 5-minute mark, keep going until there’s a fair amount of liquid in the pan.

Add the garlic and let cook for 1 minute, or until fragrant.

Add the vinegar and let cook until evaporated, about 1 more minute.

Season the mushroom mixture with salt and pepper to taste.

Drain the pasta, but don’t go crazy- a little water will help keep the pasta loose. Add the noodles to the mushroom mixture along with the remaining 2 Tbsp of butter. Stir well and turn off the heat. Taste again for seasoning and serve immediately.