Weeknight beef stew

A deeply flavored, rich, and cozy beef stew is usually an all-day, multiple-pan affair. But this recipe simplifies the steps so that you can have this stew, which is mostly hands-off cooking, on the table in a maximum of 2 hours. #meandthemoose #beefstew #dinnerrecipes #beefrecipes

A deeply flavored, rich, and cozy beef stew is usually an all-day, multiple-pan affair. But this recipe simplifies the steps so that you can have this stew, which is mostly hands-off cooking, on the table in a maximum of 2 hours.

Take me to the recipe!

A deeply flavored, rich, and cozy beef stew is usually an all-day, multiple-pan affair. But this recipe simplifies the steps so that you can have this stew, which is mostly hands-off cooking, on the table in a maximum of 2 hours. #meandthemoose #beefstew #dinnerrecipes #beefrecipes

Okay, so I’ve tried every beef stew recipe out there. (No, I haven’t, but I’ve tried A LOT.) The best ones require time and effort: Multiple cooking methods, multiple steps, multiple pans, etc. And the results have largely been worth the effort. BUT, if you have a busy family, young kids, a demanding job, or just don’t feel like tending a stew all day, there is a simpler beef stew option!

I did a bunch of research and tried a bunch of tricks. My goal was to achieve a rich flavor without using every pan in my kitchen and without requiring a ton of work. Some of my shortcuts worked and some didn’t. I think I’ve landed at a happy medium that isn’t exactly “set it and forget it” but that will get you a lot more bang for your flavor buck than a quick stew made in, say, the slow-cooker.

A deeply flavored, rich, and cozy beef stew is usually an all-day, multiple-pan affair. But this recipe simplifies the steps so that you can have this stew, which is mostly hands-off cooking, on the table in a maximum of 2 hours. #meandthemoose #beefstew #dinnerrecipes #beefrecipes

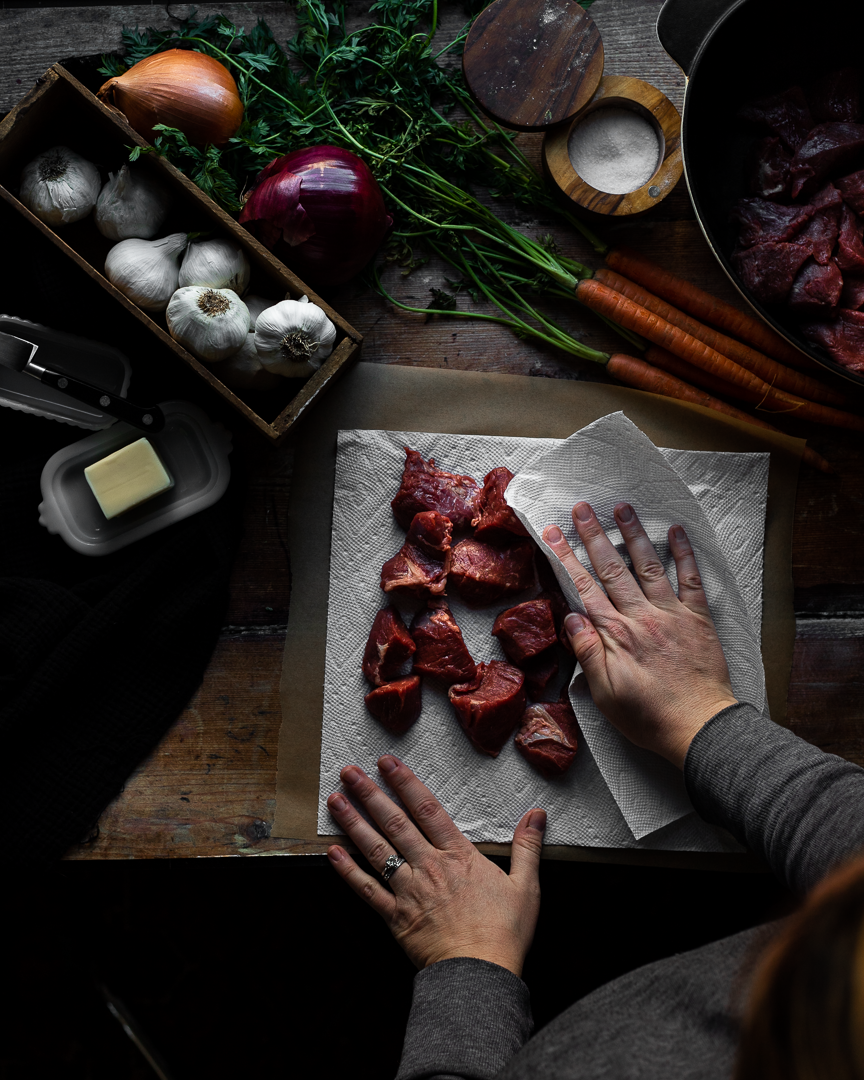
My first shortcut was to brown the meat in one batch in the oven instead of searing it in multiple batches on the stovetop. I know searing is the way to lock in moisture and to achieve some caramelization on the outside of the meat, but it takes me FOREVER and my hand gets very tired from holding the tongs and rotating the cubes until they’re evenly browned. So instead, I patted everything dry and roasted it at high heat in the oven for a few minutes to get that caramelization.

AN IMPORTANT NOTE ABOUT SALT: I found that if I didn’t salt the meat at all before the roasting, the end results were slightly bland. However, when I over salted the meat before roasting, it dried out because too much moisture came out during that initial cook. So, use a judicious pinch of salt before roasting and then generously salt the rest of the dish at various points in the cooking.

A deeply flavored, rich, and cozy beef stew is usually an all-day, multiple-pan affair. But this recipe simplifies the steps so that you can have this stew, which is mostly hands-off cooking, on the table in a maximum of 2 hours. #meandthemoose #beefstew #dinnerrecipes #beefrecipes

Then, I stirred in some flour right after that initial roast and along with the onions and carrots. I found that adding in the flour at this stage rather than at the end, allowed the flour to cook and thicken the sauce without any added fuss.

A deeply flavored, rich, and cozy beef stew is usually an all-day, multiple-pan affair. But this recipe simplifies the steps so that you can have this stew, which is mostly hands-off cooking, on the table in a maximum of 2 hours. #meandthemoose #beefstew #dinnerrecipes #beefrecipes

My next major shortcut was to whizz a majority of the ingredients in a blender and pour it all over the meat and veggies before a long, slow braise. Less chopping! No garlic fingers! Win win! But, if you don’t want to dirty your blender or food processor (which I completely understand) a traditional chop will do just fine.

A deeply flavored, rich, and cozy beef stew is usually an all-day, multiple-pan affair. But this recipe simplifies the steps so that you can have this stew, which is mostly hands-off cooking, on the table in a maximum of 2 hours. #meandthemoose #beefstew #dinnerrecipes #beefrecipes

Weeknight beef stew

Time: 1 3/4- 2 hours
Yield: 4-6 servings

2 lbs stew beef cubes
1 Tbsp kosher salt, divided (see note above)
3 Tbsp butter 
2 Tbsp flour 
2 cups beef stock 
1 cup red wine 
2 anchovies 
6 large garlic cloves, divided 
1/2 tsp dried thyme 
1/2 tsp black pepper 
1 large onion 
2 large carrots 

Optional topping:
1/2 lb mushrooms (optional) 
1 Tbsp olive oil or butter, or a combination
1 tsp balsamic vinegar


Preheat oven to 500. Pat the beef cubes dry. Add in a single layer to a large Dutch oven. Top with 3 Tbsp of butter cut into 6-9 small cubes. Sprinkle very lightly with salt. Roast, uncovered, for 15 minutes. Remove from the oven.

While the beef is roasting, add the beef stock, wine, anchovies, 3 cloves garlic, thyme, 1-2 very large pinches of salt, and pepper to a blender or food processor and whizz for 30 seconds.

Once the beef is quickly caramelized, turn the oven down to 375. Sprinkle 2 Tbsp of flour over the meat and mix. Add the onions and carrots and remaining 3 large garlic cloves to the pot. Sprinkle with another judicious pinch of salt. Stir.

Top with the liquid and bake in the oven, uncovered, for 1¼-1½  hours, stirring once halfway through the cooking time. The dish is done once the liquid has cooked down and thickened into a gravy-like consistency.

Optional topping:
While the beef is cooking, chop or slice the mushrooms and sauté in butter and olive oil. Once they have released their water and that water has evaporated, add the vinegar and cook for 1-2 more minutes until the vinegar has also evaporated.

Green enchiladas

IMG_6213.jpg

So, we got the oven fixed. And by "fixed" I mean that a man came over, looked in the oven with his iphone light, and pronounced it "dirty." He then proceeded to mansplain how an oven works like I don't have A FUCKING COOKING BLOG. And then charged us $119. So far, homeownership is fairly humiliating.

IMG_6204.jpg
IMG_6206.jpg
IMG_6207.jpg

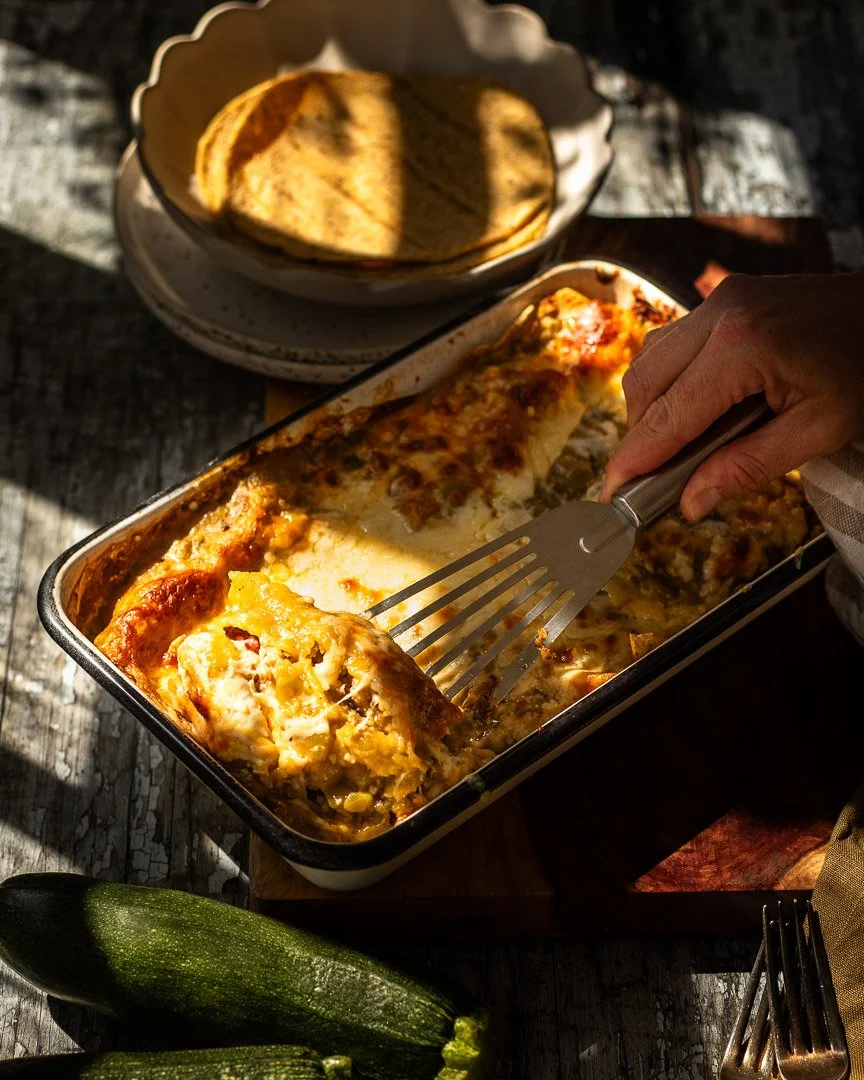
Anyway, now that we have an oven again, let's talk about enchiladas, shall we? I love them because they're a throw-anything-in-as-filling-and-bake-until-bubbly kind of dish and with cooler weather coming, who doesn't look forward to these dinners again? However, I haven't had many good jarred sauces, so I decided to make my own and now I can never go back. Which makes this dish a bit more complicated and more appropriate for, say, a lazy rainy weekend than a frantic school night.

A couple of notes about this recipe: I used zucchini, turkey, and pinto beans, but feel free to sub any other veggies, beans, and proteins. You will have extra filling, but I felt it was silly to use less than the whole pound of turkey, which is the only amount sold by our farmer's market turkey stand. Eat it with an egg for breakfast and you won't mind having leftovers at all. Do not, however, change the cheese. This recipe hinges on the cheese. If you can't find cojita (though look as hard as you can because its GOOD), you can use a crumbly white cheese like ricotta salata or queso blanco. You'll also have extra sauce. I recommend doubling the sauce recipe because the casserole calls for just a bit more than half of the original recipe. Doubling means you'll have enough for 2 more large casseroles. Freeze it in two parts and you can cut down on the prep time for this dish significantly.

IMG_6153.jpg

I adapted the sauce recipe from Mel's Kitchen Cafe and it's darn near perfect. I added another 1/2 cup of green chilis because I thought the green chili taste could have been slightly stronger. Other than that, this sauce is dynamite.

For the sauce:
Adapted from Mel's Kitchen Cafe

2 tablespoons oil
1/2 cup finely chopped onion
2 garlic cloves, minced
3 tablespoons flour
1/4 teaspoon cumin
1/4 teaspoon dried oregano
1/4 teaspoon black pepper
1/2 teaspoon salt
1 1/2 cups canned, roasted poblano or other green chiles
1 1/2 cups low-sodium chicken or vegetable broth

Heat the oil in a large saute pan over medium heat. Add the onions and garlic and cook for 5 minutes, stirring frequently to prevent too much browning.

Add the flour and stir until it has coated the onions and garlic. Cook, stirring frequently for 3 more minutes to take away the raw taste of flour.

Add the cumin, oregano, salt, and pepper and cook for one more minute, stirring constantly. Add the green chilis and cook for one minute.

Slowly whisk in the broth and stir to break up any clumps. Bring to a boil, reduce heat to low, and simmer for 30 minutes or until the sauce is sufficiently thickened. It should coat the back of a spoon while still being a little runny. If too thick, add more broth. If too thin, continue cooking until the sauce tightens some more.


For the filling:
2 Tbsp oil
½ large onion
1 lb ground turkey
2 small or 1 large zucchini, chopped (about 1.5-2 cups)
1 can pinto beans, drained and rinsed
½ tsp mild chili powder
¾ tsp cumin (heaping ½ tsp will do if you don’t want to be that precise)
½ tsp salt

For the casserole:
12-15 Corn tortillas
1.5-2 cups shredded cheddar cheese (about 3-4 oz)
1 cup cotija cheese (about 3 oz)
1.5-1.75 cups green enchilada sauce (about half of the recipe, plus a few more Tbsps)

Preheat the oven to 350. Lightly grease a brownie or casserole dish and set aside.

Lay out a tortilla and scoop 1-2 small spoonfuls onto the middle of one tortilla. Sprinkle with a tbsp of cojita cheese and fold the ends to overlap in the middle. Carefully flip the bundle over and place into your casserole dish with the folded-side down. Repeat until the dish is full, squeezing as many tortillas as you can into the nooks and crannies.

Cover the folded tortillas with a thick layer of green enchilada sauce and spread into the corners. Top with shredded cheddar cheese.

Bake for 20 minutes or the cheese starts to look lightly golden and bubbly. Serve immediately.

Yield: 4-6 dinner servings, depending on how hungry you are and your sides.

IMG_6216.jpg

Zucchini and blueberry waffles

Zucchini and blueberry waffles | Me & The Moose. These naturally sweet bread-y pastries are a great way to get some veggies into your kiddos first thing in the morning, as an afternoon snack, or anytime really. #meandthemoose #waffles #blueberries #zucchini

Use up the last of late summer produce with these zucchini and blueberry whole grain waffles.

Take me to the recipe!

Zucchini and blueberry waffles | Me & The Moose. These naturally sweet bread-y pastries are a great way to get some veggies into your kiddos first thing in the morning, as an afternoon snack, or anytime really. #meandthemoose #waffles #blueberries #zucchini

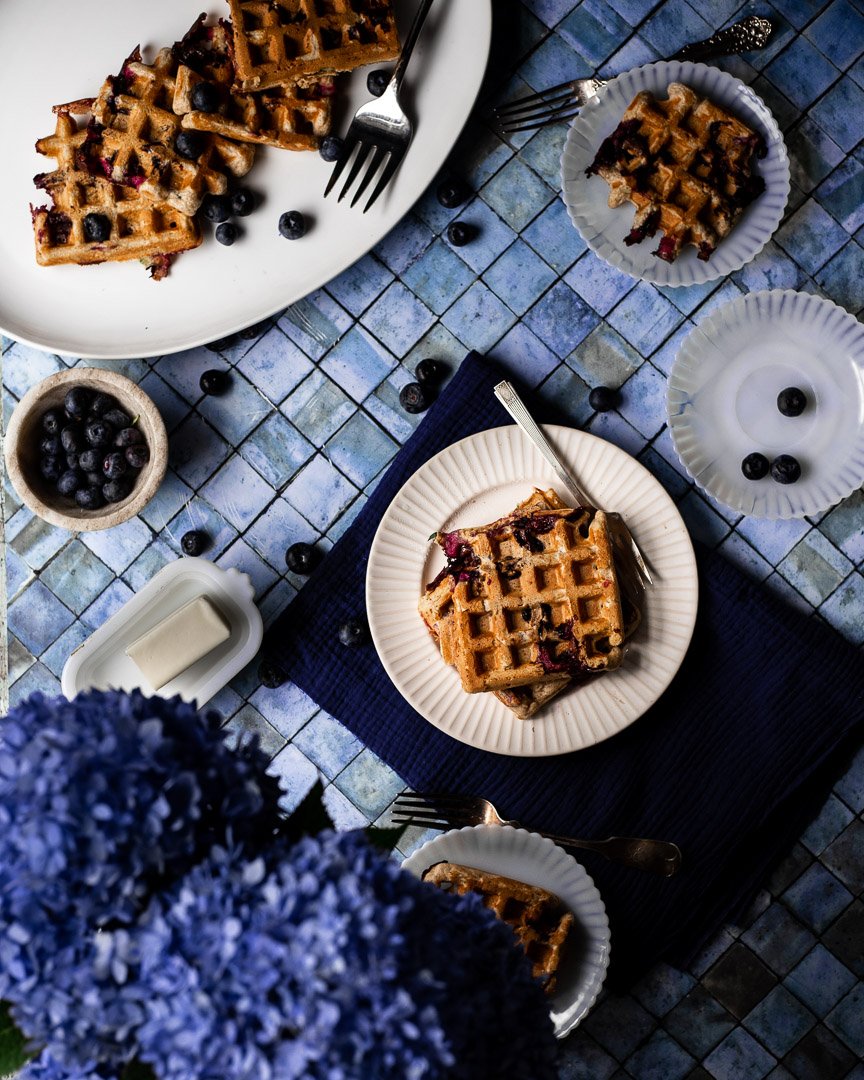
Late summer/early fall usually means a glut of zucchini and it's one of M's safe veggies. Don't get me wrong: If I put a piece of zucchini in front of him (steamed, roasted, covered in chocolate), he would NOT eat it. But in a waffle with sweet blueberries and toasty whole wheat and flax, he doesn't even notice that he's eating vegetables for breakfast.

Zucchini and blueberry waffles | Me & The Moose. These naturally sweet bread-y pastries are a great way to get some veggies into your kiddos first thing in the morning, as an afternoon snack, or anytime really. #meandthemoose #waffles #blueberries #zucchini

Zucchini and blueberry waffles | Me & The Moose. These naturally sweet bread-y pastries are a great way to get some veggies into your kiddos first thing in the morning, as an afternoon snack, or anytime really. #meandthemoose #waffles #blueberries #zucchini

Zucchini and blueberry waffles | Me & The Moose. Flour, sugar, eggs, vanilla, spices, buttermilk, flaxseed, and a little butter. #meandthemoose #waffles #blueberries #zucchini #ingredients

A couple of notes about these waffles:

  • I used buttermilk in this recipe, but if you don’t have any or don’t want to buy buttermilk, my favorite substitution is this: For every 1 cup of buttermilk that you need, add 1 Tbsp of vinegar to a measuring cup and then add enough dairy milk (any fat content will do) to equal 1 cup. Let sit for a few minutes and use!

  • Don’t use more blueberries and zucchini than the recipe calls for. I’ve been tempted to throw in another handful of blueberries or the rest of the shredded zucchini, but I feel like any time I do, the waffles end up too wet.

Zucchini and blueberry waffles | Me & The Moose. These naturally sweet bread-y pastries are a great way to get some veggies into your kiddos first thing in the morning, as an afternoon snack, or anytime really. #meandthemoose #waffles #blueberries #zucchini

Zucchini & blueberry waffles

Time: 20 minutes
Yield: 16 waffles

1 cup shredded zucchini (1/2 large zucchini), patted dry
3/4 cup fresh blueberries
1 cup AP flour
1 cup whole wheat flour
1 heaping Tbsp flax seed meal
4 tsp baking powder
1 tsp cinnamon
1/8 tsp nutmeg
1/8 tsp cloves
1/4 tsp salt
2 eggs
2 Tbsp sugar
1 Tbsp butter, melted and cooled to room temp
1 tsp vanilla extract
1½ cups buttermilk

Melt 1 Tbsp of butter in the microwave. Set aside.

Shred the zucchini with a box grater and squeeze the excess water out with paper towels or a cheesecloth. Set aside.

To a large bowl, add the flours, flax seed meal, baking powder, spices, and salt and whisk to combine.

In a large bowl, whisk the eggs and sugar until frothy. Add the melted and cooled butter, vanilla extract, and buttermilk. Whisk until combined.

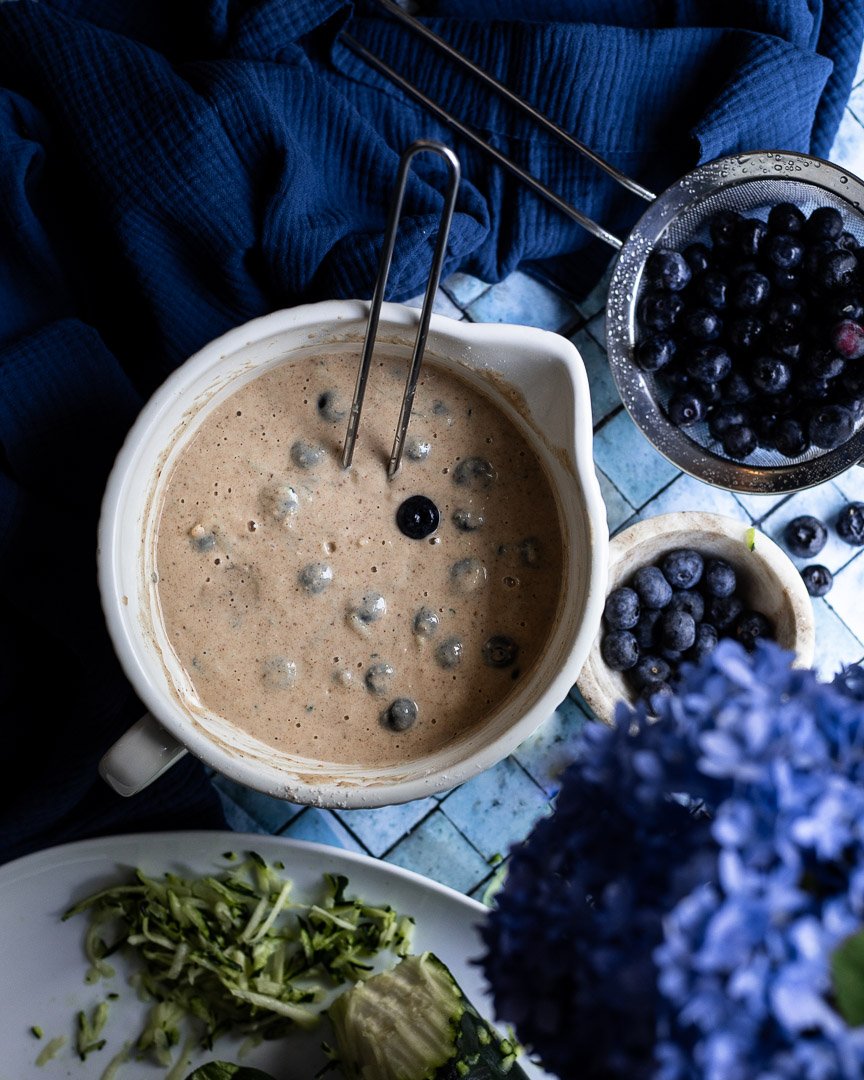
Add the wet ingredients to the bowl with the dry ingredients and whisk thoroughly. Add the zucchini and blueberries and whisk gently until combined.

Depending on the size of your waffle maker, spoon about ¼ cup of batter onto the hot surface and follow your appliance’s instructions.