Weeknight beef stew

A deeply flavored, rich, and cozy beef stew is usually an all-day, multiple-pan affair. But this recipe simplifies the steps so that you can have this stew, which is mostly hands-off cooking, on the table in a maximum of 2 hours. #meandthemoose #beefstew #dinnerrecipes #beefrecipes

A deeply flavored, rich, and cozy beef stew is usually an all-day, multiple-pan affair. But this recipe simplifies the steps so that you can have this stew, which is mostly hands-off cooking, on the table in a maximum of 2 hours.

Take me to the recipe!

A deeply flavored, rich, and cozy beef stew is usually an all-day, multiple-pan affair. But this recipe simplifies the steps so that you can have this stew, which is mostly hands-off cooking, on the table in a maximum of 2 hours. #meandthemoose #beefstew #dinnerrecipes #beefrecipes

Okay, so I’ve tried every beef stew recipe out there. (No, I haven’t, but I’ve tried A LOT.) The best ones require time and effort: Multiple cooking methods, multiple steps, multiple pans, etc. And the results have largely been worth the effort. BUT, if you have a busy family, young kids, a demanding job, or just don’t feel like tending a stew all day, there is a simpler beef stew option!

I did a bunch of research and tried a bunch of tricks. My goal was to achieve a rich flavor without using every pan in my kitchen and without requiring a ton of work. Some of my shortcuts worked and some didn’t. I think I’ve landed at a happy medium that isn’t exactly “set it and forget it” but that will get you a lot more bang for your flavor buck than a quick stew made in, say, the slow-cooker.

A deeply flavored, rich, and cozy beef stew is usually an all-day, multiple-pan affair. But this recipe simplifies the steps so that you can have this stew, which is mostly hands-off cooking, on the table in a maximum of 2 hours. #meandthemoose #beefstew #dinnerrecipes #beefrecipes

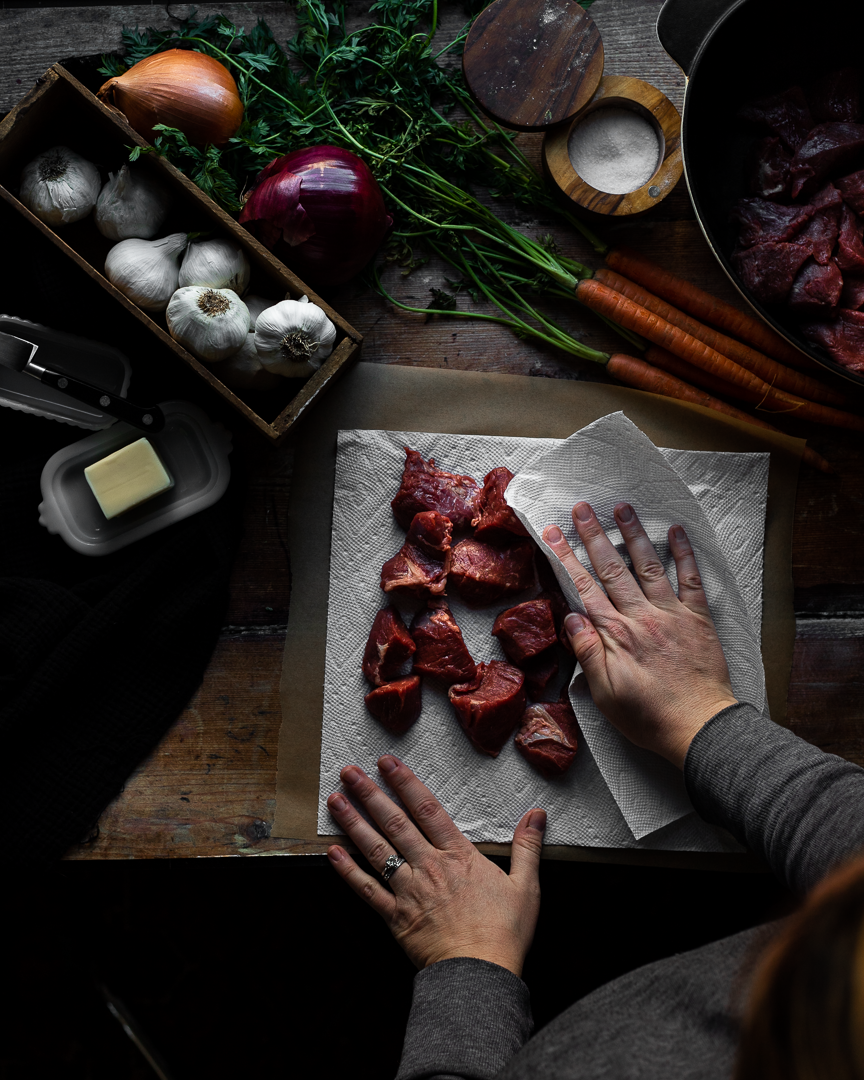
My first shortcut was to brown the meat in one batch in the oven instead of searing it in multiple batches on the stovetop. I know searing is the way to lock in moisture and to achieve some caramelization on the outside of the meat, but it takes me FOREVER and my hand gets very tired from holding the tongs and rotating the cubes until they’re evenly browned. So instead, I patted everything dry and roasted it at high heat in the oven for a few minutes to get that caramelization.

AN IMPORTANT NOTE ABOUT SALT: I found that if I didn’t salt the meat at all before the roasting, the end results were slightly bland. However, when I over salted the meat before roasting, it dried out because too much moisture came out during that initial cook. So, use a judicious pinch of salt before roasting and then generously salt the rest of the dish at various points in the cooking.

A deeply flavored, rich, and cozy beef stew is usually an all-day, multiple-pan affair. But this recipe simplifies the steps so that you can have this stew, which is mostly hands-off cooking, on the table in a maximum of 2 hours. #meandthemoose #beefstew #dinnerrecipes #beefrecipes

Then, I stirred in some flour right after that initial roast and along with the onions and carrots. I found that adding in the flour at this stage rather than at the end, allowed the flour to cook and thicken the sauce without any added fuss.

A deeply flavored, rich, and cozy beef stew is usually an all-day, multiple-pan affair. But this recipe simplifies the steps so that you can have this stew, which is mostly hands-off cooking, on the table in a maximum of 2 hours. #meandthemoose #beefstew #dinnerrecipes #beefrecipes

My next major shortcut was to whizz a majority of the ingredients in a blender and pour it all over the meat and veggies before a long, slow braise. Less chopping! No garlic fingers! Win win! But, if you don’t want to dirty your blender or food processor (which I completely understand) a traditional chop will do just fine.

A deeply flavored, rich, and cozy beef stew is usually an all-day, multiple-pan affair. But this recipe simplifies the steps so that you can have this stew, which is mostly hands-off cooking, on the table in a maximum of 2 hours. #meandthemoose #beefstew #dinnerrecipes #beefrecipes

Weeknight beef stew

Time: 1 3/4- 2 hours
Yield: 4-6 servings

2 lbs stew beef cubes
1 Tbsp kosher salt, divided (see note above)
3 Tbsp butter 
2 Tbsp flour 
2 cups beef stock 
1 cup red wine 
2 anchovies 
6 large garlic cloves, divided 
1/2 tsp dried thyme 
1/2 tsp black pepper 
1 large onion 
2 large carrots 

Optional topping:
1/2 lb mushrooms (optional) 
1 Tbsp olive oil or butter, or a combination
1 tsp balsamic vinegar


Preheat oven to 500. Pat the beef cubes dry. Add in a single layer to a large Dutch oven. Top with 3 Tbsp of butter cut into 6-9 small cubes. Sprinkle very lightly with salt. Roast, uncovered, for 15 minutes. Remove from the oven.

While the beef is roasting, add the beef stock, wine, anchovies, 3 cloves garlic, thyme, 1-2 very large pinches of salt, and pepper to a blender or food processor and whizz for 30 seconds.

Once the beef is quickly caramelized, turn the oven down to 375. Sprinkle 2 Tbsp of flour over the meat and mix. Add the onions and carrots and remaining 3 large garlic cloves to the pot. Sprinkle with another judicious pinch of salt. Stir.

Top with the liquid and bake in the oven, uncovered, for 1¼-1½  hours, stirring once halfway through the cooking time. The dish is done once the liquid has cooked down and thickened into a gravy-like consistency.

Optional topping:
While the beef is cooking, chop or slice the mushrooms and sauté in butter and olive oil. Once they have released their water and that water has evaporated, add the vinegar and cook for 1-2 more minutes until the vinegar has also evaporated.

French toast casserole

French toast casserole | Me & The Moose. Use up your sandwich bread crusts and heels with this no-soak, fast, simple French toast casserole. #meandthemoose #frenchtoast #breakfastrecipes #nosoakfrenchtoast #fastfancyrecipes

Don’t throw out the sandwich bread crusts and heels that your kids won’t eat! Turn them into a simple, fast French toast casserole that’s crunchy, eggy, cinnamon-y, and caramel-y.

Take me to the recipe!

French toast casserole | Me & The Moose. Use up your sandwich bread crusts and heels with this no-soak, fast, simple French toast casserole. #meandthemoose #frenchtoast #breakfastrecipes #nosoakfrenchtoast #fastfancyrecipes

Why don’t kids like bread crusts? Is that universal? I thought it was bullshit until I had kids of my own and one day, the older one disavowed bread crusts FOR NO REASON.

Funnily, my husband was horrified when M started insisting that the crusts be cut off because he was like, “that’s where all the fiber is!” To which I laughed in his face because what?! Bread isn’t an apple.

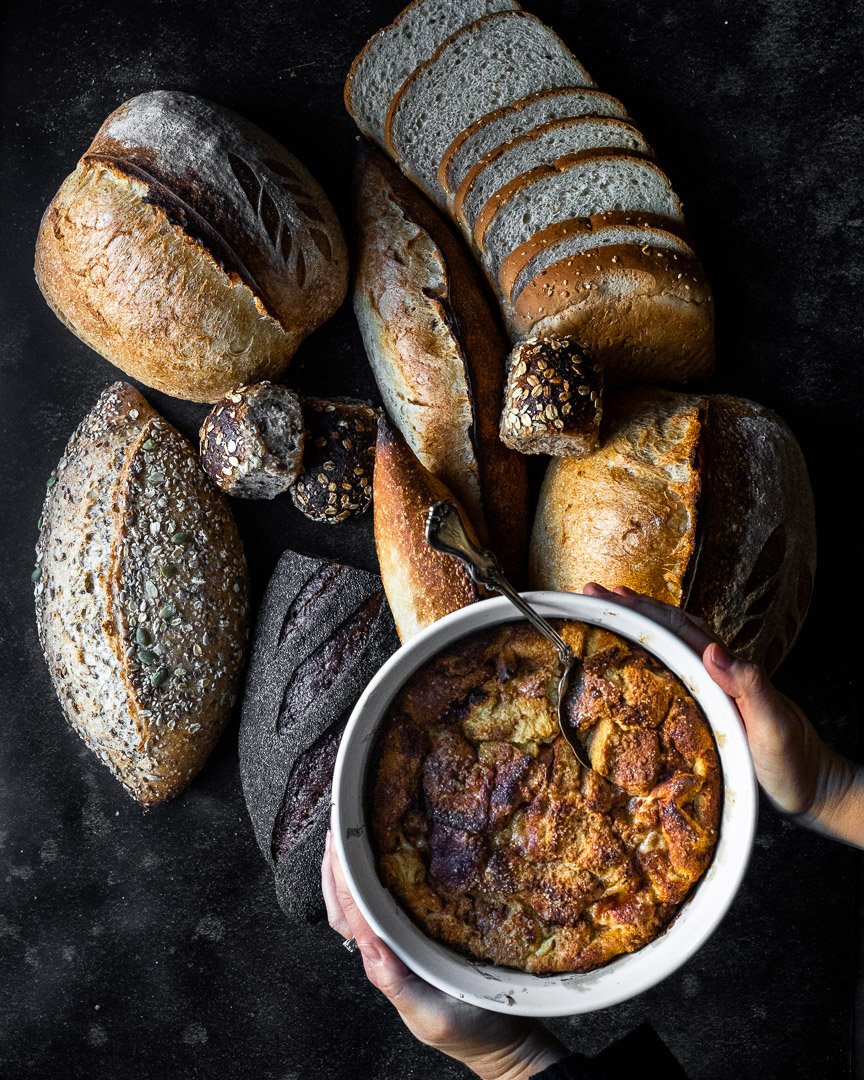
Anyhoo, this recipe is the perfect way to use up bread scraps. However, this isn’t a good recipe for that rock hard baguette or formerly crusty loaf that you forgot about. This is for the ever-so-slightly tougher outer layer of sandwich bread that you’ve been saving in a bag in the fridge so it didn’t get too stale.

Why do I advocate for using softer, fresher bread? I’ll tell you! Because most French toast casserole recipes require an overnight soak. But I, for one, am way too tired at the end of the day to plan for tomorrow’s breakfast. This recipe requires no waiting, something I am not very good at anyway.

A couple of notes:

  • Amounts: As always, the amounts listed here can be considered guidelines or ratios more than hard and fast rules. If you want the caramel on the bottom to be more like what you’d find in a sticky bun, feel free to increase the butter and sugar! Or if you have more or less than 6 cups of bread, adjust accordingly. This one is very forgiving.

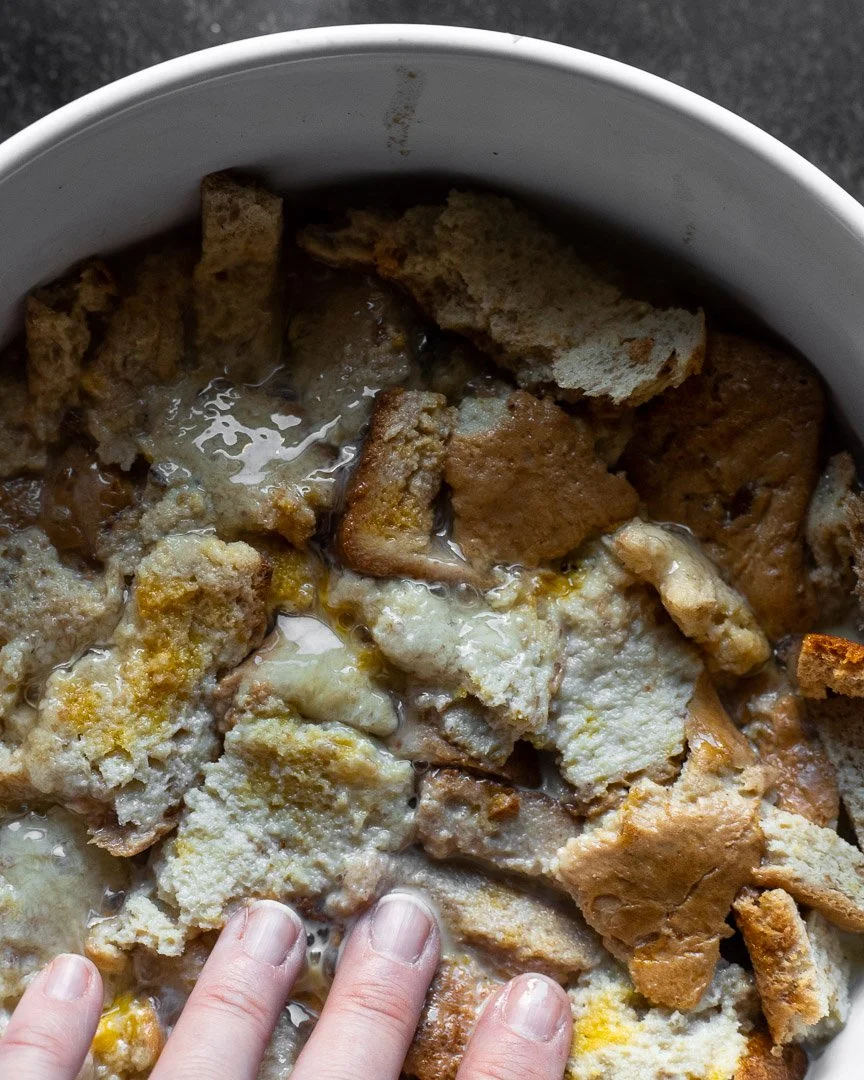
  • Eggs: You want the egg/milk/vanilla/cinnamon mixture to come up about 3/4 of the way to the top of the bread. But pour in the amount listed and squish the bread down gently with your hands. If you can easily see the liquid underneath, you have enough. If you have to push down more firmly to see any liquid or if it just doesn’t feel like enough to you, add more. It’s better to have a little too much liquid than not enough. But DO NOT cover the bread with the egg mixture.

French toast casserole | Me & The Moose. Use up your sandwich bread crusts and heels with this no-soak, fast, simple French toast casserole. #meandthemoose #frenchtoast #breakfastrecipes #nosoakfrenchtoast #fastfancyrecipes

French toast casserole | Me & The Moose. Use up your sandwich bread crusts and heels with this no-soak, fast, simple French toast casserole. #meandthemoose #frenchtoast #breakfastrecipes #nosoakfrenchtoast #fastfancyrecipes

French toast casserole | Me & The Moose. Use up your sandwich bread crusts and heels with this no-soak, fast, simple French toast casserole. #meandthemoose #frenchtoast #breakfastrecipes #nosoakfrenchtoast #fastfancyrecipes

French toast casserole | Me & The Moose. Use up your sandwich bread crusts and heels with this no-soak, fast, simple French toast casserole. #meandthemoose #frenchtoast #breakfastrecipes #nosoakfrenchtoast #fastfancyrecipes

French toast casserole 

 Time: 35 minutes
Yield: 6 large servings

Adapted from https://belleofthekitchen.com/french-toast-casserole/

4 Tbsp butter 
½ cup brown sugar + 1 Tbsp (reserved for later)
6 cups roughly torn bread hunks
2 cup milk 
4 large eggs
2 tsp vanilla extract 
1 tsp cinnamon (or any combination of cinnamon, nutmeg, cardamom, ginger, and cloves)
3 Tbsp coarse sugar (or substitute with granulated)  

Preheat the oven to 425.

In a large ceramic baking dish (though if metal is your only option, melt the butter and sugar in a separate bowl and then add to the baking dish), combine the butter and ½ cup of brown sugar. Microwave on high for 30 seconds or until the butter has just melted. Stir for 1 minute or until the butter and the sugar are mostly combined. Spread the mixture evenly on the bottom of your baking dish.

Top the melted butter and brown sugar with the roughly torn bread cubes. 

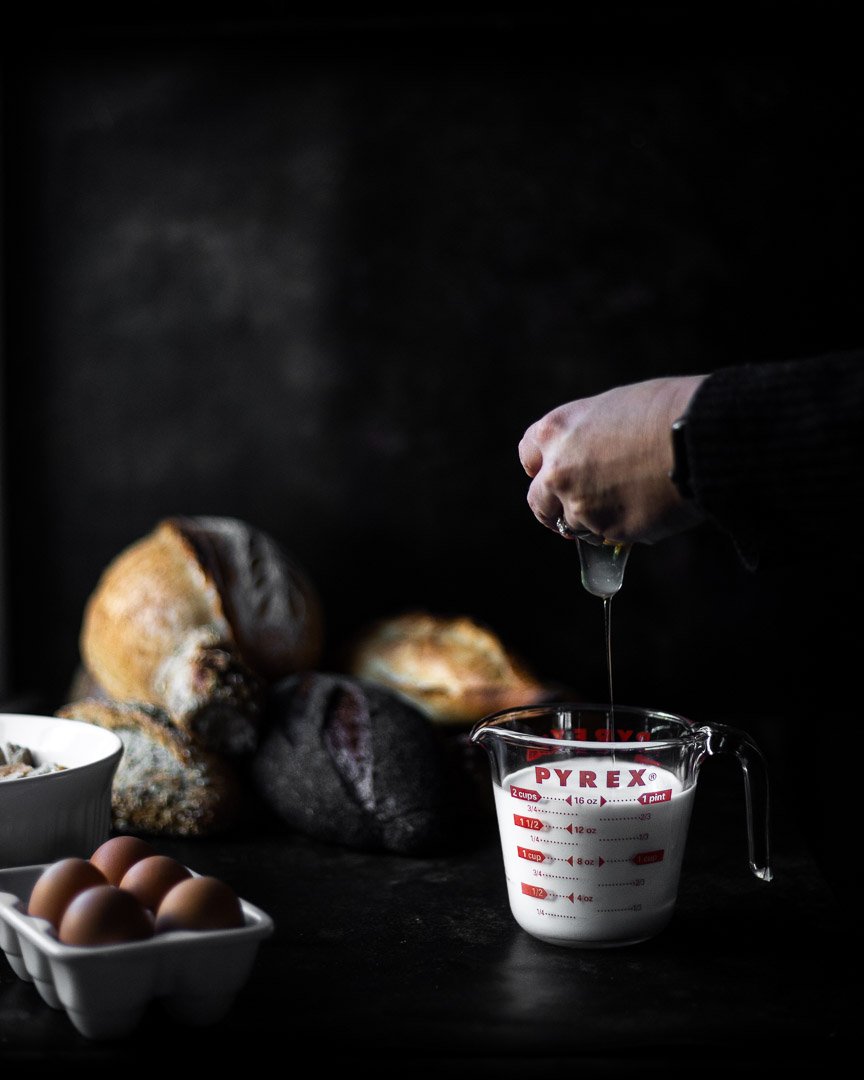
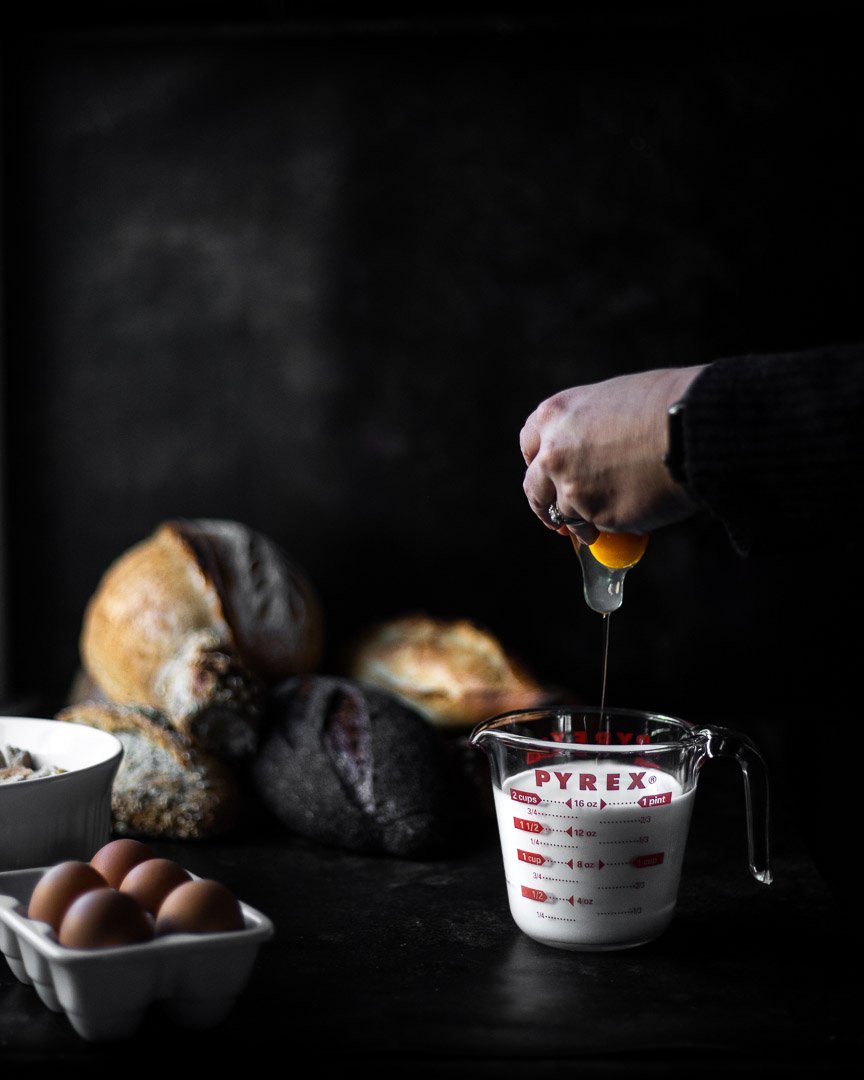
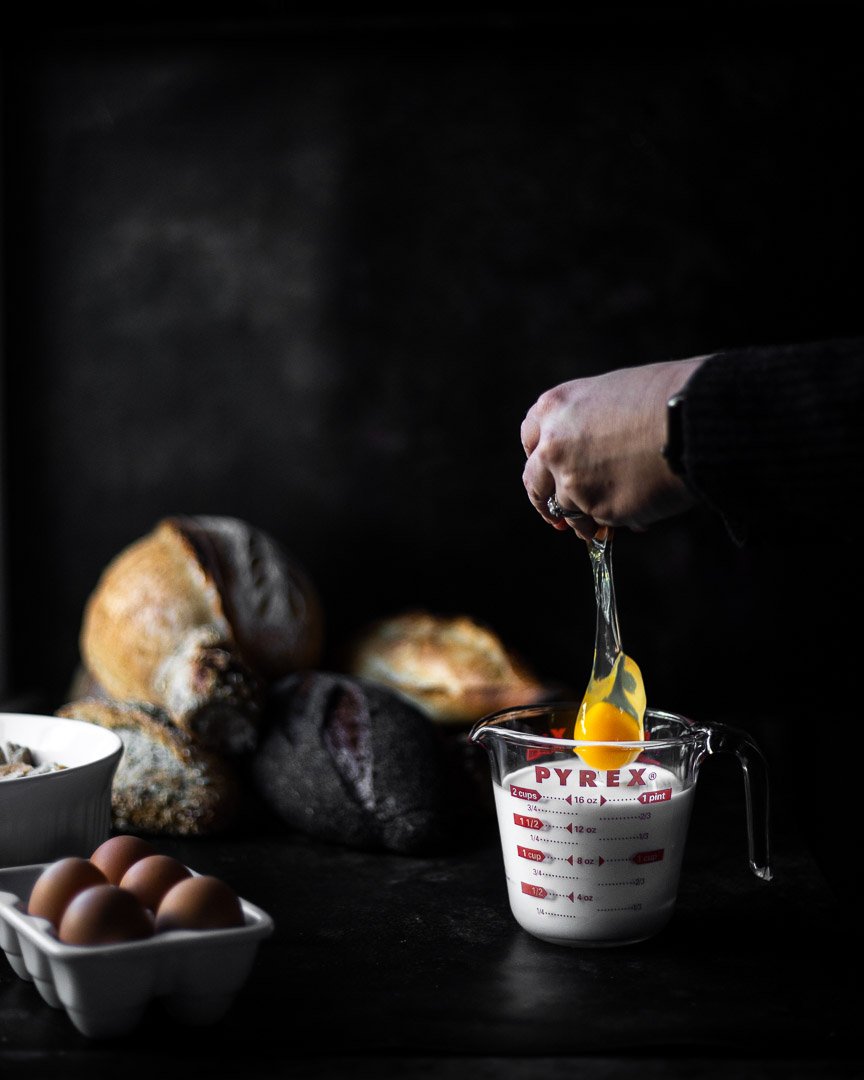
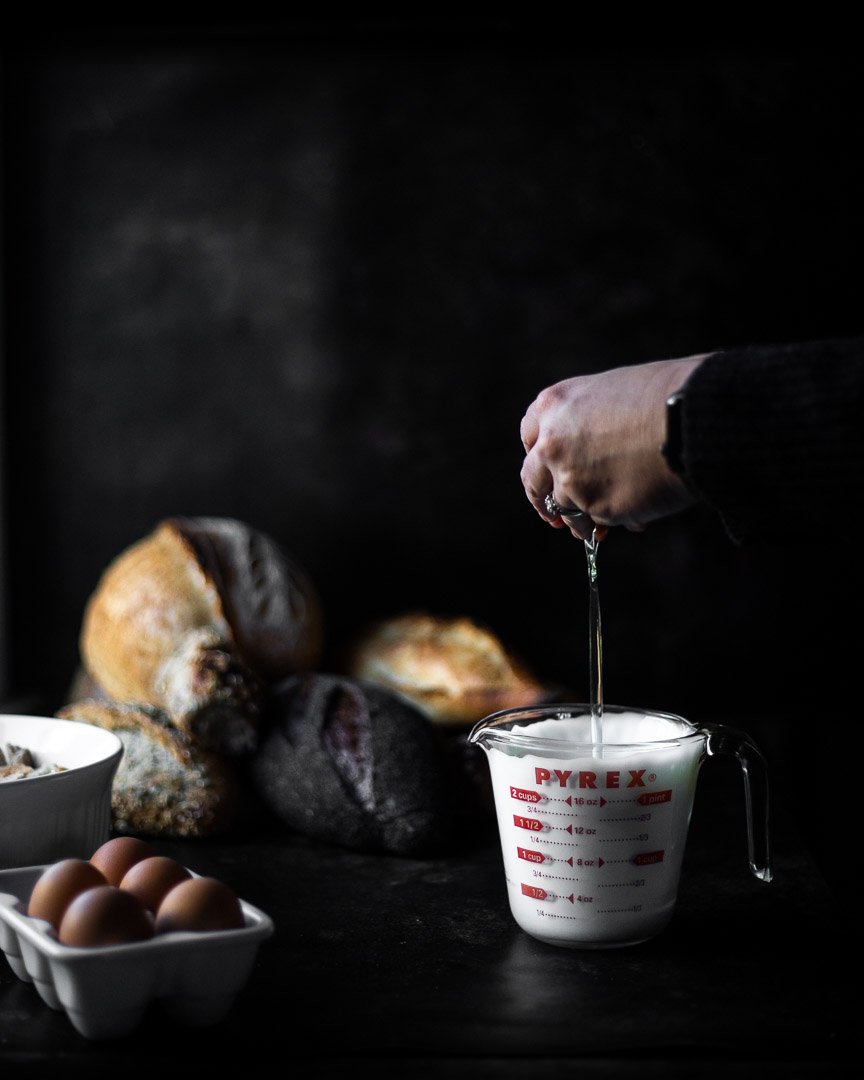
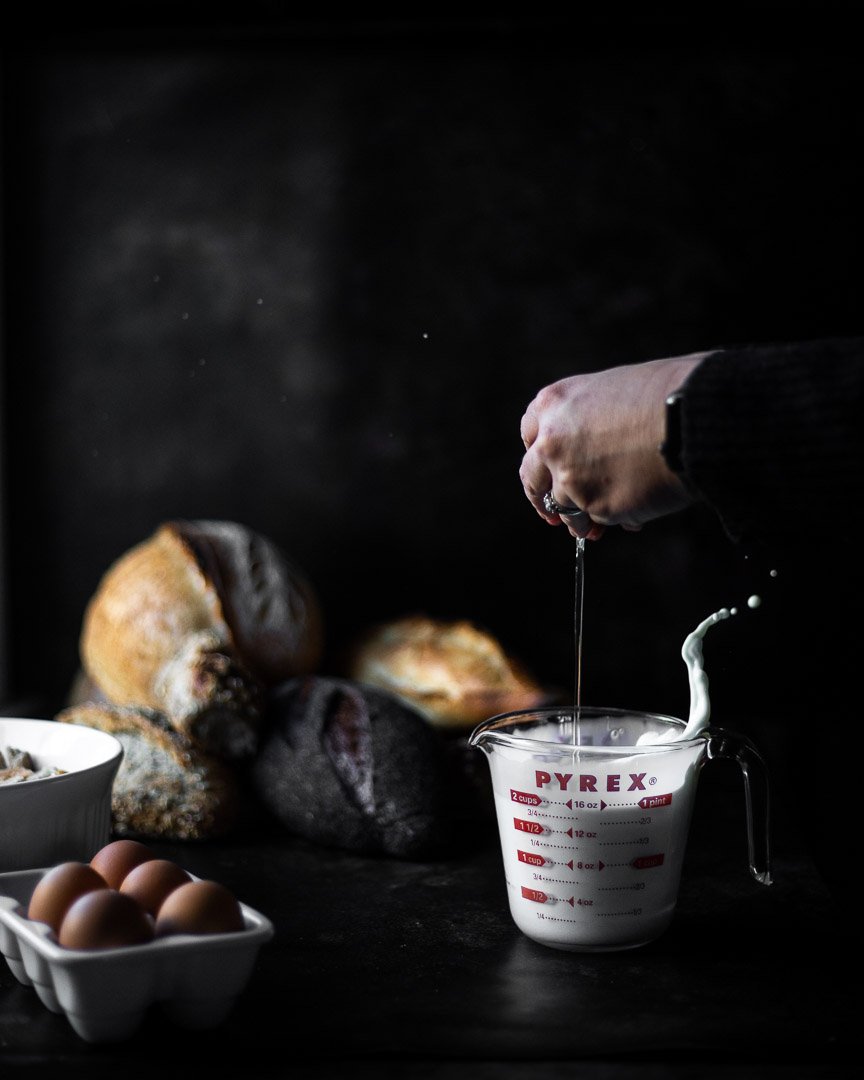
In a large measuring cup, combine the milk, eggs, vanilla extract and cinnamon. Whisk until all of the ingredients are incorporated. 

Pour over the bread cubes. Push down gently on the bread to assess how much liquid is in your baking dish. If the liquid doesn’t come up about ¾ of the way to the top of the bread cubes, whisk together another ½ cup of milk and 1 egg and add as much of the mixture as needed to achieve that depth of liquid.  

Combine the remaining 1 Tbsp of brown sugar and the coarse sugar and sprinkle over the top of the casserole. 

Bake for 25-30 minutes or until the middle puffs up and doesn’t jiggle when you gently shake the baking dish.

Pumpkin and persimmon butter

Cooking down some canned pumpkin and a few persimmons with maple syrup and spices will make your house instantly smell like the holidays and spice up even the most basic meals. #meandthemoose #pumpkinrecipes #persimmonrecipes #dessert #fruitbutter

Cooking down some canned pumpkin and a few persimmons with maple syrup and spices will make your house instantly smell like the holidays and spice up even the most basic meals.

Take me to the recipe!

Cooking down some canned pumpkin and a few persimmons with maple syrup and spices will make your house instantly smell like the holidays and spice up even the most basic meals. #meandthemoose #pumpkinrecipes #persimmonrecipes #dessert #fruitbutter

I’m a sucker for persimmons. I can’t help myself when they arrive in the grocery stores. But I never know what to do with them. I love baking with them, but I’m trying to have fewer baked goodies hanging around in preparation for baked-goodies-hanging-around season. And if I’m going to eat them on their own or in a salad, they need to ripen, which, in my frozen kitchen, takes forever and a day.

This is my grand compromise: A cooked down “butter” that’s thick and slightly sweet that pairs with toast, graham crackers, apple slices, pretzels, Dutch babies, regular babies, cornbread, muffins, oatmeal. etc. One could also use this “butter” as a fruity addition to an autumnal cheesecake or mix it with an ice cream or other custard. My favorite way to use it is mixed with mascarpone and a couple of eggs and then baked with a pie shell for a spin on pumpkin pie.

The best part about this concoction is that you don’t need to ripen the persimmons. You heard me. As long as you use fuyu and NOT HACHIYA*, you’re fine with unripened persimmons. Of course, the more you let them ripen, the better they taste, so it does behoove you to wait at least a little while before making this butter.

*Why not Hachiya, you ask? Well, those are the larger, more ovular persimmons and if you don’t wait until they’re almost completely mushy to eat them, the tannins in the fruit make your mouth feel gluey and dry. It’s awful, trust me.

Anyway, whatever you choose to do with it, you’re only 20-30 minutes away from the endless possibilities, so get to it!

Cooking down some canned pumpkin and a few persimmons with maple syrup and spices will make your house instantly smell like the holidays and spice up even the most basic meals. #meandthemoose #pumpkinrecipes #persimmonrecipes #dessert #fruitbutter

Pumpkin persimmon butter

Time: 25 minutes, mostly active
Yield: 2 cups, depending on how much you cook down the mixture 

1 can pumpkin puree
4 fuyu persimmons 
1 Tbsp dark brown sugar (light is also fine)
¼ cup maple syrup
½ tsp cinnamon
¼ tsp ground ginger
1/8th tsp ground cloves
1 tsp vanilla extract or vanilla bean paste
1 large pinch of kosher salt
½ cup water

Peel the persimmons and cut into quarters. 

Add all ingredients to a blender or food processor and blend until smooth. Transfer to a large pot. 

Heat over a medium-low flame until just beginning to bubble. Turn the heat down to low and cook, stirring frequently to prevent burning, until the persimmons totally break down and the mixture has thickened slightly, about 20 minutes.

Apple cider slushee

Deal with a fall heatwave with these frozen cider slushees! They can be spiked, spiced, or enjoyed plain! #meandthemoose #cider #falldrinks #frozentreats

Deal with a fall heatwave with these frozen cider slushees! They can be spiked, spiced, or enjoyed plain! #meandthemoose #cider #falldrinks #frozentreats

Move over pumpkin spice latte, apple cider slushee is coming for your “best fall drink” title! This easy bev can be spiced, spiked, or enjoyed straight up.

Take me to the recipe!

Deal with a fall heatwave with these frozen cider slushees! They can be spiked, spiced, or enjoyed plain! #meandthemoose #cider #falldrinks #frozentreats

Deal with a fall heatwave with these frozen cider slushees! They can be spiked, spiced, or enjoyed plain! #meandthemoose #cider #falldrinks #frozentreats

This may be a very Northeast specific rant, but why is it so hot at the beginning of fall? I feel like September, much like that other “changeover” month March, is a tease. Occasionally it’s chilly and crisp and then BAM — humid and gross. It rains and then the sun comes out immediately to really perfect those sweatbox conditions. It feels slightly chilly at 7 am, but by 9 it’s 80 and the air is heavy. How do you dress? What do you eat? I want to want all of the cozy things, but it’s too. damn. hot.

Anyway, that’s why you should freeze your apple cider. You get the coziness of fall, but the refreshment of an iced drink!

You can absolutely spice this cider by adding cinnamon sticks, crushed whole cardamom pods, anise pods, or some fresh ginger, bringing the cider to a boil, letting it simmer for 20-30 minutes, and then straining out the spices. I don’t love adding ground dried spices to my cider because I feel like it makes the cider slightly gritty, but it’s not a deal breaker. (Really, nothing is a deal breaker for me when it comes to cider.)

Deal with a fall heatwave with these frozen cider slushees! They can be spiked, spiced, or enjoyed plain! #meandthemoose #cider #falldrinks #frozentreats

Deal with a fall heatwave with these frozen cider slushees! They can be spiked, spiced, or enjoyed plain! #meandthemoose #cider #falldrinks #frozentreats

Deal with a fall heatwave with these frozen cider slushees! They can be spiked, spiced, or enjoyed plain! #meandthemoose #cider #falldrinks #frozentreats

Deal with a fall heatwave with these frozen cider slushees! They can be spiked, spiced, or enjoyed plain! #meandthemoose #cider #falldrinks #frozentreats

Deal with a fall heatwave with these frozen cider slushees! They can be spiked, spiced, or enjoyed plain! #meandthemoose #cider #falldrinks #frozentreats

Deal with a fall heatwave with these frozen cider slushees! They can be spiked, spiced, or enjoyed plain! #meandthemoose #cider #falldrinks #frozentreats

Apple cider slushee

Time: 6 hours, or overnight + 5 minutes active time
Yield: 2 slushees

2 cups apple cider
2 shots Calvados or other apple brandy, optional

Fill a standard ice cube tray with fresh cider. Let freeze for at least 6 hours or overnight.

Chill the cups you plan to use for the slushees in the freezer while you make the drinks.

Add the ice cubes to a blender (the higher powered, the better) and pulse 3-4 times or let run for about 3-4 seconds. Pulse again or run for 1 more second at a time until the cubes are crushed to your liking. In my experience, the cubes crush up very quickly and you don’t want them to re-liquify.

Spoon the crushed ice into the chilled cups and add 1/8-1/4 cup of fresh cider. Add 1 shot of calvados (optional).

Zucchini with sage and caramelized onions

This simple dish celebrates summer produce and herbs like zucchini and sage. #caramelizedonions #sage #simplerecipes #dinner #lunch #vegetarian

This simple dish celebrates summer produce and herbs like zucchini and sage. #caramelizedonions #sage #simplerecipes #dinner #lunch #vegetarian

This 5-ingredient dish (I’m not counting water, salt, and pepper) is super simple, but tastes surprisingly complex and can be customized in endless ways to suit your family’s tastes.

Take me to the recipe!

This simple dish celebrates summer produce and herbs like zucchini and sage. #caramelizedonions #sage #simplerecipes #dinner #lunch #vegetarian

This simple dish celebrates summer produce and herbs like zucchini and sage. #caramelizedonions #sage #simplerecipes #dinner #lunch #vegetarian

So, I love zucchini. I actually kind of grieved when my glorious early zucchini plant withered and died thanks to a hungry squash vine borer this summer. But, truth be told, zucchini is kind of a zero in the flavor department. One of its best qualities is that it takes on the personality of whatever it’s paired with, right?

Take zoodles, for example. You would think the titular veg would be the star of the show, but those fake noodles are nothing without a great sauce!

Anyway, THIS zucchini dish has caramelized onions and plenty of salt for flavor, sage for herbiness, and goat cheese to give everything a creamy, saucy vibe. The zucchini is really there for body and to provide a base for the other flavors and it totally does the job!

This simple dish celebrates summer produce and herbs like zucchini and sage. #caramelizedonions #sage #simplerecipes #dinner #lunch #vegetarian

This simple dish celebrates summer produce and herbs like zucchini and sage. #caramelizedonions #sage #simplerecipes #dinner #lunch #vegetarian

This simple dish celebrates summer produce and herbs like zucchini and sage. #caramelizedonions #sage #simplerecipes #dinner #lunch #vegetarian

This simple dish celebrates summer produce and herbs like zucchini and sage. #caramelizedonions #sage #simplerecipes #dinner #lunch #vegetarian

But can we talk about sage for a second? Where our zucchini flopped, our sage flourished and we ended up with the most gigantic and brilliant green leaves. But sage feels so autumnal that I struggle to use it in the summer time. And in all fairness, the combo of caramelized onions, goat cheese, and sage does have an autumn vibe. But when paired with the summery zucchini, you can totally eat this in July without feeling like you’re trying to speed up time.

A couple of notes:

  • I spiralized the zucchini, but when cooking the zoodles, they produce a lot of water. If you want something a little dryer or just don’t have/don’t want a spiralizer, just chop the zucchini into 1/2 inch cubes. They’ll be less wet, but no less delicious.

  • We added white fish to this dish the first time we made it and it was my favorite iteration by far. You can absolutely add a can of beans, shredded chicken, or any other protein as well. But anything that requires more than a few minutes of cooking time (the white fish was thin and cooked in about 6 minutes) should be pre-cooked and added along with the zucchini to heat up during the veg’s short cooking time.

This simple dish celebrates summer produce and herbs like zucchini and sage. #caramelizedonions #sage #simplerecipes #dinner #lunch #vegetarian

This simple dish celebrates summer produce and herbs like zucchini and sage. #caramelizedonions #sage #simplerecipes #dinner #lunch #vegetarian

Zucchini with caramelized onions and sage

Time: 30 minutes, all active
Yield: 2 large adult servings, 2 kid servings or more if you add protein

2 large onions, thinly sliced
2 Tbsp olive oil
2 -3 cups water
1 tsp salt, divided, or to taste
5-10 x-large sage leaves (about 1½ to 3 Tbsp chopped fresh sage), to taste
2 large zucchini, chopped or spiralized
Pepper, to taste
½ cup soft goat cheese, or to taste

Heat the olive oil in a large pan with a tight fitting lid until a drop of water sizzles. 

Turn the flame to medium* and add the onions. Stir frequently until some browning begins on the onions or in the pan. Once this happens, add 2-3 Tbsp of water (or, enough to loosen those browned bits from the bottom of the pan), stir and scrape to loosen the browned bits, cover with the lid, and let cook for 2 minutes.**

Repeat this process until the onions are soft and have turned a dark brown color.

*If the onions or the pan are browning too fast, turn down the flame. 

**If there is too much water in the pan when you take off the lid after letting the onions cook for 2 minutes, turn up the flame and let the onions cook with the cover off until there’s more browning on the pan that can be deglazed.

Once the onions are browned to your liking (I usually stop after about 20 minutes), add ½ tsp salt and pepper to taste. 

Add the sage and stir well. 

(If adding protein to the pan, add it now and cook to your preferred doneness.)

Add the zucchini and stir into the onions and sage. Cook for 2-3 minutes, or until the zucchini is slightly wilted. I like the zucchini to have a bit of crunch, so if you like it cooked a bit more, add a few more minutes here.

Add the rest of the salt and pepper to taste. 

Top with the goat cheese and serve.