Pumpkin and persimmon butter

Cooking down some canned pumpkin and a few persimmons with maple syrup and spices will make your house instantly smell like the holidays and spice up even the most basic meals. #meandthemoose #pumpkinrecipes #persimmonrecipes #dessert #fruitbutter

Cooking down some canned pumpkin and a few persimmons with maple syrup and spices will make your house instantly smell like the holidays and spice up even the most basic meals.

Take me to the recipe!

Cooking down some canned pumpkin and a few persimmons with maple syrup and spices will make your house instantly smell like the holidays and spice up even the most basic meals. #meandthemoose #pumpkinrecipes #persimmonrecipes #dessert #fruitbutter

I’m a sucker for persimmons. I can’t help myself when they arrive in the grocery stores. But I never know what to do with them. I love baking with them, but I’m trying to have fewer baked goodies hanging around in preparation for baked-goodies-hanging-around season. And if I’m going to eat them on their own or in a salad, they need to ripen, which, in my frozen kitchen, takes forever and a day.

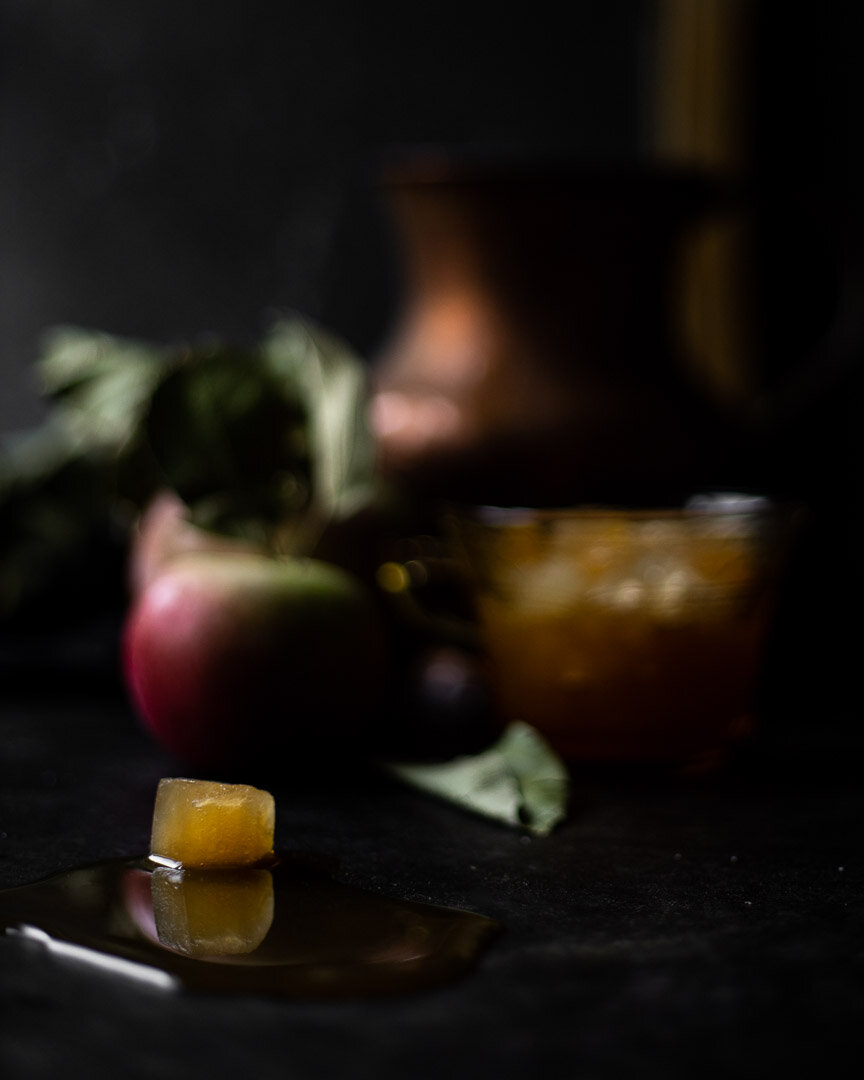
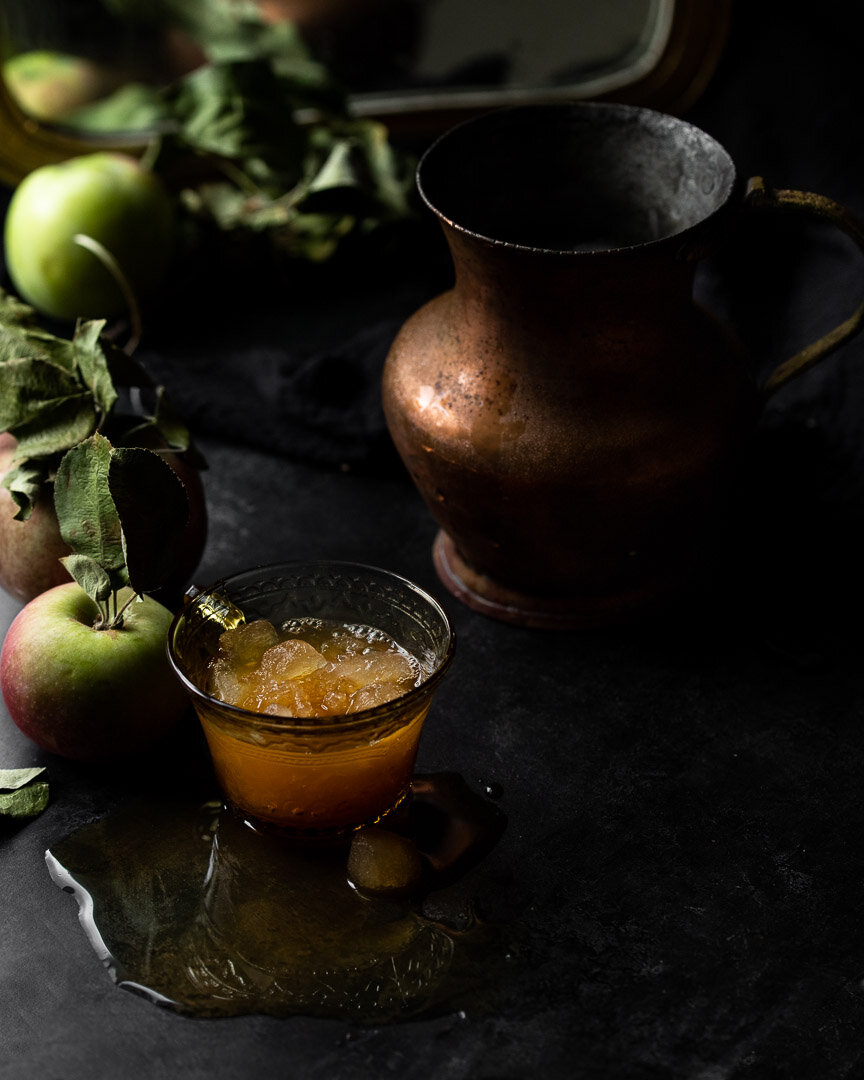
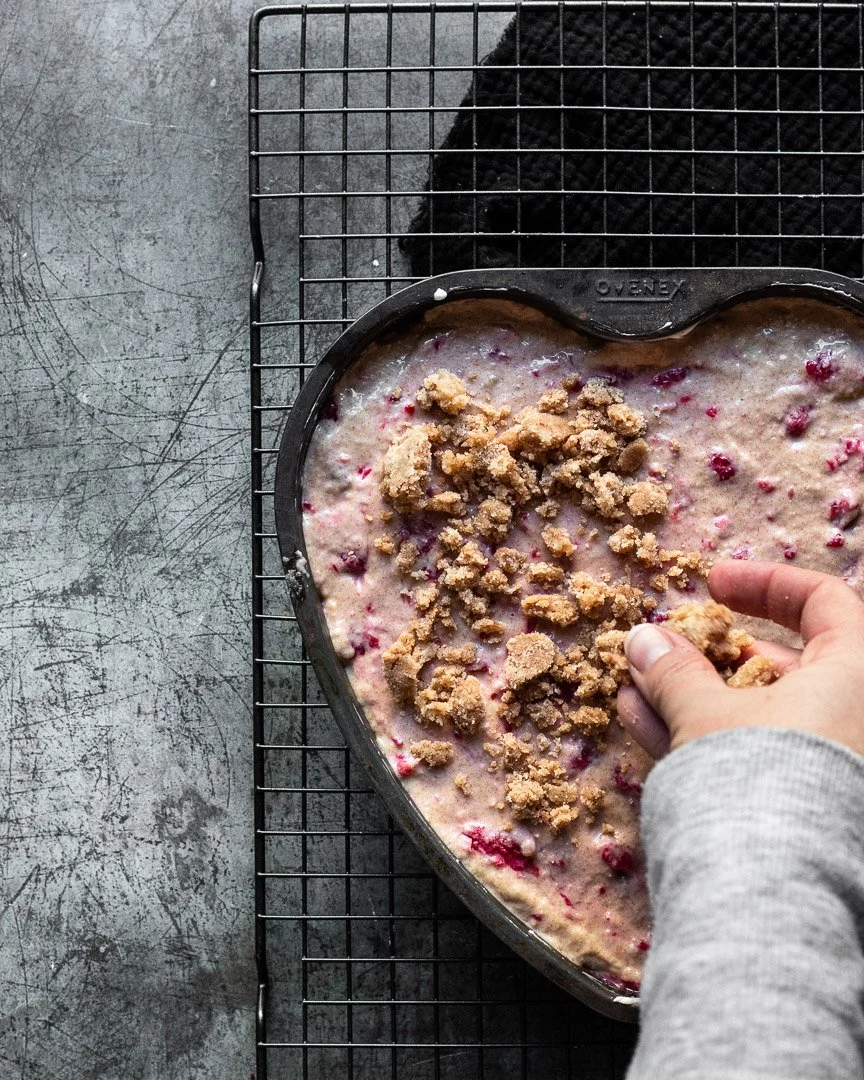
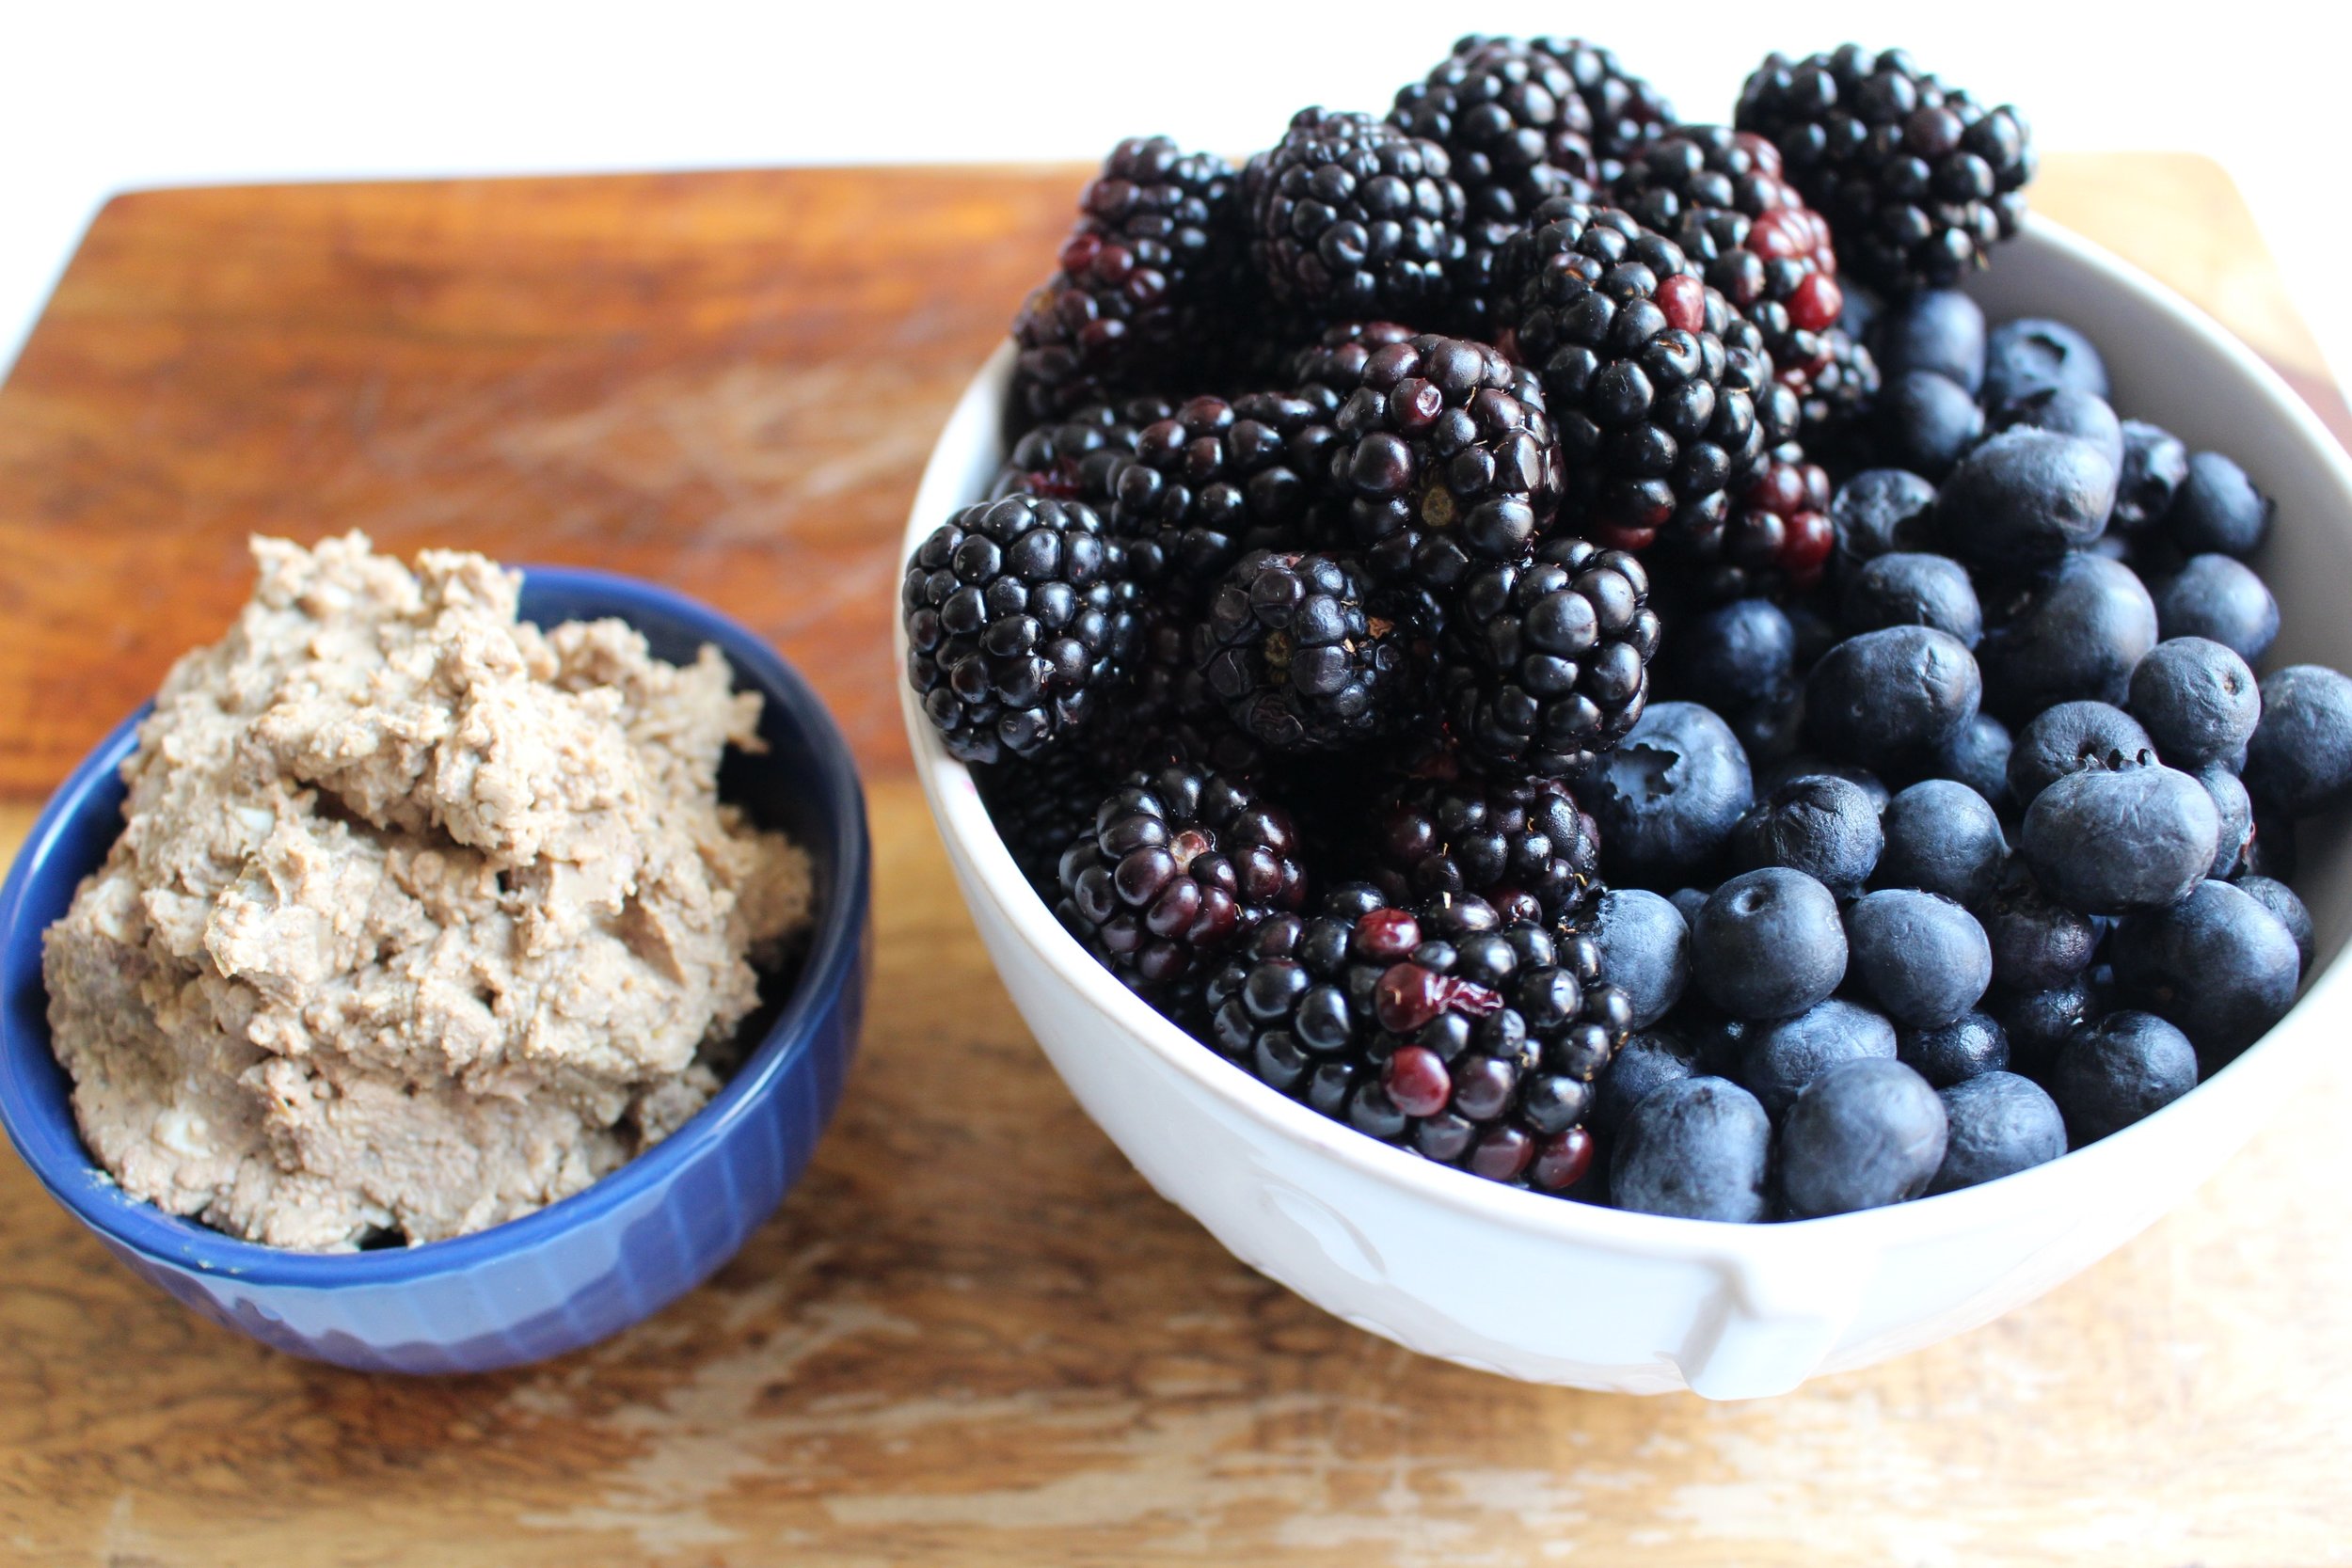
This is my grand compromise: A cooked down “butter” that’s thick and slightly sweet that pairs with toast, graham crackers, apple slices, pretzels, Dutch babies, regular babies, cornbread, muffins, oatmeal. etc. One could also use this “butter” as a fruity addition to an autumnal cheesecake or mix it with an ice cream or other custard. My favorite way to use it is mixed with mascarpone and a couple of eggs and then baked with a pie shell for a spin on pumpkin pie.

The best part about this concoction is that you don’t need to ripen the persimmons. You heard me. As long as you use fuyu and NOT HACHIYA*, you’re fine with unripened persimmons. Of course, the more you let them ripen, the better they taste, so it does behoove you to wait at least a little while before making this butter.

*Why not Hachiya, you ask? Well, those are the larger, more ovular persimmons and if you don’t wait until they’re almost completely mushy to eat them, the tannins in the fruit make your mouth feel gluey and dry. It’s awful, trust me.

Anyway, whatever you choose to do with it, you’re only 20-30 minutes away from the endless possibilities, so get to it!

Cooking down some canned pumpkin and a few persimmons with maple syrup and spices will make your house instantly smell like the holidays and spice up even the most basic meals. #meandthemoose #pumpkinrecipes #persimmonrecipes #dessert #fruitbutter

Pumpkin persimmon butter

Time: 25 minutes, mostly active
Yield: 2 cups, depending on how much you cook down the mixture 

1 can pumpkin puree
4 fuyu persimmons 
1 Tbsp dark brown sugar (light is also fine)
¼ cup maple syrup
½ tsp cinnamon
¼ tsp ground ginger
1/8th tsp ground cloves
1 tsp vanilla extract or vanilla bean paste
1 large pinch of kosher salt
½ cup water

Peel the persimmons and cut into quarters. 

Add all ingredients to a blender or food processor and blend until smooth. Transfer to a large pot. 

Heat over a medium-low flame until just beginning to bubble. Turn the heat down to low and cook, stirring frequently to prevent burning, until the persimmons totally break down and the mixture has thickened slightly, about 20 minutes.

Apple cider slushee

Deal with a fall heatwave with these frozen cider slushees! They can be spiked, spiced, or enjoyed plain! #meandthemoose #cider #falldrinks #frozentreats

Deal with a fall heatwave with these frozen cider slushees! They can be spiked, spiced, or enjoyed plain! #meandthemoose #cider #falldrinks #frozentreats

Move over pumpkin spice latte, apple cider slushee is coming for your “best fall drink” title! This easy bev can be spiced, spiked, or enjoyed straight up.

Take me to the recipe!

Deal with a fall heatwave with these frozen cider slushees! They can be spiked, spiced, or enjoyed plain! #meandthemoose #cider #falldrinks #frozentreats

Deal with a fall heatwave with these frozen cider slushees! They can be spiked, spiced, or enjoyed plain! #meandthemoose #cider #falldrinks #frozentreats

This may be a very Northeast specific rant, but why is it so hot at the beginning of fall? I feel like September, much like that other “changeover” month March, is a tease. Occasionally it’s chilly and crisp and then BAM — humid and gross. It rains and then the sun comes out immediately to really perfect those sweatbox conditions. It feels slightly chilly at 7 am, but by 9 it’s 80 and the air is heavy. How do you dress? What do you eat? I want to want all of the cozy things, but it’s too. damn. hot.

Anyway, that’s why you should freeze your apple cider. You get the coziness of fall, but the refreshment of an iced drink!

You can absolutely spice this cider by adding cinnamon sticks, crushed whole cardamom pods, anise pods, or some fresh ginger, bringing the cider to a boil, letting it simmer for 20-30 minutes, and then straining out the spices. I don’t love adding ground dried spices to my cider because I feel like it makes the cider slightly gritty, but it’s not a deal breaker. (Really, nothing is a deal breaker for me when it comes to cider.)

Deal with a fall heatwave with these frozen cider slushees! They can be spiked, spiced, or enjoyed plain! #meandthemoose #cider #falldrinks #frozentreats

Deal with a fall heatwave with these frozen cider slushees! They can be spiked, spiced, or enjoyed plain! #meandthemoose #cider #falldrinks #frozentreats

Deal with a fall heatwave with these frozen cider slushees! They can be spiked, spiced, or enjoyed plain! #meandthemoose #cider #falldrinks #frozentreats

Deal with a fall heatwave with these frozen cider slushees! They can be spiked, spiced, or enjoyed plain! #meandthemoose #cider #falldrinks #frozentreats

Deal with a fall heatwave with these frozen cider slushees! They can be spiked, spiced, or enjoyed plain! #meandthemoose #cider #falldrinks #frozentreats

Deal with a fall heatwave with these frozen cider slushees! They can be spiked, spiced, or enjoyed plain! #meandthemoose #cider #falldrinks #frozentreats

Apple cider slushee

Time: 6 hours, or overnight + 5 minutes active time
Yield: 2 slushees

2 cups apple cider
2 shots Calvados or other apple brandy, optional

Fill a standard ice cube tray with fresh cider. Let freeze for at least 6 hours or overnight.

Chill the cups you plan to use for the slushees in the freezer while you make the drinks.

Add the ice cubes to a blender (the higher powered, the better) and pulse 3-4 times or let run for about 3-4 seconds. Pulse again or run for 1 more second at a time until the cubes are crushed to your liking. In my experience, the cubes crush up very quickly and you don’t want them to re-liquify.

Spoon the crushed ice into the chilled cups and add 1/8-1/4 cup of fresh cider. Add 1 shot of calvados (optional).

Two-bite strawberry shortcakes

IMG_8003.jpg
IMG_8010.jpg

The road to these stupidly easy strawberry shortcakes was long and winding.

I started obsessing about scones right around the royal wedding and thought, these would make a great base for a shortcake. Upon further research, I learned that "short" cake just means a cake with a high fat-to-flour ratio, like scones or biscuits. But I wondered, what's the difference between the two?

IMG_7980.jpg

Martha Stewart thinks they're basically the same, but many commenters found that suggestion insulting to both Brits and southerners. Food52 had a much more detailed description of the differences, but after reading I felt less inclined to use either traditional scones (too much butter) or traditional biscuits (too much technique) as my shortcake base. The only specific shortcake recipe I found that appealed to me was the classic from Bon Appetite, but it calls for two hard-boiled egg yolks and I'm generally too lazy for that.

See the tiny flecks of black? Those are the vanilla beans dispersed in the cream.

See the tiny flecks of black? Those are the vanilla beans dispersed in the cream.

Enter, the Never-fail Biscuit from King Arthur. These use no butter, so if you're looking for a butter-y flavor, these may not be your biscuits. However, they are so so easy and come together so fast. There's no resting or freezing or rolling or cutting, but you end up with a flaky, risen biscuit that is easily adapted into a sweet shortcake. 

And! These are tiny, two-bite shortcakes, so you get the taste of sweet summer fruit, without eating a huge dessert. I didn't healthify these thanks to the tiny portion size, but you could surely swap in gluten-free flour, full-fat coconut milk, and coconut sugar in this recipe with good results.

IMG_7997.jpg

A couple of notes:
- I made lots of changes because I wanted sweet biscuits and I didn't have self-rising flour, so I had to fiddle with the ratios of salt, flour, and baking powder a bit. In the end, I used less salt and less baking powder than the original recipe.
- I also added more sugar, a little more cream, and half of a vanilla bean instead of using an extract (though you could add 2 teaspoons of vanilla extract instead. KA suggests using 1 tablespoon, but I felt like I could taste the alcohol of the extract a bit). 
- You want to really make sure these shortcakes are cooked. I don't know why, but I felt like I could taste raw flour before I cooked them for an extra minute or two. See notes in the recipe for some tricks to tell if they're really done.

IMG_7999.jpg
IMG_8004.jpg

Two-bite strawberry shortcakes
 

1 ½ cups all purpose flour
1 ½ tsp baking powder
Scant ¼ tsp fine kosher salt
3 Tbsp sugar
½ tsp cinnamon
¾ cup + 1 Tbsp heavy cream
½ vanilla bean, scraped and seeds added
1 Tbsp demarara or other coarse sugar for sprinkling on top
24 medium strawberries
1 cup whipped cream

Preheat the oven to 450.

Combine the dry ingredients in a large bowl and whisk to combine.

Measure the heavy cream in a large measuring cup and add one extra tablespoon. Using a small sharp knife, cut the vanilla bean pod in half lengthwise. Scrape out the inside of the pod and add the brown seeds to the liquid. Whisk vigorously to disperse the vanilla beans.

Pour the wet ingredients into the dry, making sure to scoop out any vanilla beans on the bottom of the cream mixture. Mix just until the wet and dry ingredients come together and begin to look like a flaky dough. This is a dry-ish dough, but you should be able to form the mixture into a ball easily with your hands. If the dough is falling apart, add ½ of tablespoon of cream at a time and mix again with your hands. You want the dough just coming together without falling apart, but without becoming too wet.

When the dough is together, scoop off a small amount (about 1 tablespoon) and lightly roll into a ball with your hands. Place the balls on a parchment-lined baking sheet. Sprinkle the tops of each ball with demarara or other coarse sugar.

Bake for 10-12 minutes, rotating the tray once during baking. My best indication that the shortcakes are done was that the extra sugar on the tray (not on the shortcakes) had burned ever-so-slightly and the bottoms of the shortcakes were a dark caramel brown.

Yield: 24 mini shortcakes

IMG_8006.jpg
IMG_8008.jpg

Raspberry buckle

Raspberry Buckle | Me & The Moose | This lightly sweet cake features spelt flour and just enough brown sugar to make this one-bowl, low-stress “dessert” a totally appropriate breakfast or snack! #meandthemoose #raspberrybuckle #speltflour #breakfast #breakfastrecipes #onebowlbaking

This lightly sweet cake features spelt flour and just enough brown sugar to make this one-bowl, low-stress “dessert” a totally appropriate breakfast or snack!

Take me to the recipe!

Raspberry Buckle | Me & The Moose | This lightly sweet cake features spelt flour and just enough brown sugar to make this one-bowl, low-stress “dessert” a totally appropriate breakfast or snack! #meandthemoose #raspberrybuckle #speltflour #breakfast #breakfastrecipes #onebowlbaking

Let's talk about the idea of healthifying desserts, shall we? Because I'm not totally sold on this strategy even though I keep doing it. Part of me thinks that boosting nutrition and finding balance (you can eat coffee cake, just make it a spelt coffee cake with less sugar, less gluten, and more protein!) is always good. But alternatively, might I actually indulge less if I just ate a small amount of the high fat, high sugar baked thing instead of trying to make spelt happen? Am I just kidding myself that a whole grain, barely sweet version is going to cut it when my real craving is for the doughy, crumbly, buttery, brown sugary coffee cake of my summer-on-the-jersey-shore dreams?

Ugh. If only there was one straightforward strategy that would always work.

I guess a wiser person than me would just accept that what we need from day to day or hour to hour can change. But I like predictability and this isn't cutting it.

Raspberry Buckle | Me & The Moose | This lightly sweet cake features spelt flour and just enough brown sugar to make this one-bowl, low-stress “dessert” a totally appropriate breakfast or snack! #meandthemoose #raspberrybuckle #speltflour #breakfast #breakfastrecipes #onebowlbaking

Raspberry Buckle | Me & The Moose | This lightly sweet cake features spelt flour and just enough brown sugar to make this one-bowl, low-stress “dessert” a totally appropriate breakfast or snack! #meandthemoose #raspberrybuckle #speltflour #breakfast #breakfastrecipes #onebowlbaking

Raspberry Buckle | Me & The Moose | This lightly sweet cake features spelt flour and just enough brown sugar to make this one-bowl, low-stress “dessert” a totally appropriate breakfast or snack! #meandthemoose #raspberrybuckle #speltflour #breakfast #breakfastrecipes #onebowlbaking

But, for now, we have an ever-so-slightly healthified raspberry buckle that is legitimately delicious on its own merits. I started with a recipe from King Arthur Flour and swapped out spelt flour for most of the white flour and reduced the amount of overall sugar.

I mostly left the crumble topping alone. I always want the first bite to pack more of a punch, which masks some of the healthier swaps later.

I've made this cake without fruit which produces a straightforward coffee cake that's light and airy and not too sweet. I've also swapped coconut sugar for the brown sugar in the actual cake and it's good, but not great. The texture and bake time are the same, but I could really taste the coconut sugar and didn't love it.

This recipe also works best in a 9x9 pan. If you only have an 8x8, reduce the amount of batter in the pan by about 1/2 cup and either bake the extra in a ramekin or toss it. Or, if you have a deeper 8x8 pan (one with higher sides), you can bake the whole recipe, but may need a few extra minutes at the end.

Raspberry Buckle | Me & The Moose | This lightly sweet cake features spelt flour and just enough brown sugar to make this one-bowl, low-stress “dessert” a totally appropriate breakfast or snack! #meandthemoose #raspberrybuckle #speltflour #breakfast #breakfastrecipes #onebowlbaking

Raspberry buckle


Time: About an hour (20 minutes of prep, 40 minutes of baking)
Yield: 8-10 large servings

For the streusel topping:
4 Tbsp butter, melted
3 Tbsp brown sugar, packed
2 Tbsp white sugar
½ cup AP flour
1 tsp cinnamon
¼ tsp salt

For the cake:
2 Tbsp butter, melted slightly
100 g (1/2 cup) brown sugar, packed
4 oz (½ cup) milk (I use whole, but any will do)
1 egg, slightly beaten
1 tsp vanilla extract
125 g (½ cup) apple sauce
175 g (1½ cups) spelt flour
60 g (½ cup) AP flour
2 tsp baking powder
½ tsp salt
2 cups fresh or frozen raspberries (do not defrost)

Preheat oven to 375.

Make the streusel: In a medium bowl, melt 4 Tbsp of butter in the microwave for 30 seconds. Cut up the butter and add the rest of the streussel topping ingredients. Mix with a fork until the mixture is fully combined and the texture of wet sand. Set aside.

In a large mixing bowl, melt the remaining 2 Tbsp of butter for 20 seconds in the microwave. Add the sugar and stir to combine.

Measure the milk, add the egg to the measuring cup, and whisk lightly. Add to the sugar and butter mixture and stir well to combine.

Add the vanilla and apple sauce and stir again.

Add the dry ingredients to the wet and mix just until no streaks of flour remain.

Gently fold in the raspberries.

Pour the batter into a greased 9x9 pan and top with the streussel mixture.

Bake for 35-40 minutes, or until a toothpick inserted in the middle comes out clean.

Chicken liver and berry puree

Yup, that's right. Chicken liver for babies. I was hesitant at first too, but we gave some to M when he was around 1 and he LOVED it. Who knew? M likes it plain, but combining it with berries and turning it a lovely purple color definitely makes it more appetizing.

M's passion for chicken liver is helpful since it’s one of our extended family’s staples for holidays and family dinners. And you know what? It’s easy to make and is a protein- and iron-rich dip for crackers or veggies. And it’s delicious. Trust me. Actually, don't trust me: Make it for yourself and see.

Chicken liver pate | Me & The Moose. Chicken liver, baguette, and a variety of red and purple fruits are one of my favorite party snacks or appetizers. #meandthemoose #puree #chickenliver #iron #protein #berries #chickenliverpate

If you've made chicken liver before, skip these next few pictures. If you're a liver novice, here's what mine looks like at various stages of cooking:

Stage 1: Put some olive oil in a hot pan and add the livers, making sure that each one has some space in the pan. Cook in batches if you have to.

Stage 2: Ready to flip. Once you see brown creeping up the sides, flip those puppies over and continue to cook.

Stage 2! Chicken liver and berry puree | Me & The Moose.

Stage 3: Add the onions. Once you have an even browning on both sides, add the chopped onions. It's okay if there are some pinkish areas remaining because cooking isn't over yet.

Stage 3! Chicken liver and berry puree | Me & The Moose

Stage 4: Cover. Once the onions are translucent and the livers are mostly browned (it's okay of there are some slightly pink nooks, but you should see any "raw" patches), cover and cook over a low flame for about 10 more minutes. 

Stage 4! Chicken liver and berry puree | Me & The Moose.

Chopped chicken liver

.75 lb chicken livers
2 Tbsp olive oil
1 large onion
2 hard-boiled eggs
1 Tbsp balsamic vinegar
Salt and pepper

Heat olive oil over a medium flame. Add chicken livers and brown on both sides. Once livers are browned, add the chopped onions. (It’s okay if there are small bits of pink still showing on the livers in the nooks and crannies- see photos.) Cook on medium heat until onions are opaque, about 5-8 minutes. Cover and turn heat to low. Let simmer for another 10-12 minutes or until livers are cooked through.

Immediately add cooked livers and onions and all liquid to a food processor or blender with hard-boiled eggs and balsamic vinegar. Salt and pepper to taste, but I’m usually very generous with the salt at this phase. Pulse the food processor until you’ve reached your desired consistency. Taste again for seasoning.

Yield: about 2 cups

Chicken liver and berry puree | Me & The Moose. Chicken liver, blueberries, blackberries, and apples are a fabulous combination for babies and toddlers (and adults). #meandthemoose #puree #chickenliver #iron #protein #berries

Berry compote

1 pint blueberries
1 pint blackberries
2 Tbsp water

Combine berries and water in a medium sauce pan and bring to a boil. Reduce heat to medium low and simmer until the berries are cooked down, about 15-20 minutes. Let cool slightly. Puree. If your little is opposed to seeds (like mine), pass through a mesh strainer. 

Chicken liver and berry puree | Me & The Moose. Chicken liver, blueberries, blackberries, and apples are a fabulous combination for babies and toddlers (and adults). #meandthemoose #puree #chickenliver #iron #protein #berries

Combo

2 Tbsp Chopped chicken liver
2 Tbsp Berry compote
1 Tbsp Applesauce