Weeknight beef stew

A deeply flavored, rich, and cozy beef stew is usually an all-day, multiple-pan affair. But this recipe simplifies the steps so that you can have this stew, which is mostly hands-off cooking, on the table in a maximum of 2 hours. #meandthemoose #beefstew #dinnerrecipes #beefrecipes

A deeply flavored, rich, and cozy beef stew is usually an all-day, multiple-pan affair. But this recipe simplifies the steps so that you can have this stew, which is mostly hands-off cooking, on the table in a maximum of 2 hours.

Take me to the recipe!

A deeply flavored, rich, and cozy beef stew is usually an all-day, multiple-pan affair. But this recipe simplifies the steps so that you can have this stew, which is mostly hands-off cooking, on the table in a maximum of 2 hours. #meandthemoose #beefstew #dinnerrecipes #beefrecipes

Okay, so I’ve tried every beef stew recipe out there. (No, I haven’t, but I’ve tried A LOT.) The best ones require time and effort: Multiple cooking methods, multiple steps, multiple pans, etc. And the results have largely been worth the effort. BUT, if you have a busy family, young kids, a demanding job, or just don’t feel like tending a stew all day, there is a simpler beef stew option!

I did a bunch of research and tried a bunch of tricks. My goal was to achieve a rich flavor without using every pan in my kitchen and without requiring a ton of work. Some of my shortcuts worked and some didn’t. I think I’ve landed at a happy medium that isn’t exactly “set it and forget it” but that will get you a lot more bang for your flavor buck than a quick stew made in, say, the slow-cooker.

A deeply flavored, rich, and cozy beef stew is usually an all-day, multiple-pan affair. But this recipe simplifies the steps so that you can have this stew, which is mostly hands-off cooking, on the table in a maximum of 2 hours. #meandthemoose #beefstew #dinnerrecipes #beefrecipes

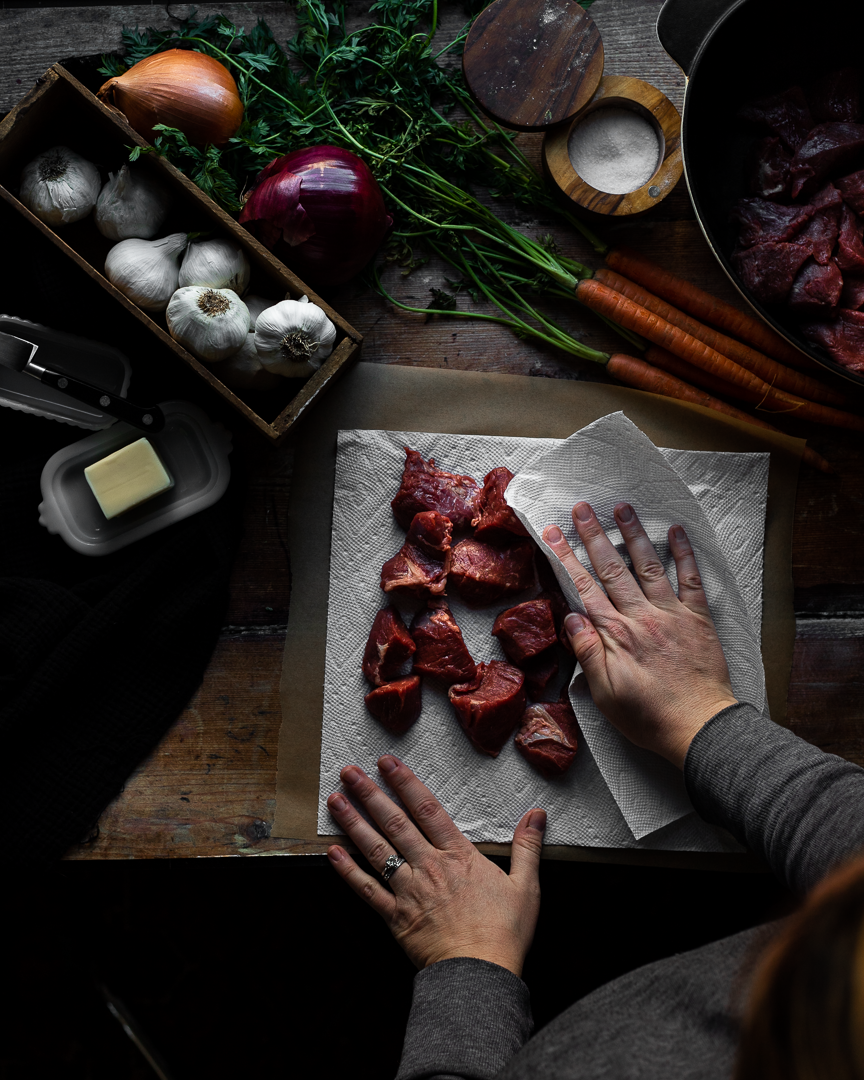
My first shortcut was to brown the meat in one batch in the oven instead of searing it in multiple batches on the stovetop. I know searing is the way to lock in moisture and to achieve some caramelization on the outside of the meat, but it takes me FOREVER and my hand gets very tired from holding the tongs and rotating the cubes until they’re evenly browned. So instead, I patted everything dry and roasted it at high heat in the oven for a few minutes to get that caramelization.

AN IMPORTANT NOTE ABOUT SALT: I found that if I didn’t salt the meat at all before the roasting, the end results were slightly bland. However, when I over salted the meat before roasting, it dried out because too much moisture came out during that initial cook. So, use a judicious pinch of salt before roasting and then generously salt the rest of the dish at various points in the cooking.

A deeply flavored, rich, and cozy beef stew is usually an all-day, multiple-pan affair. But this recipe simplifies the steps so that you can have this stew, which is mostly hands-off cooking, on the table in a maximum of 2 hours. #meandthemoose #beefstew #dinnerrecipes #beefrecipes

Then, I stirred in some flour right after that initial roast and along with the onions and carrots. I found that adding in the flour at this stage rather than at the end, allowed the flour to cook and thicken the sauce without any added fuss.

A deeply flavored, rich, and cozy beef stew is usually an all-day, multiple-pan affair. But this recipe simplifies the steps so that you can have this stew, which is mostly hands-off cooking, on the table in a maximum of 2 hours. #meandthemoose #beefstew #dinnerrecipes #beefrecipes

My next major shortcut was to whizz a majority of the ingredients in a blender and pour it all over the meat and veggies before a long, slow braise. Less chopping! No garlic fingers! Win win! But, if you don’t want to dirty your blender or food processor (which I completely understand) a traditional chop will do just fine.

A deeply flavored, rich, and cozy beef stew is usually an all-day, multiple-pan affair. But this recipe simplifies the steps so that you can have this stew, which is mostly hands-off cooking, on the table in a maximum of 2 hours. #meandthemoose #beefstew #dinnerrecipes #beefrecipes

Weeknight beef stew

Time: 1 3/4- 2 hours
Yield: 4-6 servings

2 lbs stew beef cubes
1 Tbsp kosher salt, divided (see note above)
3 Tbsp butter 
2 Tbsp flour 
2 cups beef stock 
1 cup red wine 
2 anchovies 
6 large garlic cloves, divided 
1/2 tsp dried thyme 
1/2 tsp black pepper 
1 large onion 
2 large carrots 

Optional topping:
1/2 lb mushrooms (optional) 
1 Tbsp olive oil or butter, or a combination
1 tsp balsamic vinegar


Preheat oven to 500. Pat the beef cubes dry. Add in a single layer to a large Dutch oven. Top with 3 Tbsp of butter cut into 6-9 small cubes. Sprinkle very lightly with salt. Roast, uncovered, for 15 minutes. Remove from the oven.

While the beef is roasting, add the beef stock, wine, anchovies, 3 cloves garlic, thyme, 1-2 very large pinches of salt, and pepper to a blender or food processor and whizz for 30 seconds.

Once the beef is quickly caramelized, turn the oven down to 375. Sprinkle 2 Tbsp of flour over the meat and mix. Add the onions and carrots and remaining 3 large garlic cloves to the pot. Sprinkle with another judicious pinch of salt. Stir.

Top with the liquid and bake in the oven, uncovered, for 1¼-1½  hours, stirring once halfway through the cooking time. The dish is done once the liquid has cooked down and thickened into a gravy-like consistency.

Optional topping:
While the beef is cooking, chop or slice the mushrooms and sauté in butter and olive oil. Once they have released their water and that water has evaporated, add the vinegar and cook for 1-2 more minutes until the vinegar has also evaporated.

Creamy mushroom soup

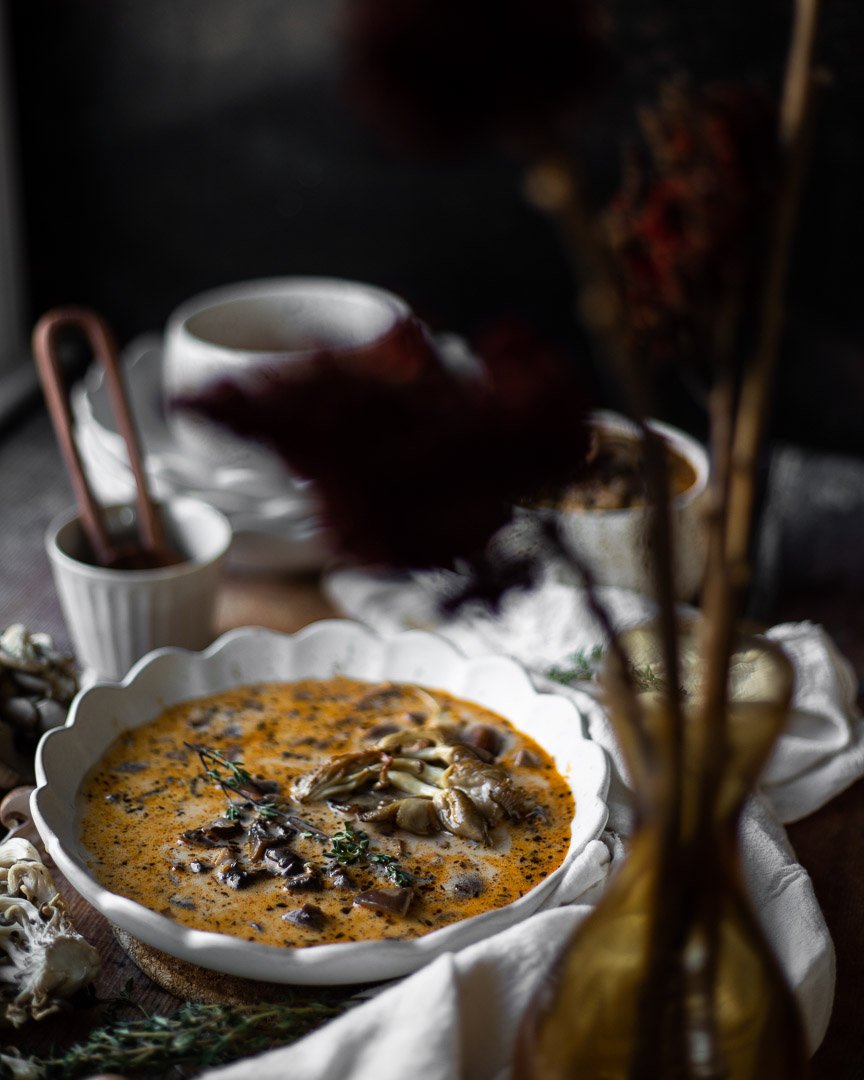
This creamy mushroom soup is a far cry from the gloopy, gray stuff that comes in a can, but is almost as easy to make.

Take me to the recipe!

Two mushroom recipes so close together, huh? Yes! But hear me out. This recipe is so unctuous, so creamy, so warming, and so filling, that I couldn’t hold onto it any longer.

What makes this better than the canned version? Well, the color, first of all. The golden sautéed mushrooms, the purple shallots, and the red paprika lend this soup a much richer and nicer color than the gray stuff (it’s not delicious).

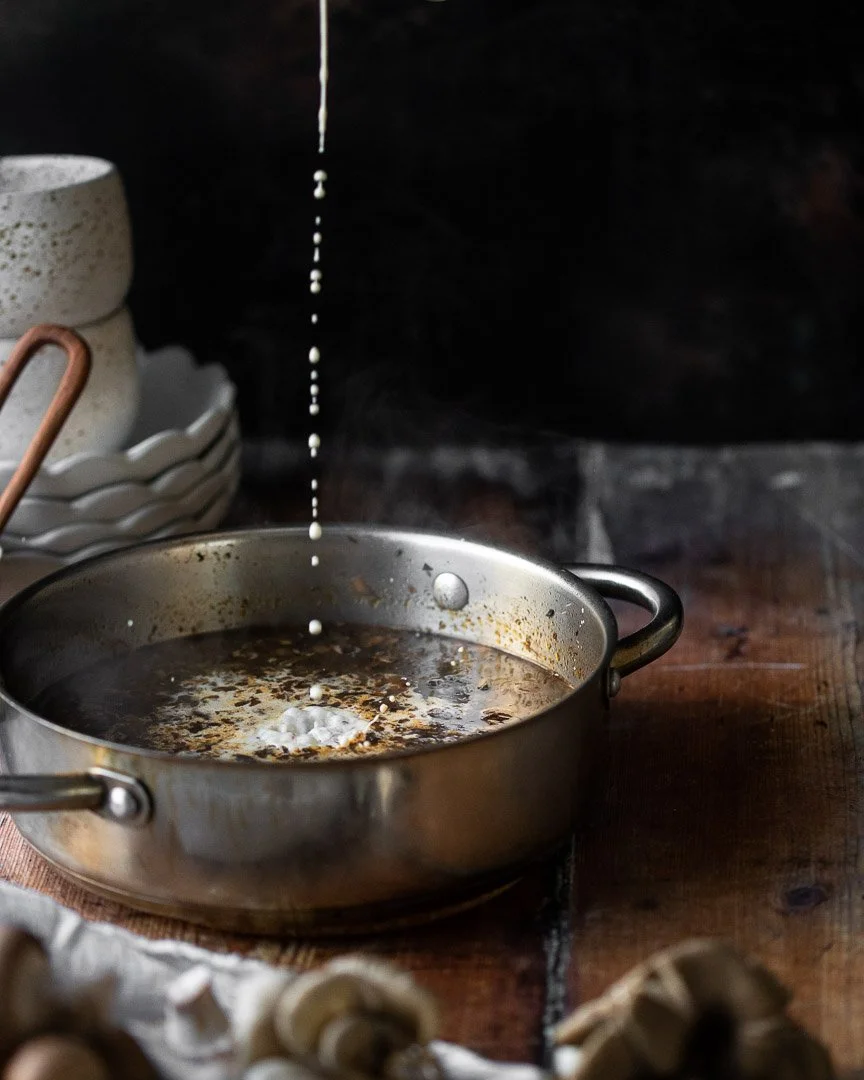
A note about adding dairy to hot soup: It’s possible to split the cream if you add cold dairy to other hot liquids. Split dairy basically looks like you’ve added thousands of little dots of cream rather than the soup looking uniformly creamy. Does that makes sense? It’s totally fine to eat and will taste good, but it sometimes doesn’t look as appetizing.

To avoid this, you can either heat up the dairy or cool down the base soup. The fattier the dairy, the less likely it is to split, so if you’re using heavy cream as I recommend for this recipe, let the cream sit at room temperature while making the rest of the soup. If it still feels chilly when you’re ready to add it, microwave it for 30 seconds before adding. If using a lighter milk or non-dairy milk, I would actually heat it to just simmering in a separate pan on the stove or significantly cool the base soup before adding it.

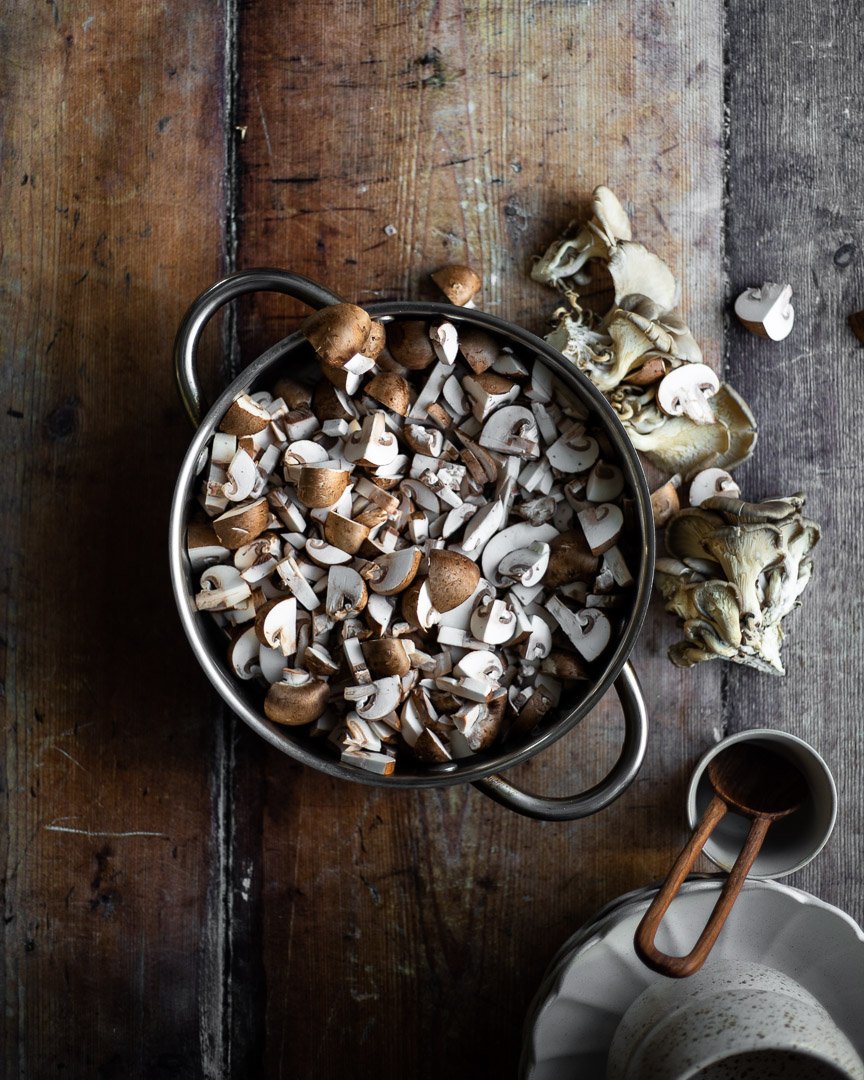
The texture is also completely different to the canned version. Theoretically, you could throw the mushrooms into a food processor and whizz for a few seconds to quickly chop the whole lot, but I like to cut them myself to get a range of sizes and shapes. I halve the really small shrooms, quarter the medium sized ones, and chop up the large ones. Remove the stems or don’t- that’s entirely up to you.

A note about how I tell if my mushrooms are cooked enough: I cook the mushrooms until they release some water and then that water evaporates. They will have cooked down significantly.

Creamy mushroom soup

½ cup heavy cream
24 oz mushrooms, cut into various sizes
1 Tbsp butter
2 Tbsp olive oil, divided
Heaping ½ tsp dried thyme
½ tsp paprika 
2 tsp kosher salt
3 large garlic cloves, minced
2-3 large shallots, minced
½ cup white wine
4 cups stock (chicken, beef, or vegetable)

Time: about 45 minutes
Yield: 5-6 cups of soup

Measure out the heayy cream and let sit at room temperature while you make the rest of the soup. See note above about using other types of dairy in this soup.

Chop the mushrooms in varying sizes (see note above).

In a large pan, melt 1 Tbsp of butter and 1 Tbsp of olive oil over a medium flame. Once the pan is heated, add the mushrooms and cook over a medium flame, until the mushrooms have released their liquid and that liquid has evaporated, about 8-10 minutes. 

Prep the rest of the ingredients while the mushrooms cook.

Once the mushrooms are relatively dry, add the thyme, paprika, salt, garlic, and shallots. Cook until the garlic and onions are fragrant and translucent, about 3 minutes. If the mixture seems very dry, add another Tbsp of olive oil.

Add the wine and stir, while scraping the brown bits from the bottom of the pan. Cook for another 2-3 minutes. 

Add the stock and increase the flame to medium high. Bring to a boil. Lower the flame all the way and simmer, covered, for 20 minutes. 

Add the cream and stir.

Maitake mushroom salad

This warm, simple salad is so special thanks to the maitake mushrooms and the variety of textures and flavors. Made from expensive ingredients, this salad is meant for special occasions (or just the occasion of treating yourself), but I promise it’s worth it! #meandthemoose #salad #maitakemushrooms #warmsalad #saladrecipes #sidedishes

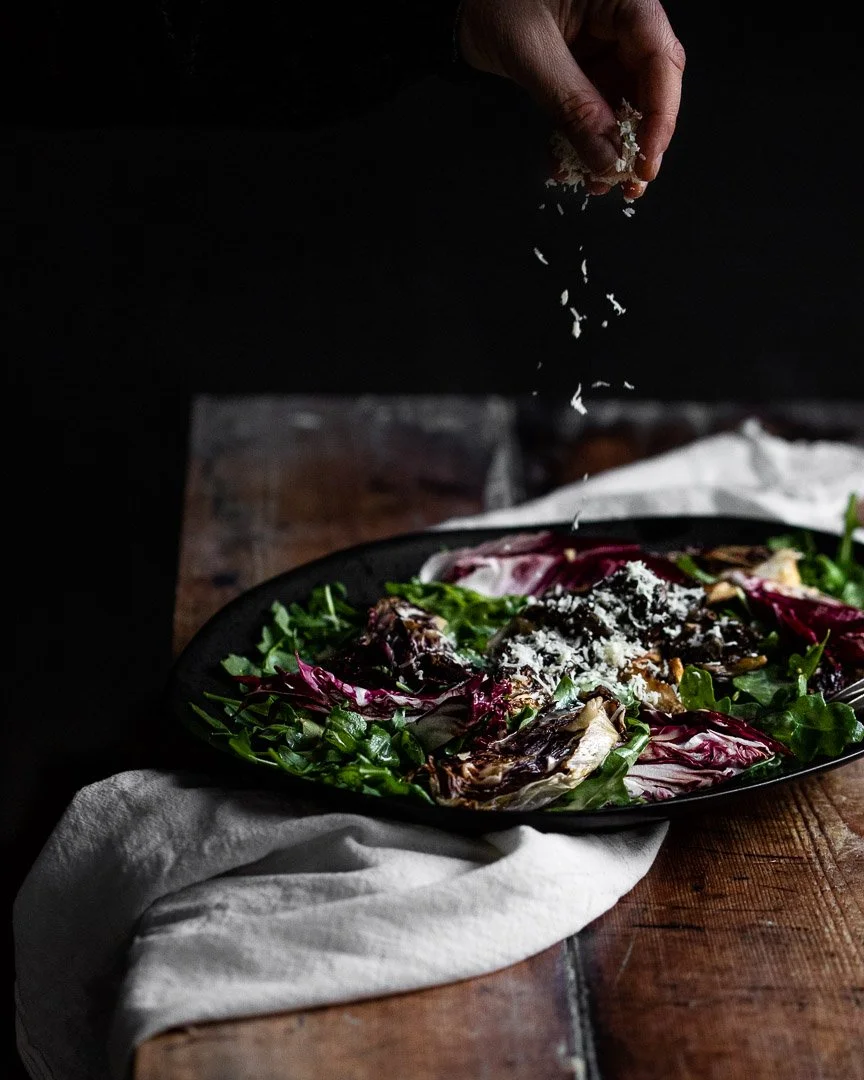
This warm, simple salad is so special thanks to the maitake mushrooms and the variety of textures and flavors. Made from expensive ingredients, this salad is meant for special occasions (or just the occasion of treating yourself), but I promise it’s worth it!

Take me to the recipe!

This warm, simple salad is so special thanks to the maitake mushrooms and the variety of textures and flavors. Made from expensive ingredients, this salad is meant for special occasions (or just the occasion of treating yourself), but I promise it’s worth it! #meandthemoose #salad #maitakemushrooms #warmsalad #saladrecipes #sidedishes

This salad is based on my best memories from a tiny little restaurant in Brooklyn called Little Dishes that I used to frequent with my husband before it tragically closed. I remember running to this place in the thick snow when someone was having a craving for their Mac and cheese. Their food was so simple, but so thoughtfully prepared that the dishes ended up being much greater than the sum of their humble parts.

This warm, simple salad is so special thanks to the maitake mushrooms and the variety of textures and flavors. Made from expensive ingredients, this salad is meant for special occasions (or just the occasion of treating yourself), but I promise it’s worth it! #meandthemoose #salad #maitakemushrooms #warmsalad #saladrecipes #sidedishes

This warm, simple salad is so special thanks to the maitake mushrooms and the variety of textures and flavors. Made from expensive ingredients, this salad is meant for special occasions (or just the occasion of treating yourself), but I promise it’s worth it! #meandthemoose #salad #maitakemushrooms #warmsalad #saladrecipes #sidedishes

Maitake mushrooms, sometimes called Hen of the Woods, are my absolute favorite variety. They’re meaty and slightly herby with a wee bit of forest floor funk. I state from the outset that this is an expensive salad because maitakes definitely don’t come cheap and I wouldn’t substitute any other mushroom variety here. I mean, you CAN, but your salad with end up fine, instead of ethereal.

The original recipe used a local cheese that was somewhere between parmesan and gruyere. Use either in this recipe or any other favorite cheese that falls in the nutty, slightly dry realm.

This warm, simple salad is so special thanks to the maitake mushrooms and the variety of textures and flavors. Made from expensive ingredients, this salad is meant for special occasions (or just the occasion of treating yourself), but I promise it’s worth it! #meandthemoose #salad #maitakemushrooms #warmsalad #saladrecipes #sidedishes

A couple of notes:

  • Cooking the mushrooms: I like to leave the mushrooms in slightly large pieces. It will feel awkward to cook them at first because they’re pretty stiff until they heat up somewhat. Once you sear them on one side, the mushrooms will get much floppier and easier to cook.

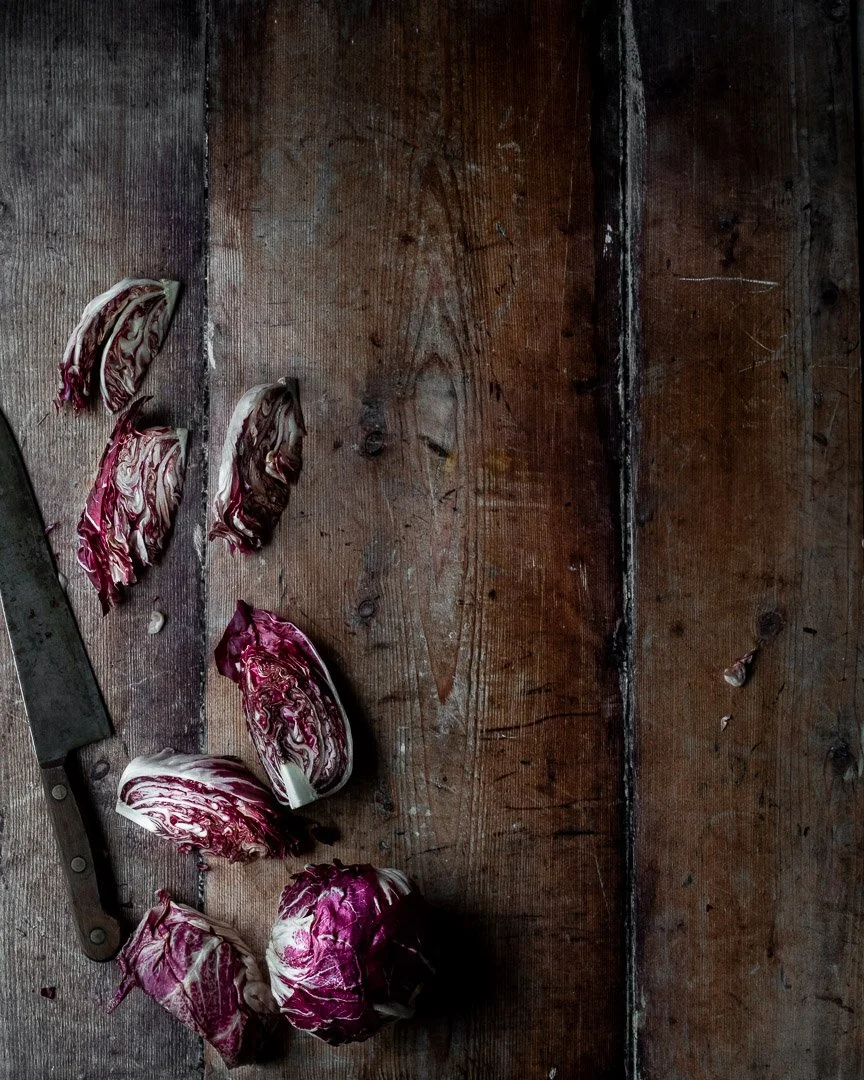
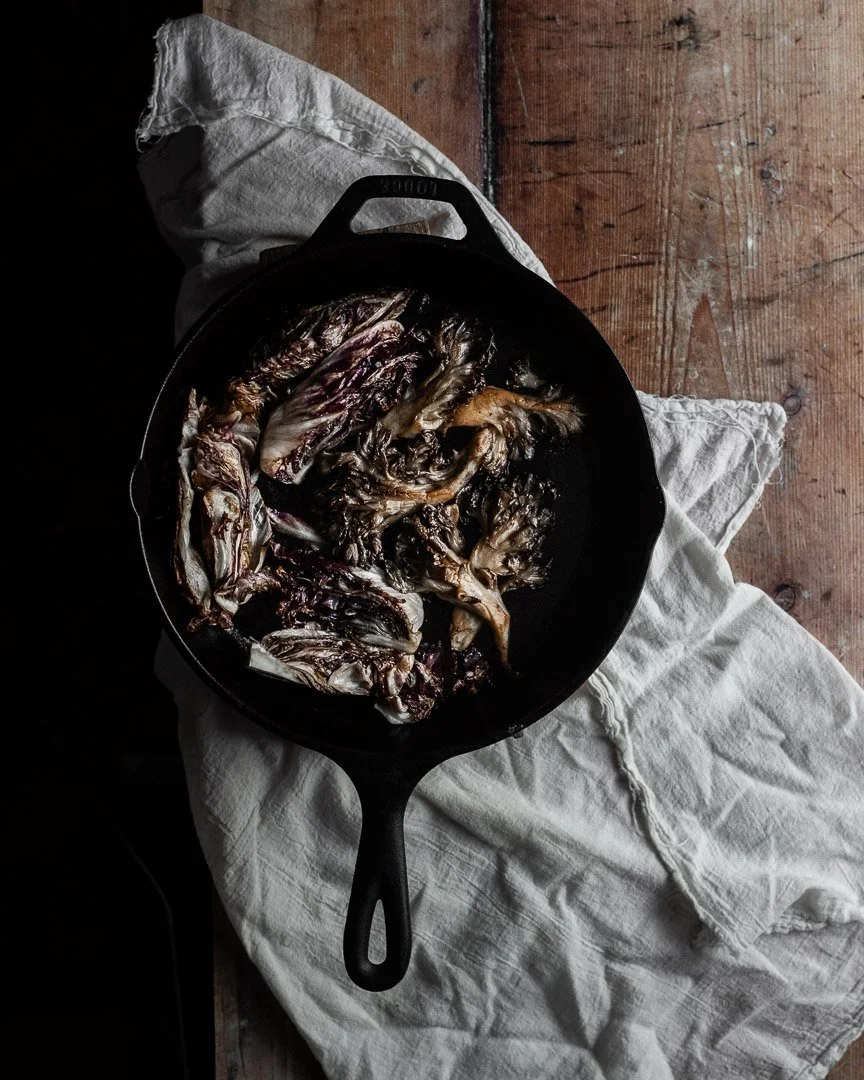
  • Cooking the radicchio: I seared half of the bitter lettuce and left the other half raw for a bit of textural difference, but you don’t strictly need to do this step. I left the lettuce in pretty large pieces for the photos, but definitely slice them much thinner for the real salad.

This warm, simple salad is so special thanks to the maitake mushrooms and the variety of textures and flavors. Made from expensive ingredients, this salad is meant for special occasions (or just the occasion of treating yourself), but I promise it’s worth it! #meandthemoose #salad #maitakemushrooms #warmsalad #saladrecipes #sidedishes

Maitake mushroom salad

2-3 large maitake mushrooms, each cut into about 4 large pieces
1 small head of radicchio, sliced into very thin wedges
1 Tbsp butter
1 Tbsp olive oil
4-5 cups arugula (1 small bag of pre-washed lettuce is perfect)
Shallot vinaigrette (recipe below), to taste
Parmesan or gruyere cheese, to taste

Shallot vinaigrette
2 Tbsp olive oil
2 Tbsp sherry or red wine vinegar
1 Tbsp minced shallot
1/2 tsp dijon mustard
1 tsp mayonnaise
1 large pinch of salt

Heat the butter in a large skillet over a medium high flame. When the butter has begun to bubble and brown slightly, add the mushrooms and cook, turning every 1-2 minutes, until well browned on all sides and very floppy, about 6-8 minutes. Remove the mushrooms to a plate and sprinkle with salt.

Add the olive oil to the pan and heat until very hot, but not smoking. Sear half of the radicchio on one side and then flip to the other side and sear again. If the pan is hot enough, this should take about 5-6 minutes. Turn off the heat and sprinkle with salt.

Add the mushrooms back to the pan with the radicchio to warm back up, but don’t turn the flame back on.

Add the arugula and the raw radicchio to a large plate or bowl. Add half of the dressing and toss well. Sprinkle with sea salt.

Top with the warm mushrooms and radicchio. Pour on more dressing to taste.

Add large flakes of the nutty, salty cheese on top to taste. Serve immediately.

French onion lentil and spinach soup

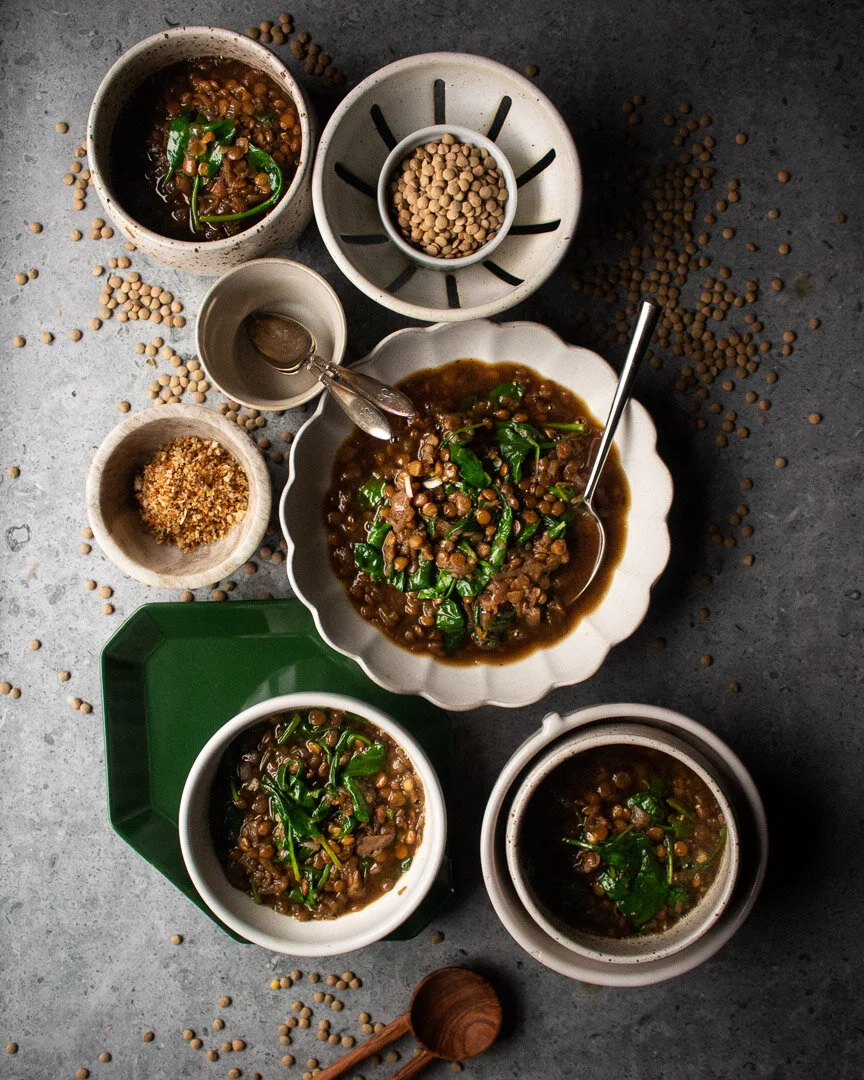
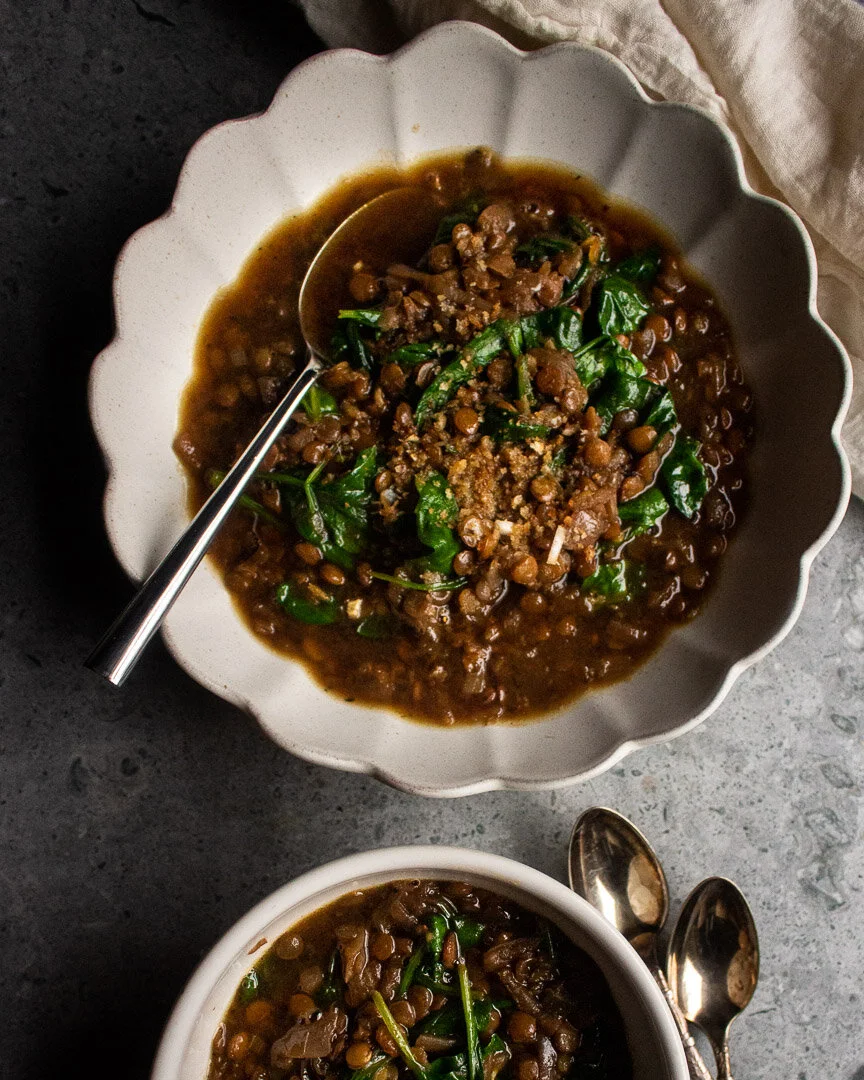
This French onion lentil and spinach soup warms your soul while being filled with iron and fiber. #meandthemoose #soup #souprecipes #mealsoup #lentils #spinach #Frenchonionsoup

This soup is healthy, warming, comforting, and filled with iron and fiber. It also tastes better the second day, so double the batch and enjoy the leftovers all week!

Take me to the recipe!

This French onion lentil and spinach soup warms your soul while being filled with iron and fiber. #meandthemoose #soup #souprecipes #mealsoup #lentils #spinach #Frenchonionsoup

I started making this soup when I was pregnant with Z and the thought of eating meat really turned my stomach. I was looking for nourishing soups that also tasted great and kept me full because while I LOOOOOOVE a soup, they don’t always fill me up unless they’re cream-based or more of a stew.

This French onion lentil and spinach soup warms your soul while being filled with iron and fiber. #meandthemoose #soup #souprecipes #mealsoup #lentils #spinach #Frenchonionsoup

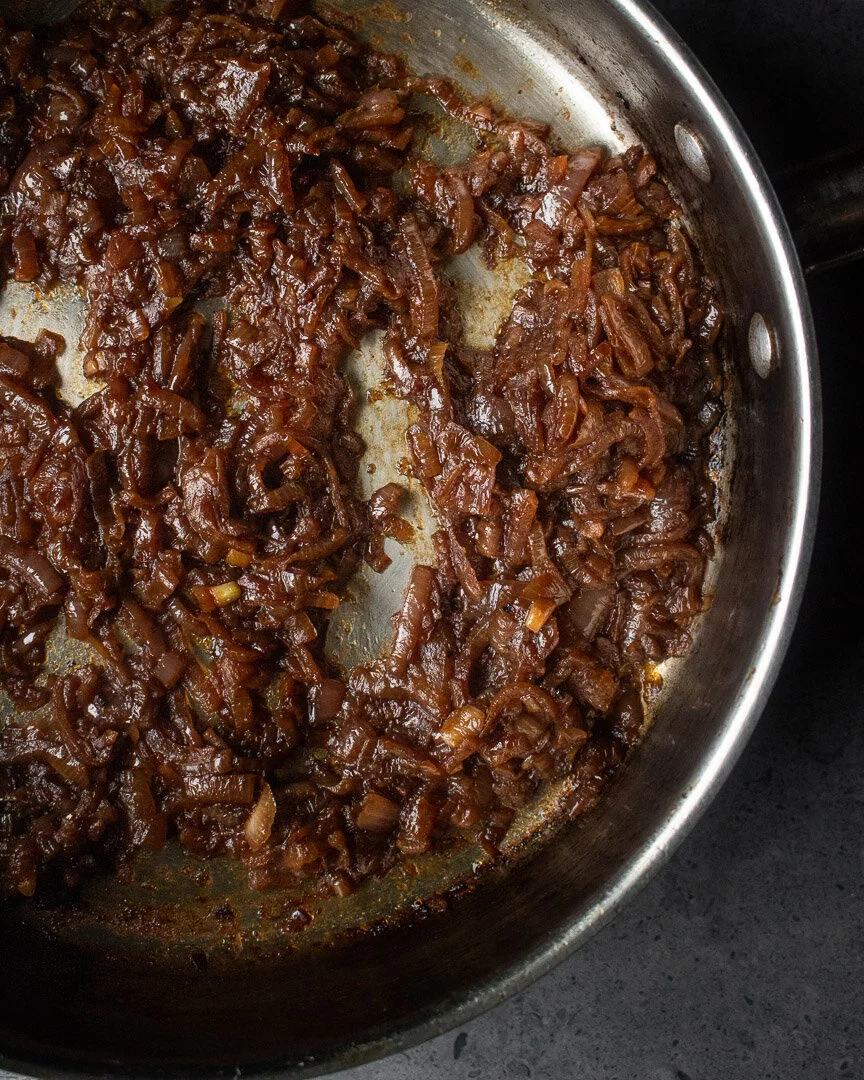
Enter this soup. It starts off with a base of caramelized onions like you’re making French onion soup. I use a super-quick method for caramelizing onions that might take a minute to get the hang of, but turns raw onions into melty, caramelized goodness in about 20-25 minutes instead of 45-60 minutes. I outline the process here.

Basically, you’re using high heat and a covered pan while also de-glazing every 2-3 minutes to achieve that deep, rich color and flavor by utilizing all of the stuck on bits at the bottom of the pan. It can be tricky to find that sweet spot between browning and burning, but luckily, the onions are pretty forgiving and if they get a little too dark, you can just deglaze with a bit of extra water and turn the heat down a smidge.

This French onion lentil and spinach soup warms your soul while being filled with iron and fiber. #meandthemoose #soup #souprecipes #mealsoup #lentils #spinach #Frenchonionsoup

Once you have those jammy onions in the bag, you can basically add the rest of the ingredients (with a little watching for a few minutes) and let the stove do the rest of the work.

This soup makes me so so happy. I’ve made it for new moms during those rough postpartum days. I’ve also made it for snow days and arctic days, regular days and special days. I always wish I was eating it in front of a fire wearing a huge sweater and reading a book, but alas, that never happens.

This French onion lentil and spinach soup warms your soul while being filled with iron and fiber. #meandthemoose #soup #souprecipes #mealsoup #lentils #spinach #Frenchonionsoup

French onion lentil and spinach soup

5 cups sliced onions (about 3 large onions, sliced 1/8th of an inch thick)
3 Tbsp butter or olive oil (or a combo)
2 cups water
½ tsp dried thyme or 2 sprigs fresh thyme
1 tsp kosher salt 
1 Tbsp red wine vinegar
4 cups beef broth 
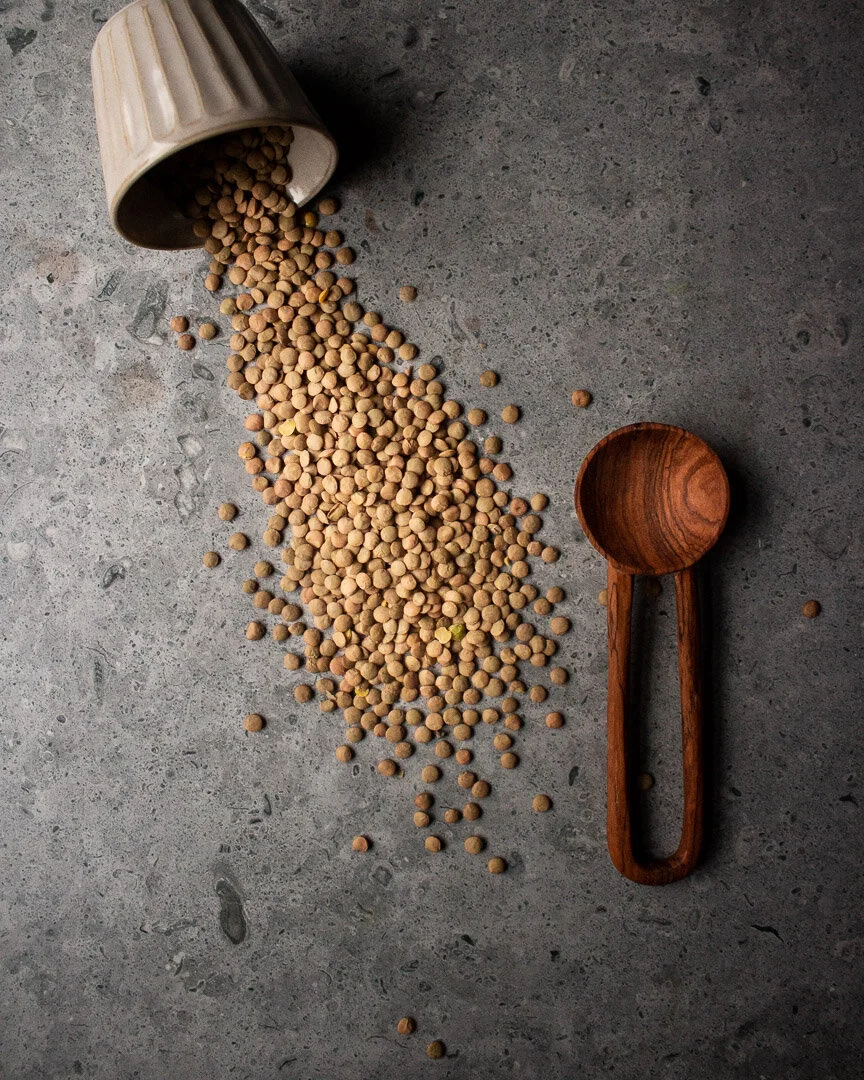
¾ cup dried green or brown lentils
1 cup frozen spinach or 1 bag fresh baby spinach 

Time: About 1 hour (30 minutes active)
Yield: about 5 cups of soup

 Slice the onions into 1/8th to 1/4th inch slices. 

Heat the oil and butter over a medium flame in a large skillet with high sides. 

Turn the heat up to medium high and add the onions. Cover and cook, for 2-3 minutes until the onions begin to brown and stick to the bottom of the pan. Pour in about 2 -4 Tbsp of water and scrape the brown bits from the bottom of the pan. Cover and cook for 2-3 more minutes and repeat the process. Continue cooking until the onions are a deep brown color, about 20-25 minutes. 

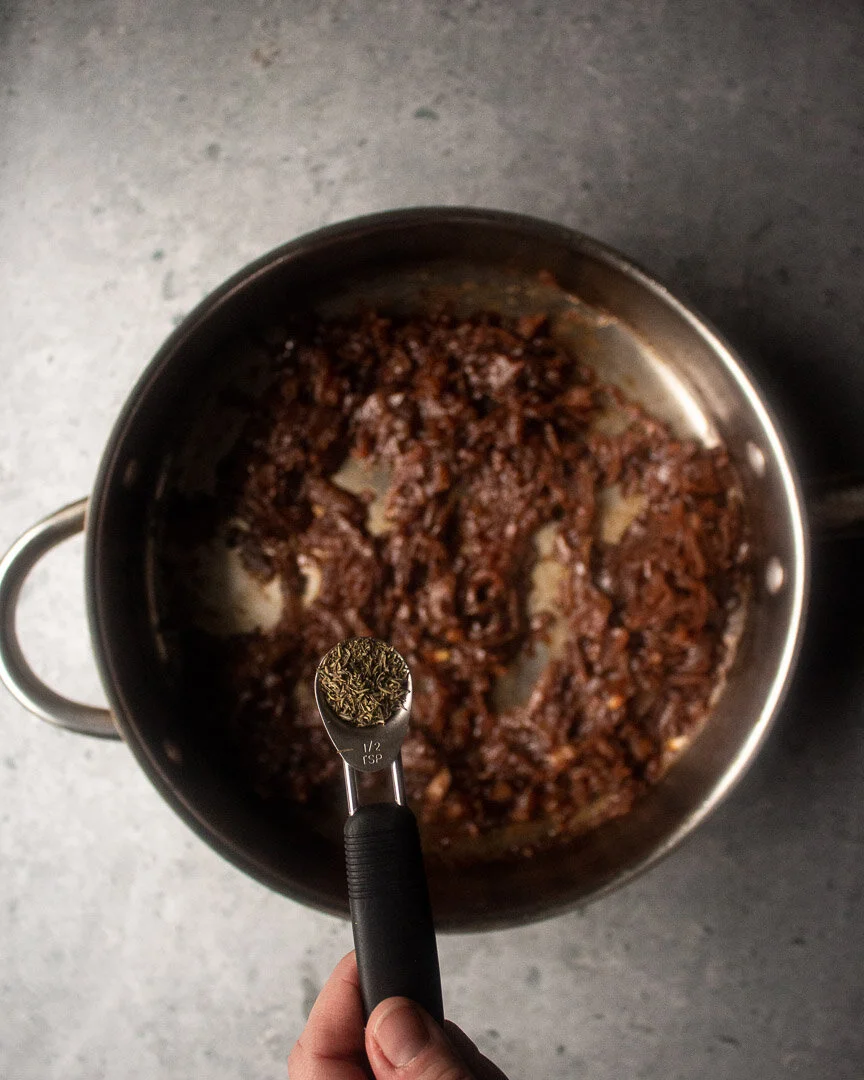
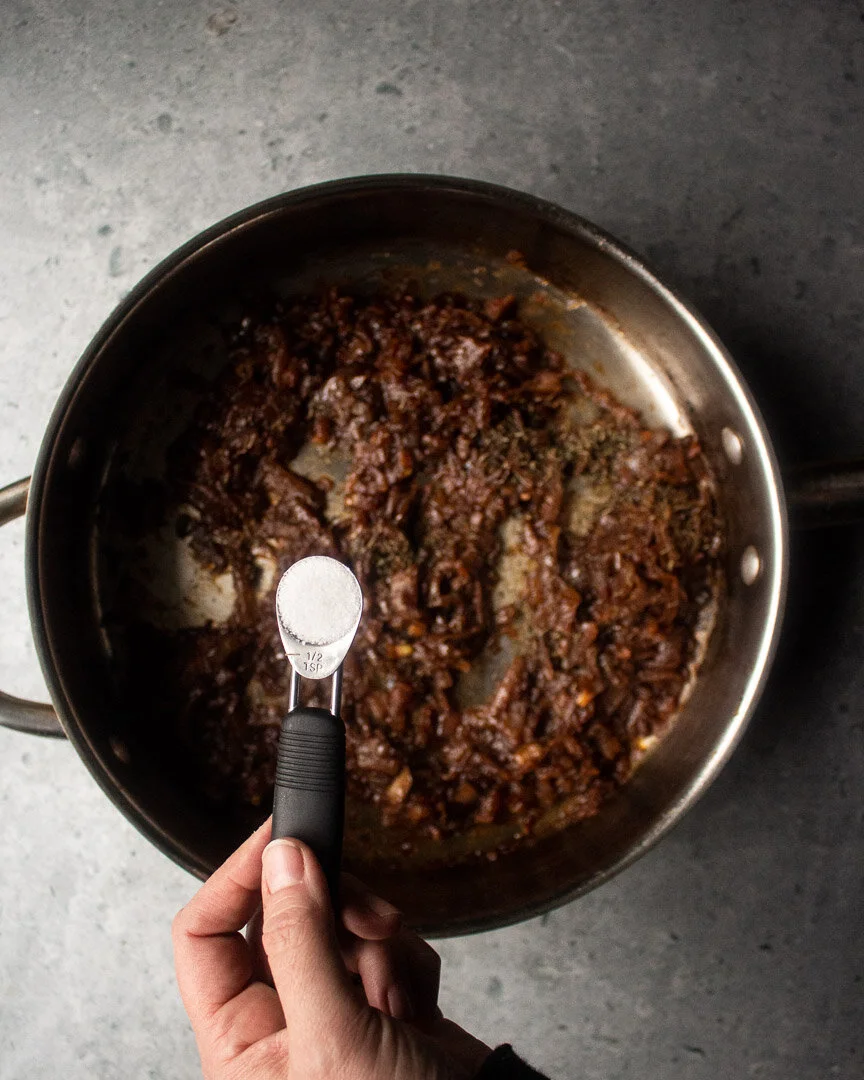
Add the thyme and salt and cook for 1 minute. 

Add the red wine vinegar and cook until evaporated, about 1-2 minutes.

Add the broth and the lentils. Bring to a boil over the highest flame. Once boiling, reduce the flame to low and simmer, covered, for about 30 minutes until the lentils are cooked, but have a little bit of crunch left to them. (Continue to cook for another 10 minutes if you prefer mushier lentils.)

Turn off the flame and stir in the spinach, either frozen or fresh, and stir to wilt. 

Test for seasoning. 

Quick(ish) Meat Sauce

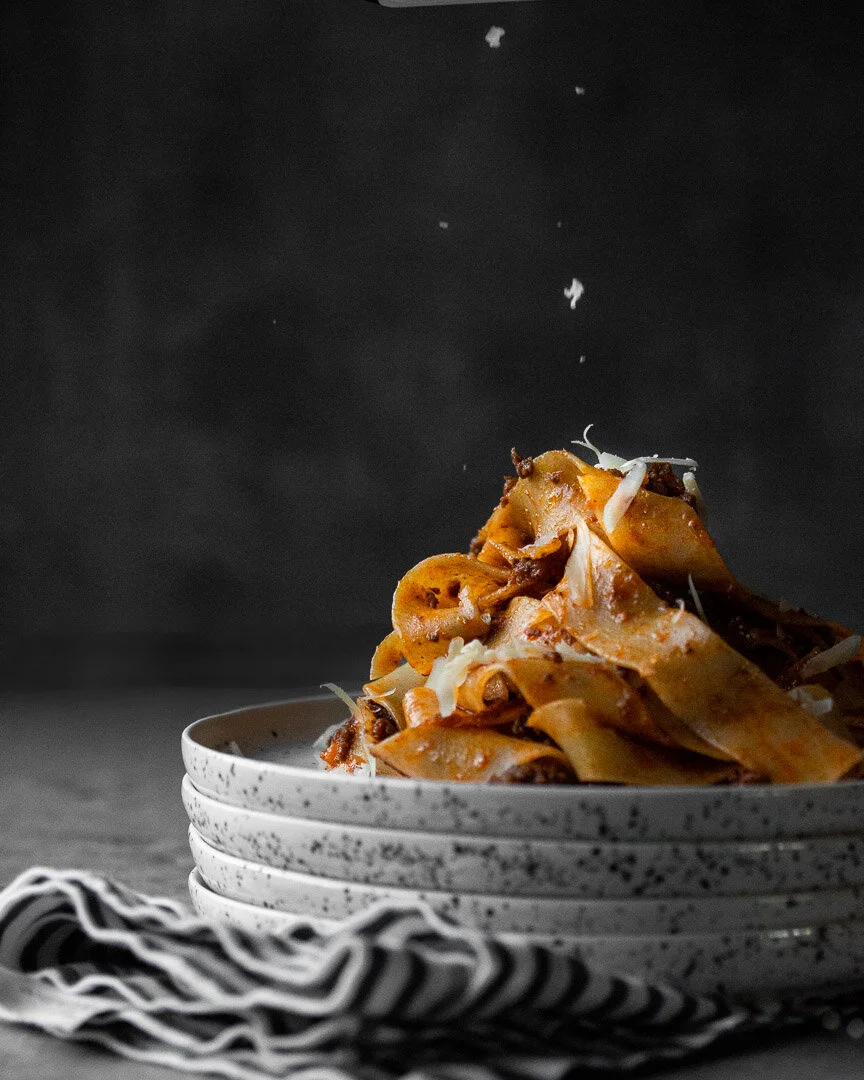
This quick meat sauce achieves that slow-cooked depth of flavor with a little beef stock, tomato paste, and high heat. #meandthemoose #dinner #meatsaucerecipe #meatsauce #pasta #quickdinner

Meat sauces are usually long and slow affairs, but this version speeds things up with high heat and beef stock to mimic the flavor of a cooked-all-day sauce in a fraction of the time.

Take me to the sauce!

This quick meat sauce achieves that slow-cooked depth of flavor with a little beef stock, tomato paste, and high heat. #meandthemoose #dinner #meatsaucerecipe #meatsauce #pasta #quickdinner

I love a great, long-simmered, deeply flavored, unctuous Bolognese more than almost anything. That falling apart meat with a hint of acidic tomatoes all clinging to some wide flat noodles with a sprinkle of salty, nutty parmesan? Swoon.

But realistically, we never have time to make one. Even during these quarantined weekends we need flexibility for when the children inevitably short circuit and need a change of scenery.

It’s hard to achieve that depth of flavor without the long, slow simmer, but I’ve tried! And I think succeeded! However, there’s a reason why I call this a “meat sauce” and not “Bolognese.” It’s not the original. But it is a delicious approximation in about an hour.

This quick meat sauce achieves that slow-cooked depth of flavor with a little beef stock, tomato paste, and high heat. #meandthemoose #dinner #meatsaucerecipe #meatsauce #pasta #quickdinner

A couple of notes:

  • Use the leanest beef you can find. If you can’t get 90/10 or 85/15, use half of the amount of pork listed or leave it out entirely

  • This recipe is meant to be made mostly at high temperatures, but you’ll need to keep an eye on the sauce at every step to ensure that the liquids are evaporating fast enough, but that nothing is burning. We want the heat to caramelize and brown everything, but we don’t want anything to burn and turn bitter. You may have to do a significant amount of fiddling with the temperature throughout the cooking to speed things up or slow them down at intervals.

  • I list a range of amount of the tomato paste. I like it less tomato-y, but my husband likes it with a little more. The largest amount (6 oz) is one small can of tomato paste.

This quick meat sauce achieves that slow-cooked depth of flavor with a little beef stock, tomato paste, and high heat. #meandthemoose #dinner #meatsaucerecipe #meatsauce #pasta #quickdinner

Quick (ish) meat sauce 

2 Tbsp olive oil 
½ large onion, finely chopped (about 1 cup) 
1 large stalk celery, finely minced  (about ½ cup) 
1 small carrot, finely minced (about ½ cup) 
5 large garlic cloves, smashed 
1 lb ground beef (90/10 if you can find it) 
¼ lb ground pork or sausage, casings removed
1 tsp kosher salt 
4-6 oz tomato paste (5-6½ tbsp)
¼ cup red wine 
2 cups beef broth 
Pepper to taste

Time: about 1 hour for the sauce and the pasta, mostly active
Yield: 3-4 cups of sauce, or enough for 1 lb of pasta 

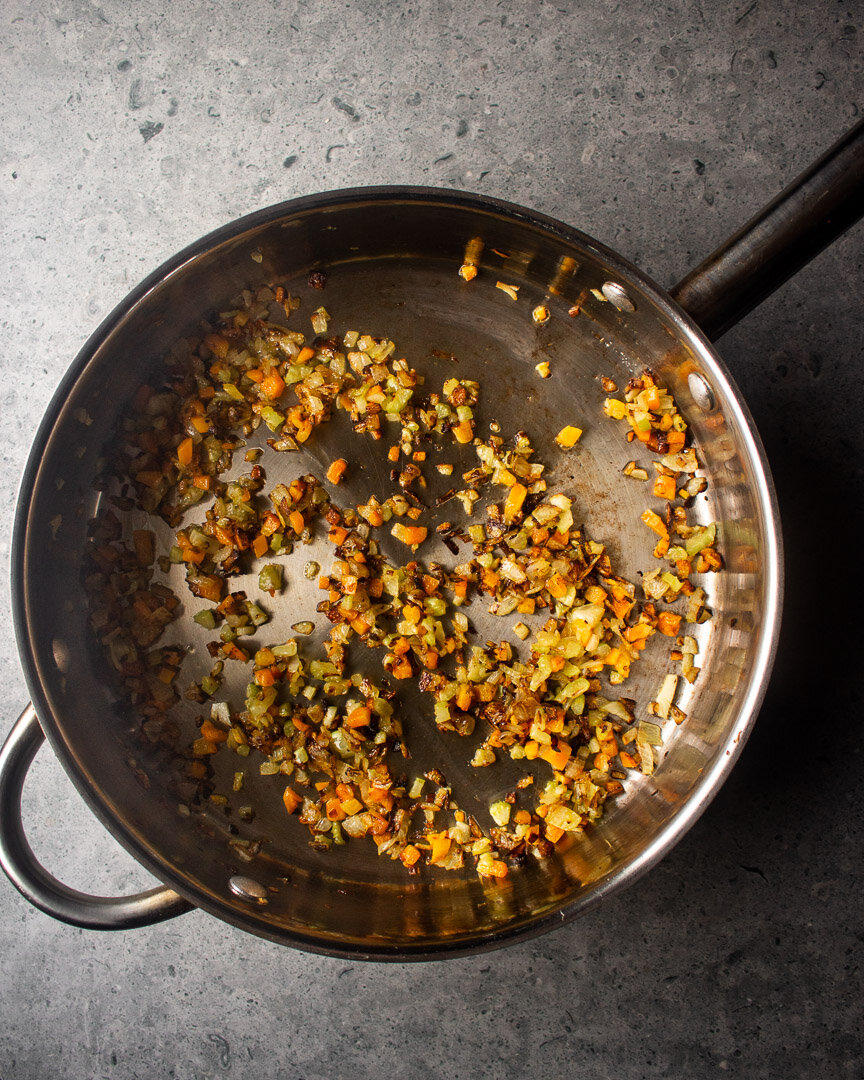
Heat a skillet over a medium flame. Add the oil and heat until the oil is shimmering and slips easily around the pan. Add the onion, celery, and carrots, and cook for about 10 minutes, stirring frequently, until the veggies soften and begin to brown.

Add the garlic. Cook until fragrant, 1-2 minutes, being careful not to burn. 

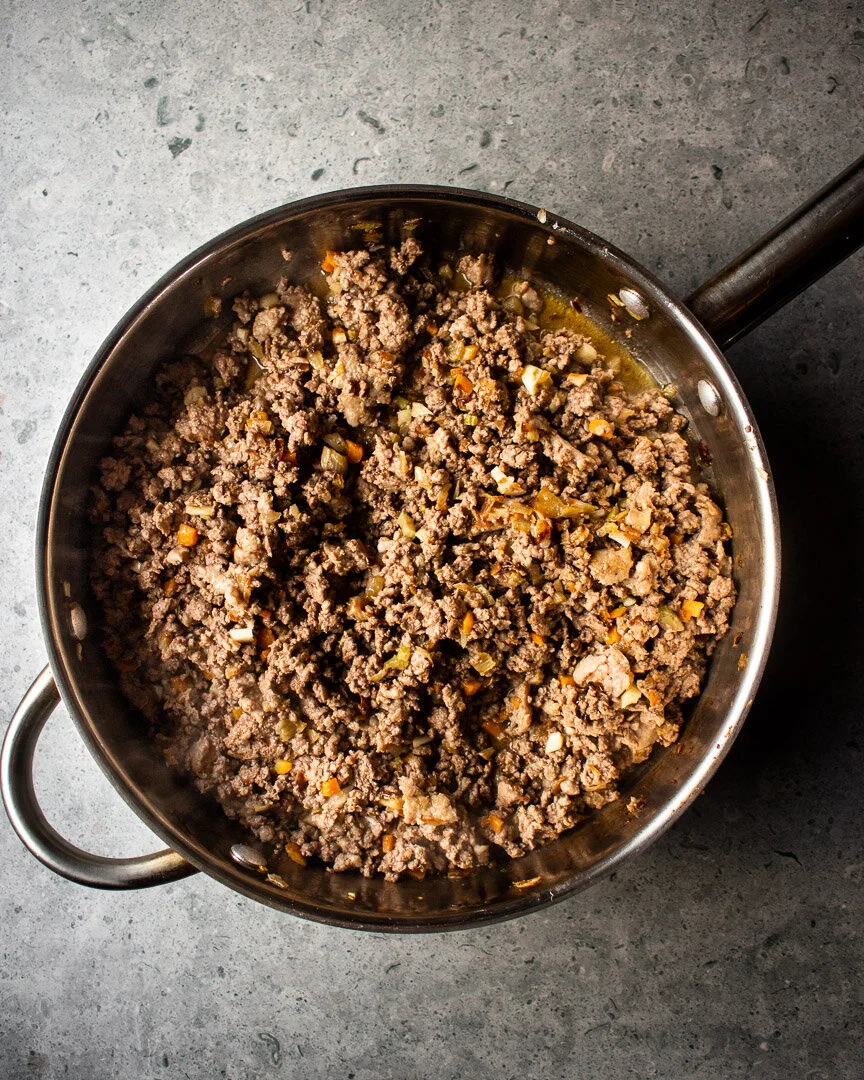
Add the meat and turn the heat back up to medium if you turned it down earlier. Stir and chop up the meat with your spatula breaking it into small pieces while cooking until no pink remains, about 5 minutes. 

Stop stirring and let the meat cook, undisturbed, until browned on the bottom, about 5 minutes. You should hear it sizzling and bubbling. If not, turn up the flame.

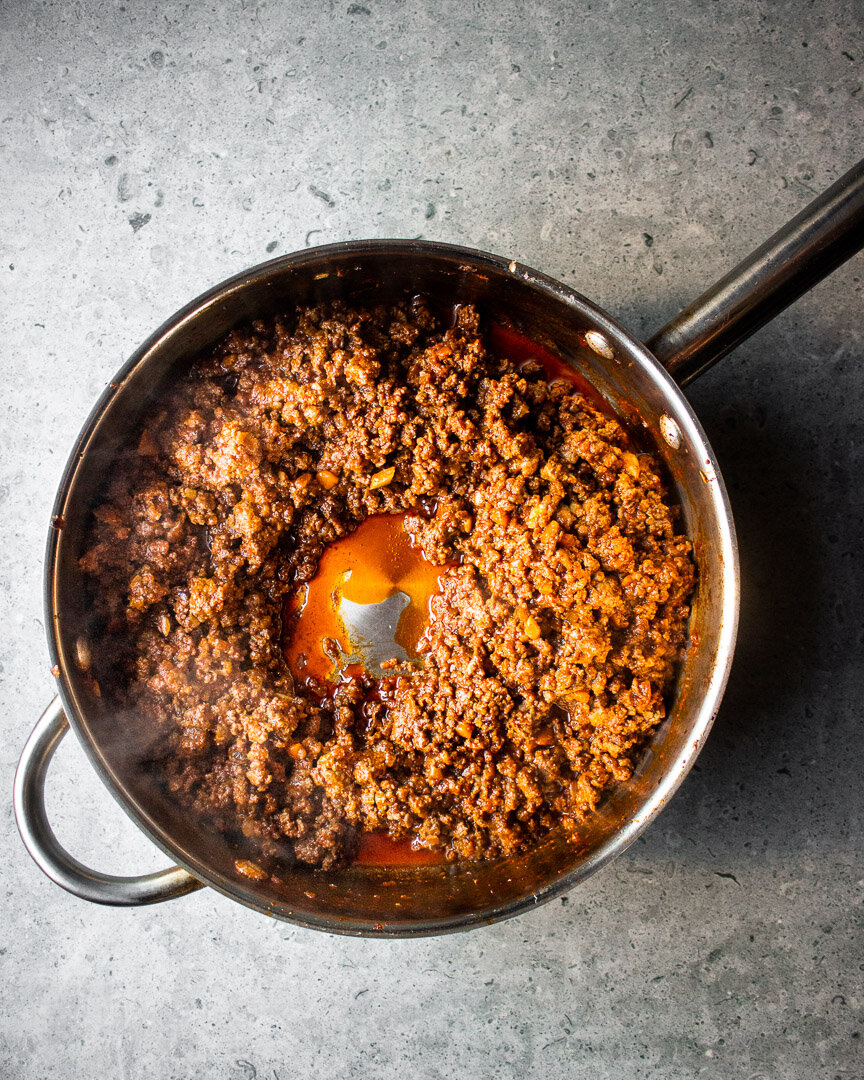
Add the tomato paste and wine and stir well to combine and deglaze the pan. Cook, stirring constantly, until the wine has evaporated, about 2 minutes. 

Add 1½ cup of beef broth and cook, stirring often, until it has evaporated, about 8-10 minutes. If the liquid isn’t evaporating fast enough, turn up the flame.

Add the final ½ cup of broth, turn the heat all the way down, and cover. Let simmer on the lowest heat while you cook your pasta. 

Bring your water to a boil and cook the pasta according to its package directions. Stir the sauce every few minutes while the pasta cooks.

Combine and serve.