Creamy mushroom soup

This creamy mushroom soup is a far cry from the gloopy, gray stuff that comes in a can, but is almost as easy to make.

Take me to the recipe!

Two mushroom recipes so close together, huh? Yes! But hear me out. This recipe is so unctuous, so creamy, so warming, and so filling, that I couldn’t hold onto it any longer.

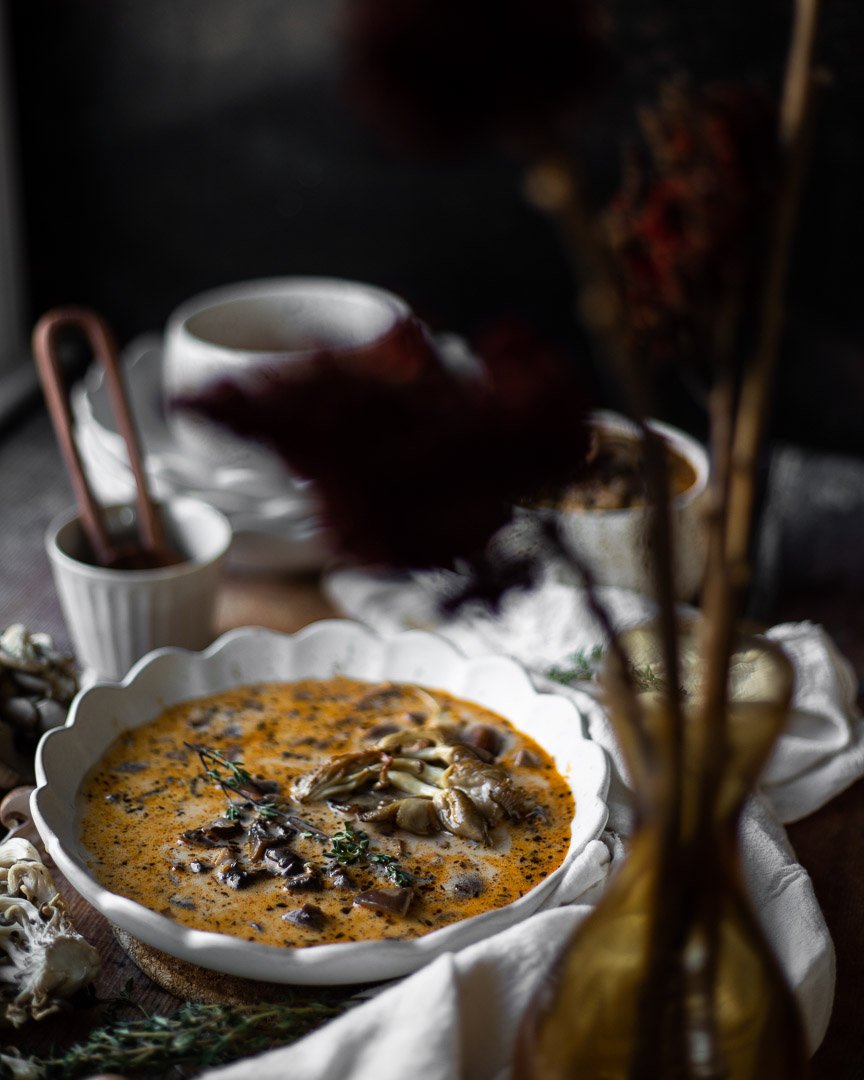
What makes this better than the canned version? Well, the color, first of all. The golden sautéed mushrooms, the purple shallots, and the red paprika lend this soup a much richer and nicer color than the gray stuff (it’s not delicious).

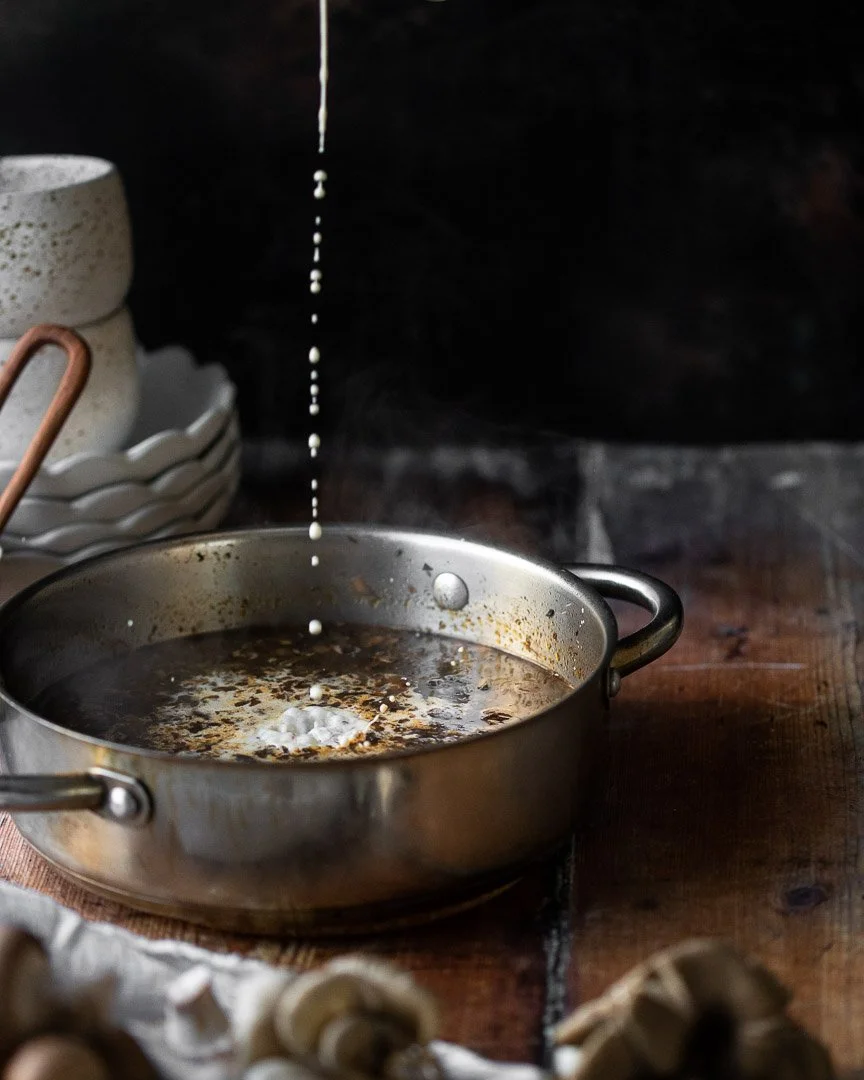
A note about adding dairy to hot soup: It’s possible to split the cream if you add cold dairy to other hot liquids. Split dairy basically looks like you’ve added thousands of little dots of cream rather than the soup looking uniformly creamy. Does that makes sense? It’s totally fine to eat and will taste good, but it sometimes doesn’t look as appetizing.

To avoid this, you can either heat up the dairy or cool down the base soup. The fattier the dairy, the less likely it is to split, so if you’re using heavy cream as I recommend for this recipe, let the cream sit at room temperature while making the rest of the soup. If it still feels chilly when you’re ready to add it, microwave it for 30 seconds before adding. If using a lighter milk or non-dairy milk, I would actually heat it to just simmering in a separate pan on the stove or significantly cool the base soup before adding it.

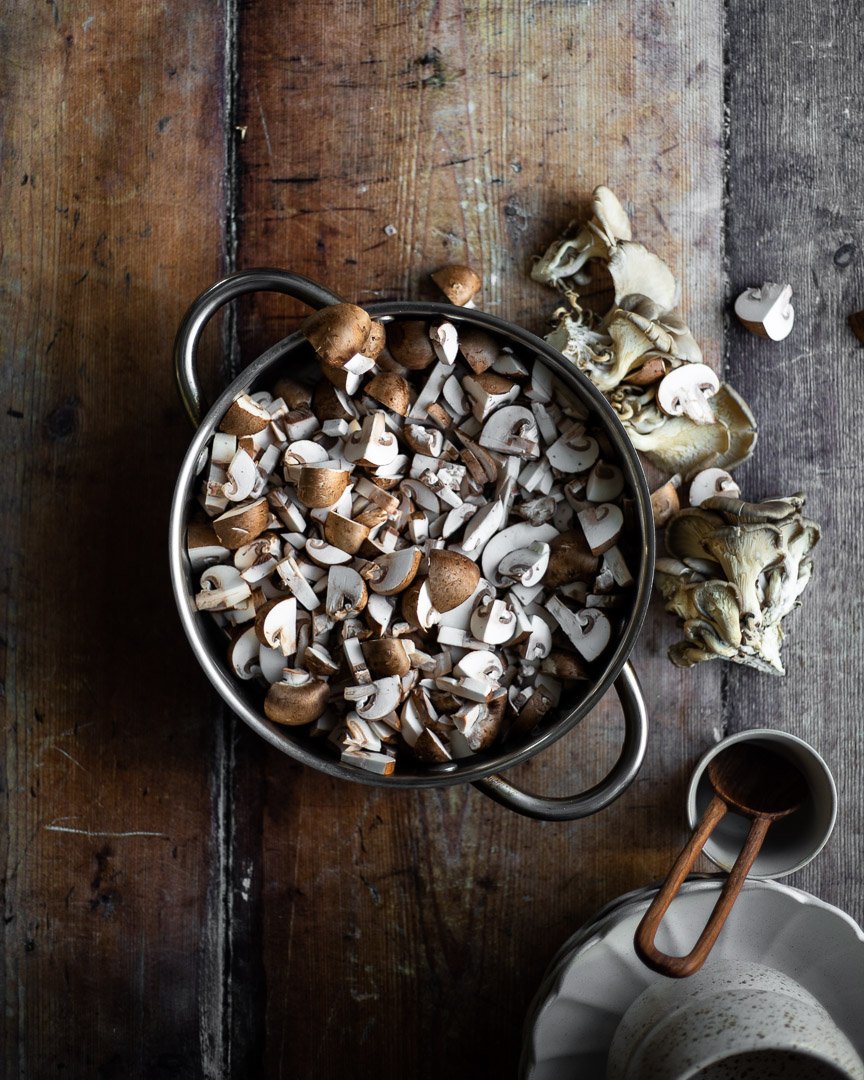
The texture is also completely different to the canned version. Theoretically, you could throw the mushrooms into a food processor and whizz for a few seconds to quickly chop the whole lot, but I like to cut them myself to get a range of sizes and shapes. I halve the really small shrooms, quarter the medium sized ones, and chop up the large ones. Remove the stems or don’t- that’s entirely up to you.

A note about how I tell if my mushrooms are cooked enough: I cook the mushrooms until they release some water and then that water evaporates. They will have cooked down significantly.

Creamy mushroom soup

½ cup heavy cream
24 oz mushrooms, cut into various sizes
1 Tbsp butter
2 Tbsp olive oil, divided
Heaping ½ tsp dried thyme
½ tsp paprika 
2 tsp kosher salt
3 large garlic cloves, minced
2-3 large shallots, minced
½ cup white wine
4 cups stock (chicken, beef, or vegetable)

Time: about 45 minutes
Yield: 5-6 cups of soup

Measure out the heayy cream and let sit at room temperature while you make the rest of the soup. See note above about using other types of dairy in this soup.

Chop the mushrooms in varying sizes (see note above).

In a large pan, melt 1 Tbsp of butter and 1 Tbsp of olive oil over a medium flame. Once the pan is heated, add the mushrooms and cook over a medium flame, until the mushrooms have released their liquid and that liquid has evaporated, about 8-10 minutes. 

Prep the rest of the ingredients while the mushrooms cook.

Once the mushrooms are relatively dry, add the thyme, paprika, salt, garlic, and shallots. Cook until the garlic and onions are fragrant and translucent, about 3 minutes. If the mixture seems very dry, add another Tbsp of olive oil.

Add the wine and stir, while scraping the brown bits from the bottom of the pan. Cook for another 2-3 minutes. 

Add the stock and increase the flame to medium high. Bring to a boil. Lower the flame all the way and simmer, covered, for 20 minutes. 

Add the cream and stir.

Creamy tomato and white bean pasta

IMG_8189.jpg

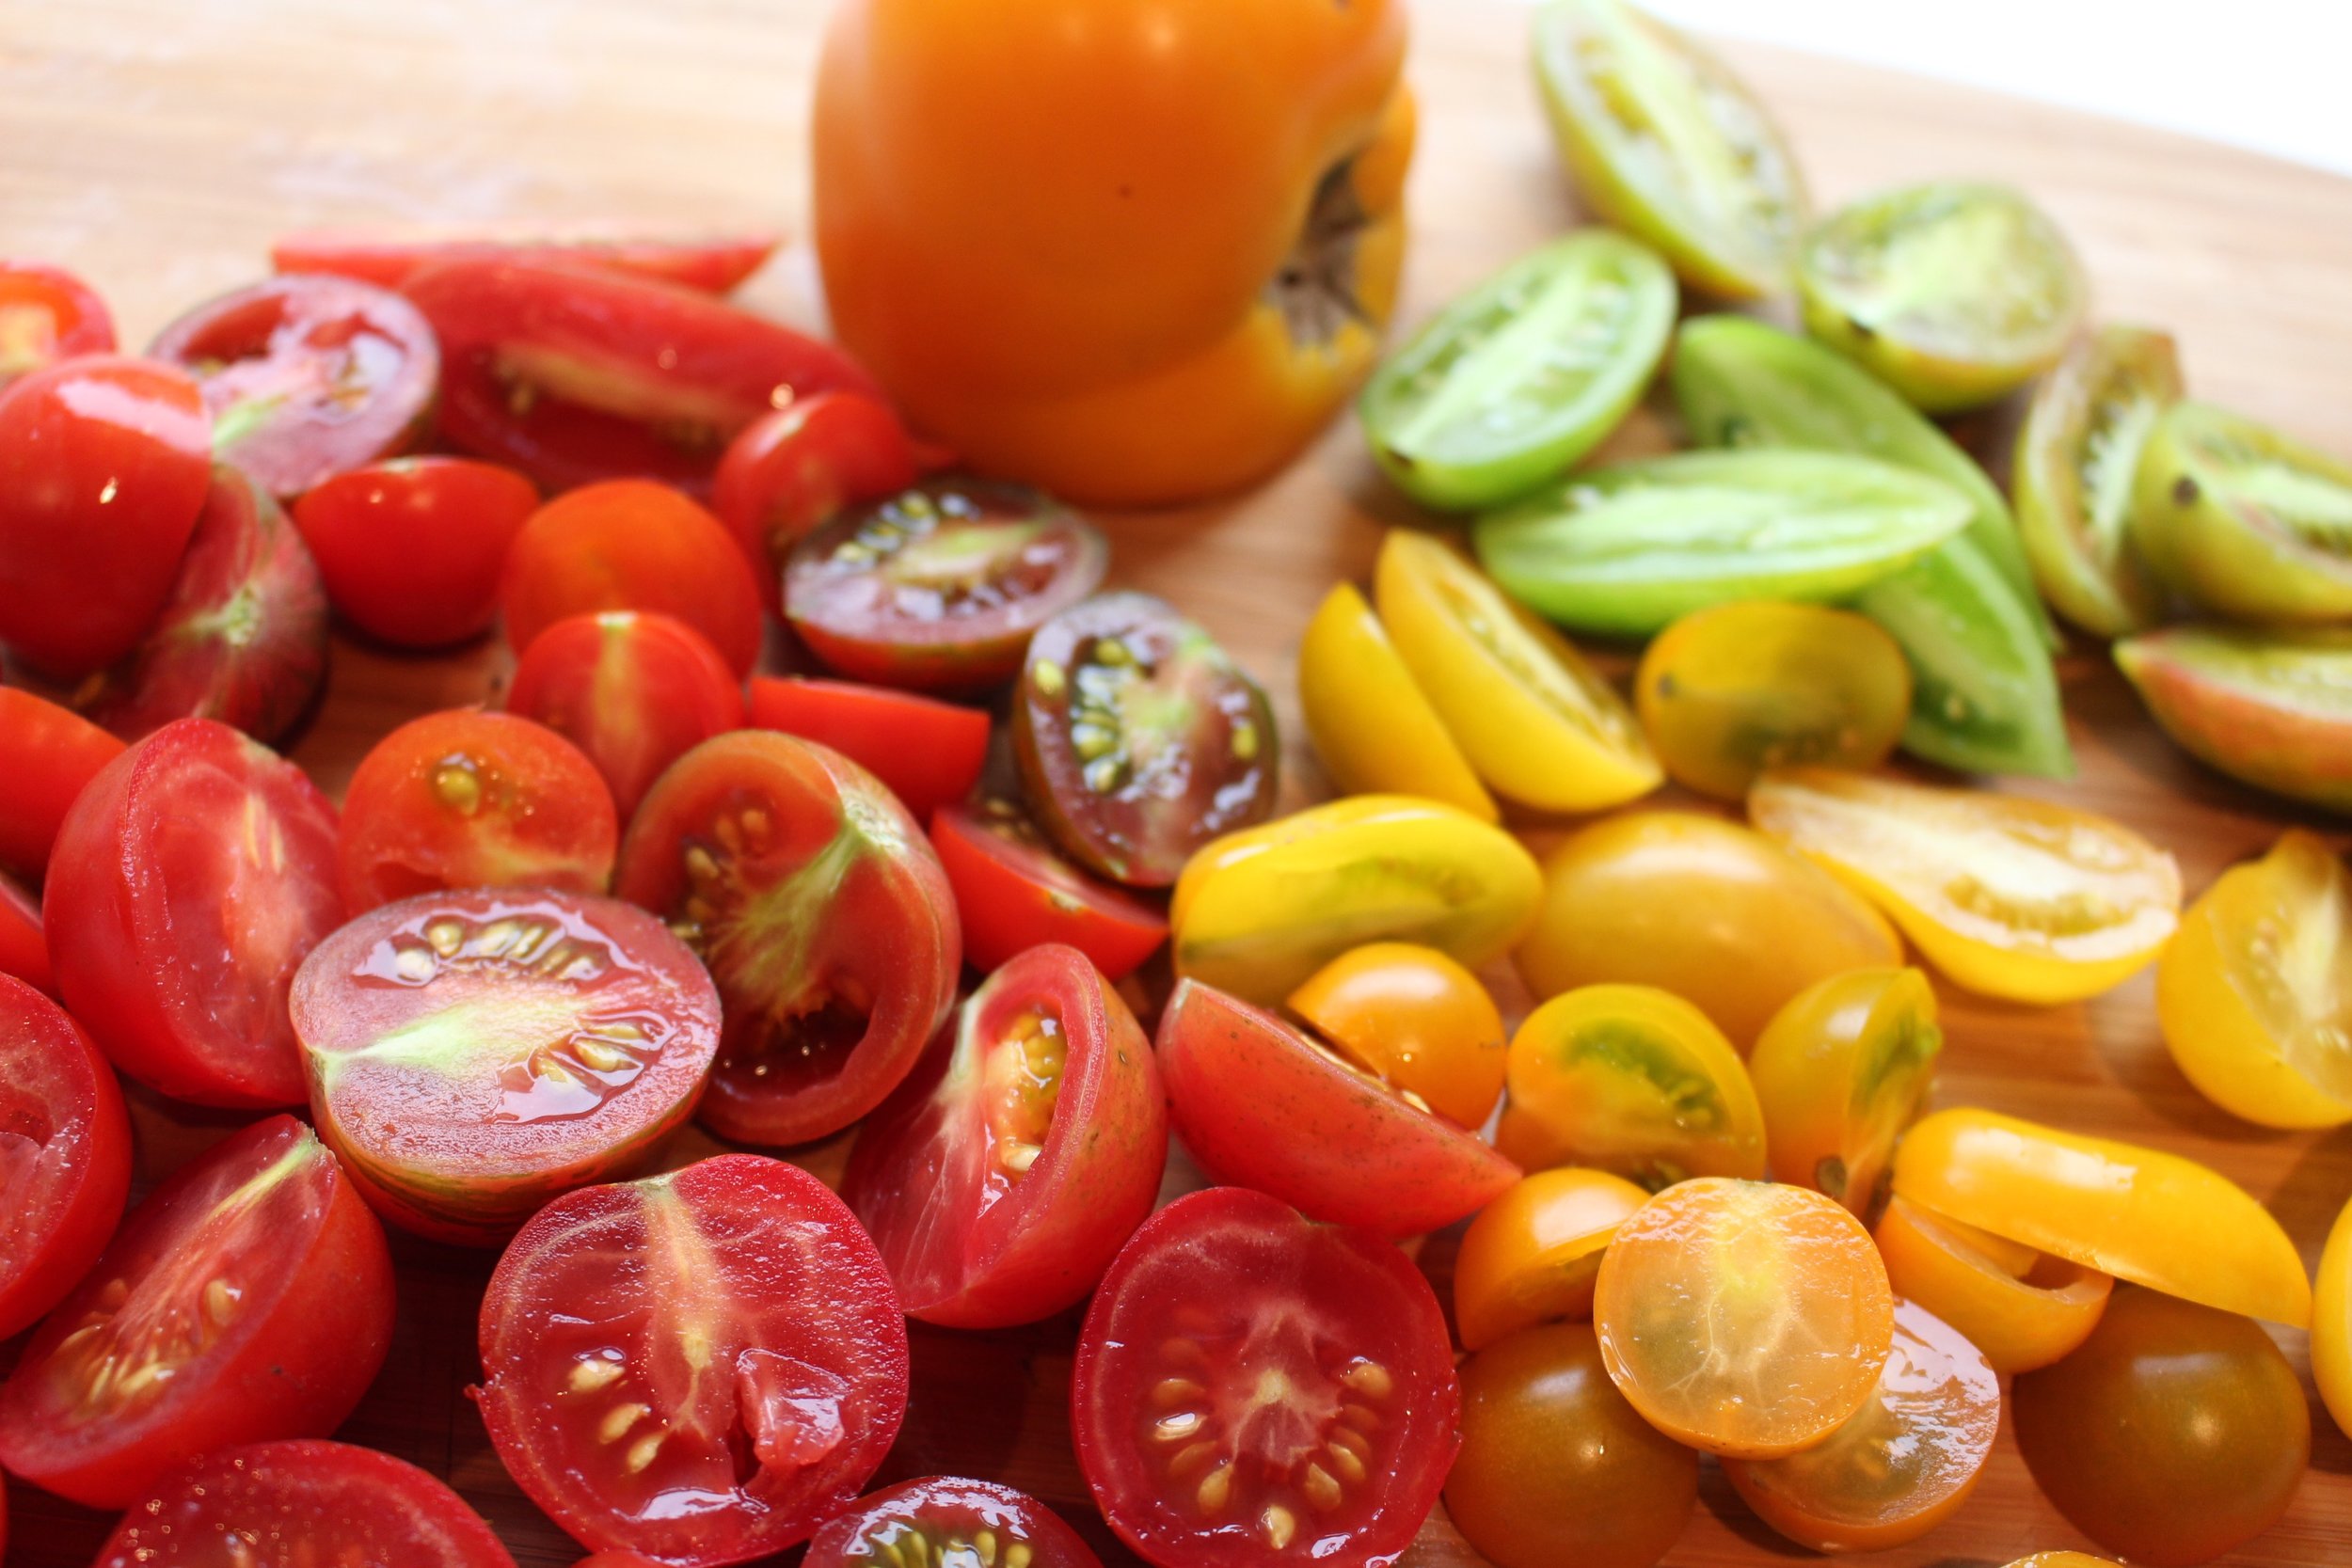
TOMATO SEASON IS HERE!!!!!!! I looooooove tomatoes. Love. And so does M (though he mysteriously won't eat them in his lunchbox anymore).

IMG_8178.jpg

M does not always love beans though. He eats them, but they aren't on the top of his list.

As anyone who's read this blog knows, I have a relationship with healthy eating. Like all relationships, it takes work and there are lots of struggles. But any article titled, "The Last Conversation You'll Ever Need To Have About Eating Right," I am 100% going to read. I mean, I'm not going to stop having conversations about eating right, but I liked the article and one of my main takeaways was: Beans are good. Full stop. So, we're eating more beans, which is sometimes a struggle with a toddler.

These beans are not the healthiest things I've ever eaten. But a little bit of cream and Parmesan go a long way. A boat load of tomatoes, onions, garlic, salt, and fresh thyme also do some heavy lifting to form a dish that is hearty and tasty and takes advantage of the best summer produce.

But the secret ingredient here is patience. Reducing the sauce to a syrupy, caramely sauce gives you maximum tomato flavor.

And then your toddler will eat beans.

IMG_8176.jpg

Creamy tomato and white bean pasta 

1 Tbsp olive oil
½ large white onion, minced
5 large garlic cloves, minced
2 pounds cherry or other heirloom tomatoes (or a mixture of both)
1 can white beans
2 Tbsp heavy cream
½ cup grated parmesan cheese
1 cup pasta, cooked
¼- ½ tsp salt (more to taste)
pepper
Thyme (2 tsp fresh or 1/2 tsp dried, or to taste)

In a medium pot, bring well- salted water to a boil for the pasta. Cook the pasta according to package directions.

While the water is coming to a boil, mince the onions and garlic. Over medium-low heat, saute the onions for 4-5 minutes or until translucent. Add the garlic and cook for one more minute, or until fragrant.

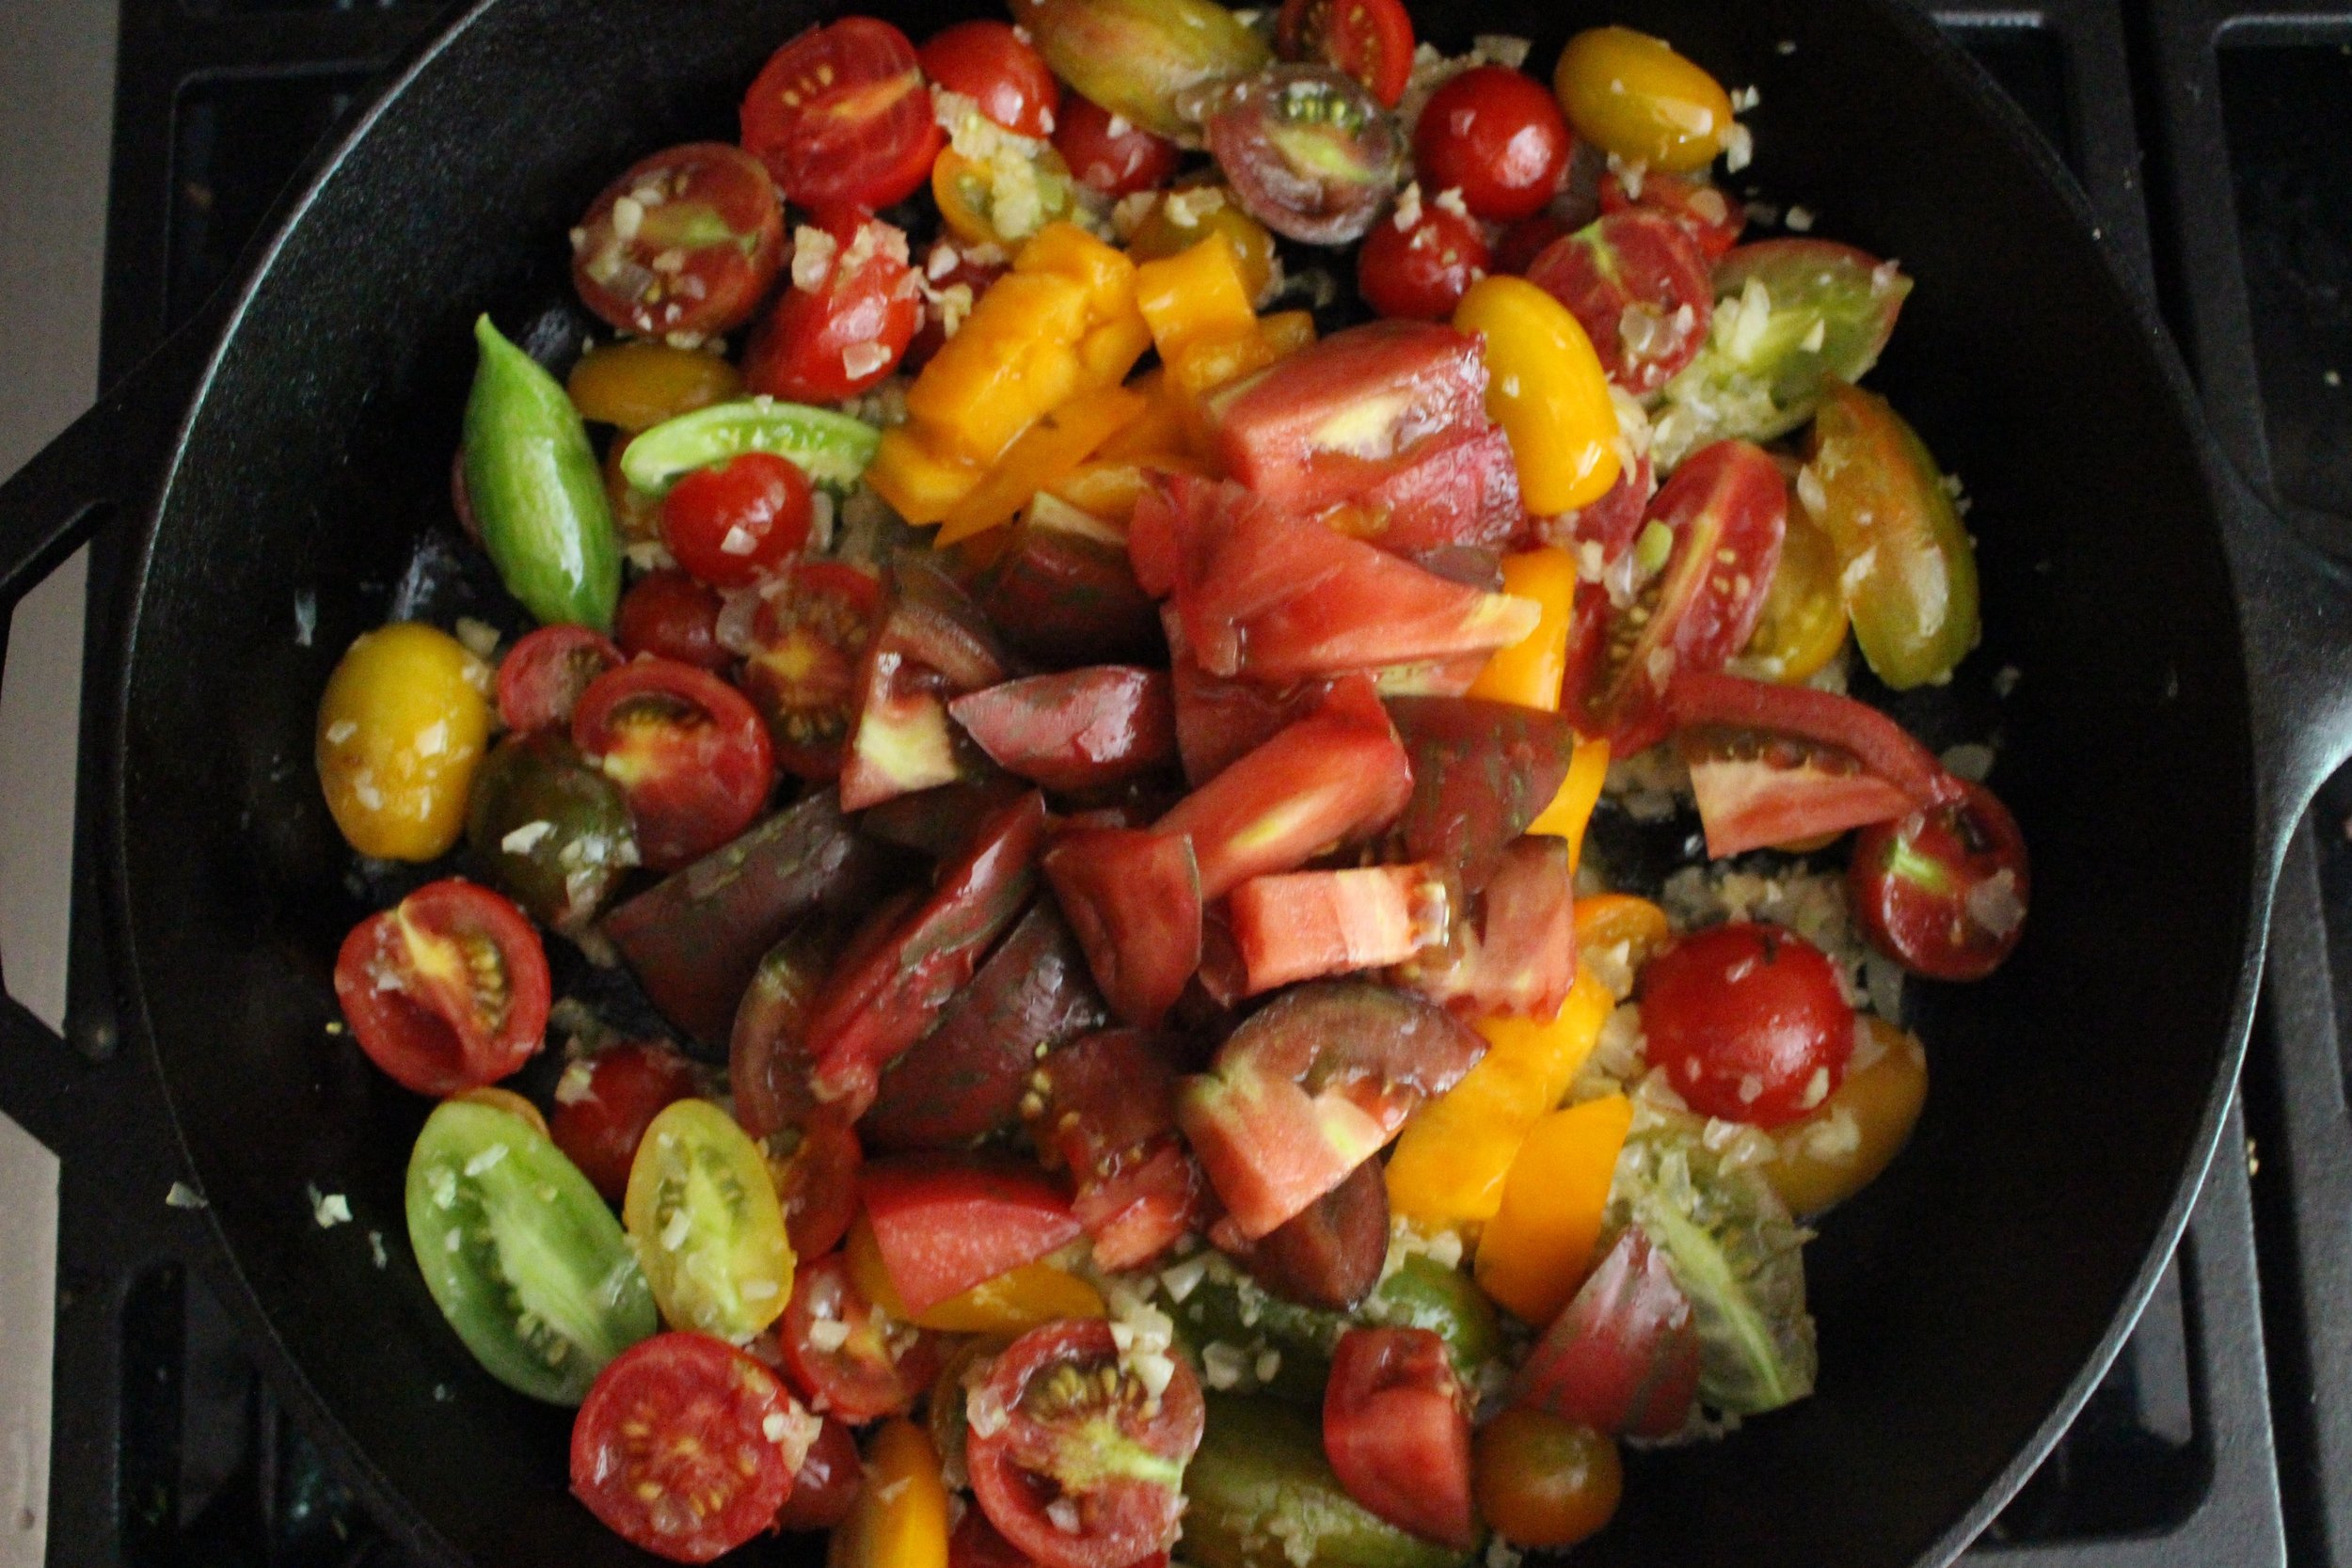
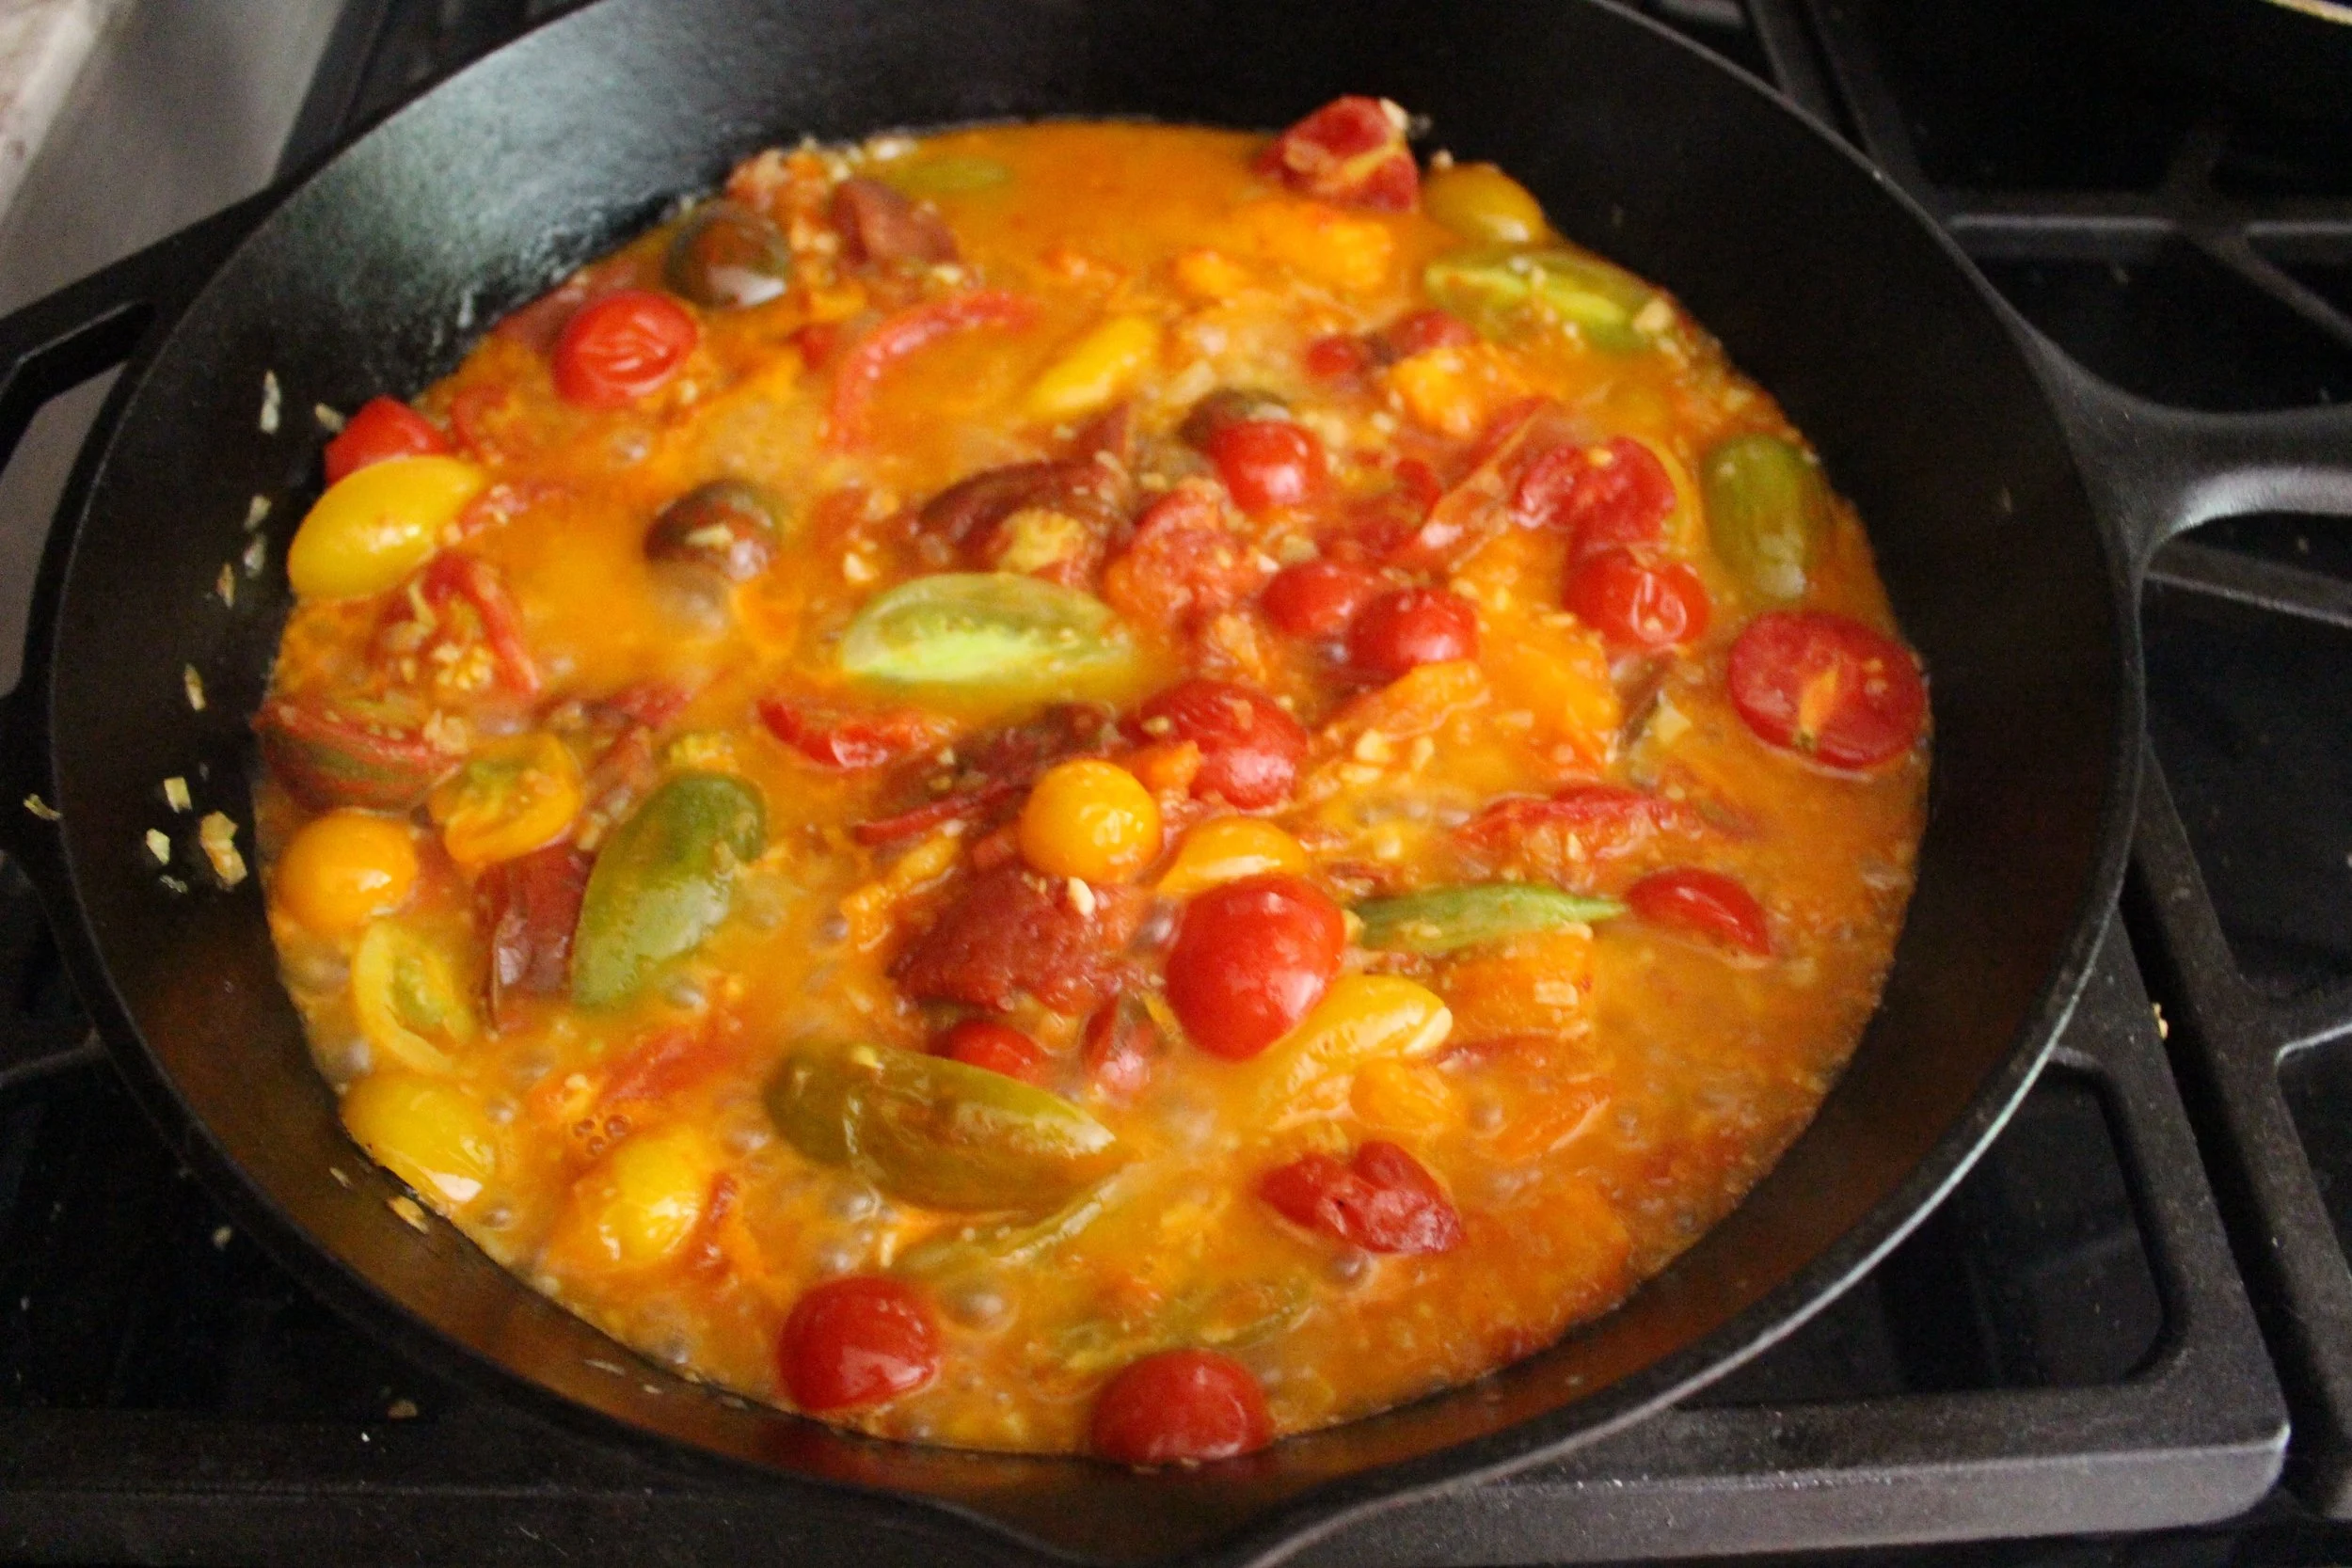
Chop the tomatoes and add them to the onions and garlic. Turn the flame up to medium and cook, stirring occasionally, for 10-12 minutes, or until the tomatoes release their water and begin to boil.

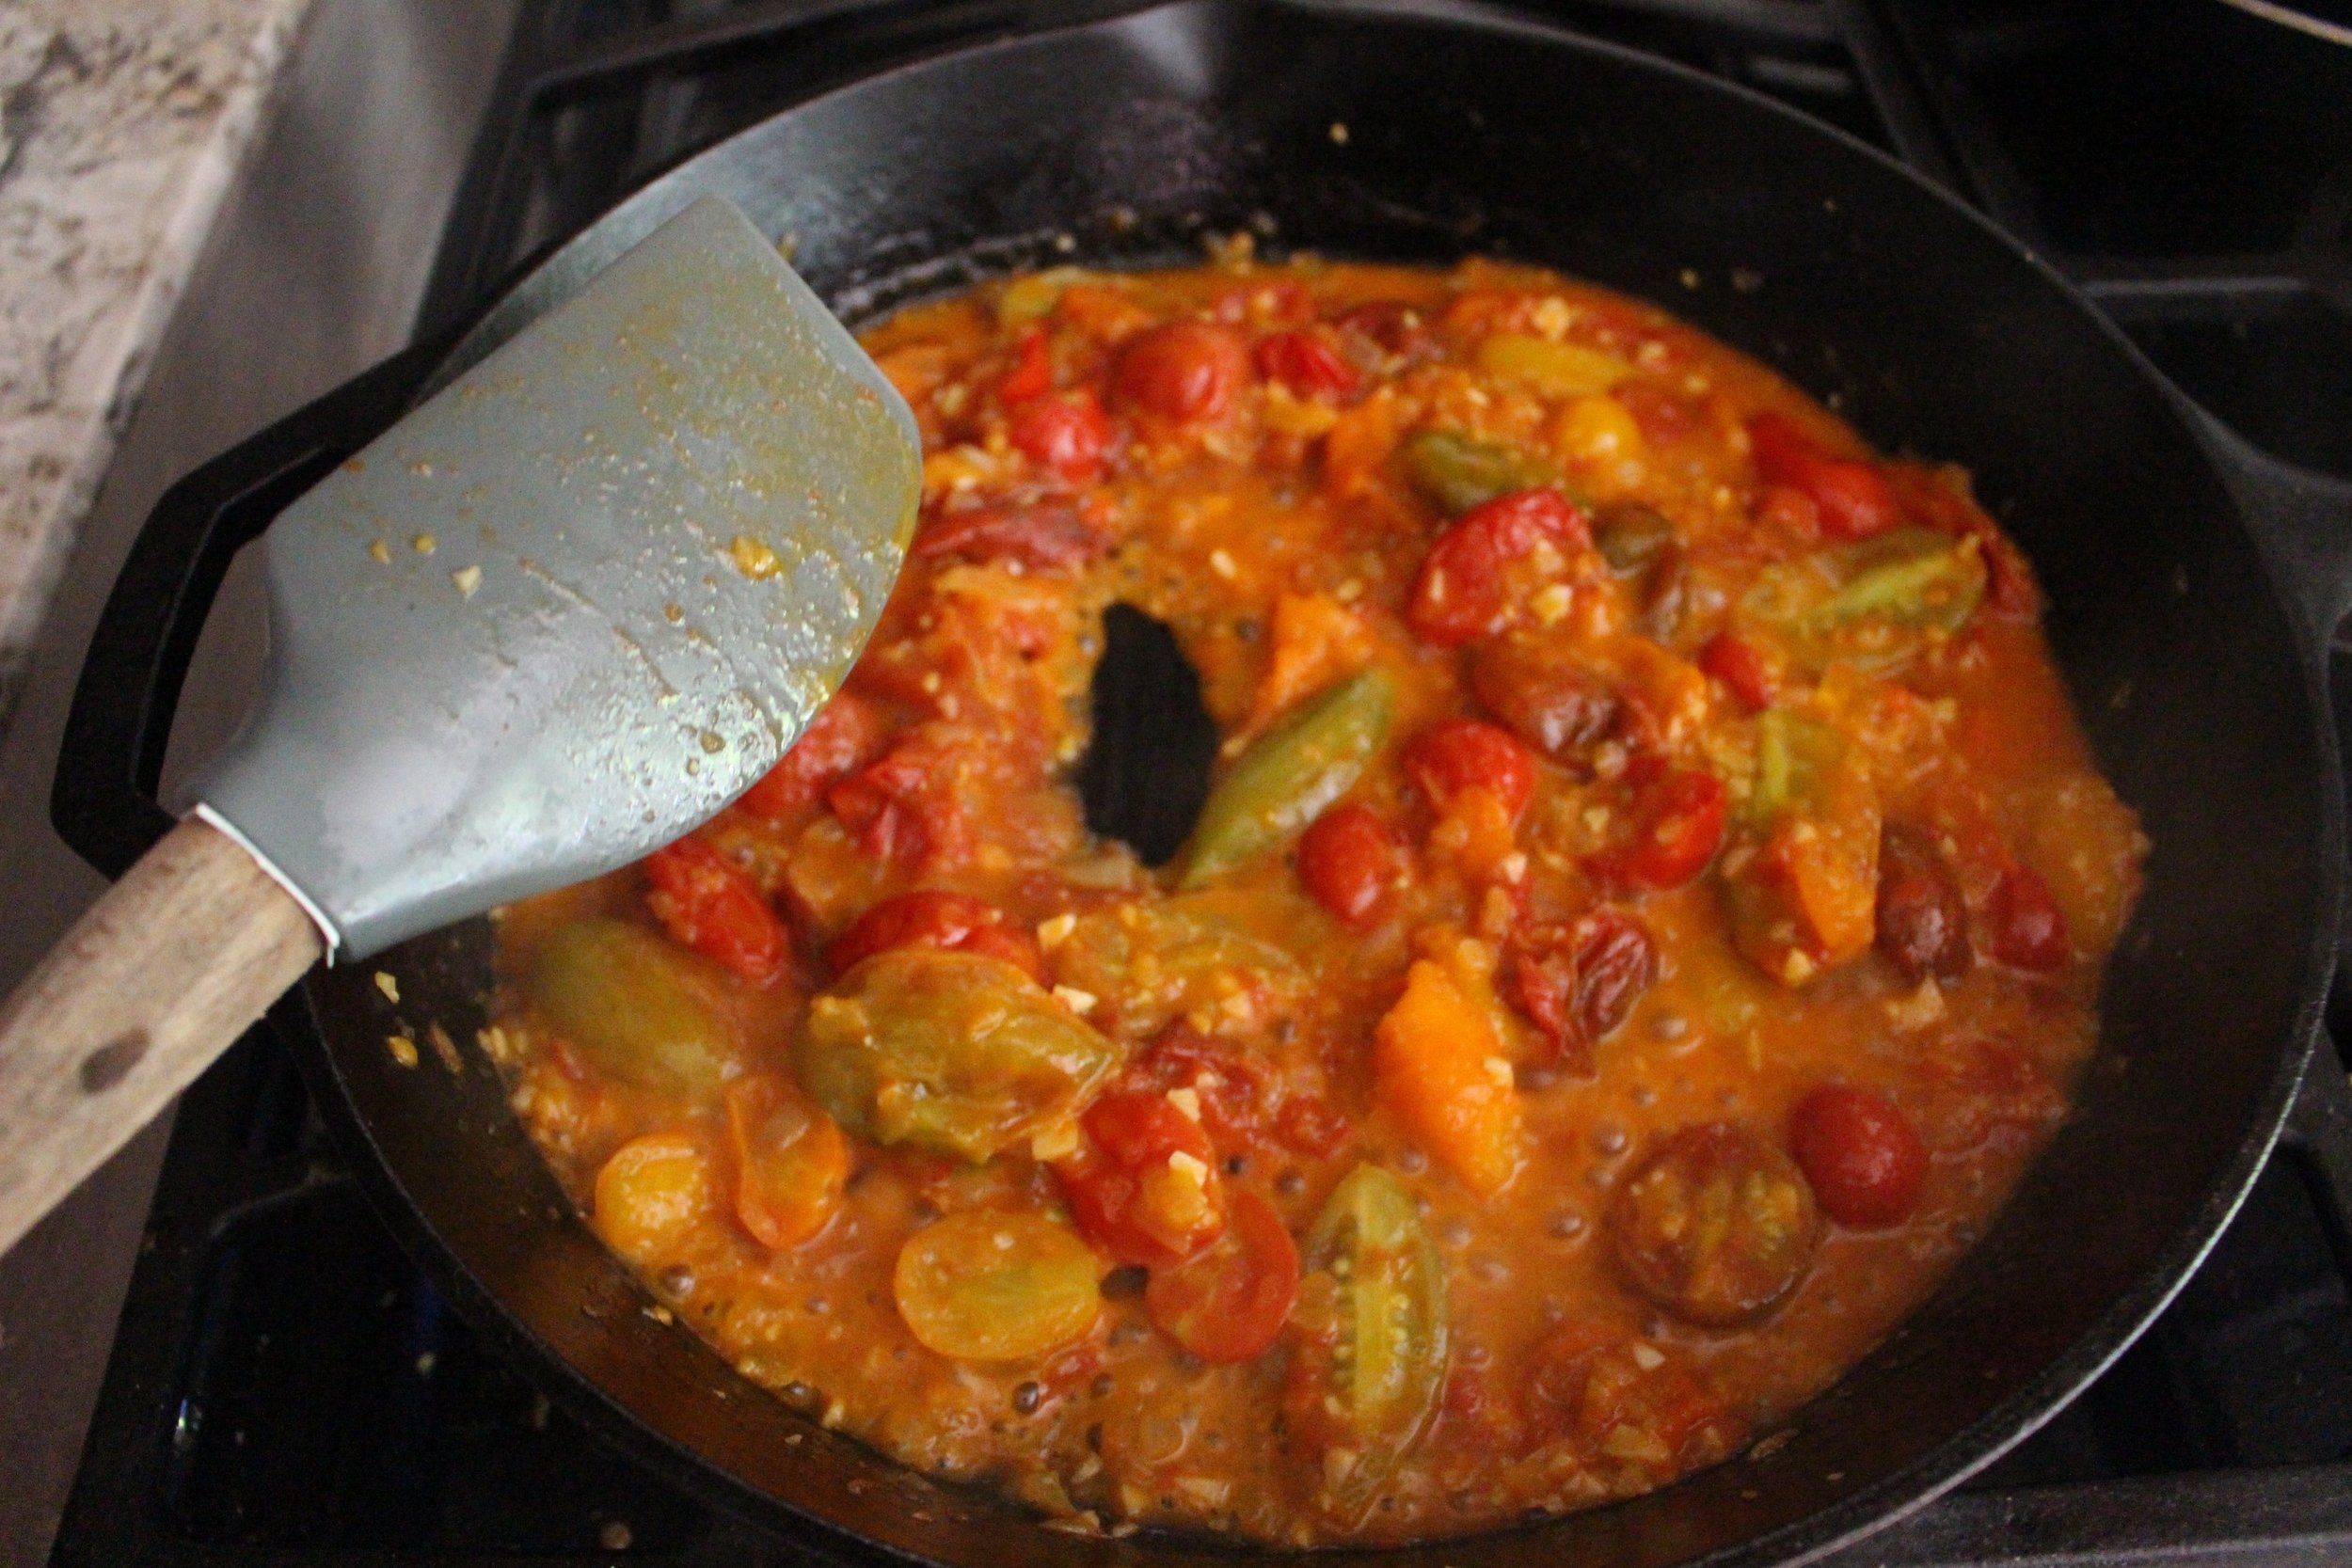
The liquid should be at a consistent and vigorous boil. If it isn’t, turn the heat up slightly until the liquid begins to boil. Continue cooking, stirring occasionally, until the tomato liquid has reduced by more than half and become syrupy, about another 8-10 minutes.

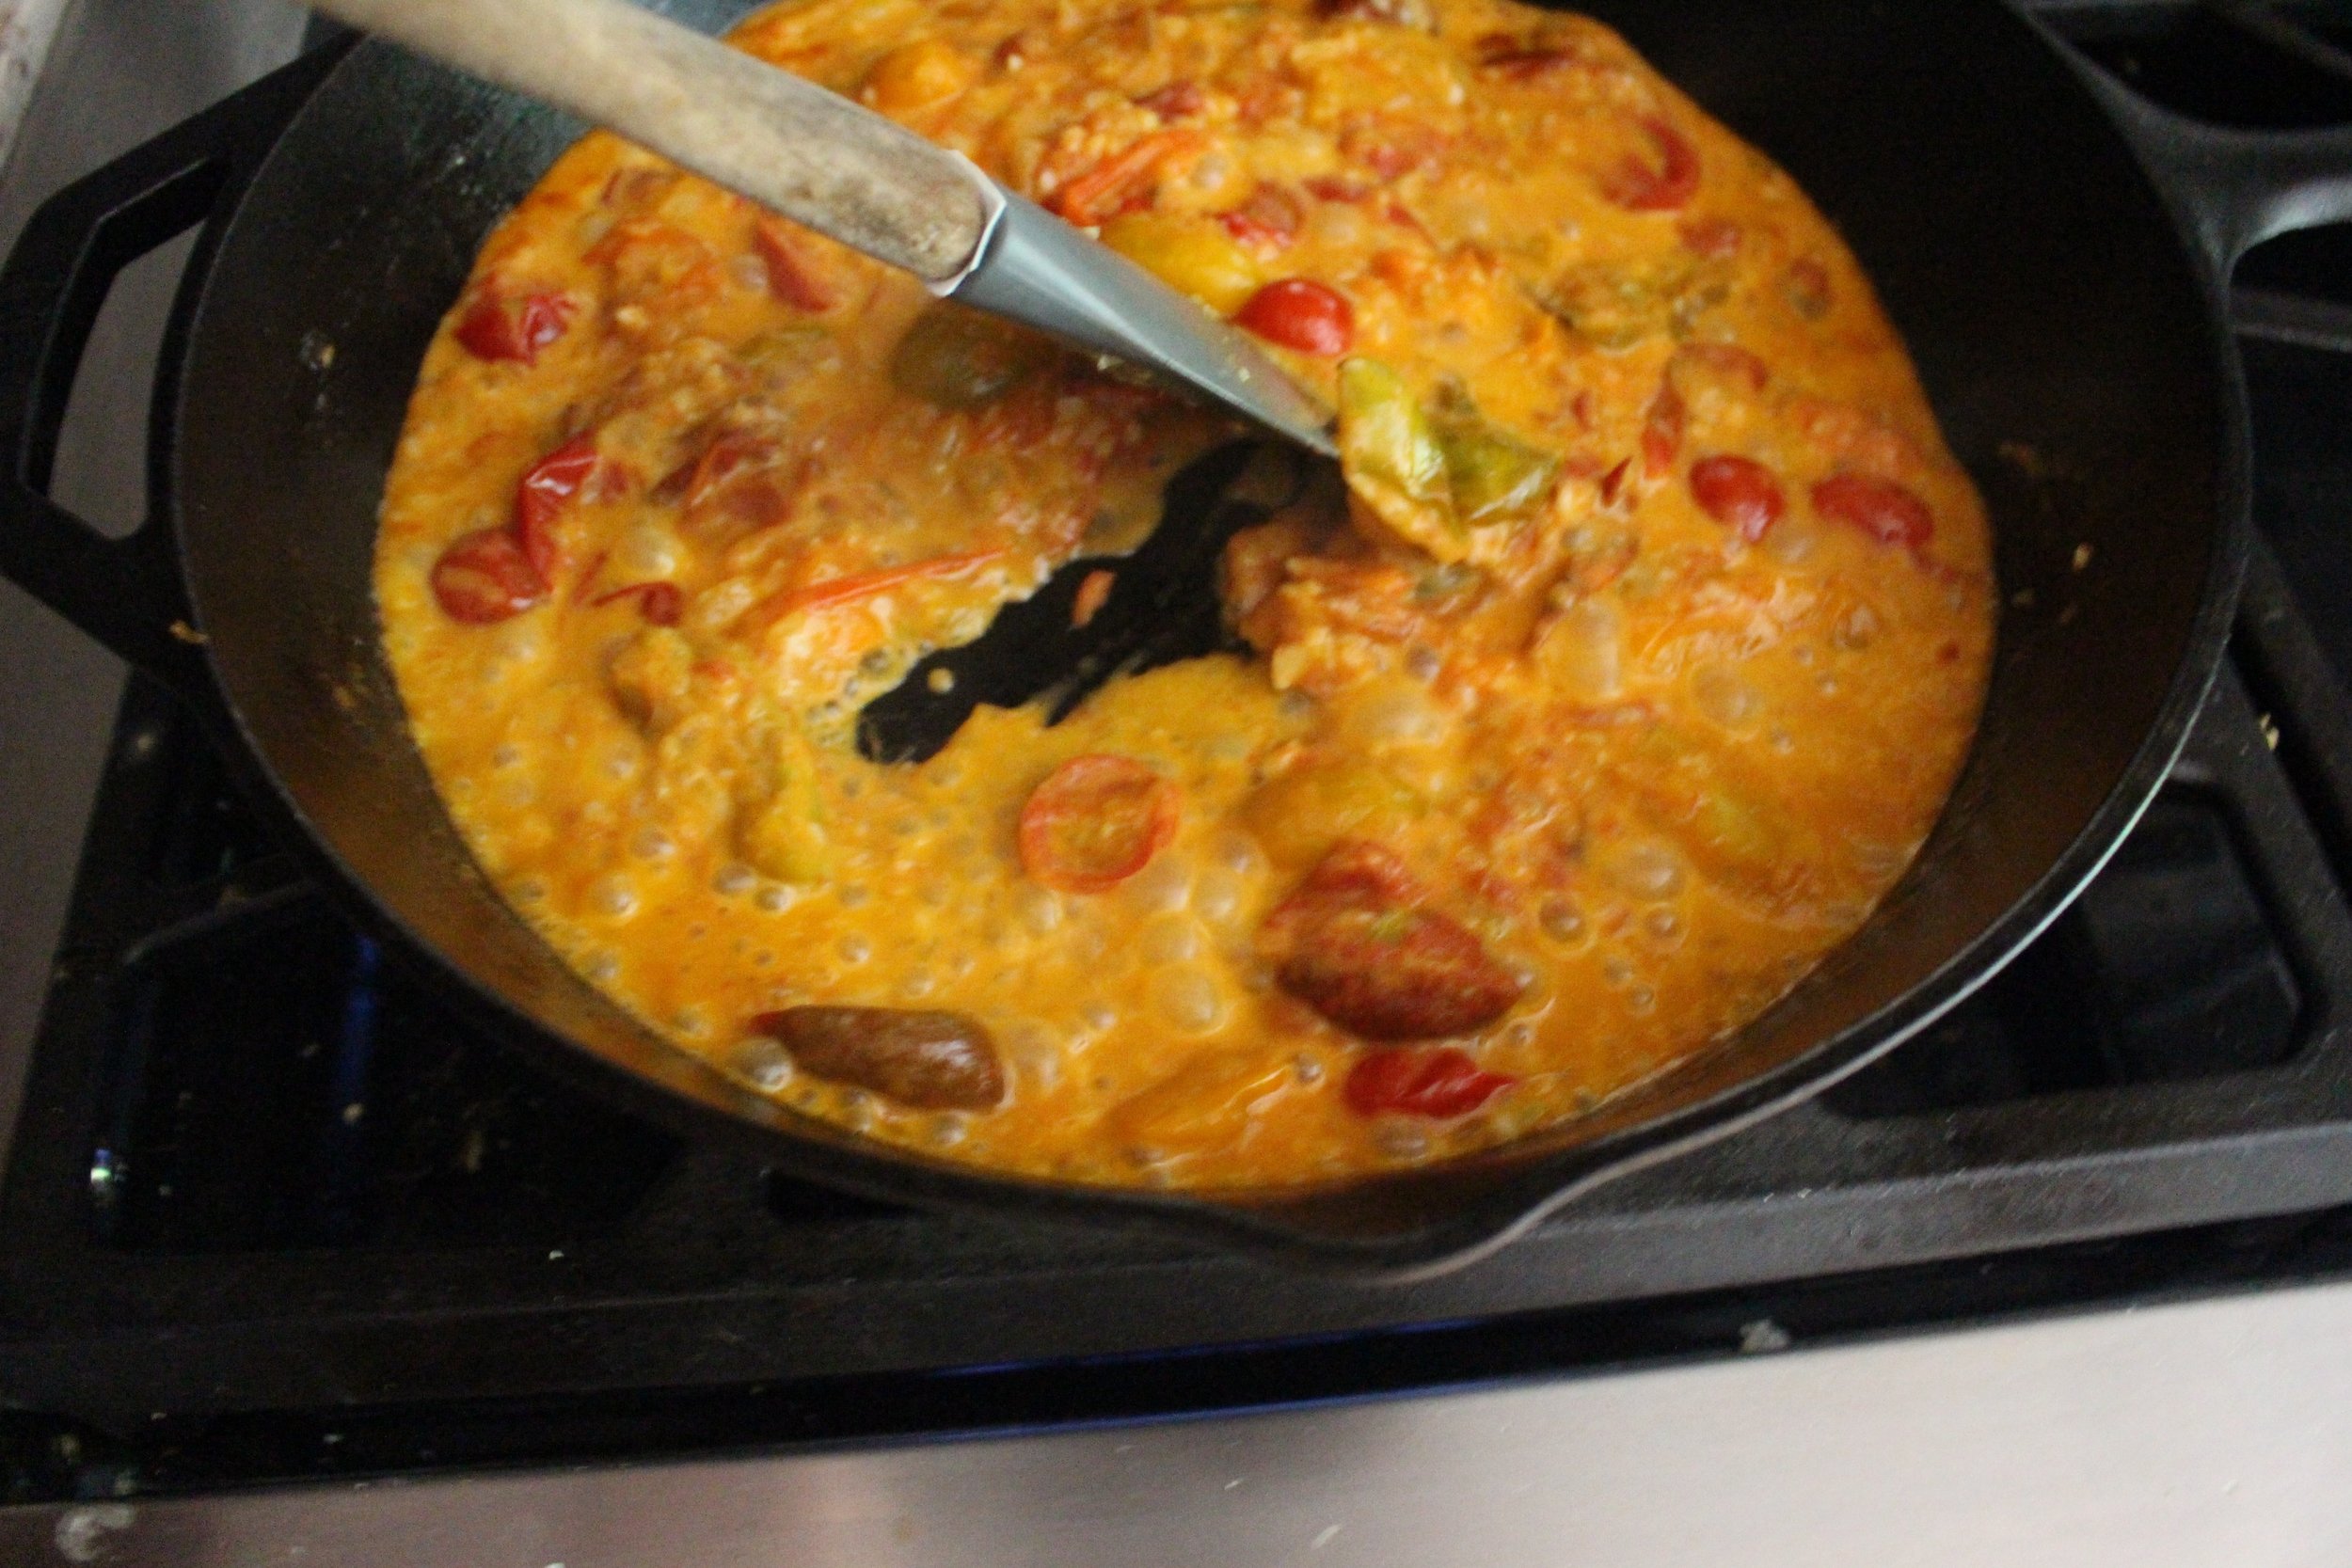
Add the heavy cream and parmesan cheese and stir to combine. Continue simmering for 4-5 more minutes, stirring regularly, until the sauce thickens. (You should be able to scrape the bottom of the pan and the sauce doesn’t ooze back right away.)

Add the beans and pasta to the sauce and stir to combine. Cook for one more minute to heat the beans and the pasta through.

Season with salt and pepper and sprinkle with fresh or dried thyme.

Yield: 4 servings (one heaping cup each)

IMG_8192.jpg

Potato leek quiche

This naturally gluten-free quiche uses potatoes for the crust, which also adds flavor and texture for an easy and impressive meal. #meandthemoose #quiche #glutenfree #glutenfreerecipes #brunch

This naturally gluten-free quiche uses potatoes for the crust, which also adds flavor and texture for an easy and impressive meal. #meandthemoose #quiche #glutenfree #glutenfreerecipes #brunch

Quiche is usually a decadent affair, but this version uses layered potatoes in place of a traditional crust. It’s easy, but seems fancy, and healthy, but seems decadent.

Take me to the quiche!

This naturally gluten-free quiche uses potatoes for the crust, which also adds flavor and texture for an easy and impressive meal. #meandthemoose #quiche #glutenfree #glutenfreerecipes #brunch

This naturally gluten-free quiche uses potatoes for the crust, which also adds flavor and texture for an easy and impressive meal. #meandthemoose #quiche #glutenfree #glutenfreerecipes #brunch

Spring. I love you and hate you. You bring the promise of new things and warm weather, but you never just happen. Last weekend, we ate lunch outside and went for a walk at a state park without jackets. This weekend, we're getting more snow. I DON'T UNDERSTAND. Anyway, I'll stop complaining about the weather because a) it'll be hot before you know it, and b) I'm not a cranky 85-year-old. Or am I?

Anyway, this quiche feels like spring to me. It's light and fresh and simple, but also warm and cheesy and comforting. It straddles the line between weather and feels right for whatever spring throws at us: I can picture myself eating it in a cozy sweater in front of a fire, but also on a picnic blanket in the sun.

The potato crust is so simple and a great substitute for a butter-and-flour crust. Not only is it healthier, but it also speeds up the quiche cooking process considerably.

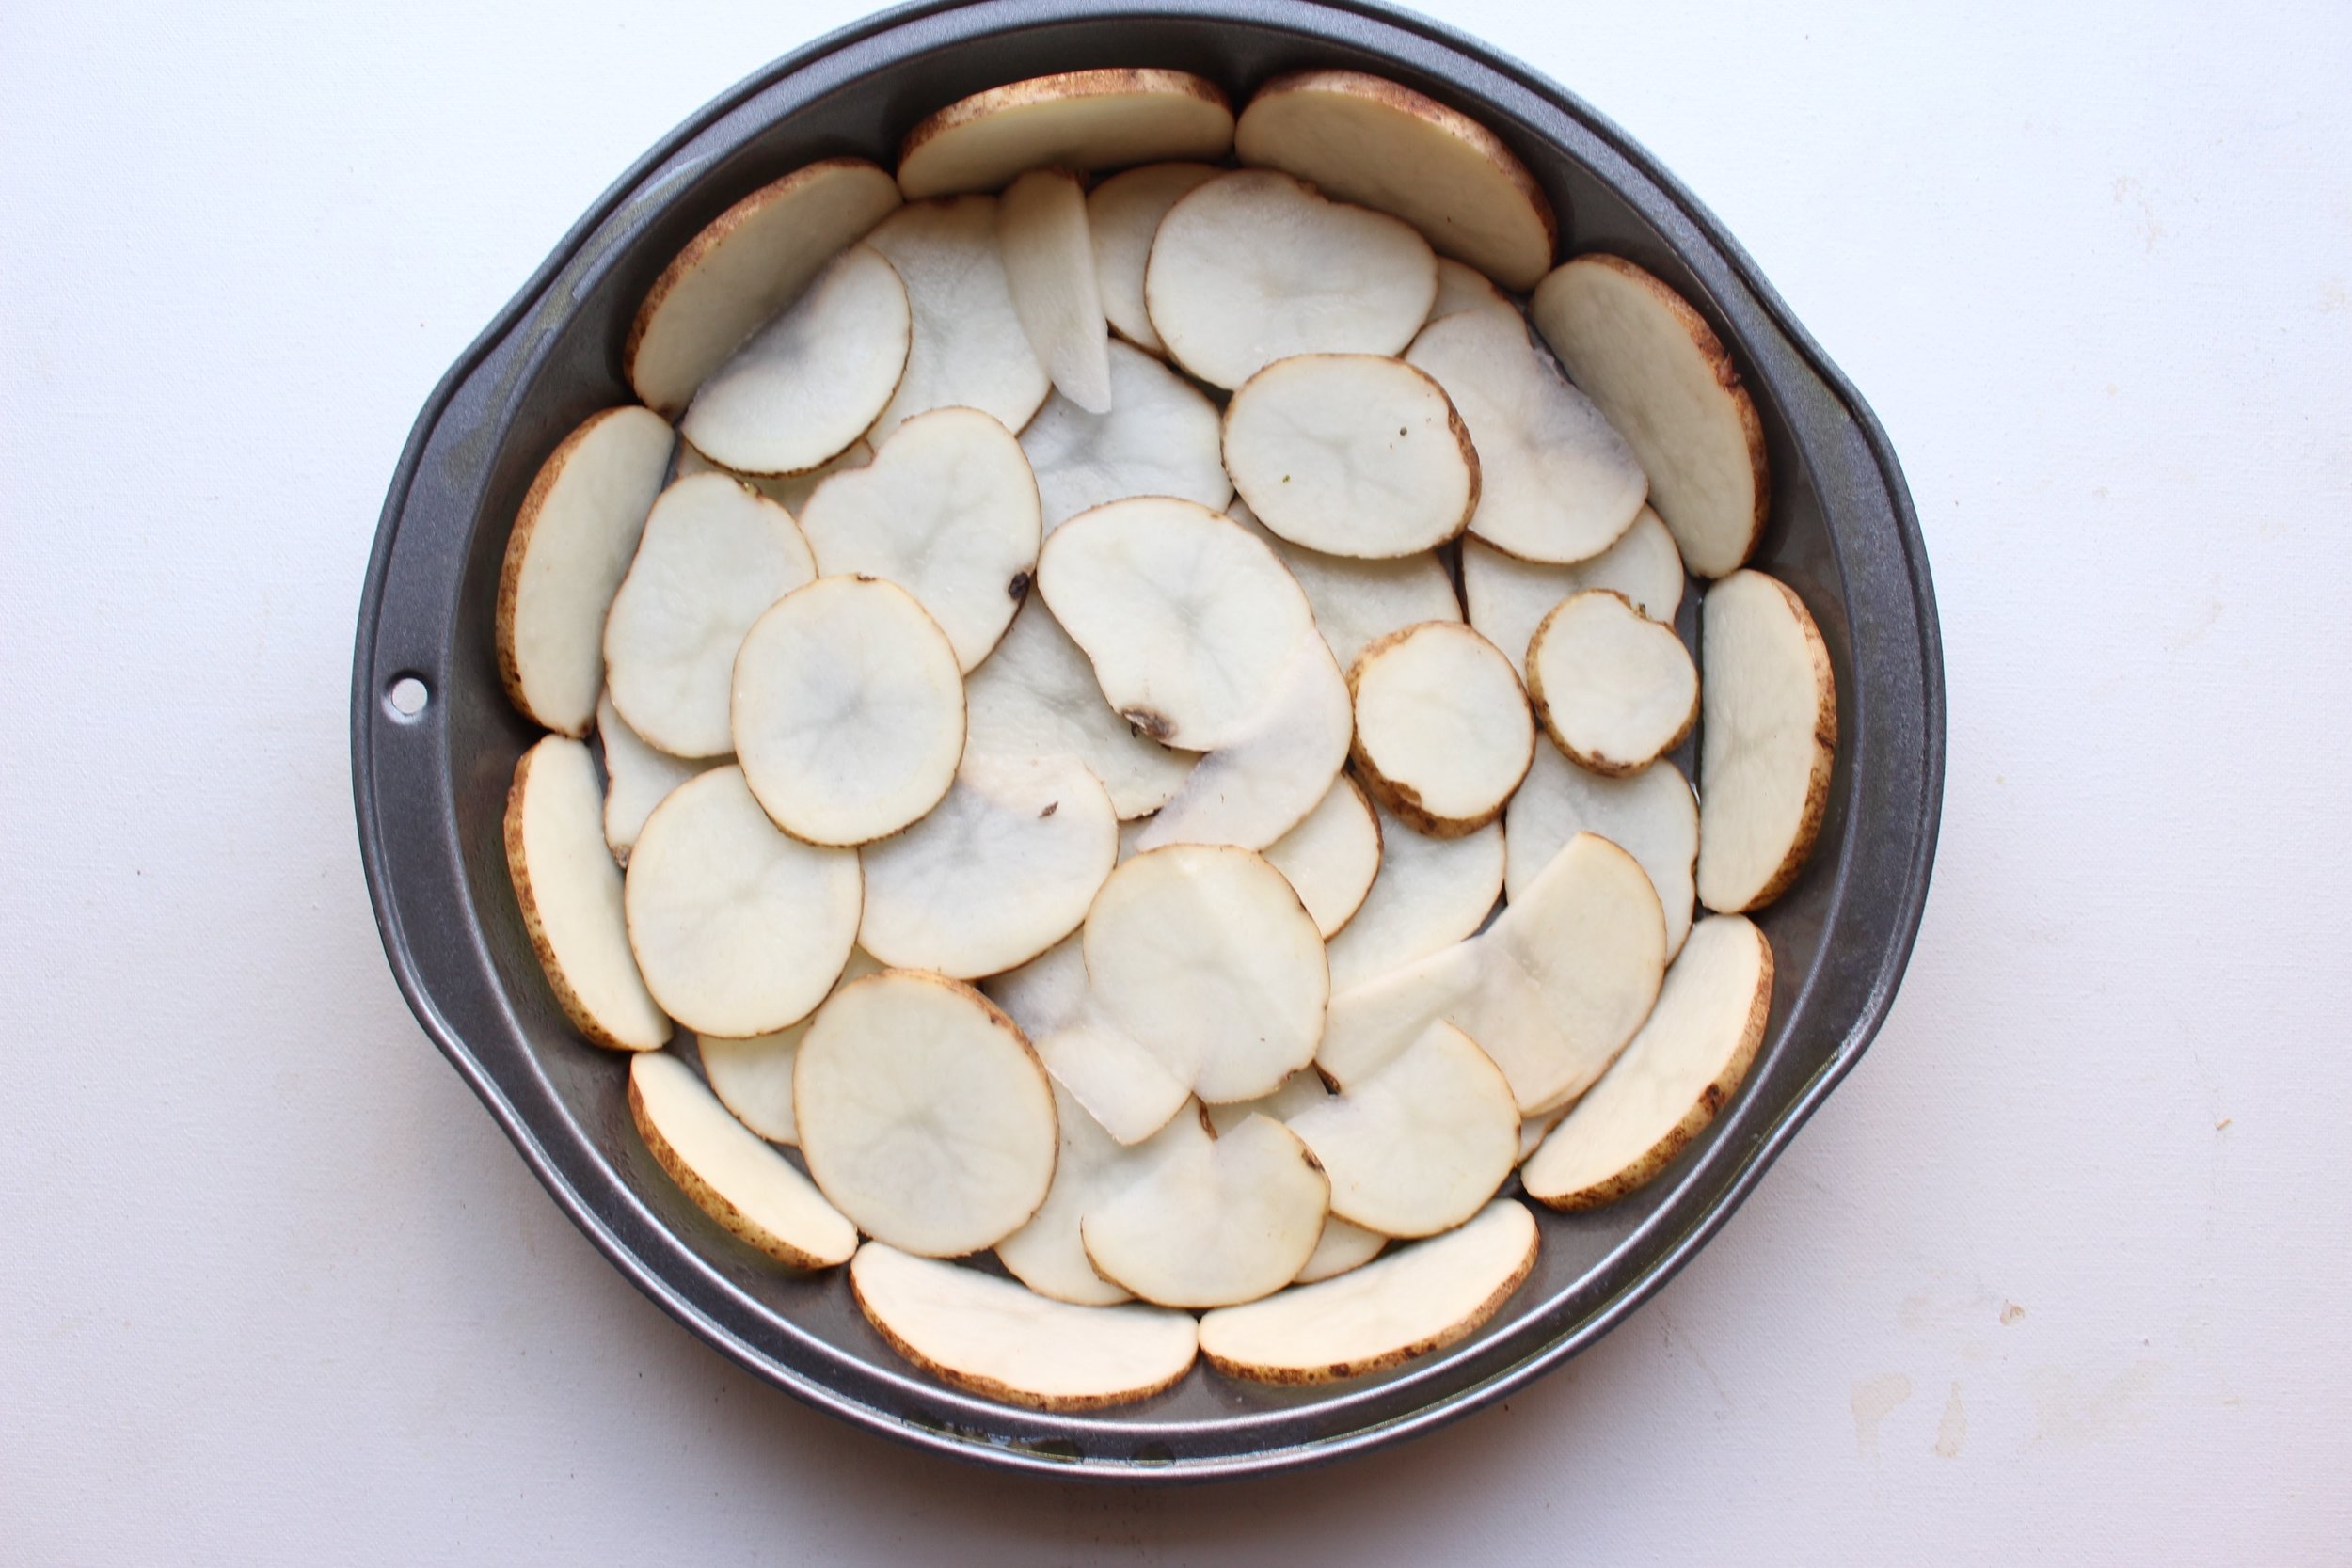
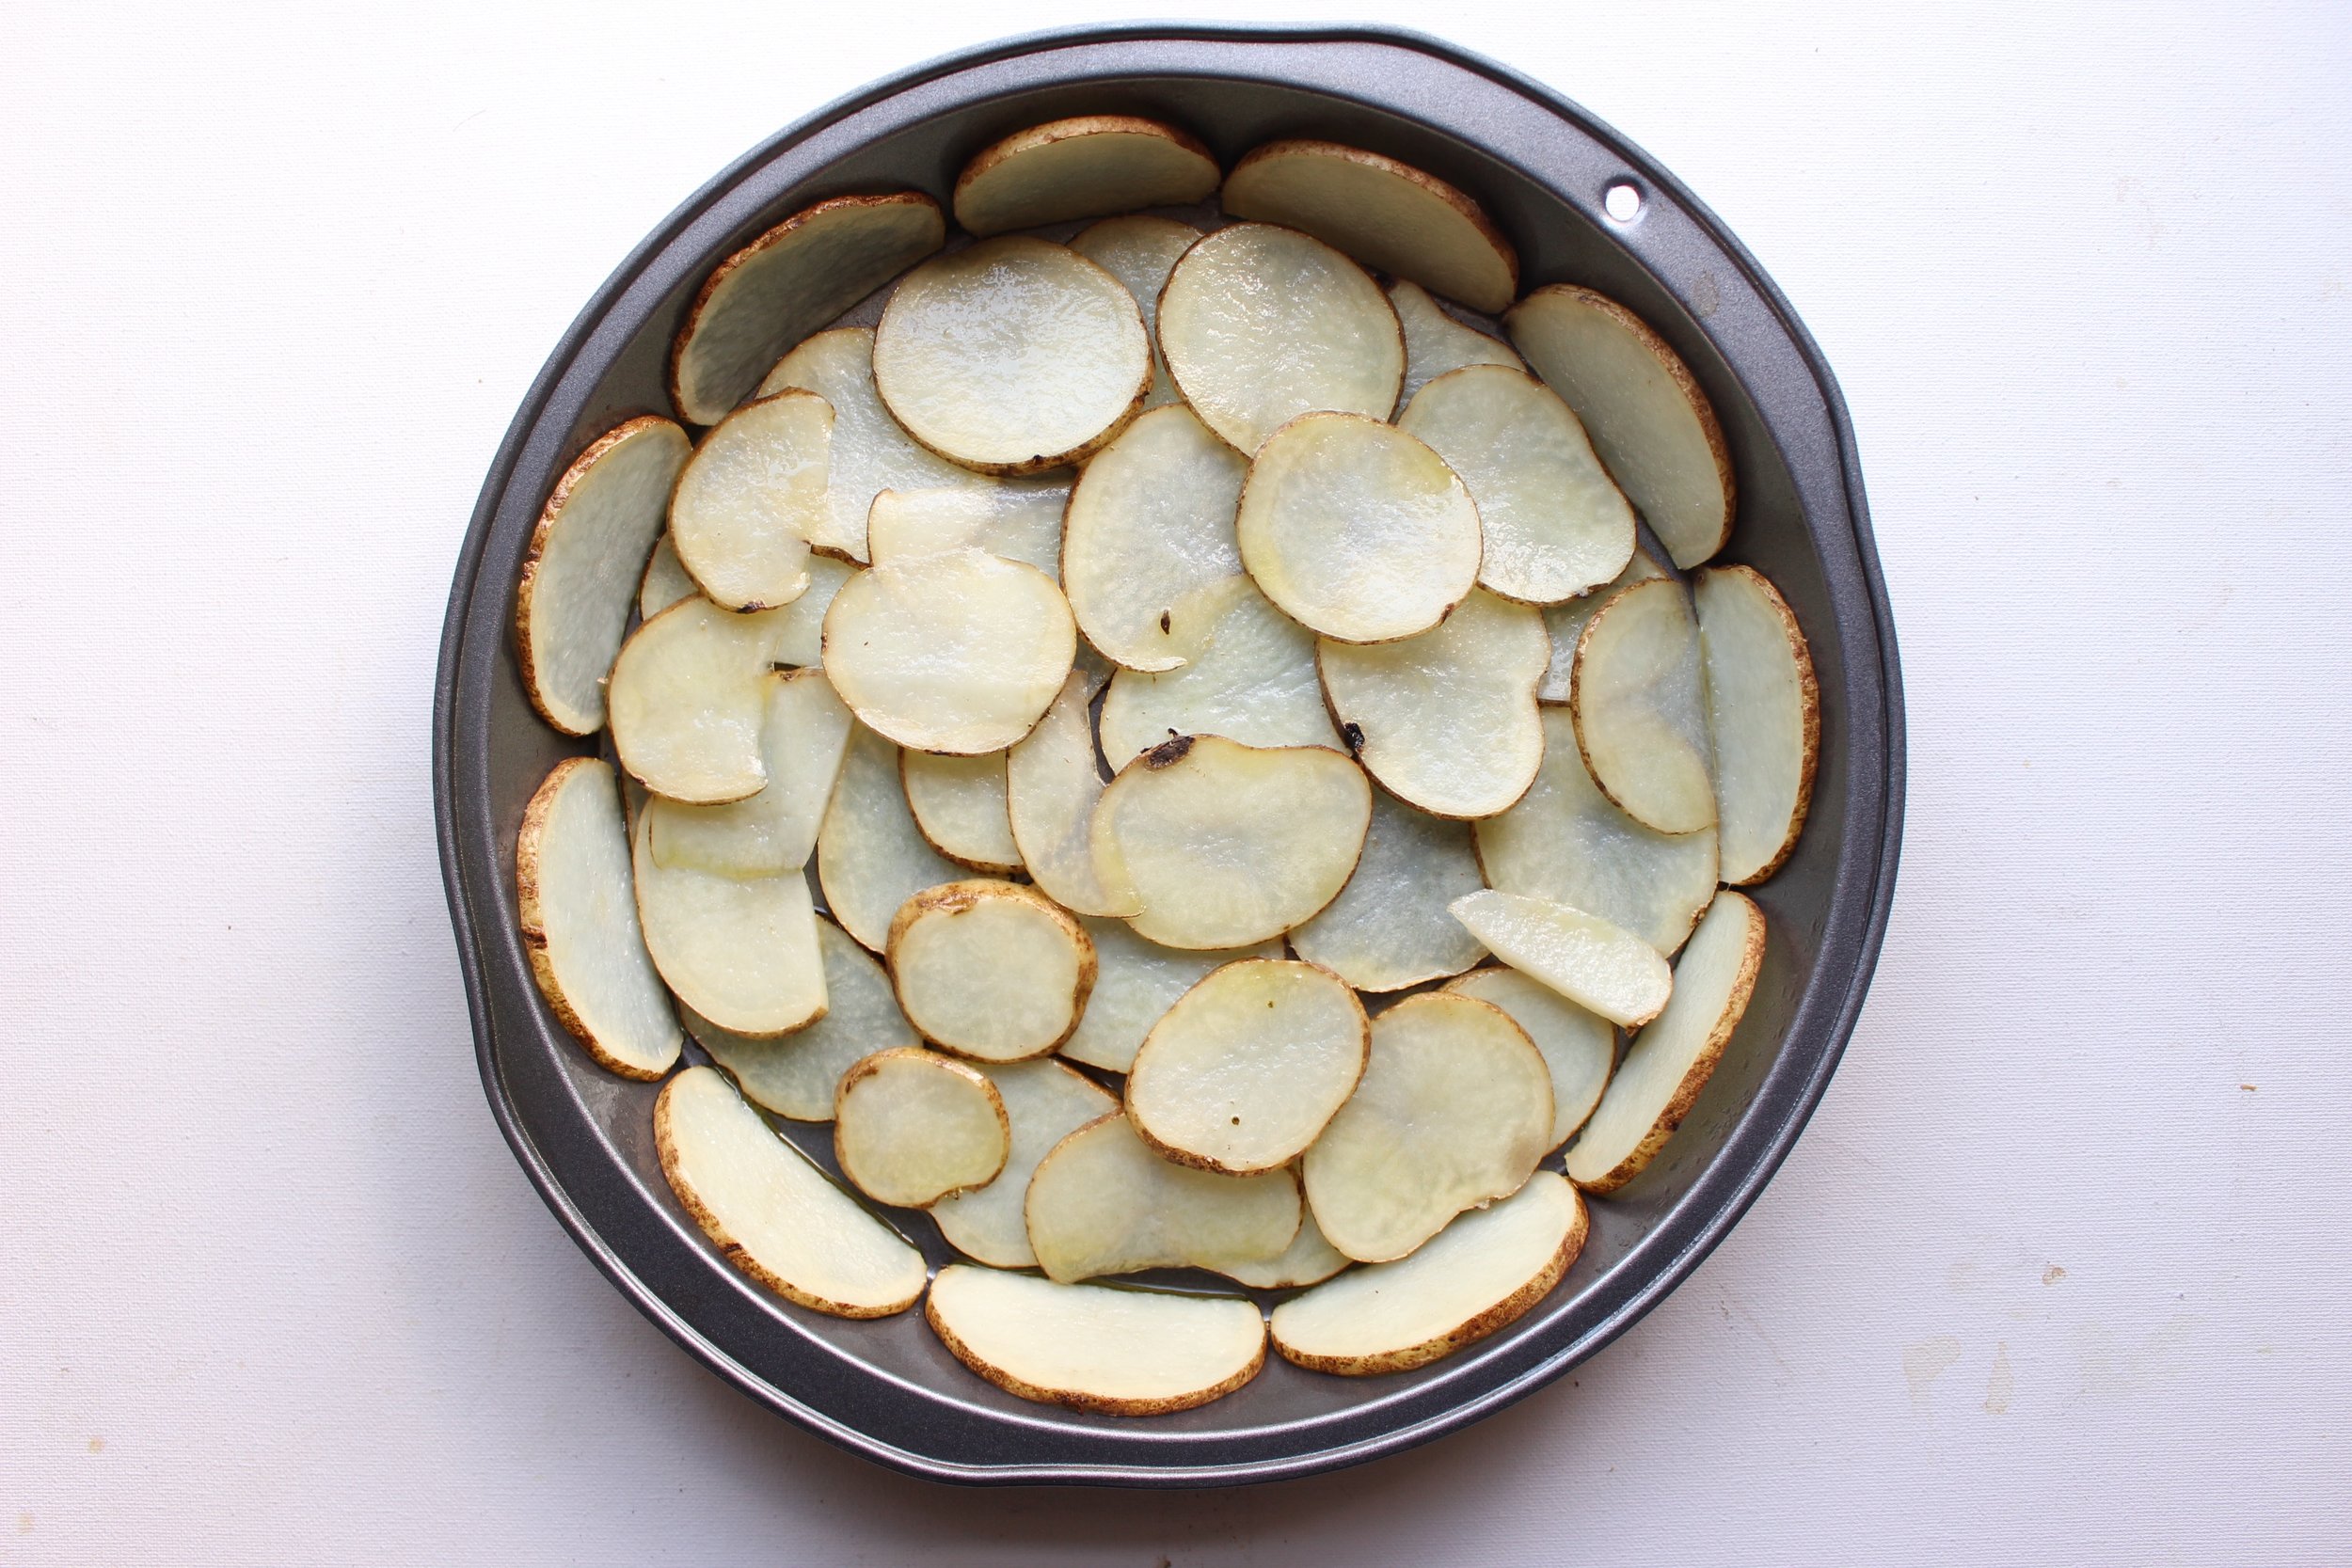
A couple of tips: The slight fluting outward of the pie plate sides helps the potatoes stay upright while they cook. You also want to slice the potatoes thinly enough that they're pliable, but not so thin that they get crispy or warp too much when initially cooking.

This naturally gluten-free quiche uses potatoes for the crust, which also adds flavor and texture for an easy and impressive meal. #meandthemoose #quiche #glutenfree #glutenfreerecipes #brunch

This naturally gluten-free quiche uses potatoes for the crust, which also adds flavor and texture for an easy and impressive meal. #meandthemoose #quiche #glutenfree #glutenfreerecipes #brunch

Potato leek quiche


12-16 oz white potatoes (about 2 large)
4 tsp olive oil, divided
2 small leeks (about 1.5 cups chopped)
1 teaspoon fresh or ½ tsp dried thyme
1 cup shredded gruyere, comte, or cheese of choice
6 eggs
½-2/3 cup milk
1 Tbsp Dijon mustard
½ tsp salt
¼ tsp pepper

Preheat the oven to 400. Wash and dry the potatoes. Very thinly slice (about 1/8 of an inch thick) with a knife or a mandolin. Cut a small slice off of one edge of the thin potato slices to create one flat side.

Spray or brush a pie tin with one tsp of oil. Place a single line of potato slices around the edge of the pie plate with the flat sides down.

Then, cover the bottom of the dish with a layer of potatoes. Using the rest of the potato slices, fill in gaps on the bottom and sides.

Brush or spray the raw potato crust lightly with olive oil and sprinkle with salt. Cook for 10 minutes (until the potatoes just start to soften) and then remove from the oven.

While the potato crust cooks, slice and chop the leeks and shred the cheese.

In a large bowl, whisk the eggs and milk until small bubbles form. Add the Dijon, salt, and pepper and whisk again. Add the leeks and cheese and stir well to combine.

Pour into the potato crust and press lightly to even out the leeks and cheese. Cook for 20-25 minutes or until the center of the quiche is set. To check, jiggle the quiche lightly and if the middle wiggles, continue cooking. If the middle is set, it won’t jiggle. If the top browns too much before the eggs are set, cover with tin foil and continue cooking.

Yield: 6 small servings, 4 large servings

PS: I'd love to know more about anyone who reads this blog! If you feel so inclined, I have a short (10 questions!), anonymous survey that would really help me to know how to best tailor content. Thanks a million! 

Carrot and ricotta turnovers

Carrot and ricotta turnovers | Me & The Moose. The puree that fills these barely sweet turnovers is delicious on its own or as baby food, a toddler pouch, or a dip. Premade puff pastry dough makes this an easy treat to whip up for unexpected holiday guests. #meandthemoose #carrotrecipes #desserts #babypuree #toddlerfood #carrotandricottaturnovers #turnoverrecipes

A barely sweet puree that can double as baby food, a toddler pouch, a crostini spread, or a dessert-y dip gets wrapped in store-bought puff pastry and quickly baked in a super hot oven to make an easy appetizer or unexpected guests or an unexpected side on a holiday table.

Take me to the recipe!

Carrot and ricotta turnovers | Me & The Moose. The puree that fills these barely sweet turnovers is delicious on its own or as baby food, a toddler pouch, or a dip. Premade puff pastry dough makes this an easy treat to whip up for unexpected holiday guests. #meandthemoose #carrotrecipes #desserts #babypuree #toddlerfood #carrotandricottaturnovers #turnoverrecipes

I keep choosing holiday recipes that are either multi-stepped, super complicated, or painstaking. I mean, who doesn't love sugar cookies painted with luster dust and puppy cupcakes? But not every holiday dessert or appetizer has to be a labor of love, know what I mean?

These carrot turnovers are a little sweet, a little savory and completely delicious. They're also easy to put together and seem fancier than they actually are. And there are vegetables! I made these guys fairly large when they were just a part of our dinner, but for a crowd, I would cut the rolled out pastry dough into 12 squares and check them after about 14 minutes of cooking.

Carrot and ricotta turnovers | Me & The Moose. The puree that fills these barely sweet turnovers is delicious on its own or as baby food, a toddler pouch, or a dip. Premade puff pastry dough makes this an easy treat to whip up for unexpected holiday guests. #meandthemoose #carrotrecipes #desserts #babypuree #toddlerfood #carrotandricottaturnovers #turnoverrecipes

Carrot and ricotta turnovers | Me & The Moose. The puree that fills these barely sweet turnovers is delicious on its own or as baby food, a toddler pouch, or a dip. Premade puff pastry dough makes this an easy treat to whip up for unexpected holiday guests. #meandthemoose #carrotrecipes #desserts #babypuree #toddlerfood #carrotandricottaturnovers #turnoverrecipes

Carrot and ricotta turnovers | Me & The Moose. The puree that fills these barely sweet turnovers is delicious on its own or as baby food, a toddler pouch, or a dip. Premade puff pastry dough makes this an easy treat to whip up for unexpected holiday guests. #meandthemoose #carrotrecipes #desserts #babypuree #toddlerfood #carrotandricottaturnovers #turnoverrecipes

A couple of notes:

  • The puree inside of these turnovers makes a lovely baby or toddler puree. For babies under a year, sub maple syrup for the honey (or leave out the sweetener entirely).

  • If using store-bought ricotta (which, let’s face it, we ALL ARE), consider draining the cheese a bit if it seems very watery in the container. I usually give it a squeeze or two in a cheese cloth or just let is sit in a fine mesh sieve while you prep the rest of the ingredients.

Carrot and ricotta turnovers | Me & The Moose. The puree that fills these barely sweet turnovers is delicious on its own or as baby food, a toddler pouch, or a dip. Premade puff pastry dough makes this an easy treat to whip up for unexpected holiday guests. #meandthemoose #carrotrecipes #desserts #babypuree #toddlerfood #carrotandricottaturnovers #turnoverrecipes

Carrot and ricotta turnovers


Time: about 40 minutes, mostly active
Yield: About 2 cups of puree; 6- 12 turnovers, depending on size

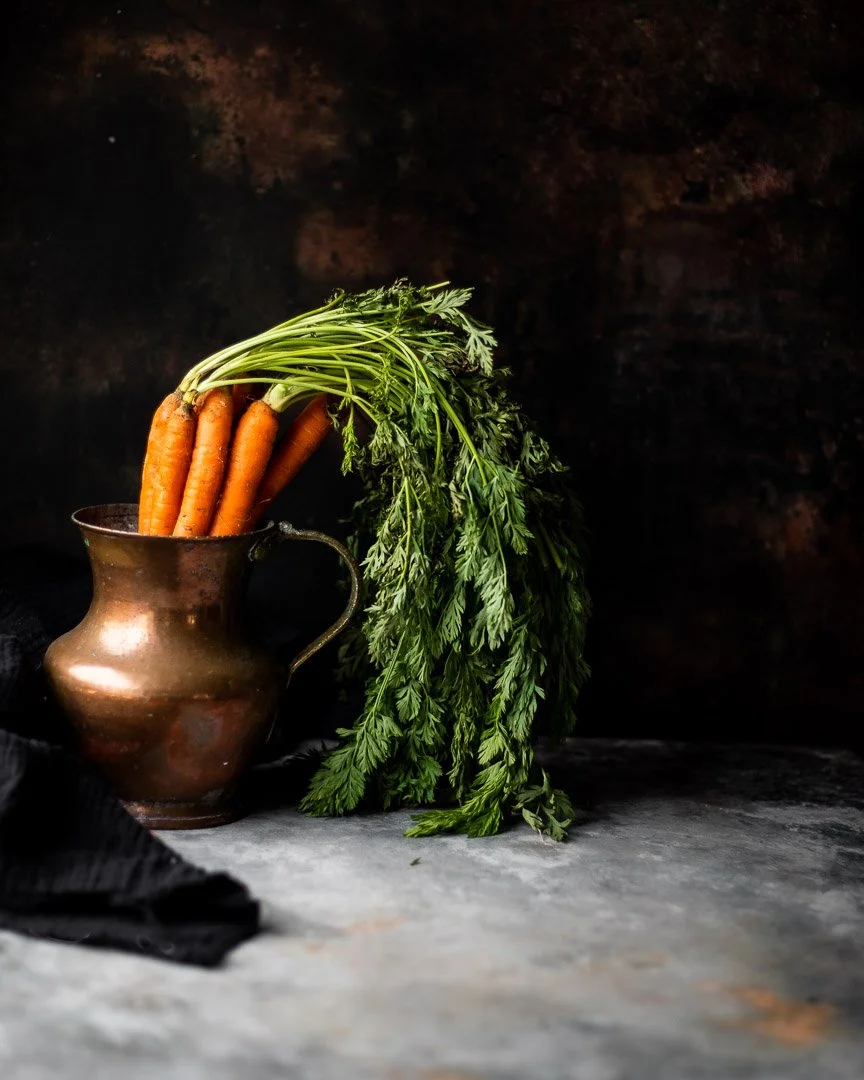
2 large carrots, peeled and diced (about 1 cup)
1 medium apple, peeled and diced (about 1/2 cup)
½ cup whole milk ricotta, drained if very watery
1 - 1 1/2 Tbsp honey, to taste
4 large sprigs fresh thyme or 1/4 tsp dried thyme, plus more to taste
Pinch salt, to taste
1 sheet puff pastry dough
1 egg, lightly beaten (optional)
1 Tbsp water, milk, or cream (optional)

Preheat the oven to 425.

Chop the carrots and apples. Place the carrots in a deep pot and cover with cold water, plus one inch. Bring to a boil over high heat. Once the carrots are boiling, add a steamer basket* on top and steam the apples for 10 minutes while the carrots boil below.

*If you don’t have a. steamer basket, boil the carrots for 8-9 minutes or until fork tender and then drop in the apples and cook for 2-3 minutes more.

Drain the apples and carrots and let cool slightly.

Pulse the cooked carrots and apples with the ricotta, honey, thyme, and salt. Add 1 Tbsp water or apple juice/cider if necessary to bring the mixture together in your food processor or blender.

Cut a piece of parchment that is slightly larger than your sheet pan. Place the puff pastry dough on the parchment and gently roll out the dough to lengthen it, allowing you to cut out squares instead of rectangles. Cut into 6 squares. Move your parchment and dough onto the sheet pan. Spoon 2 Tbsp of the carrot, apple, thyme, and cheese mixture into the bottom corner of the turnovers. Fold over to make triangles and gently press the sides together.

Optional: Crack the egg into a bowl and add the liquid. Lightly beat with a fork to combine the white, yolk, and liquid. Brush the tops of each triangle with a little bit of egg wash.

Bake for 12-14 minutes, or until golden brown.