Homemade granola base

Granola may seem like something that’s easier to buy in a store, but let me set the record straight: Homemade granola is simple, fast, and so much better than most of the commercially made stuff. Also, it makes your house smell amazing.

Take me to the recipe!

Cashew and blueberry granola is so fast and easy to make at home. There’s also less sugar and preservatives than in store bought versions AND you can customize the nuts, berries, and other add-ins with whatever you like best! #meandthemoose #granola…

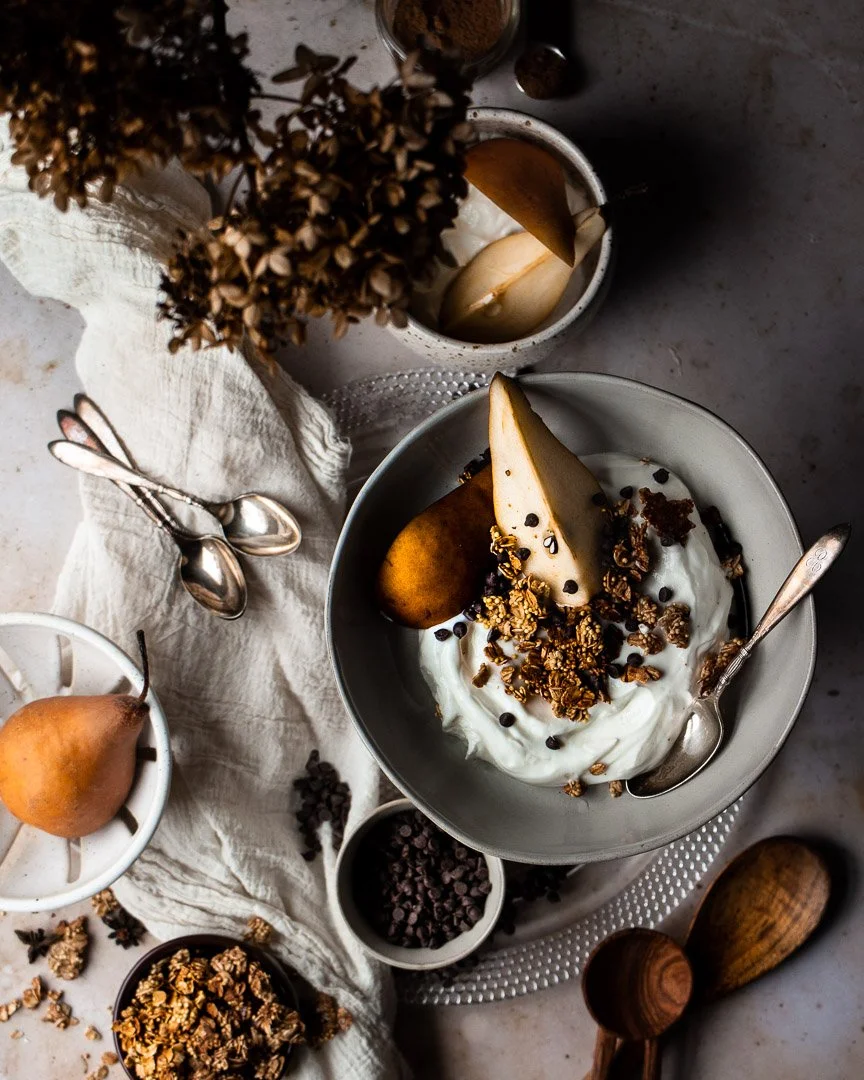
Let’s talk about granola and kids. I love granola because it’s a fun topper for lots of different things: yogurt, apple sauce, purees, pancakes, fruit, ice cream, etc. I like to pretend that it’s nature’s sprinkles. But there may be a chunk of kids who think granola is too crunchy or who don’t like the mix of textures. For them, I would add some mini chocolate chips or chocolate covered sunflower seeds and call it “trail mix.”

But granola is a great way to add some whole grains and make a more balanced snack.

I include millet in my granola and also my granola cups because it’s super crunchy and adds fiber, calcium, and iron, which we always need more of in our diet.

This recipe is a base and you can feel free to customize with whatever fruits and nuts you like best.

Also, if making this for a nut-free school snack, skip the nuts and double the fruit, sub in seeds like sunflower or pepitas, OR toast the nuts separately and toss them into an individual portion at home.

Cashew and blueberry granola is so fast and easy to make at home. There’s also less sugar and preservatives than in store bought versions AND you can customize the nuts, berries, and other add-ins with whatever you like best! #meandthemoose #granola…

A couple of notes:

  • If you have trouble finding millet, check the bulk sections of Whole Foods or any health food store.

  • When spreading the raw granola mix onto your sheet pan, make sure to leave some holes in the middle of the pan. If you spread it as one large mass, the middle will be undercooked while the edges start to burn. With some holes and thinner spots in the middle, you’ll get a more even bake and better chunks in your final product!

  • Be mindful that when the outsides start to brown, the thicker parts may still be a bit undercooked, but that the whole thing will continue to cook and crisp while it cools. Once you see significant browning on the edges, take it out of the oven and let it cool completely. If there are any undercooked spots, feel free to re-toast them in the oven or a toaster oven for a few minutes before eating. But DON’T toast any fruit that you may add. Toasted dried fruit = hard as a rock!

Cashew and blueberry granola is so fast and easy to make at home. There’s also less sugar and preservatives than in store bought versions AND you can customize the nuts, berries, and other add-ins with whatever you like best! #meandthemoose #granola…

Homemade granola base

Yield: about 3-4 cups of granola, depending on how many nuts and berries you add
Time: 25-28 minutes (5 minutes active time, 20-23 minutes baking time)

2 cups old fashioned rolled oats
½ cup millet
2 Tbsp brown sugar
1 tsp cinnamon
2 large pinches of kosher salt
½ cup nuts (your choice!)
2 egg whites, slightly whipped
1 Tbsp olive oil
1 tsp vanilla extract
¼ cup maple syrup
1/3 cup dried fruit of choice

Preheat the oven to 350. In a large bowl, mix together the oats, millet, brown sugar, cinnamon, and salt. Add the untoasted nuts, if using.

In a large measuring cup, mix together the egg whites, olive oil, and vanilla. Pour over the dry ingredients and mix together thoroughly.

Spread out on the mixture on a large sheet pan, leaving gaps and holes in the middle.

Bake for 20-23 minutes, or until the edges of the pan and any edges next to gaps in the middle start browning.

Let cool completely.

Add the dried blueberries (or other dried fruit) and crunch up the baked granola so that you have some chunks and some smaller bits.

Store in an airtight container at room temperature for up to 3 weeks.


Almond butter quinoa muffins

IMG_8346.jpg

What these muffins have: Good fats, protein, Omega-3s, deliciousness.

What these muffins don't have: Gluten, dairy, refined sugar, wheat, eggs, soy.

Bonus feature: The muffins only require one bowl!

IMG_8312.jpg

The new school year already started for lots of the country, but here in CT, M's preschool starts again on Monday. I've been thinking about quick ways to begin our day with protein that don't require cooking in the morning. These muffins are the answer!

Half of the flour is ground quinoa, which has lots of protein. The other half is oatmeal. I originally made these muffins with almond flour instead of oats for even more protein, but the almond flour was so dense that the muffins stuck to the roof of your mouth. You could just feed your kid a spoonful of almond butter and save yourself the trouble.

IMG_8323.jpg

With the oatmeal, the muffins are still substantial, but they're no longer dense. They're actually a smidge crumbly because I omitted eggs and any other binding agent. I wanted them to stay vegan and I don't always have the patience to make a flax egg. Letting them cool completely before eating them made them sturdier too. 

IMG_8325.jpg

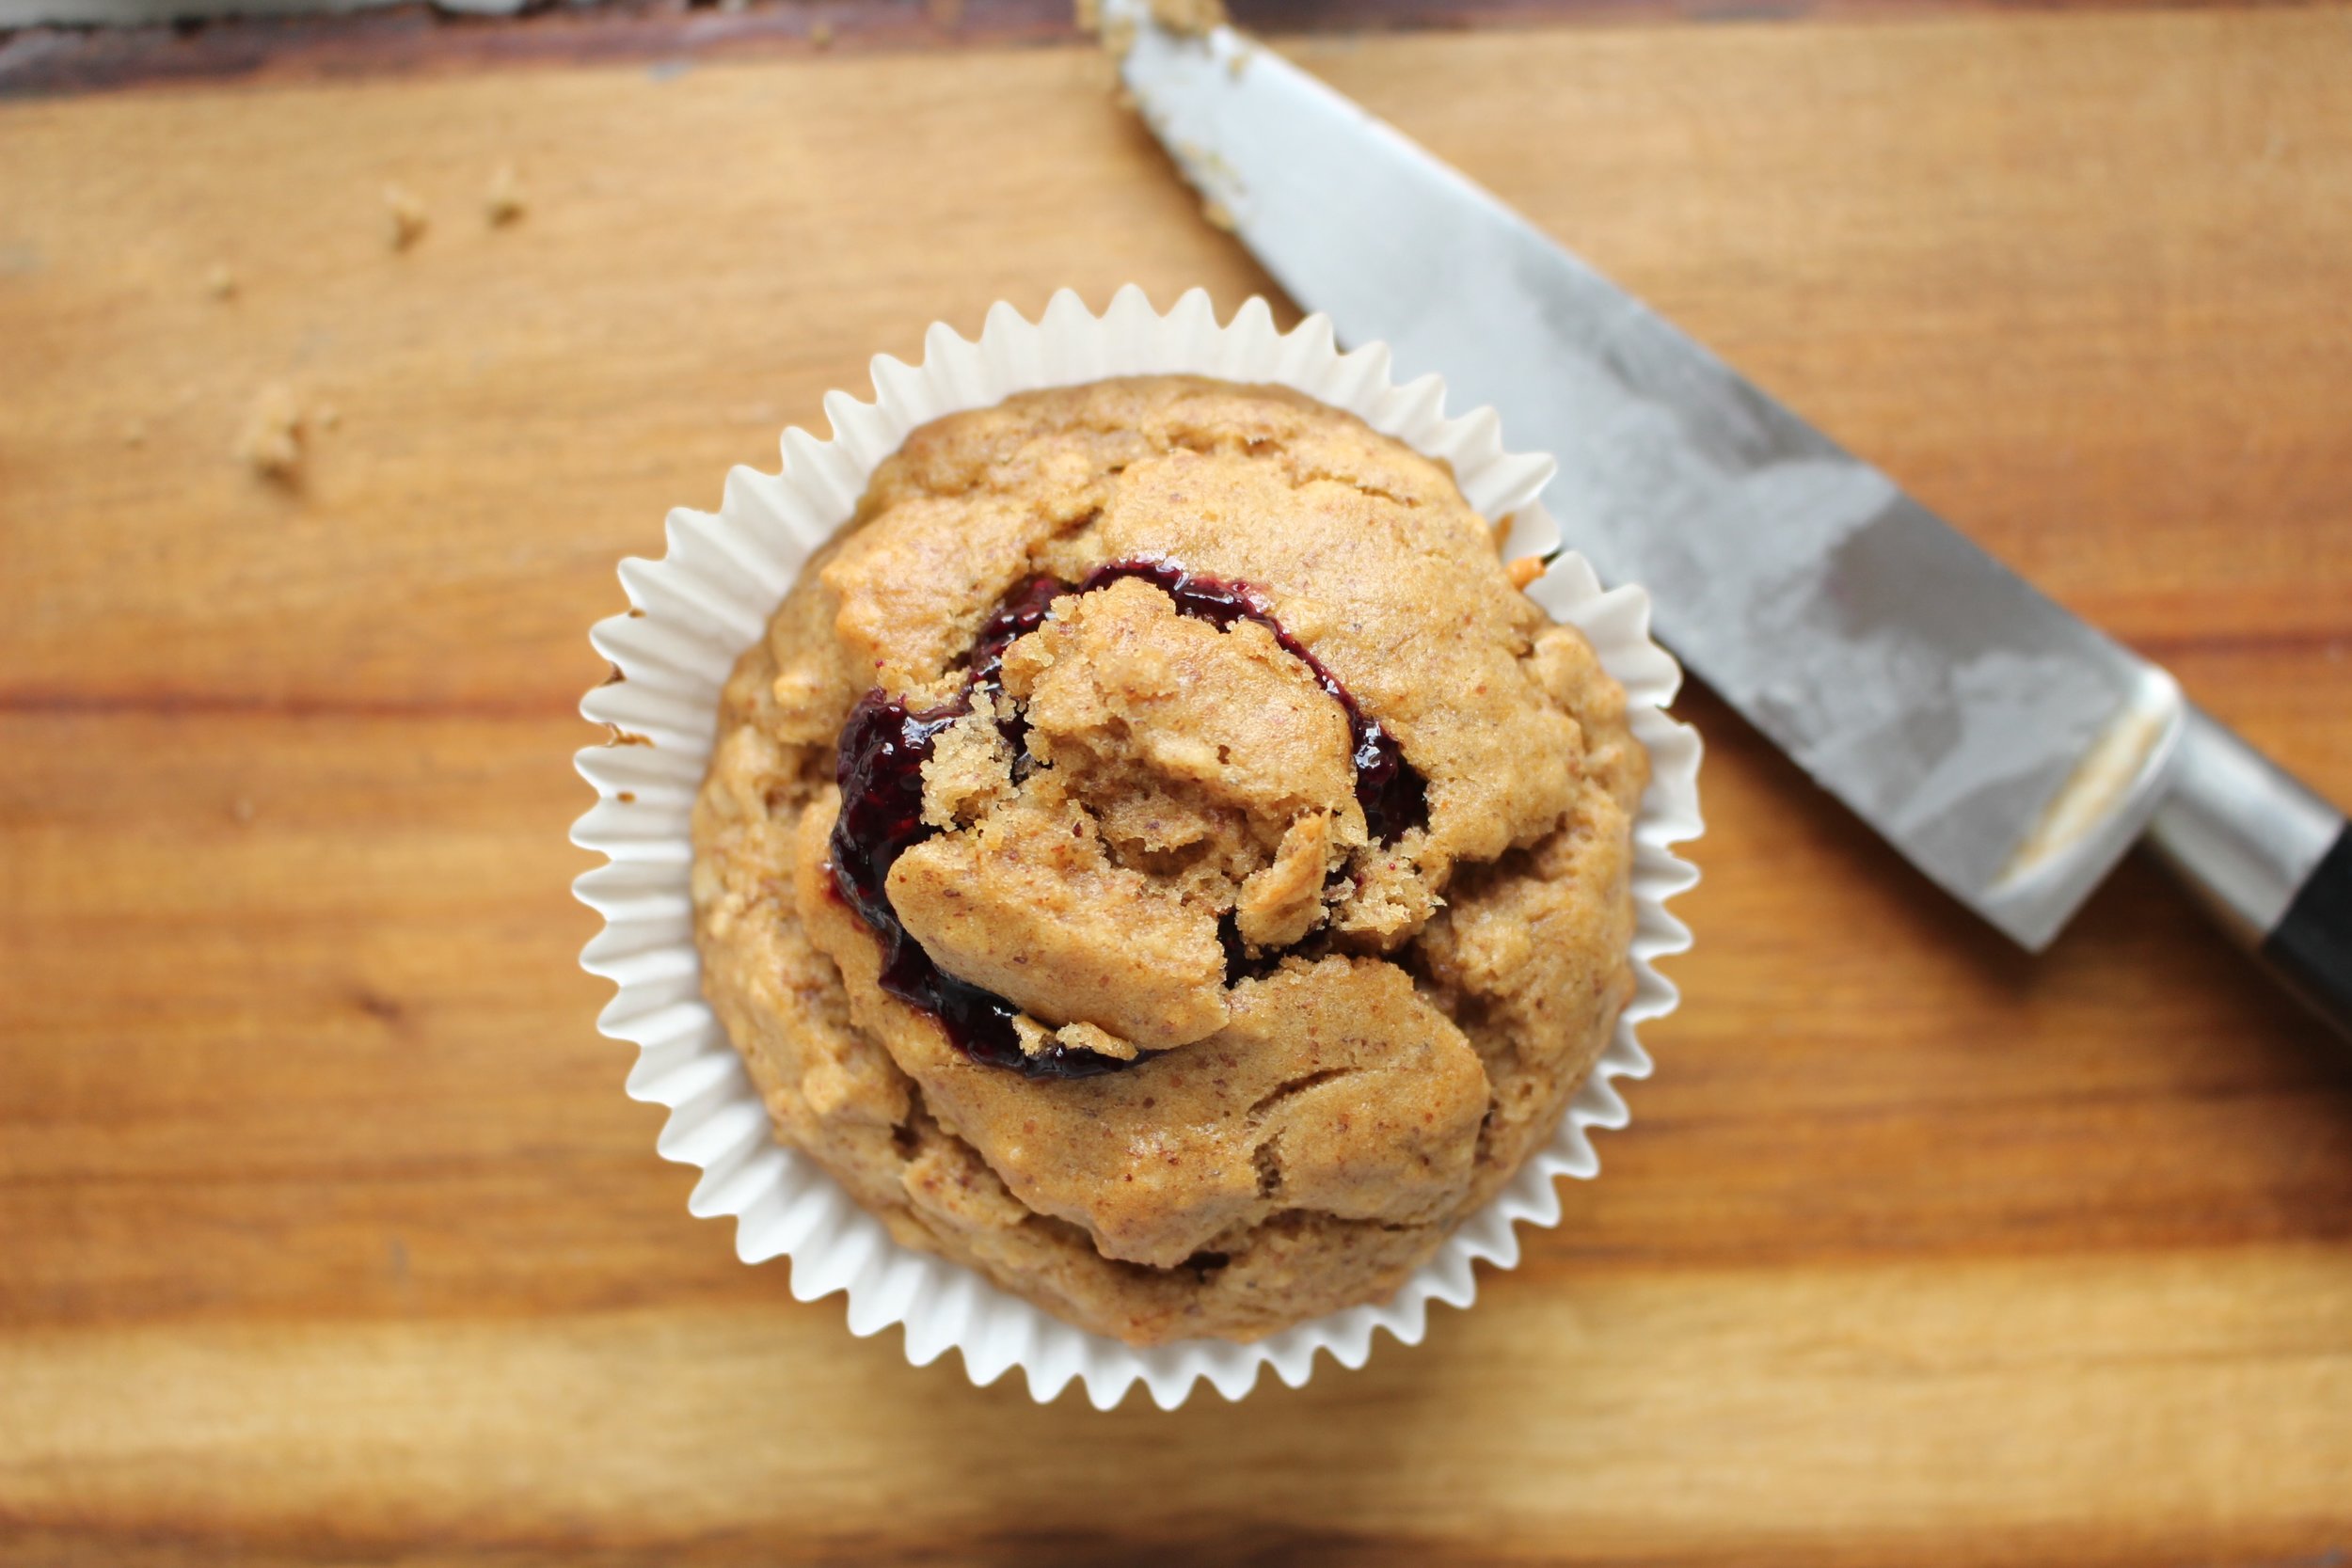
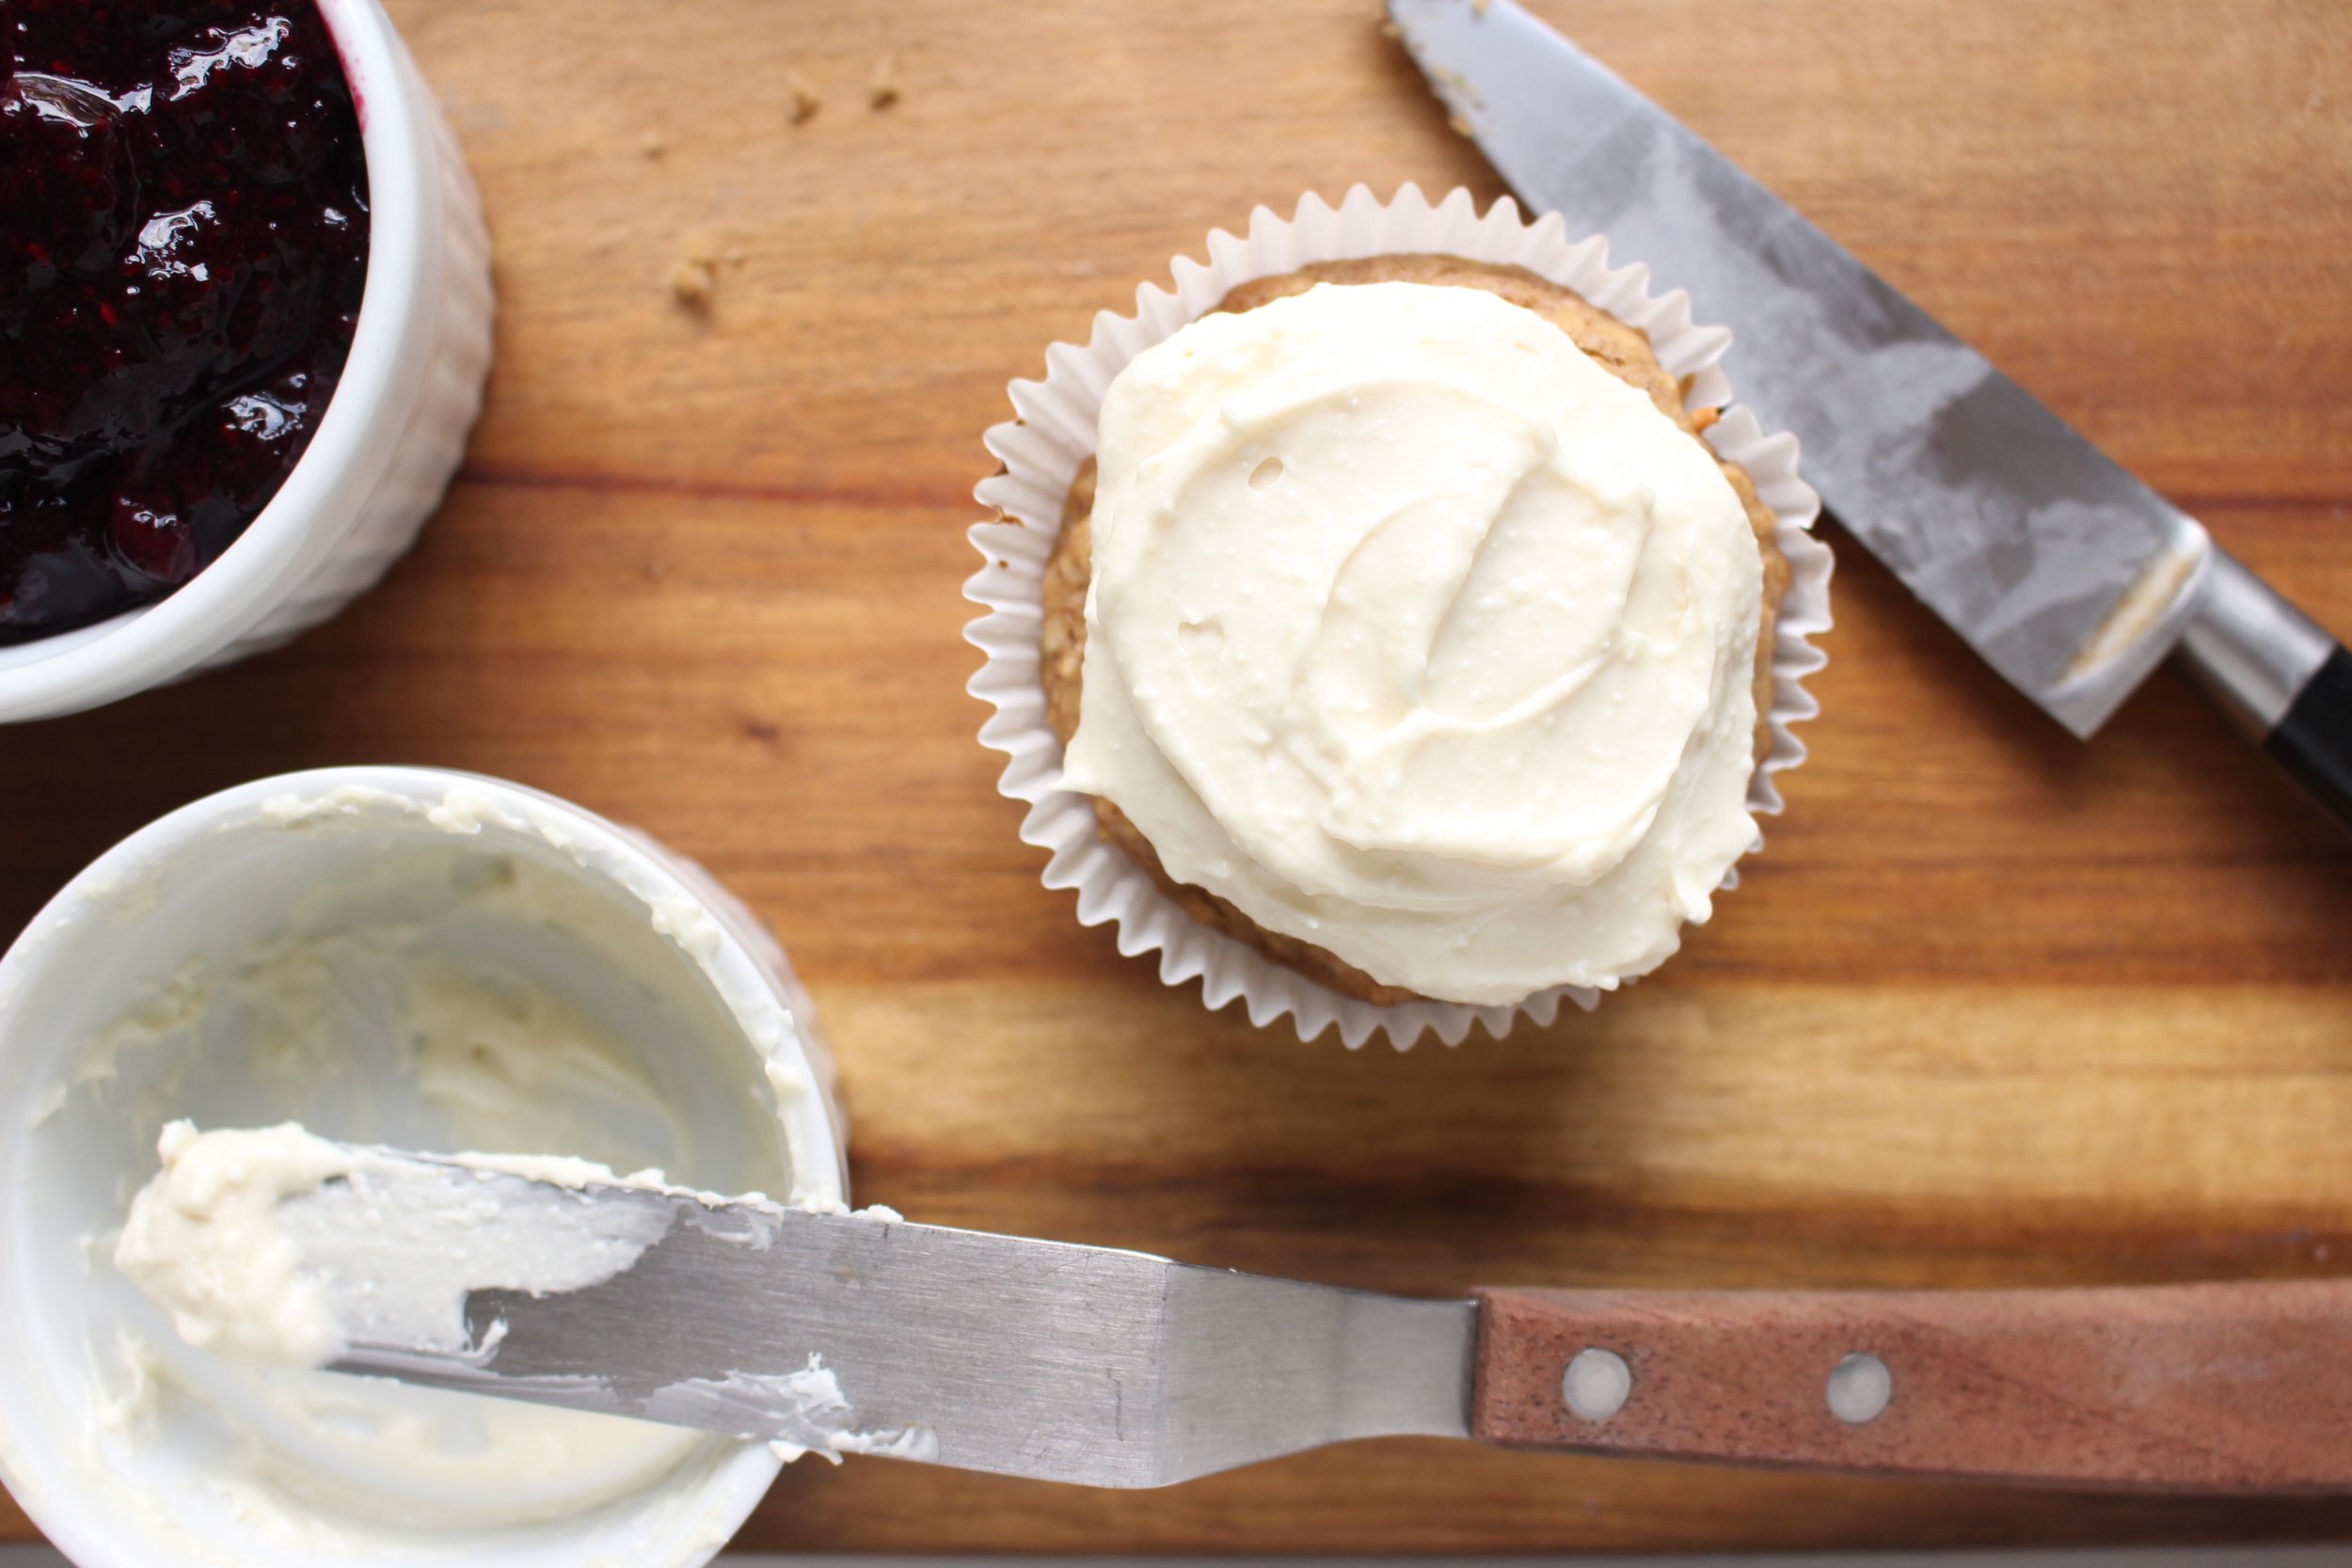
For the first day of school, I thought it might be nice to add some blueberry chia jam and a quick icing to make the muffins more special. (I also called them breakfast cupcakes, which went over VERY WELL.) The jam is simple and free of any added sugar. I used cream cheese and maple syrup for my frosting, but you could also use coconut cream or a pre-made dairy-free topping.

You could also mix the chia jam with some yogurt for a delicious breakfast for the younger set (or the parental set, if I'm honest).

If you're avoiding nuts, substitute coconut or rice milk for the almond milk and use sunflower seed butter in place of the almond butter. Still delicious!

Important note: These muffins are best when fresh, so I recommend freezing 3/4 of the batch and then either defrosting a serving at night for breakfast the next morning, or toasting a frozen one right before eating it.


Almond butter quinoa muffins

2 large mashed banana
1 cup creamy natural almond butter, well mixed (or nut butter or seed butter of your choice)
½ cup maple syrup
¼ cup unsweetened vanilla almond milk (or rice, coconut, or other non-dairy milk of choice)
1 Tbsp vanilla extract
1 cup quinoa flour
1 cup quick oats
½ tsp salt
1½ tsp baking powder
1 tsp baking soda
1 tsp pie spice (or cinnamon)
2 tsp apple cider vinegar

Preheat oven to 350.

In a large bowl, mash the bananas. Add the almond butter, maple syrup, almond milk, and vanilla extract and mix well.

Add the flours, salt, baking powder, baking soda, and spices. Mix well. Add the apple cider vinegar and mix again. Let the mixture sit while you prep the muffin tin and prepare the jam and icing (if using).

When ready, spoon the mixture into your muffin tin until each opening is half full.

Bake for 12-14 mins or until the tops turn golden brown and the muffins are firm to the touch.

Let cool completely in the muffin tin before serving.

Yield: 18 muffins


For the Blueberry chia jam:
1 pint blueberries
1 ½ Tbsp chia seeds

Put the blueberries into a small sauce pan and cook over a medium low flame until the berries have broken down and become syrupy, about 15 minutes.

Let cool for 5 minutes and add the chia seeds. Mix well.

Place the mixture in the refrigerator for 10-15 minutes or until ready to use.

Yield: 1 Tbsp per muffin


For the frosting (optional):
2 ¼ cups whipped cream cheese
6 Tbsp maple syrup

Mix the cream cheese and maple syrup well with a spatula. The mixture will look curdled at first. Continue mixing until the two ingredients have come together. Refrigerate until ready to use.

Yield: 2 Tbsp per muffin

IMG_8335.jpg
IMG_8348.jpg

Blueberry and beet popsicles

Whooooeeeey, what a week. I completely missed popsicle week last week, interestingly, because I was busy making popsicles for my very sick child. Have any of you dealt with Coxsackie? I had never heard of it before having children, but apparently it's a virus that's been around forever and we've all had it.

Also, it's terrible. Thanks to a really sore throat and a high fever, M basically ate nothing for two days, so we tried lots of different frozen treats. Aside from these blueberry and beet-sicles, we made carrot, apple, and coconut treats using carrot juice, apple juice, and coconut milk; Orange coconut creamsicles using orange juice and coconut milk; and a roasted mango concoction that I'm still working on. I'll be honest, the ones with vegetables didn't go over as well while M was sick, but when he's healthy, he gobbles them up. 

Can I confess something? I don't really like beets. I also HATE cooking them myself, though everyone claims that it's sooooo easy. Whelp, I bought the beets in this photo because they were cheap and pretty at the farmer's market, but I fully used the organic pre-cooked ones you can buy at the grocery store that are vacuum sealed in plastic. I refuse to ruin my cutting board for a vegetable I don't even like.

However, I DO like beets when they're mixed with other things; chocolate, goat cheese, blueberries, etc.

This puree is great on its own or when mixed with yogurt, cooked grains, or pureed proteins for more advanced eaters. I personally love eating these as popsicles and would one day like to spike them with some sort of alcohol. For M, I mixed the blueberry/beet puree with a yogurt, almond butter, and honey combo that cut the fruit and veggies with something a little creamier. I also encourage you to make popsicles using just the yogurt mixture because they. are. great. Even my sick,-as-a-dog child ate the frozen yogurt. 

A couple of notes: If you have the temerity to cook the beets yourself, here's how. Otherwise, do what I do and use the precooked ones. Be sure to roast the blueberries (don't skip this step!) because raw ones in frozen treats don't have a strong flavor. Does anyone else notice that frozen raw fruit tastes blander? Anyway, I also recommend eating these only while wearing dark colors and/or when you can immediately dunk your child in water to clean up because they're a little messy. But isn't that half the fun of a popsicle?

Beet and blueberry puree and popsicles  

For the puree:
1.5 cups fresh blueberries (about 1 pint, minus whatever is filched by your toddler)
¾ cup chopped beets (about 3 very small)
¼ tsp cinnamon

Preheat the oven to 375. Spread the blueberries on a foil- or parchment-covered baking sheet and roast for 10 minutes, until the berries are soft and fragrant, but haven't burst. Place the blueberries and beets in the blender, add the cinnamon, and puree until you've reached your desired consistency. 

Yield: 1.5 cups or 12 oz of puree

For the pops:
1 cup full fat plain yogurt
2 Tbsp honey
2 Tbsp almond butter (preferably salted)

Fill the popsicle molds 1/2 way with the blueberry and beet mixture and freeze for at least 30 minutes or until the mixture begins to set. Fill the rest of the molds with the yogurt mixture and freeze solid, at least 5-6 hours.

Yield: 4 large ice pops

Cheers!

Cheers!

Zucchini and blueberry waffles

Zucchini and blueberry waffles | Me & The Moose. These naturally sweet bread-y pastries are a great way to get some veggies into your kiddos first thing in the morning, as an afternoon snack, or anytime really. #meandthemoose #waffles #blueberries #zucchini

Use up the last of late summer produce with these zucchini and blueberry whole grain waffles.

Take me to the recipe!

Zucchini and blueberry waffles | Me & The Moose. These naturally sweet bread-y pastries are a great way to get some veggies into your kiddos first thing in the morning, as an afternoon snack, or anytime really. #meandthemoose #waffles #blueberries #zucchini

Late summer/early fall usually means a glut of zucchini and it's one of M's safe veggies. Don't get me wrong: If I put a piece of zucchini in front of him (steamed, roasted, covered in chocolate), he would NOT eat it. But in a waffle with sweet blueberries and toasty whole wheat and flax, he doesn't even notice that he's eating vegetables for breakfast.

Zucchini and blueberry waffles | Me & The Moose. These naturally sweet bread-y pastries are a great way to get some veggies into your kiddos first thing in the morning, as an afternoon snack, or anytime really. #meandthemoose #waffles #blueberries #zucchini

Zucchini and blueberry waffles | Me & The Moose. These naturally sweet bread-y pastries are a great way to get some veggies into your kiddos first thing in the morning, as an afternoon snack, or anytime really. #meandthemoose #waffles #blueberries #zucchini

Zucchini and blueberry waffles | Me & The Moose. Flour, sugar, eggs, vanilla, spices, buttermilk, flaxseed, and a little butter. #meandthemoose #waffles #blueberries #zucchini #ingredients

A couple of notes about these waffles:

  • I used buttermilk in this recipe, but if you don’t have any or don’t want to buy buttermilk, my favorite substitution is this: For every 1 cup of buttermilk that you need, add 1 Tbsp of vinegar to a measuring cup and then add enough dairy milk (any fat content will do) to equal 1 cup. Let sit for a few minutes and use!

  • Don’t use more blueberries and zucchini than the recipe calls for. I’ve been tempted to throw in another handful of blueberries or the rest of the shredded zucchini, but I feel like any time I do, the waffles end up too wet.

Zucchini and blueberry waffles | Me & The Moose. These naturally sweet bread-y pastries are a great way to get some veggies into your kiddos first thing in the morning, as an afternoon snack, or anytime really. #meandthemoose #waffles #blueberries #zucchini

Zucchini & blueberry waffles

Time: 20 minutes
Yield: 16 waffles

1 cup shredded zucchini (1/2 large zucchini), patted dry
3/4 cup fresh blueberries
1 cup AP flour
1 cup whole wheat flour
1 heaping Tbsp flax seed meal
4 tsp baking powder
1 tsp cinnamon
1/8 tsp nutmeg
1/8 tsp cloves
1/4 tsp salt
2 eggs
2 Tbsp sugar
1 Tbsp butter, melted and cooled to room temp
1 tsp vanilla extract
1½ cups buttermilk

Melt 1 Tbsp of butter in the microwave. Set aside.

Shred the zucchini with a box grater and squeeze the excess water out with paper towels or a cheesecloth. Set aside.

To a large bowl, add the flours, flax seed meal, baking powder, spices, and salt and whisk to combine.

In a large bowl, whisk the eggs and sugar until frothy. Add the melted and cooled butter, vanilla extract, and buttermilk. Whisk until combined.

Add the wet ingredients to the bowl with the dry ingredients and whisk thoroughly. Add the zucchini and blueberries and whisk gently until combined.

Depending on the size of your waffle maker, spoon about ¼ cup of batter onto the hot surface and follow your appliance’s instructions.