Homemade granola base
/
Granola may seem like something that’s easier to buy in a store, but let me set the record straight: Homemade granola is simple, fast, and so much better than most of the commercially made stuff. Also, it makes your house smell amazing.

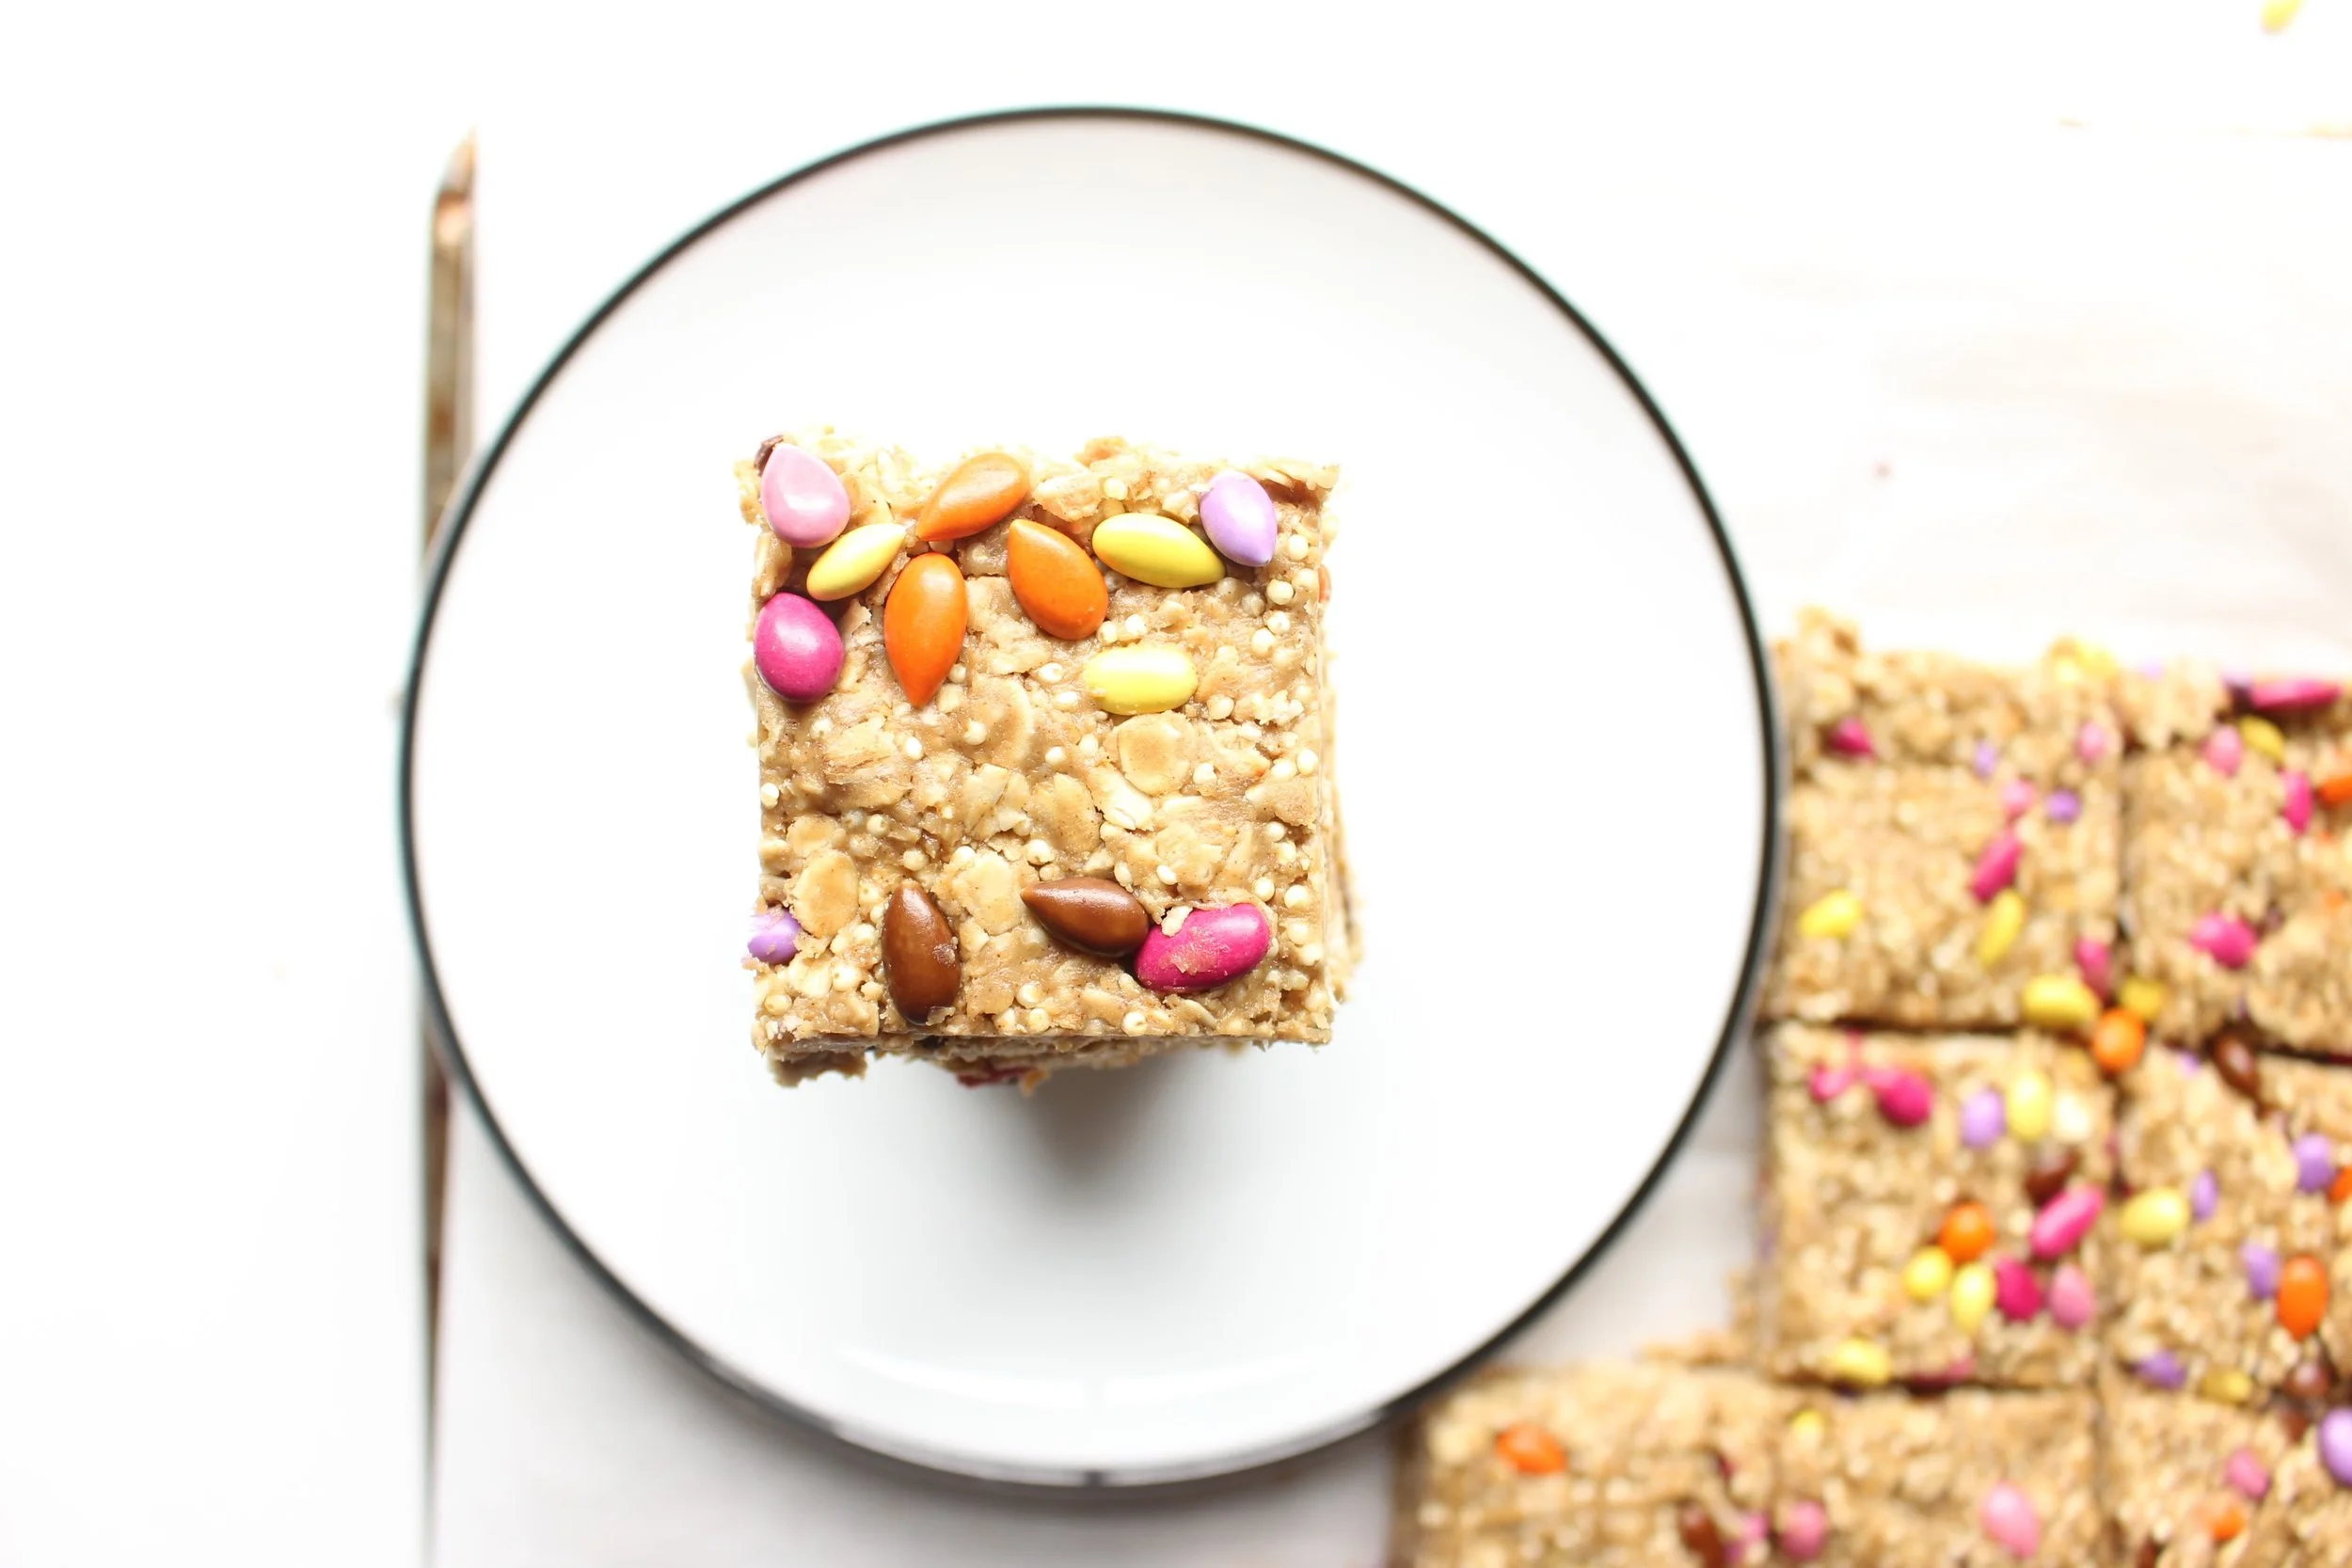
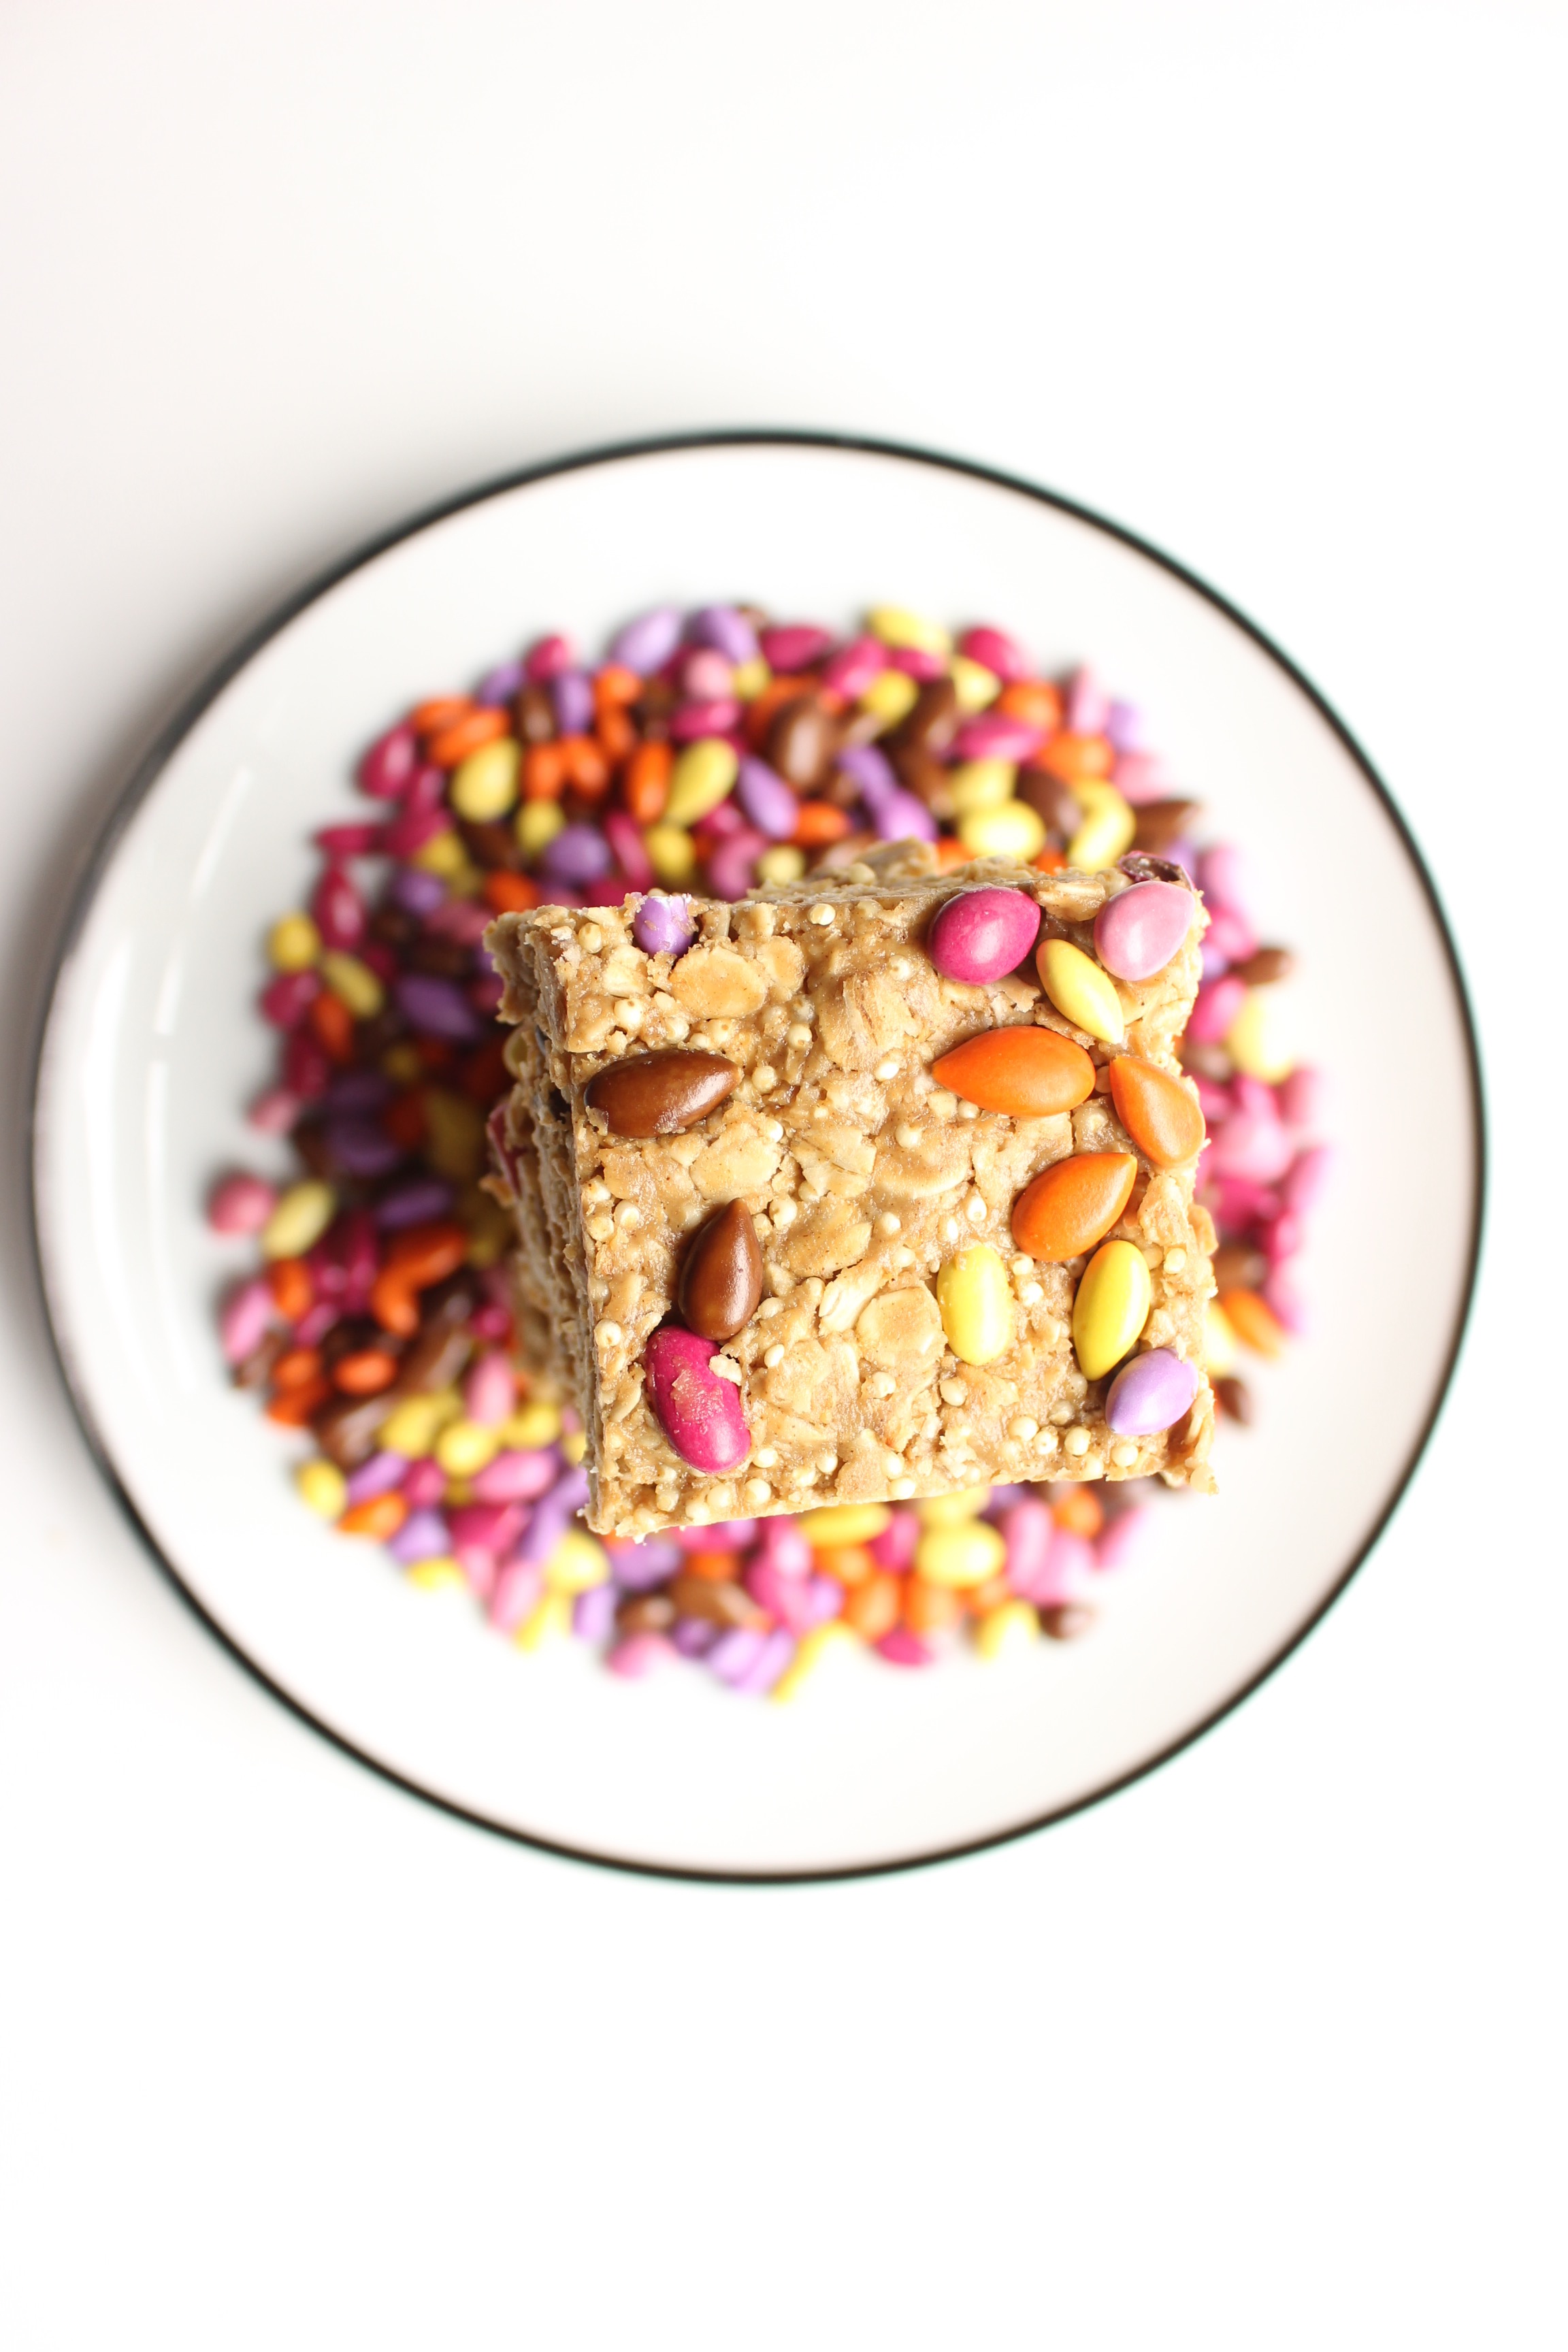
Let’s talk about granola and kids. I love granola because it’s a fun topper for lots of different things: yogurt, apple sauce, purees, pancakes, fruit, ice cream, etc. I like to pretend that it’s nature’s sprinkles. But there may be a chunk of kids who think granola is too crunchy or who don’t like the mix of textures. For them, I would add some mini chocolate chips or chocolate covered sunflower seeds and call it “trail mix.”
But granola is a great way to add some whole grains and make a more balanced snack.
I include millet in my granola and also my granola cups because it’s super crunchy and adds fiber, calcium, and iron, which we always need more of in our diet.
This recipe is a base and you can feel free to customize with whatever fruits and nuts you like best.
Also, if making this for a nut-free school snack, skip the nuts and double the fruit, sub in seeds like sunflower or pepitas, OR toast the nuts separately and toss them into an individual portion at home.


A couple of notes:
If you have trouble finding millet, check the bulk sections of Whole Foods or any health food store.
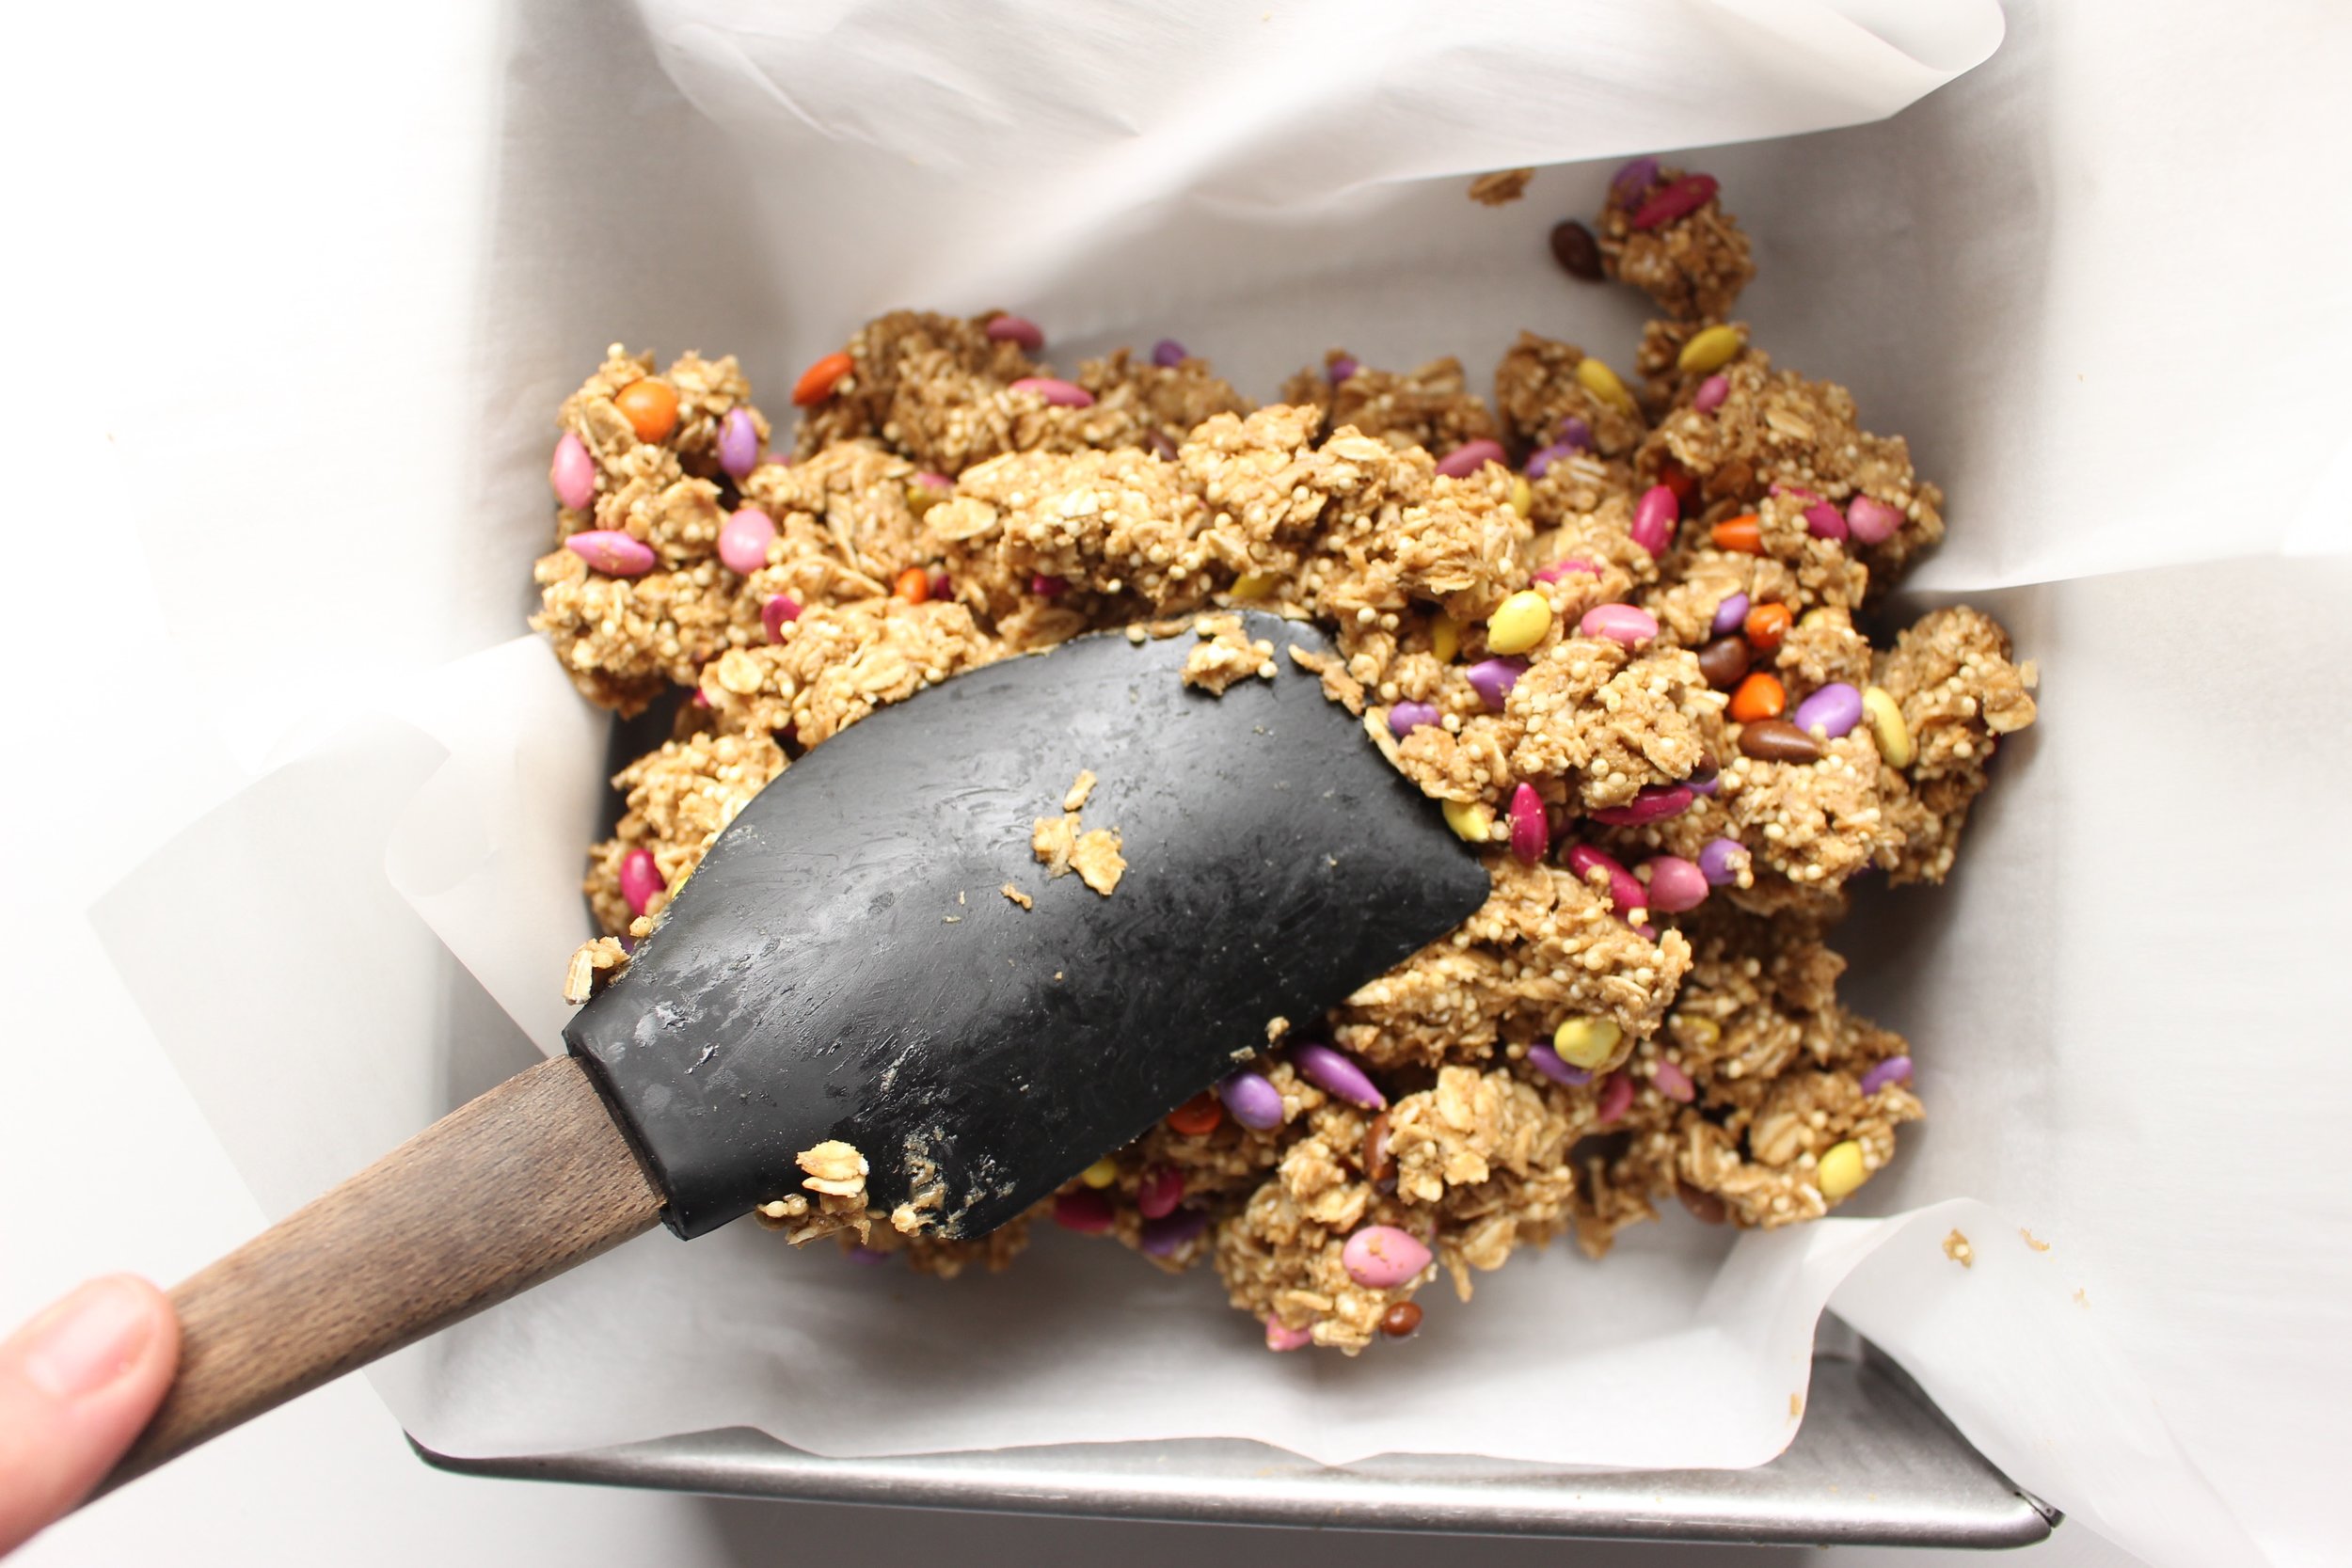
When spreading the raw granola mix onto your sheet pan, make sure to leave some holes in the middle of the pan. If you spread it as one large mass, the middle will be undercooked while the edges start to burn. With some holes and thinner spots in the middle, you’ll get a more even bake and better chunks in your final product!
Be mindful that when the outsides start to brown, the thicker parts may still be a bit undercooked, but that the whole thing will continue to cook and crisp while it cools. Once you see significant browning on the edges, take it out of the oven and let it cool completely. If there are any undercooked spots, feel free to re-toast them in the oven or a toaster oven for a few minutes before eating. But DON’T toast any fruit that you may add. Toasted dried fruit = hard as a rock!
Homemade granola base
Yield: about 3-4 cups of granola, depending on how many nuts and berries you add
Time: 25-28 minutes (5 minutes active time, 20-23 minutes baking time)
2 cups old fashioned rolled oats
½ cup millet
2 Tbsp brown sugar
1 tsp cinnamon
2 large pinches of kosher salt
½ cup nuts (your choice!)
2 egg whites, slightly whipped
1 Tbsp olive oil
1 tsp vanilla extract
¼ cup maple syrup
1/3 cup dried fruit of choice
Preheat the oven to 350. In a large bowl, mix together the oats, millet, brown sugar, cinnamon, and salt. Add the untoasted nuts, if using.
In a large measuring cup, mix together the egg whites, olive oil, and vanilla. Pour over the dry ingredients and mix together thoroughly.
Spread out on the mixture on a large sheet pan, leaving gaps and holes in the middle.
Bake for 20-23 minutes, or until the edges of the pan and any edges next to gaps in the middle start browning.
Let cool completely.
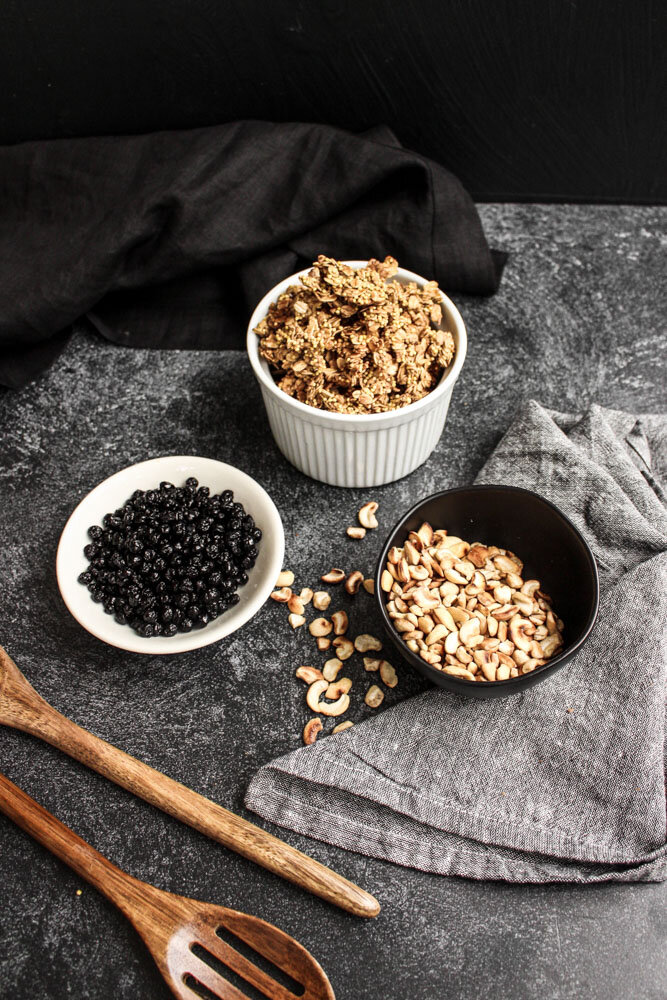
Add the dried blueberries (or other dried fruit) and crunch up the baked granola so that you have some chunks and some smaller bits.
Store in an airtight container at room temperature for up to 3 weeks.


![[NEW RECIPE!] Thanksgiving leftovers hot pocket!
Thursday is going to be a great meal and a weird sad day for me. It’s the first Thanksgiving without my mom and this was HER holiday. Growing up, we were Jewish, but my mom’s family was Ch](https://images.squarespace-cdn.com/content/v1/546a33ffe4b0bff63b7b9405/1669075898662-2KJQA7P9W8KSRUJF47M4/image-asset.jpeg)


