BBQ chicken

BBQ Chicken | Me & The Moose Truly the best route to BBQ chicken that is deeply flavorful and easy to make, whether grilled outside or roasted in your oven. #meandthemoose #chickenrecipes #BBQchicken #grilling #roasting

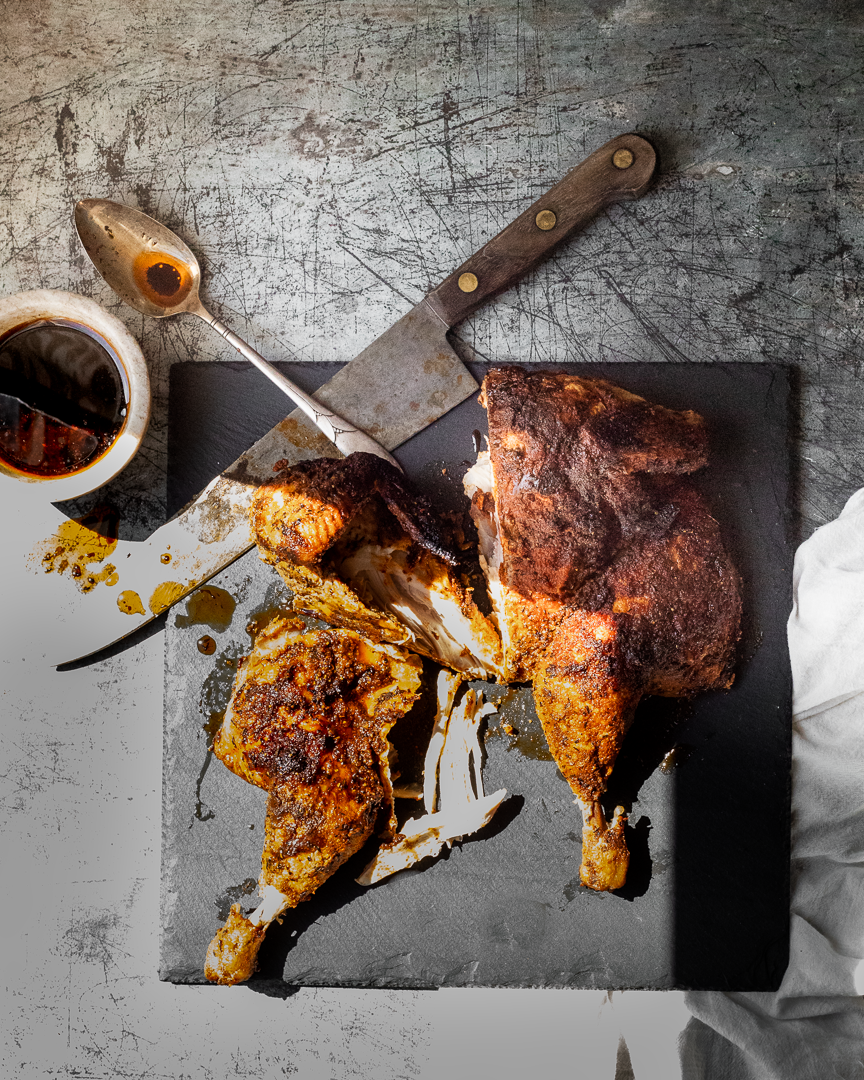
A short marinade in olive oil, apple cider vinegar, mustard, and soy sauce followed by the best ever spice rub (seriously, triple the recipe and use it on everything), makes this a BBQ chicken worthy of your most discerning guests.

Take me to the recipe!

BBQ Chicken | Me & The Moose Truly the best route to BBQ chicken that is deeply flavorful and easy to make, whether grilled outside or roasted in your oven. #meandthemoose #chickenrecipes #BBQchicken #grilling #roasting

We’ve used this marinade and rub on all kinds of chicken: breasts, thighs, bone-in, skin-on, boneless, skinless, and an entire chicken. It has worked with every iteration! I was really tired one day and put the sugar in the marinade instead of the rub—still great. My husband likes to put the rub on WITH the marinade and let the whole thing sit for 30 minutes—also great. So if, like me, your attention is divided while trying to make dinner, this is the recipe for you.

BBQ Chicken | Me & The Moose Truly the best route to BBQ chicken that is deeply flavorful and easy to make, whether grilled outside or roasted in your oven. #meandthemoose #chickenrecipes #BBQchicken #grilling #roasting

BBQ Chicken | Me & The Moose Truly the best route to BBQ chicken that is deeply flavorful and easy to make, whether grilled outside or roasted in your oven. #meandthemoose #chickenrecipes #BBQchicken #grilling #roasting

A note on cooking chicken:

  • Roast the chicken between 425 and 450. I use the lower temperature for skinless and boneless varieties to avoid drying out the meat. The higher temperature works with the bones and skin, but keep an eye out to ensure that the skin doesn’t burn. A loose piece of foil over top usually does the trick.

  • Grill the chicken by heating up the grill on the highest temperature and then turn it down to medium just before putting the chicken on the grill. Cook until the internal temperature is 165 in the fattest part.

BBQ Chicken | Me & The Moose Truly the best route to BBQ chicken that is deeply flavorful and easy to make, whether grilled outside or roasted in your oven. #meandthemoose #chickenrecipes #BBQchicken #grilling #roasting

BBQ Chicken

Yield: 3 lbs chicken
Time: 60-90 minutes, depending on how long you cook your chicken

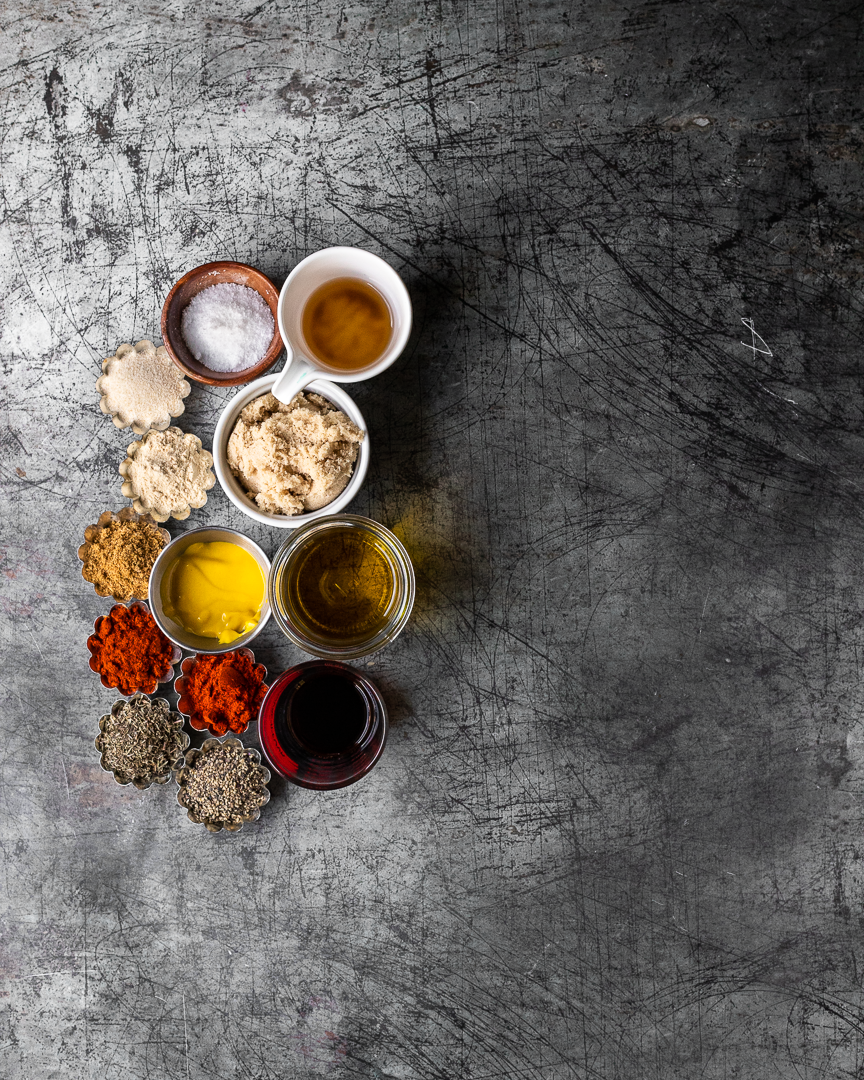
3 lbs chicken (any type, but I prefer boneless, skinless thighs or a whole spatchcocked chicken)
1/3 cup olive oil
2 Tbsp apple cider vinegar
1 1/2 Tbsp soy sauce
2 Tbsp yellow mustard
1 Tbsp kosher salt
1/4 cup brown sugar
1 1/2 tsp black pepper
1 1/2 tsp paprika
1 1/2 tsp smoked paprika
1 1/2 tsp cumin
1 1/2 tsp thyme
1 1/2 tsp garlic powder
1 1/2 tsp onion powder

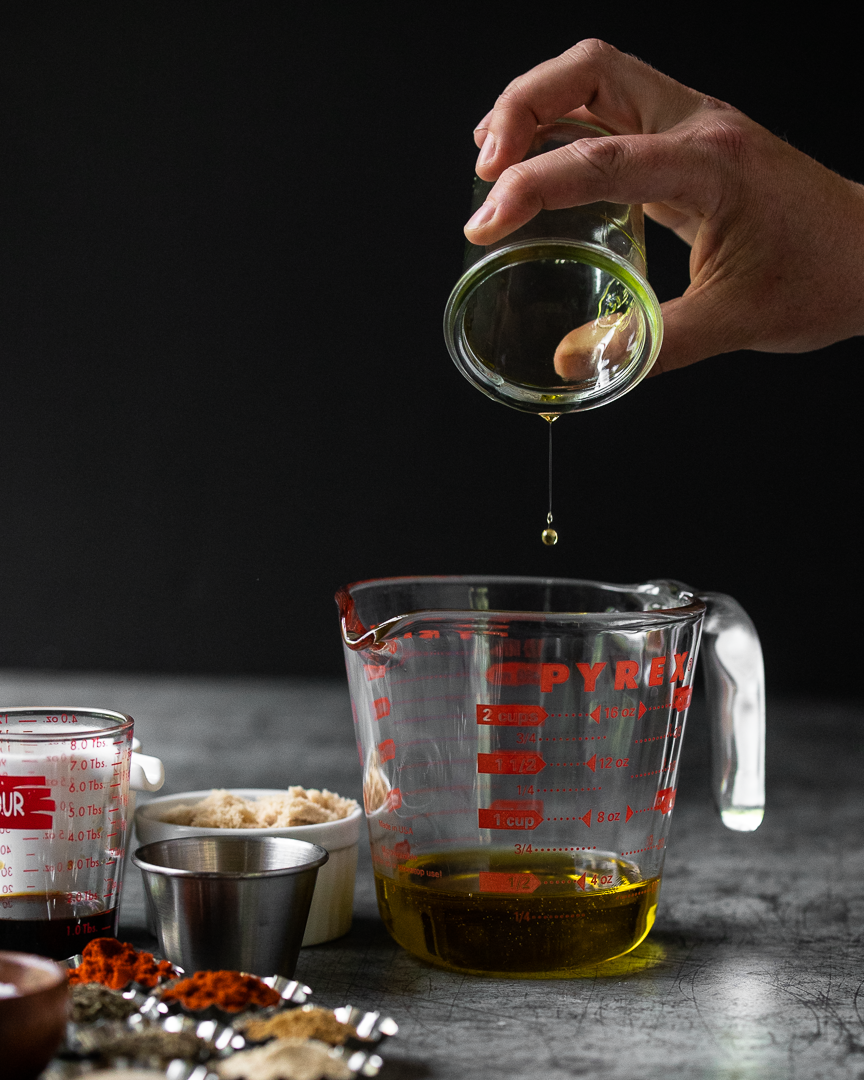
Combine the olive oil, apple cider, soy sauce, and yellow mustard. Place chicken in a large container (plastic bag, glass container, mixing bowl, or whatever will hold all of the chicken) and cover with the marinade. Let sit for at least 30 minutes, but up to an hour.

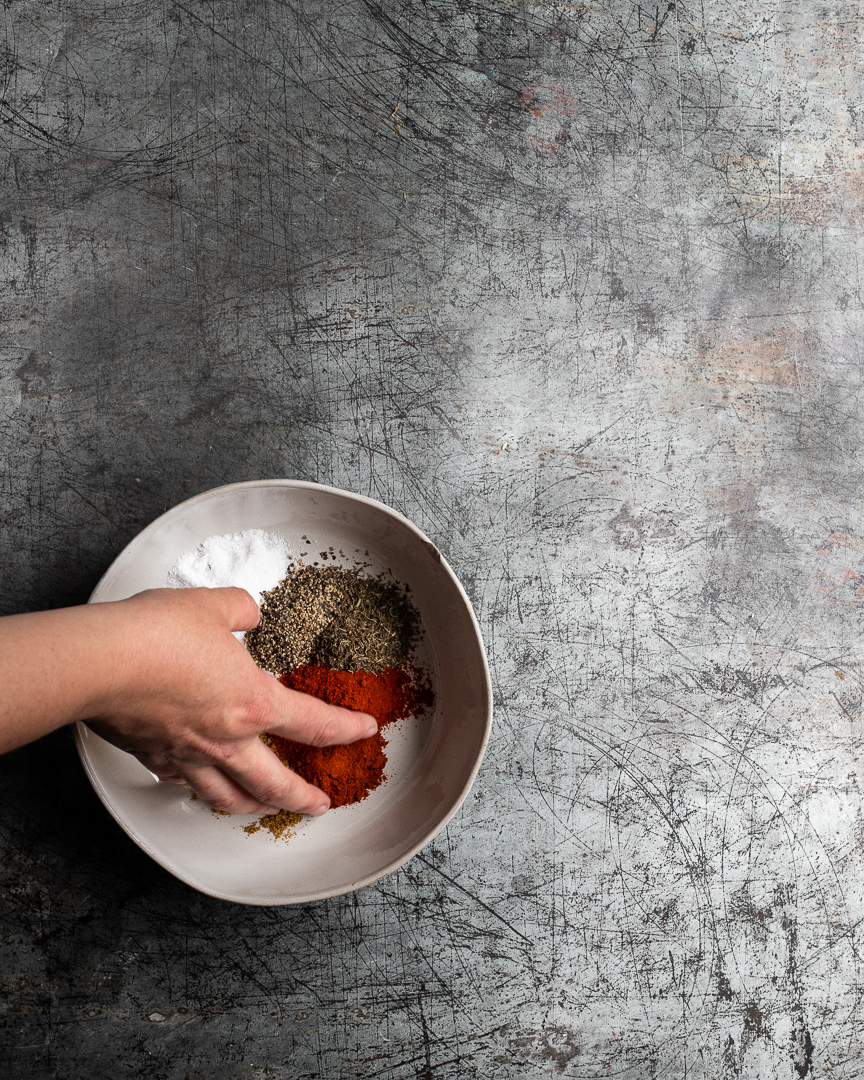
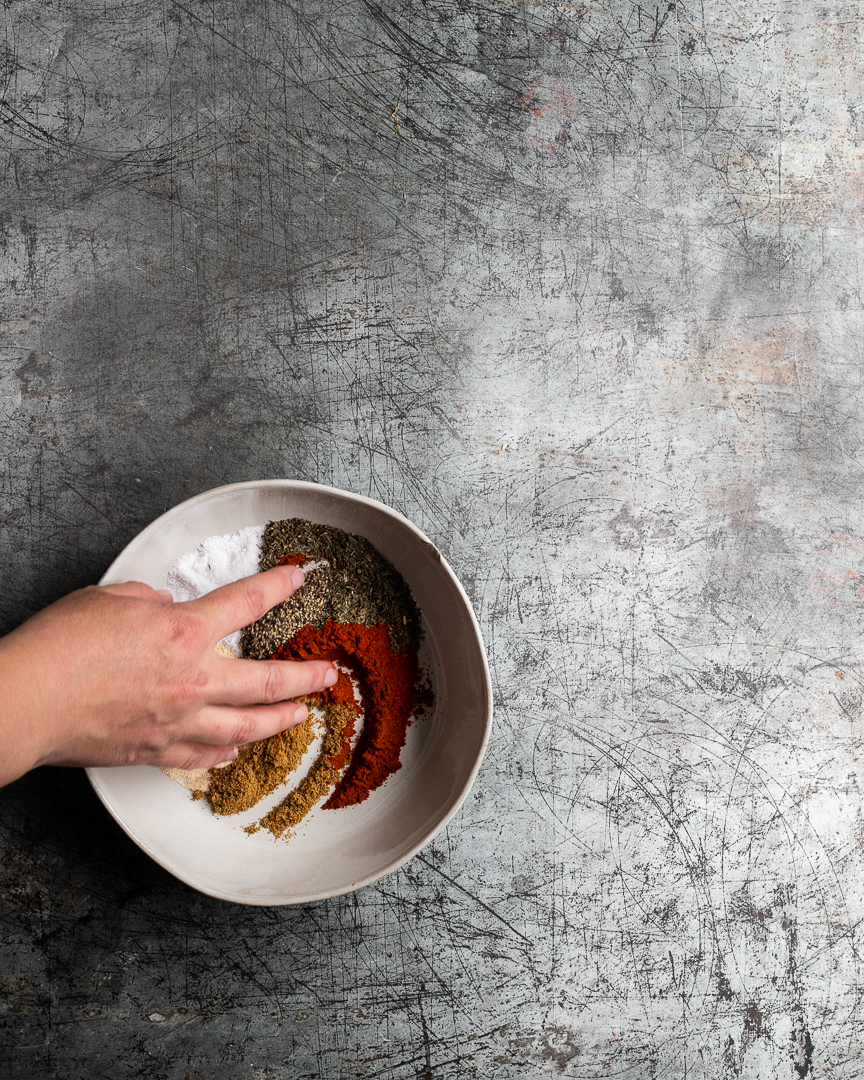
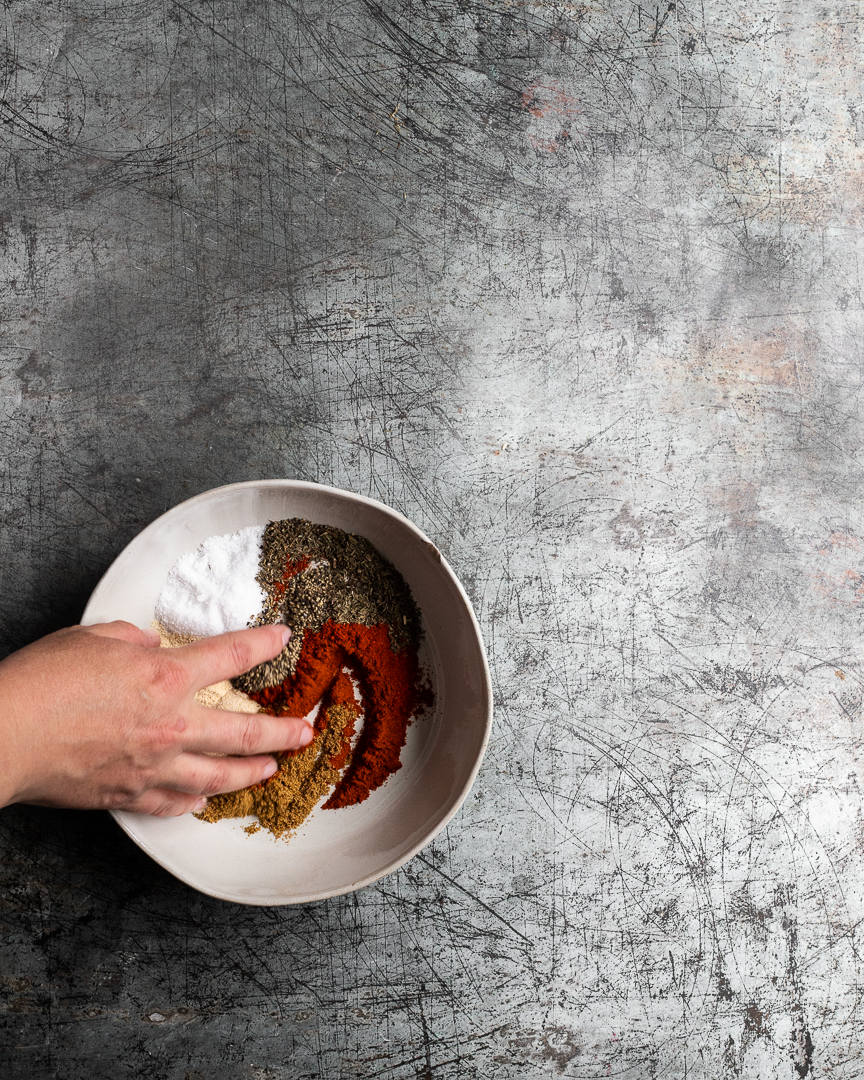
Combine the dry rub ingredients.

Heat the oven to 425-450 (see note above).

Take the chicken out of the marinade, but DO NOT pat dry- we want a little extra liquid. Cover with the spice rub on all sides and massage it into the chicken.

Place on a sheet pan or in a large cooking dish and cook, uncovered, for about 15 minutes (a whole chicken or very large chicken parts will take longer to cook, usually about 45-50 minutes). Check for doneness and cook until the internal temperature reaches 165 in the thickest part of the chicken.

If any sauce remains in the pan, save it for pouring onto the chicken before serving.
Roasted strawberry and rhubarb butter

Roughly chop some fruit and toss it in the oven for a spring-y fruit butter that’s naturally sweet, SUPER EASY, and extremely versatile. #meandthemoose #strawberryrhubarb #fruit #fruitbutter #naturallysweet #jam

Roughly chop some fruit and toss it in the oven for a spring-y fruit butter that’s naturally sweet, SUPER EASY, and extremely versatile. #meandthemoose #strawberryrhubarb #fruit #fruitbutter #naturallysweet #jam

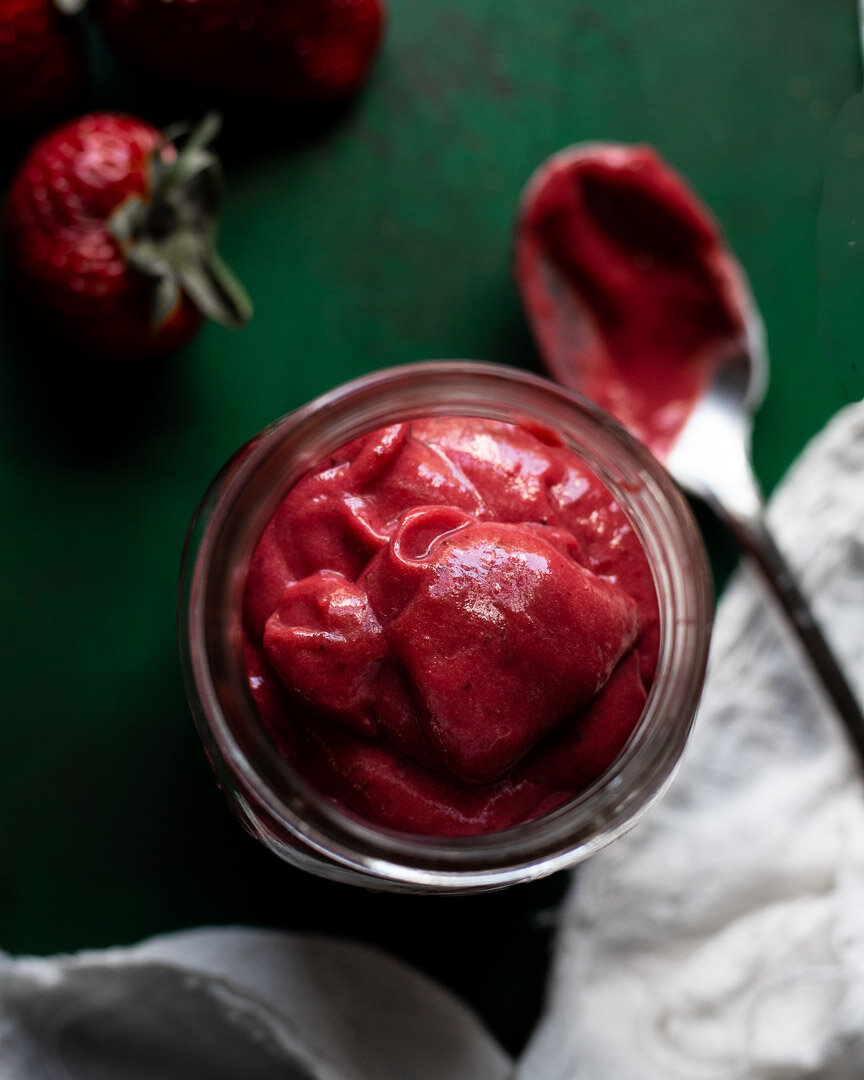
Rhubarb season is here! Turn this tart veg into a thick, spreadable butter to use all day, every day.

Take me to the recipe!

Roughly chop some fruit and toss it in the oven for a spring-y fruit butter that’s naturally sweet, SUPER EASY, and extremely versatile. #meandthemoose #strawberryrhubarb #fruit #fruitbutter #naturallysweet #jam

Roughly chop some fruit and toss it in the oven for a spring-y fruit butter that’s naturally sweet, SUPER EASY, and extremely versatile. #meandthemoose #strawberryrhubarb #fruit #fruitbutter #naturallysweet #jam

Roughly chop some fruit and toss it in the oven for a spring-y fruit butter that’s naturally sweet, SUPER EASY, and extremely versatile. #meandthemoose #strawberryrhubarb #fruit #fruitbutter #naturallysweet #jam

Roughly chop some fruit and toss it in the oven for a spring-y fruit butter that’s naturally sweet, SUPER EASY, and extremely versatile. #meandthemoose #strawberryrhubarb #fruit #fruitbutter #naturallysweet #jam

If you’ve searched Instagram recently, it’ll come as no surprise that rhubarb is a very photogenic vegetable. The variations in color lend themselves to ombre-ing and chevron-ing to your heart’s content. But today, we’re keeping it simple by doing neither of those things.

Instead, we’re turning strawberries (fresh or frozen!) and those giant rhubarb stalks you find in the grocery store (or your garden if you’re lucky enough to grow your own) into a butter akin to apple or pumpkin. Because why should fall fruits and vegetables have all the fun?

In early spring, I use frozen berries because it annoys me that strawberry and rhubarb are a perfect combination, but their growing seasons only overlap for a hot minute here in New England. Buuuuut, I found some giant, organic BBs in the grocery store recently, so I went for it with the fresh berries a little earlier this year.

Roughly chop some fruit and toss it in the oven for a spring-y fruit butter that’s naturally sweet, SUPER EASY, and extremely versatile. #meandthemoose #strawberryrhubarb #fruit #fruitbutter #naturallysweet #jam

Roughly chop some fruit and toss it in the oven for a spring-y fruit butter that’s naturally sweet, SUPER EASY, and extremely versatile. #meandthemoose #strawberryrhubarb #fruit #fruitbutter #naturallysweet #jam

A couple of notes:

  • Let the berries and rhubarb cook until the juices start to get a little syrupy. You can test this by sticking a spoon into the hot liquid (DON’T USE YOUR FINGER!!!). If the strawberry juice coats the back of the spoon and doesn’t drip off entirely, you’re about done. Make sure that your berries don’t burn because they can taste bitter.

  • This is a TART butter because, well, rhubarb is tart and that’s the beauty of it. If you like things a little sweeter, you can add a bit of sugar or use more berries than rhubarb. OR, you can combine the tart butter with sweeter things like cakes, cookies, sweetened yogurt, and whipped cream.

Roughly chop some fruit and toss it in the oven for a spring-y fruit butter that’s naturally sweet, SUPER EASY, and extremely versatile. #meandthemoose #strawberryrhubarb #fruit #fruitbutter #naturallysweet #jam

Roughly chop some fruit and toss it in the oven for a spring-y fruit butter that’s naturally sweet, SUPER EASY, and extremely versatile. #meandthemoose #strawberryrhubarb #fruit #fruitbutter #naturallysweet #jam

Roughly chop some fruit and toss it in the oven for a spring-y fruit butter that’s naturally sweet, SUPER EASY, and extremely versatile. #meandthemoose #strawberryrhubarb #fruit #fruitbutter #naturallysweet #jam

Roughly chop some fruit and toss it in the oven for a spring-y fruit butter that’s naturally sweet, SUPER EASY, and extremely versatile. #meandthemoose #strawberryrhubarb #fruit #fruitbutter #naturallysweet #jam

Roasted strawberry rhubarb butter

time: About 1 hour, 45 minutes, about 5 minutes active time
Yield: 12 oz (1½-2 cups)

4 heaping cups strawberries (fresh or frozen)
2 heaping cups chopped fresh rhubarb (about 3 extra extra-large stalks or 6-8 smaller stalks, chopped into 1-inch chunks)

Preheat the oven to 350.

Wash and chop the rhubarb. Combine with the frozen strawberries on a parchment-lined, rimmed baking tray.

Cook for 25-30 minutes, until the fruit is soft, the strawberries have released their juices, and the juice has started to become syrupy (see note above). Watch the berries closely after about 20 minutes to ensure that they don’t burn.

Let the fruit cool completely, about 15 minutes.

Scoop the fruit into your blender. Whatever juice gets onto the spoon is fine, but don’t add any remaining syrup.

Blend until smooth.

Store in the fridge for up to 7 days.

Lemon and rosemary turkey and couscous en cocotte

Don’t be intimidated by the “en cocotte” portion of the title. It’s just French for “cooked in a covered pot that you can also use for serving.” An alternative translation is: How to cook a really good turkey breast the lazy way; no overnight brine, no basting, nothing.
Take me to the recipe!

Lemon and rosemary turkey and couscous en cocotte | Me & The Moose. This one-pot (ish) meal has a low and slow cooking time, but is mostly hands-off and a much faster way to make delicious turkey breast without brining or drying out the meat. #t…

A quick note before we talk about the ins and out of this recipe: Anyone who knows me, understands how very much I hate the word “moist.” (I refer to is as “the ‘M’ word.”) Even saying it in my head feels wrong. I’m not alone here, I know, but I do feel that I have a particularly strong reaction, which made my search for the easiest turkey cooking method particularly grueling. Because it’s damn near impossible to read a blog post, watch a video, or see a cooking show about poultry without people shouting it from the rooftops.

But figuring out this recipe made it all worth it! And I promise you, this is the easiest route to not-dry turkey.

Lemon and rosemary turkey and couscous en cocotte | Me & The Moose. This one-pot (ish) meal has a low and slow cooking time, but is mostly hands-off and a much faster way to make delicious turkey breast without brining or drying out the meat. #t…

I first learned about cooking “en cocotte” from an episode of Cook’s Country. They made “French Chicken in a Pot” and I wanted to try it with turkey. I’ve also wanted to make a version of the famous Greek Avgolemono Soup, which is broth thickened with a cooked grains and egg yolks, but soup isn’t always psychologically satisfying as a meal, you know?

Instead, I used the broth and egg yolks to thicken the grains instead of the other way around.

Lemon and rosemary turkey and couscous en cocotte | Me & The Moose. This one-pot (ish) meal has a low and slow cooking time, but is mostly hands-off and a much faster way to make delicious turkey breast without brining or drying out the meat. #t…

A couple of cooking notes:

  • After roasting the turkey, there should be about 1/4 of an inch of liquid at the bottom of the Dutch oven. If there isn’t, add another 1/4 cup of stock before cooking the couscous.

  • The only extra step in this recipe is to blend together some broth, egg yolks, and lemon juice to add to the cooked couscous. I really recommend using a blender EVEN THOUGH it’ll dirty another appliance. If you don’t get a really good emulsion of the liquids, you can end up with scrambled eggs rather than a rich, thick sauce over your couscous.

  • The oven temperature (275!) will seem very low and it is. But the Dutch Oven with a lid and an extra layer of foil really seals in the heat and moisture and cooks the turkey despite the low oven temperature. Our oven runs very hot, so I actually set it 10 degree lower.

  • The only downside to this cooking method is that the steam softens the turkey skin. If you like crispy skin, just strip it off and seer it on a really hot skillet to crisp it back up.

  • I love serving this with a quick tzatziki sauce.

Lemon and rosemary turkey and couscous en cocotte | Me & The Moose. This one-pot (ish) meal has a low and slow cooking time, but is mostly hands-off and a much faster way to make delicious turkey breast without brining or drying out the meat. #t…

Lemon and rosemary turkey and couscous en cocotte

1 bone-in turkey breast, about 2 ½ lbs
2 Tbsp olive oil, divided
1 small onion (or ½ of a large onion), chopped
4-5 extra large garlic cloves, smashed and roughly chopped 
1 Tbsp fresh rosemary, minced (or 1 tsp dried)
1½ tsp smoked paprika
1 tsp kosher salt
4 cups low sodium chicken stock or water, divided
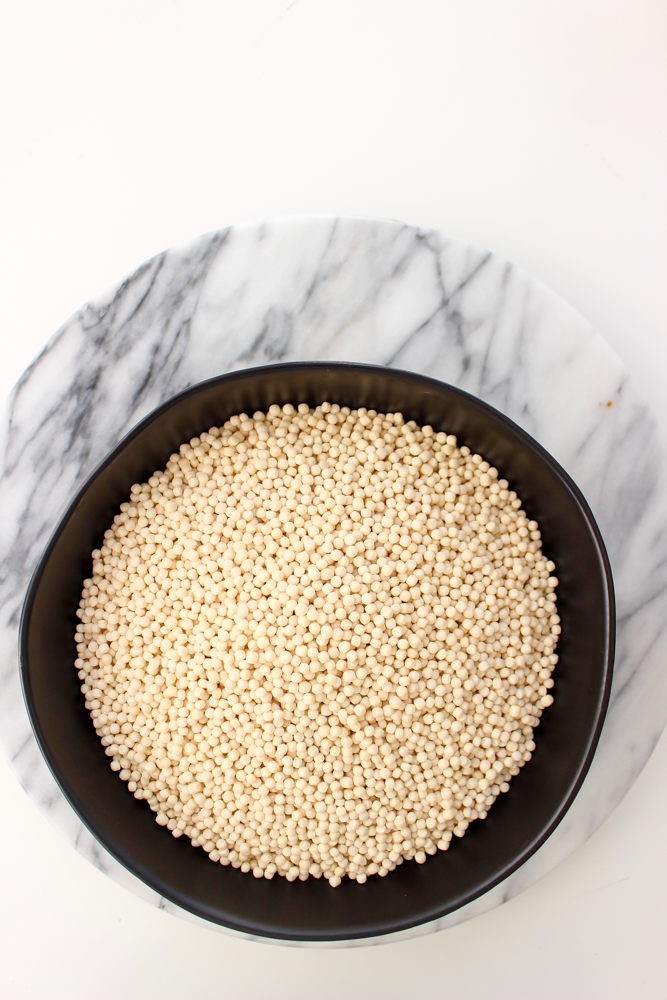
3 cups Israeli couscous  
2 egg yolks
1/3 cup lemon juice (juice of 2 large lemons)

Preheat the oven to 275.

In a large Dutch oven or oven safe pot with a lid, heat 1 Tbsp olive oil over medium high heat. Seer the turkey breast on the top, bottom, and both sides, adjusting the heat if the turkey browns too quickly or if the oil starts to spit uncomfortably. When browned all over (this should take about 10 minutes), remove to a plate.

Add 1 Tbsp of olive oil to the same Dutch oven and heat over a medium low flame for a few seconds. Saute the onion until translucent, about 3 minutes. Add the garlic and cook for 1 minute more. Add the rosemary, smoked paprika, and salt. Cook for 1 minute more until fragrant.

Turn off the heat.

Add the turkey back to the pan. Cover the top of the Dutch oven tightly with a large piece of tin foil and then top with the lid.

Bake for 1 hour. Check the internal temperature of the turkey with a thermometer in the thickest part. When the thermometer reads 165, the turkey is done. If the turkey isn’t up to temperature yet, return it to the oven and check it every 5-10 minutes to avoid overcooking.

While the turkey is cooking, blend together 1 cup of chicken stock, 2 egg yolks, and 1/3 cup of lemon juice. Set aside.

When the turkey is done, remove the Dutch oven and carefully take off the tin foil from its top (watch the steam!). Remove the turkey to a plate or cutting board and cover tightly with the tin foil. Let rest.

Add 3 cups of stock to the turkey cooking juices in the Dutch oven and bring to a boil. Add the couscous, reduce the heat to low, and simmer for 8-10 minutes, until the couscous has absorbed all of the stock. (Check after 4 minutes to make sure the couscous isn’t cooking too fast or sticking too much. If it is, turn down the heat.)

When the liquid is absorbed, add the broth/ egg yolk/ lemon juice combination. Stir it into the couscous and bring the mixture back to a boil. Once it boils, turn off the heat and stir a few more times.

Slice the turkey and serve with the couscous.

Yield: 5-6 large servings

Lemon and rosemary turkey and couscous en cocotte | Me & The Moose. This one-pot (ish) meal has a low and slow cooking time, but is mostly hands-off and a much faster way to make delicious turkey breast without brining or drying out the meat. #t…

Sheet pan dinner: Mustard salmon with crispy lentils and green beans

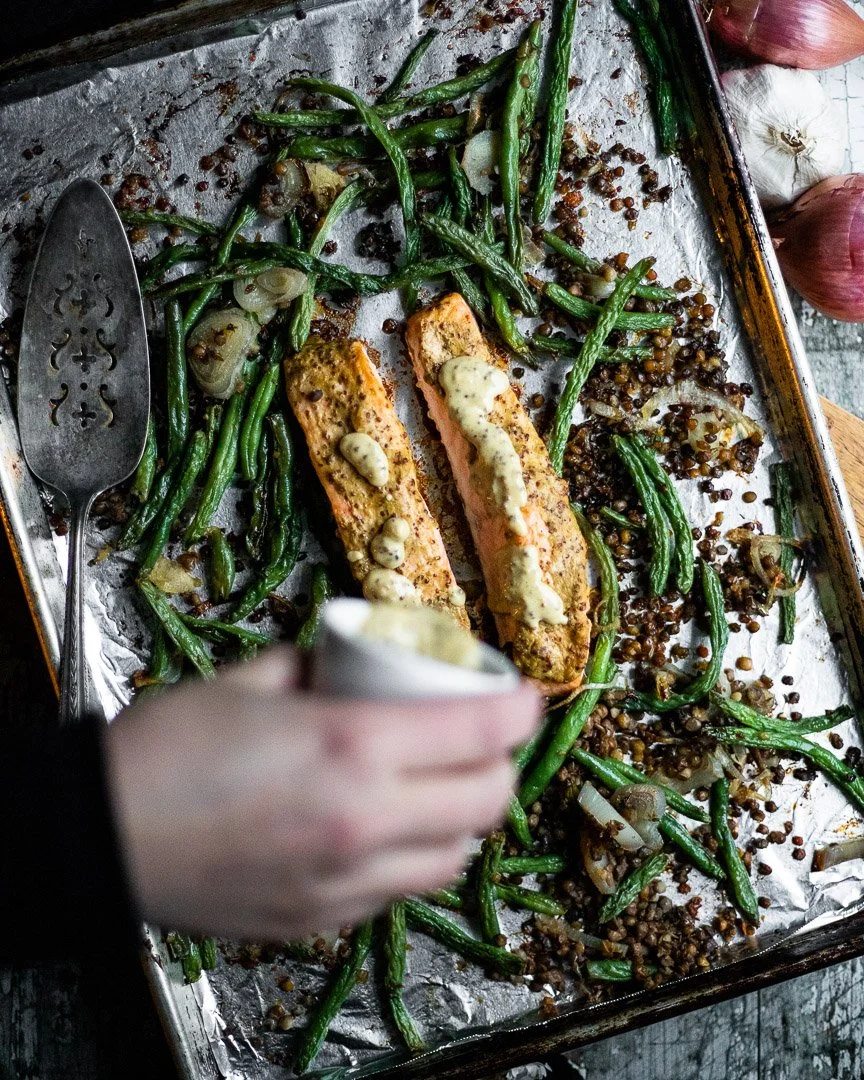
Sheet pan dinner: Mustard salmon with crispy lentils and green beans | Me & The Moose. This quick dinner is healthy, satisfying, and full of flavor. Supermarket shortcuts make it even easier. #meandthemoose #sheetpandinner #quickdinner #healthydinner #healthyrecipes #easyrecipes #salmon

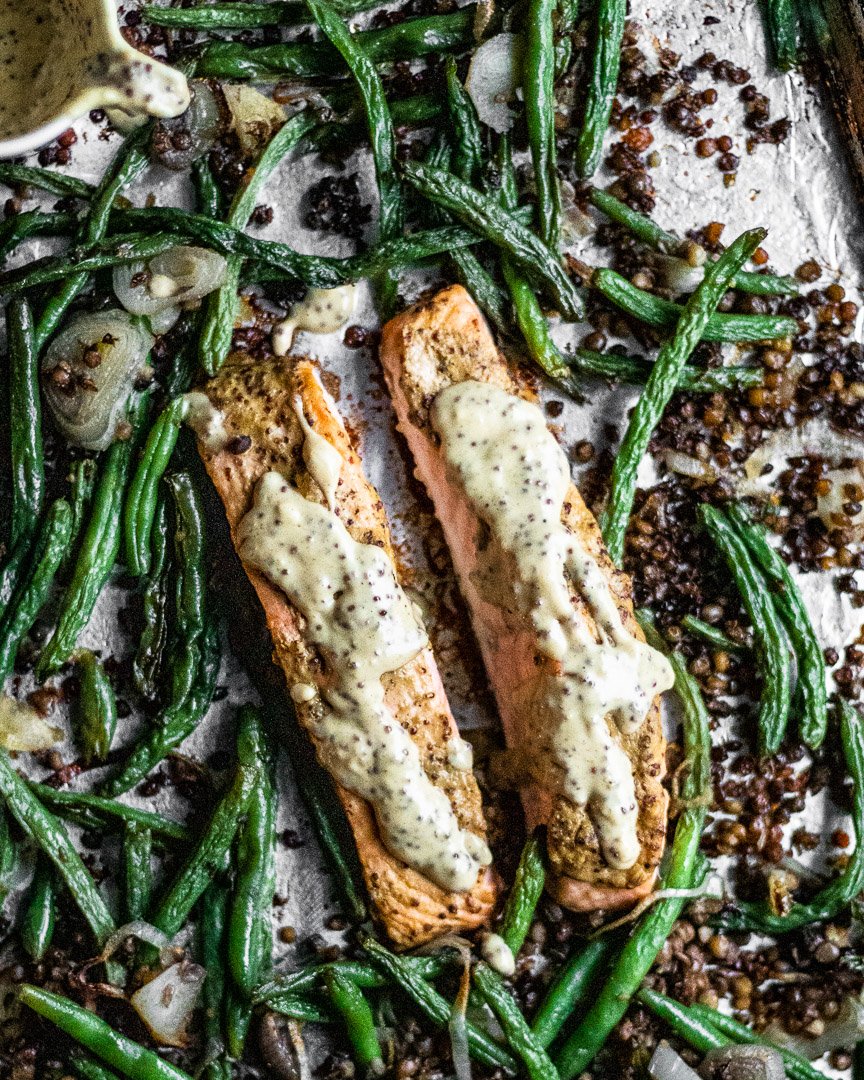
This sheet pan dinner is as delicious as it is easy and the clean up is a snap. If any of your resolutions involve more cooking, this is one you should add to the list!

Take me to the recipe!

Sheet pan dinner: Mustard salmon with crispy lentils and green beans | Me & The Moose. This quick dinner is healthy, satisfying, and full of flavor. Supermarket shortcuts make it even easier. #meandthemoose #sheetpandinner #quickdinner #healthydinner #healthyrecipes #easyrecipes #salmon

Happy new year, all! Thanks for reading and cooking along with me this year. I hope you’ll stick around for 2019 too!

Are you all making resolutions this year?

There’s much talk about whether or not resolutions are a good move. I’ve historically used my resolutions as a way to punish myself for everything I think is wrong with me. And that feels like a negative way to start the year, no?

So, instead of resolving to eat “healthier,” I’m going to just make delicious food that emphasizes both deliciousness and nourishment. Staaarting….now!

Sheet pan dinner: Mustard salmon with crispy lentils and green beans | Me & The Moose. This quick dinner is healthy, satisfying, and full of flavor. Supermarket shortcuts make it even easier. #meandthemoose #sheetpandinner #quickdinner #healthyd…

Sheet pan dinner: Mustard salmon with crispy lentils and green beans | Me & The Moose. This quick dinner is healthy, satisfying, and full of flavor. Supermarket shortcuts make it even easier. #meandthemoose #sheetpandinner #quickdinner #healthydinner #healthyrecipes #easyrecipes #salmon

This sheet pan dinner is fast, easy, and requires minimal prep. You can also make it even simpler by using some store-prepped ingredients. I use pre-cooked lentils that are available at Trader Joe’s, Whole Foods, and other grocery stores in the refrigerated aisle.

I also opt for haricots vert over of straight green beans because you don’t have to trim the ends. Haricot vert are just a thinner and smaller variety of green beans. They can be more expensive, but if time is the priority, it may be worth the extra $1 or $2.

A couple of notes:

  • If using frozen salmon, thaw it before cooking. If cooking from frozen, the fish releases a lot of water, which affects the final texture of the vegetables and lentils.

  • Make sure you separate the sauce into two different bowls to reserve some for after the fish has cooked. You don’t want to dip your spoon or brush into the whole batch of sauce once you’ve touched the raw fish.

Sheet pan dinner: Mustard salmon with crispy lentils and green beans | Me & The Moose. This quick dinner is healthy, satisfying, and full of flavor. Supermarket shortcuts make it even easier. #meandthemoose #sheetpandinner #quickdinner #healthyd…

Sheet pan dinner: Mustard salmon with crispy lentils and green beans | Me & The Moose. This quick dinner is healthy, satisfying, and full of flavor. Supermarket shortcuts make it even easier. #meandthemoose #sheetpandinner #quickdinner #healthydinner #healthyrecipes #easyrecipes #salmon

Mustard salmon with crispy lentils and green beans

Time: About 25- 30 minutes
Yield:
4 servings

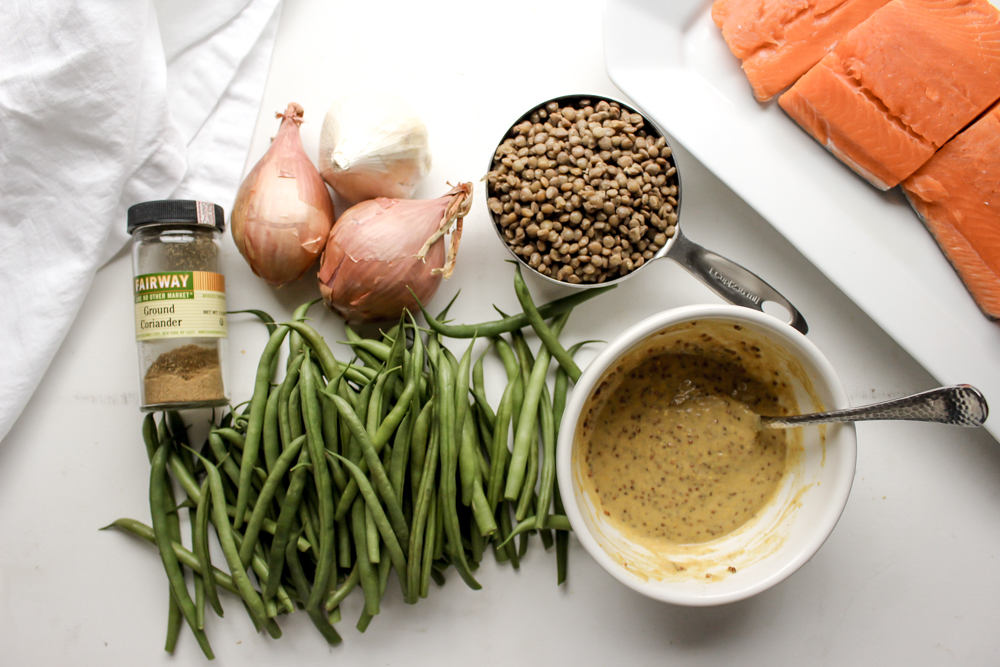
1.5-2 lbs salmon (about 4 medium fillets)
1 lb haricot vert or green beans (if using green beans, trim the edges)
1 cup cooked lentils
2 very large shallots (or 3-4 smaller ones), cut into 1/4 inch slices
2-3 Tbsp olive oil, plus more for the sheet pan underneath the salmon
2 large pinches kosher salt
Mustard sauce (recipe below)

Mustard sauce
3 Tbsp Dijon mustard
3 Tbsp grainy mustard
Zest of 1 medium lemon
1 Tbsp lemon juice (from ½ a lemon, reserve the leftover juice)
1 tsp coriander
1 Tbsp olive oil
1 large clove garlic, minced
2 Tbsp plain Greek yogurt
salt and pepper to taste

Preheat the oven to 425.

On a large rimmed sheet pan (about 13x18), mix together the green beans, sliced shallots, and cooked lentils. Toss with olive oil and salt and push to the sides of the pan.

Roast for about 7 minutes and remove from the oven.

While the veggies cook, make the mustard sauce. In a small bowl, mix together the sauce ingredient. I use a garlic press to really mince the garlic, but if cutting by hand, mince finely. Put half of the sauce into a separate bowl for later.

Once you remove the veggies from the oven, add some more olive oil to the center of the pan.

Place the salmon fillets skin-side down in the middle of the pan so that the skin is directly on the pan or foil.

Cover the flesh side of the fish fillets with about half of the mustard mixture and spread evenly. Reserve the rest of the mixture for later.

Roast the fish and veggies for 12-15 minutes, or until the salmon flakes easily with a fork and reads 145 on a thermometer.

Serve immediately.

Squash, polenta, and kale Caesar salad

Squash, polenta, and kale Caesar salad | Me & The Moose. Adults and kids alike love this healthy and hearty salad. It combines roasted squash, crispy polenta croutons, roasted spiced almonds, dried cranberries, and a tahini Caesar dressing for a regular weeknight dinner or a special holiday occasion. #meandthemoose #thanksgivingsalad #salad #healthycaesar #delicatasquash #polentacroutons #glutenfree

Crunchy polenta croutons, spicy roasted almonds, creamy Delicata squash, and garlicky kale combine in this hearty, seasonal, not-sad salad.

Take me to the recipe!

Squash, polenta, and kale Caesar salad | Me & The Moose. Adults and kids alike love this healthy and hearty salad. It combines roasted squash, crispy polenta croutons, roasted spiced almonds, dried cranberries, and a tahini Caesar dressing for a regular weeknight dinner or a special holiday occasion. #meandthemoose #thanksgivingsalad #salad #healthycaesar #delicatasquash #polentacroutons #glutenfree

There ought to be a place on the internet where parents can go to brag about the common and mostly harmless, but also spectacularly sudden and disgusting illnesses of childhood. Without going into detail (this is a FOOD blog, after all), instead of sleeping, we spent Saturday night showering, taking baths, doing laundry, and scrubbing carpets. No bueno.

Squash, polenta, and kale Caesar salad | Me & The Moose. Adults and kids alike love this healthy and hearty salad. It combines roasted squash, crispy polenta croutons, roasted spiced almonds, dried cranberries, and a tahini Caesar dressing for a regular weeknight dinner or a special holiday occasion. #meandthemoose #thanksgivingsalad #salad #healthycaesar #delicatasquash #polentacroutons #glutenfree

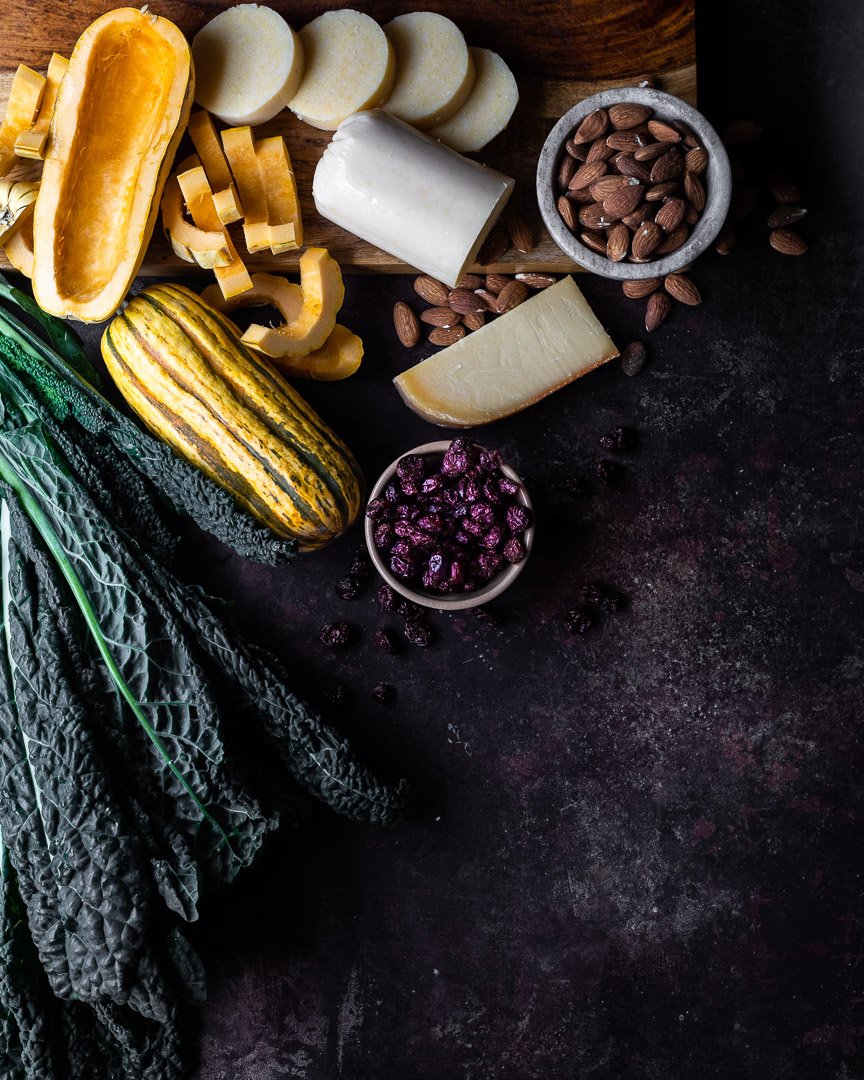
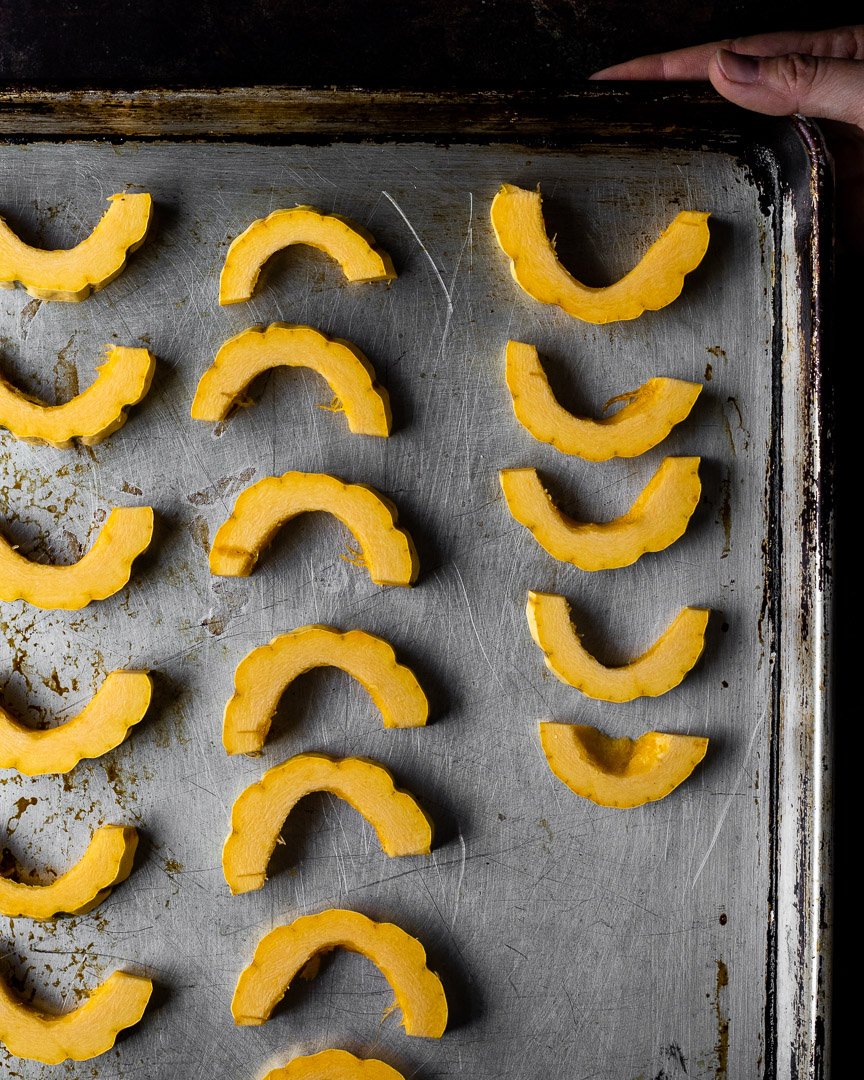
Delicata squash is one of the stars of this show. It requires less prep since the peel is edible. Just split it in half, scoop out the seeds, and slice. After roasting, the squash is sweet and creamy and the peel gets slightly crunchy, so it’s also a nice textural balance if your littles aren’t into “slimy” foods.

The dressing is my favorite dairy-free Caesar with tahini swapped in for the oil to make it a little creamier. The garlic, anchovies, and lemon taste even brighter and the sesame adds a nutty note that complements the rest of the salad’s flavors.

We also have crispy crunchy gluten-free croutons that are made with a store-bought polenta log. I accidentally discovered that putting a pizza stone in the oven while roasting the polenta SIGNIFICANTLY reduced the cooking time and increases the crunchyness. Huzzah!

Squash, polenta, and kale Caesar salad | Me & The Moose. Adults and kids alike love this healthy and hearty salad. It combines roasted squash, crispy polenta croutons, roasted spiced almonds, dried cranberries, and a tahini Caesar dressing for a regular weeknight dinner or a special holiday occasion. #meandthemoose #thanksgivingsalad #salad #healthycaesar #delicatasquash #polentacroutons #glutenfree #dairyfree

The spiced, roasted nuts add even more crunch, which pairs nicely with the creaminess of the roasted squash. Toss on a few sweetened, dried cranberries and you have a harvest salad that hits all of the right salty and sweet notes. (A nutty cheese on top is entirely optional, but DELICIOUS.)

I daresay this hearty pescatarian salad would be a welcome addition to your Thanksgiving table too.

A couple of notes:

  • While there are multiple steps to this salad, most of them can be completed simultaneously. You can also double the dressing recipe and it will keep well in a covered container in the fridge for up to 2 weeks.

  • Also, unlike dressed lettuce, which wilts quickly, kale only softens slightly and gets less bitter when left to sit with the dressing on, so make this salad ahead (or double the recipe) and eat it throughout the week.

    • A note about the size of this recipe: This recipe yields a main course for two adults and two kids with either crusty bread or another protein on the side. If making this to last for the week or for a holiday meal, I would double or triple the recipe. All of its elements last on their own and are easy to toss into other meals.

Squash, polenta, and kale Caesar salad | Me & The Moose. Adults and kids alike love this healthy and hearty salad. It combines roasted squash, crispy polenta croutons, roasted spiced almonds, dried cranberries, and a tahini Caesar dressing for a regular weeknight dinner or a special holiday occasion. #meandthemoose #thanksgivingsalad #salad #healthycaesar #delicatasquash #polentacroutons #glutenfree #dairyfree

Squash, polenta, and kale Caesar salad

Time: About 45 minutes, mostly active
Yield: about 2 adult main course salads or 4 side salads


2 small bundles of Lacinto (Tuscan) kale (about 6 cups)
Tahini Caesar dressing (recipe below)
1 log pre-made polenta, cut into 1/2-inch chunks
2-4 Tbsp olive oil, divided
1 medium Delicata squash, halved, seeds scooped out, and sliced into 1/2-inch pieces
1 tsp kosher salt or more, to taste, divided
Roasted almonds (recipe below)
Dried cranberries, to taste
Nutty cheese, such as gruyere, gouda, or parmesan, to taste

Preheat the oven to 425.

Tear or chop the kale into small bites.

Make your dressing (see recipe below). Add about 1/2 of the dressing to the torn kale and mix well. Add more to taste or reserve the rest for serving later. Set aside.

Chop the polenta and toss with 1-2 Tbsp olive oil. Sprinkle with 1/2 tsp salt. Spread onto your roasting pan and cook for 20 minutes. Flip and toss the pieces with a spatula, return to the oven and cook for another 15 minutes.

Clean and prepare the Delicata squash. Toss with the remaining 1-2 Tbsp of oil. Spread on a baking tray and sprinkle with 1/2 tsp salt. Roast for 15 minutes or until the squash is soft.

  • Add the squash to the same oven/baking sheet as the polenta for the polenta’s last 15 minutes.

Make the roasted almonds (see recipe below). Set aside.

  • Use a small, oven-safe dish for the nuts and add to the same oven that’s cooking the polenta and squash.

Add the squash, polenta, almonds, and cranberries to the salad. Feel free to use all or just some of the salad add-ins and reserve the leftovers for something else. Top with a few shavings of nutty cheese, if desired.

Roasted almonds
½ cup raw almonds
1 tsp olive oil
½ tsp paprika
¼ tsp salt
½ tsp rosemary
¼ tsp Aleppo pepper
¼ tsp garlic powder

Preheat the oven to 425. Toss the almonds with olive oil. Mix the spices together and add to the almonds. Mix well. Spread on a foil or parchment-lined baking sheet and bake for 4-6 minutes, until you can smell the spices and the nuts are crunchy. Check often to avoid burning.

Tahini Caesar dressing
2 Tbsp mayo
1 Tbsp lemon juice
1 Tbsp Dijon mustard
3 whole anchovy fillets (if your filets are thin and look like one side of a fish, use 6)
1-2 medium cloves garlic
¼ cup tahini
¼ cup water (added 1 Tbsp at a time)
Salt and pepper to taste

Combine the mayo, lemon juice, mustard, anchovies, garlic, tahini, and 2 Tbsp of water in a food processor and blend well. Add more water, 1 Tbsp at a time, until you’ve reached your desired consistency. Add salt and pepper to taste.

  • Remember that the anchovies are salty, so taste before you add more!