Apple cider slushee

Deal with a fall heatwave with these frozen cider slushees! They can be spiked, spiced, or enjoyed plain! #meandthemoose #cider #falldrinks #frozentreats

Deal with a fall heatwave with these frozen cider slushees! They can be spiked, spiced, or enjoyed plain! #meandthemoose #cider #falldrinks #frozentreats

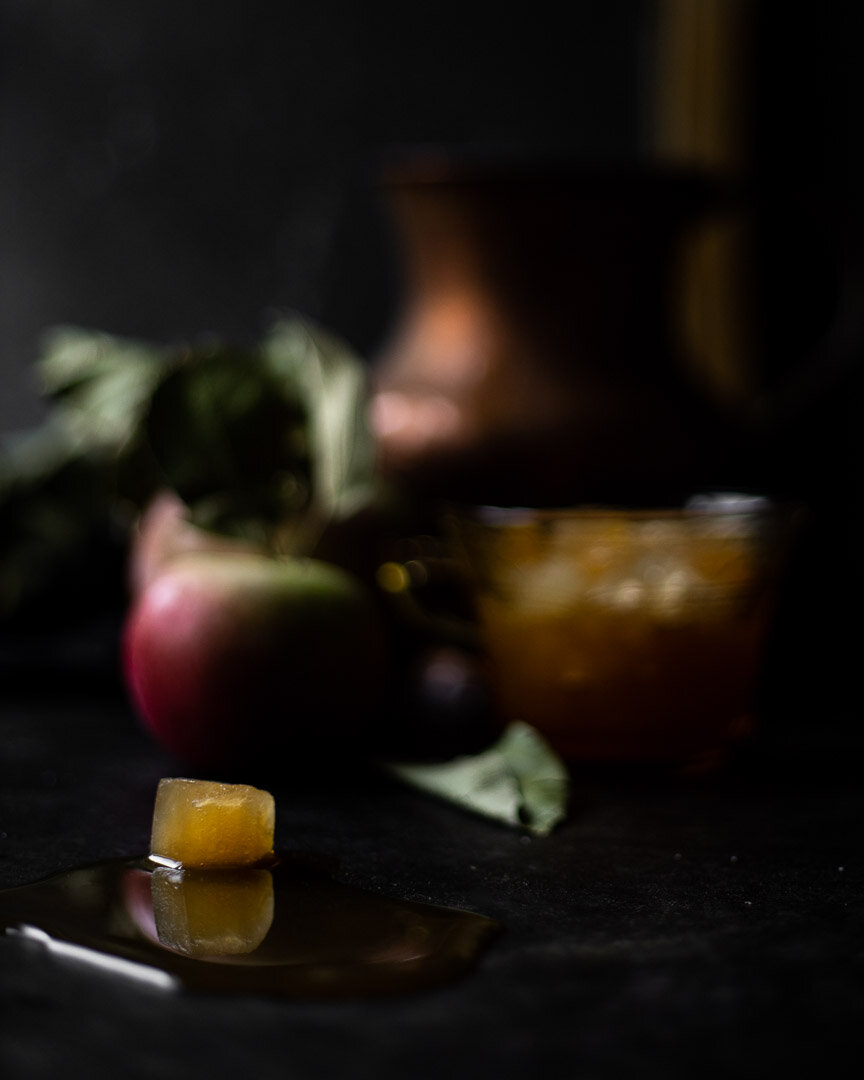
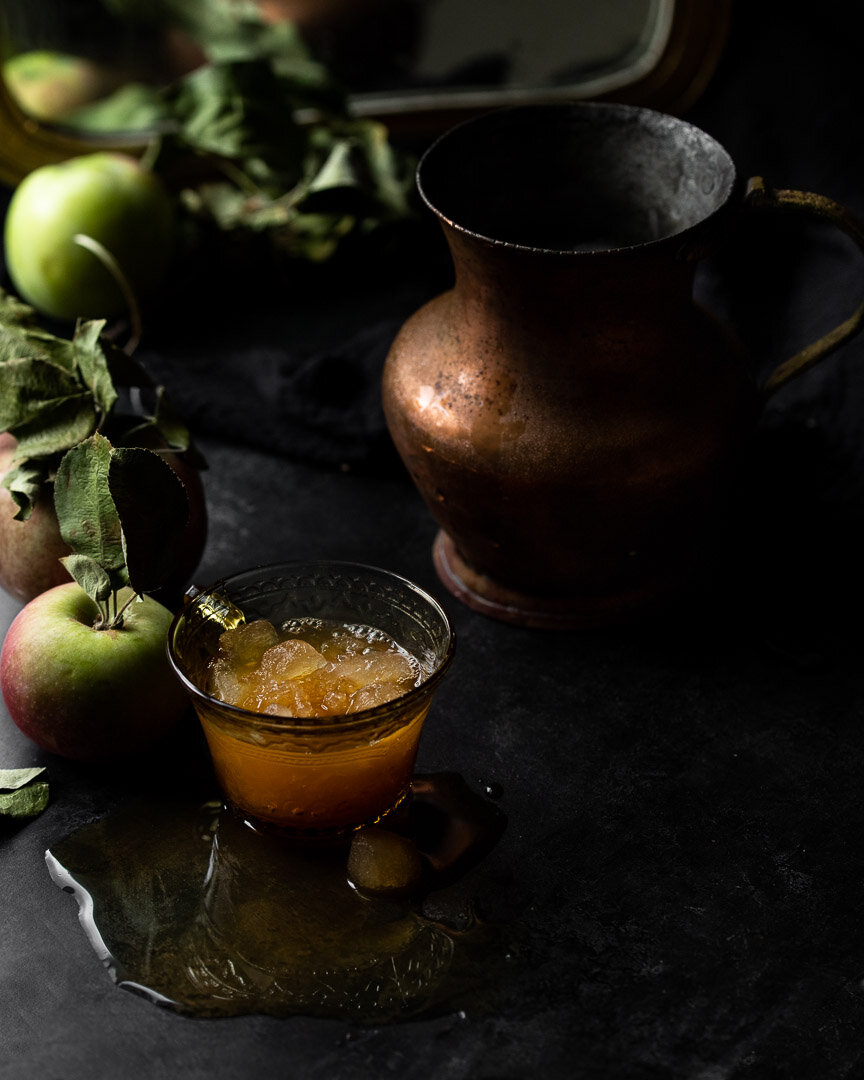
Move over pumpkin spice latte, apple cider slushee is coming for your “best fall drink” title! This easy bev can be spiced, spiked, or enjoyed straight up.

Take me to the recipe!

Deal with a fall heatwave with these frozen cider slushees! They can be spiked, spiced, or enjoyed plain! #meandthemoose #cider #falldrinks #frozentreats

Deal with a fall heatwave with these frozen cider slushees! They can be spiked, spiced, or enjoyed plain! #meandthemoose #cider #falldrinks #frozentreats

This may be a very Northeast specific rant, but why is it so hot at the beginning of fall? I feel like September, much like that other “changeover” month March, is a tease. Occasionally it’s chilly and crisp and then BAM — humid and gross. It rains and then the sun comes out immediately to really perfect those sweatbox conditions. It feels slightly chilly at 7 am, but by 9 it’s 80 and the air is heavy. How do you dress? What do you eat? I want to want all of the cozy things, but it’s too. damn. hot.

Anyway, that’s why you should freeze your apple cider. You get the coziness of fall, but the refreshment of an iced drink!

You can absolutely spice this cider by adding cinnamon sticks, crushed whole cardamom pods, anise pods, or some fresh ginger, bringing the cider to a boil, letting it simmer for 20-30 minutes, and then straining out the spices. I don’t love adding ground dried spices to my cider because I feel like it makes the cider slightly gritty, but it’s not a deal breaker. (Really, nothing is a deal breaker for me when it comes to cider.)

Deal with a fall heatwave with these frozen cider slushees! They can be spiked, spiced, or enjoyed plain! #meandthemoose #cider #falldrinks #frozentreats

Deal with a fall heatwave with these frozen cider slushees! They can be spiked, spiced, or enjoyed plain! #meandthemoose #cider #falldrinks #frozentreats

Deal with a fall heatwave with these frozen cider slushees! They can be spiked, spiced, or enjoyed plain! #meandthemoose #cider #falldrinks #frozentreats

Deal with a fall heatwave with these frozen cider slushees! They can be spiked, spiced, or enjoyed plain! #meandthemoose #cider #falldrinks #frozentreats

Deal with a fall heatwave with these frozen cider slushees! They can be spiked, spiced, or enjoyed plain! #meandthemoose #cider #falldrinks #frozentreats

Deal with a fall heatwave with these frozen cider slushees! They can be spiked, spiced, or enjoyed plain! #meandthemoose #cider #falldrinks #frozentreats

Apple cider slushee

Time: 6 hours, or overnight + 5 minutes active time
Yield: 2 slushees

2 cups apple cider
2 shots Calvados or other apple brandy, optional

Fill a standard ice cube tray with fresh cider. Let freeze for at least 6 hours or overnight.

Chill the cups you plan to use for the slushees in the freezer while you make the drinks.

Add the ice cubes to a blender (the higher powered, the better) and pulse 3-4 times or let run for about 3-4 seconds. Pulse again or run for 1 more second at a time until the cubes are crushed to your liking. In my experience, the cubes crush up very quickly and you don’t want them to re-liquify.

Spoon the crushed ice into the chilled cups and add 1/8-1/4 cup of fresh cider. Add 1 shot of calvados (optional).

Raspberry rhubarb chia jam bars

IMG_7658.jpg

Preschool germs. Is there a stronger force in the universe? In my memoir, this era will be titled: The time when my child who never got sick, was never not sick.

And I don't know if all kids do this when ill, but mine is like a koala bear who drank a pot of coffee. He's both lethargic and wired, wanting to be on top of me while simultaneously thrashing like he's breaking out of a human prison. In short, this has not been a fun week.

Anyway, since we're stuck in the house for the foreseeable future, I've tried my hand with chia jam a few times. The basic recipe in that link has worked well for me as long as I cook the fruit down for about 20 minutes before adding the chia seeds and letting the mixture set in the fridge for about 30 to 60 minutes before using it. 

IMG_7642.jpg

And this jam is really versatile! It works in sandwiches, obviously, but is also great when added to oatmeal, yogurt, and baked goods. It would also make a tremendous baby puree.

IMG_7647.jpg

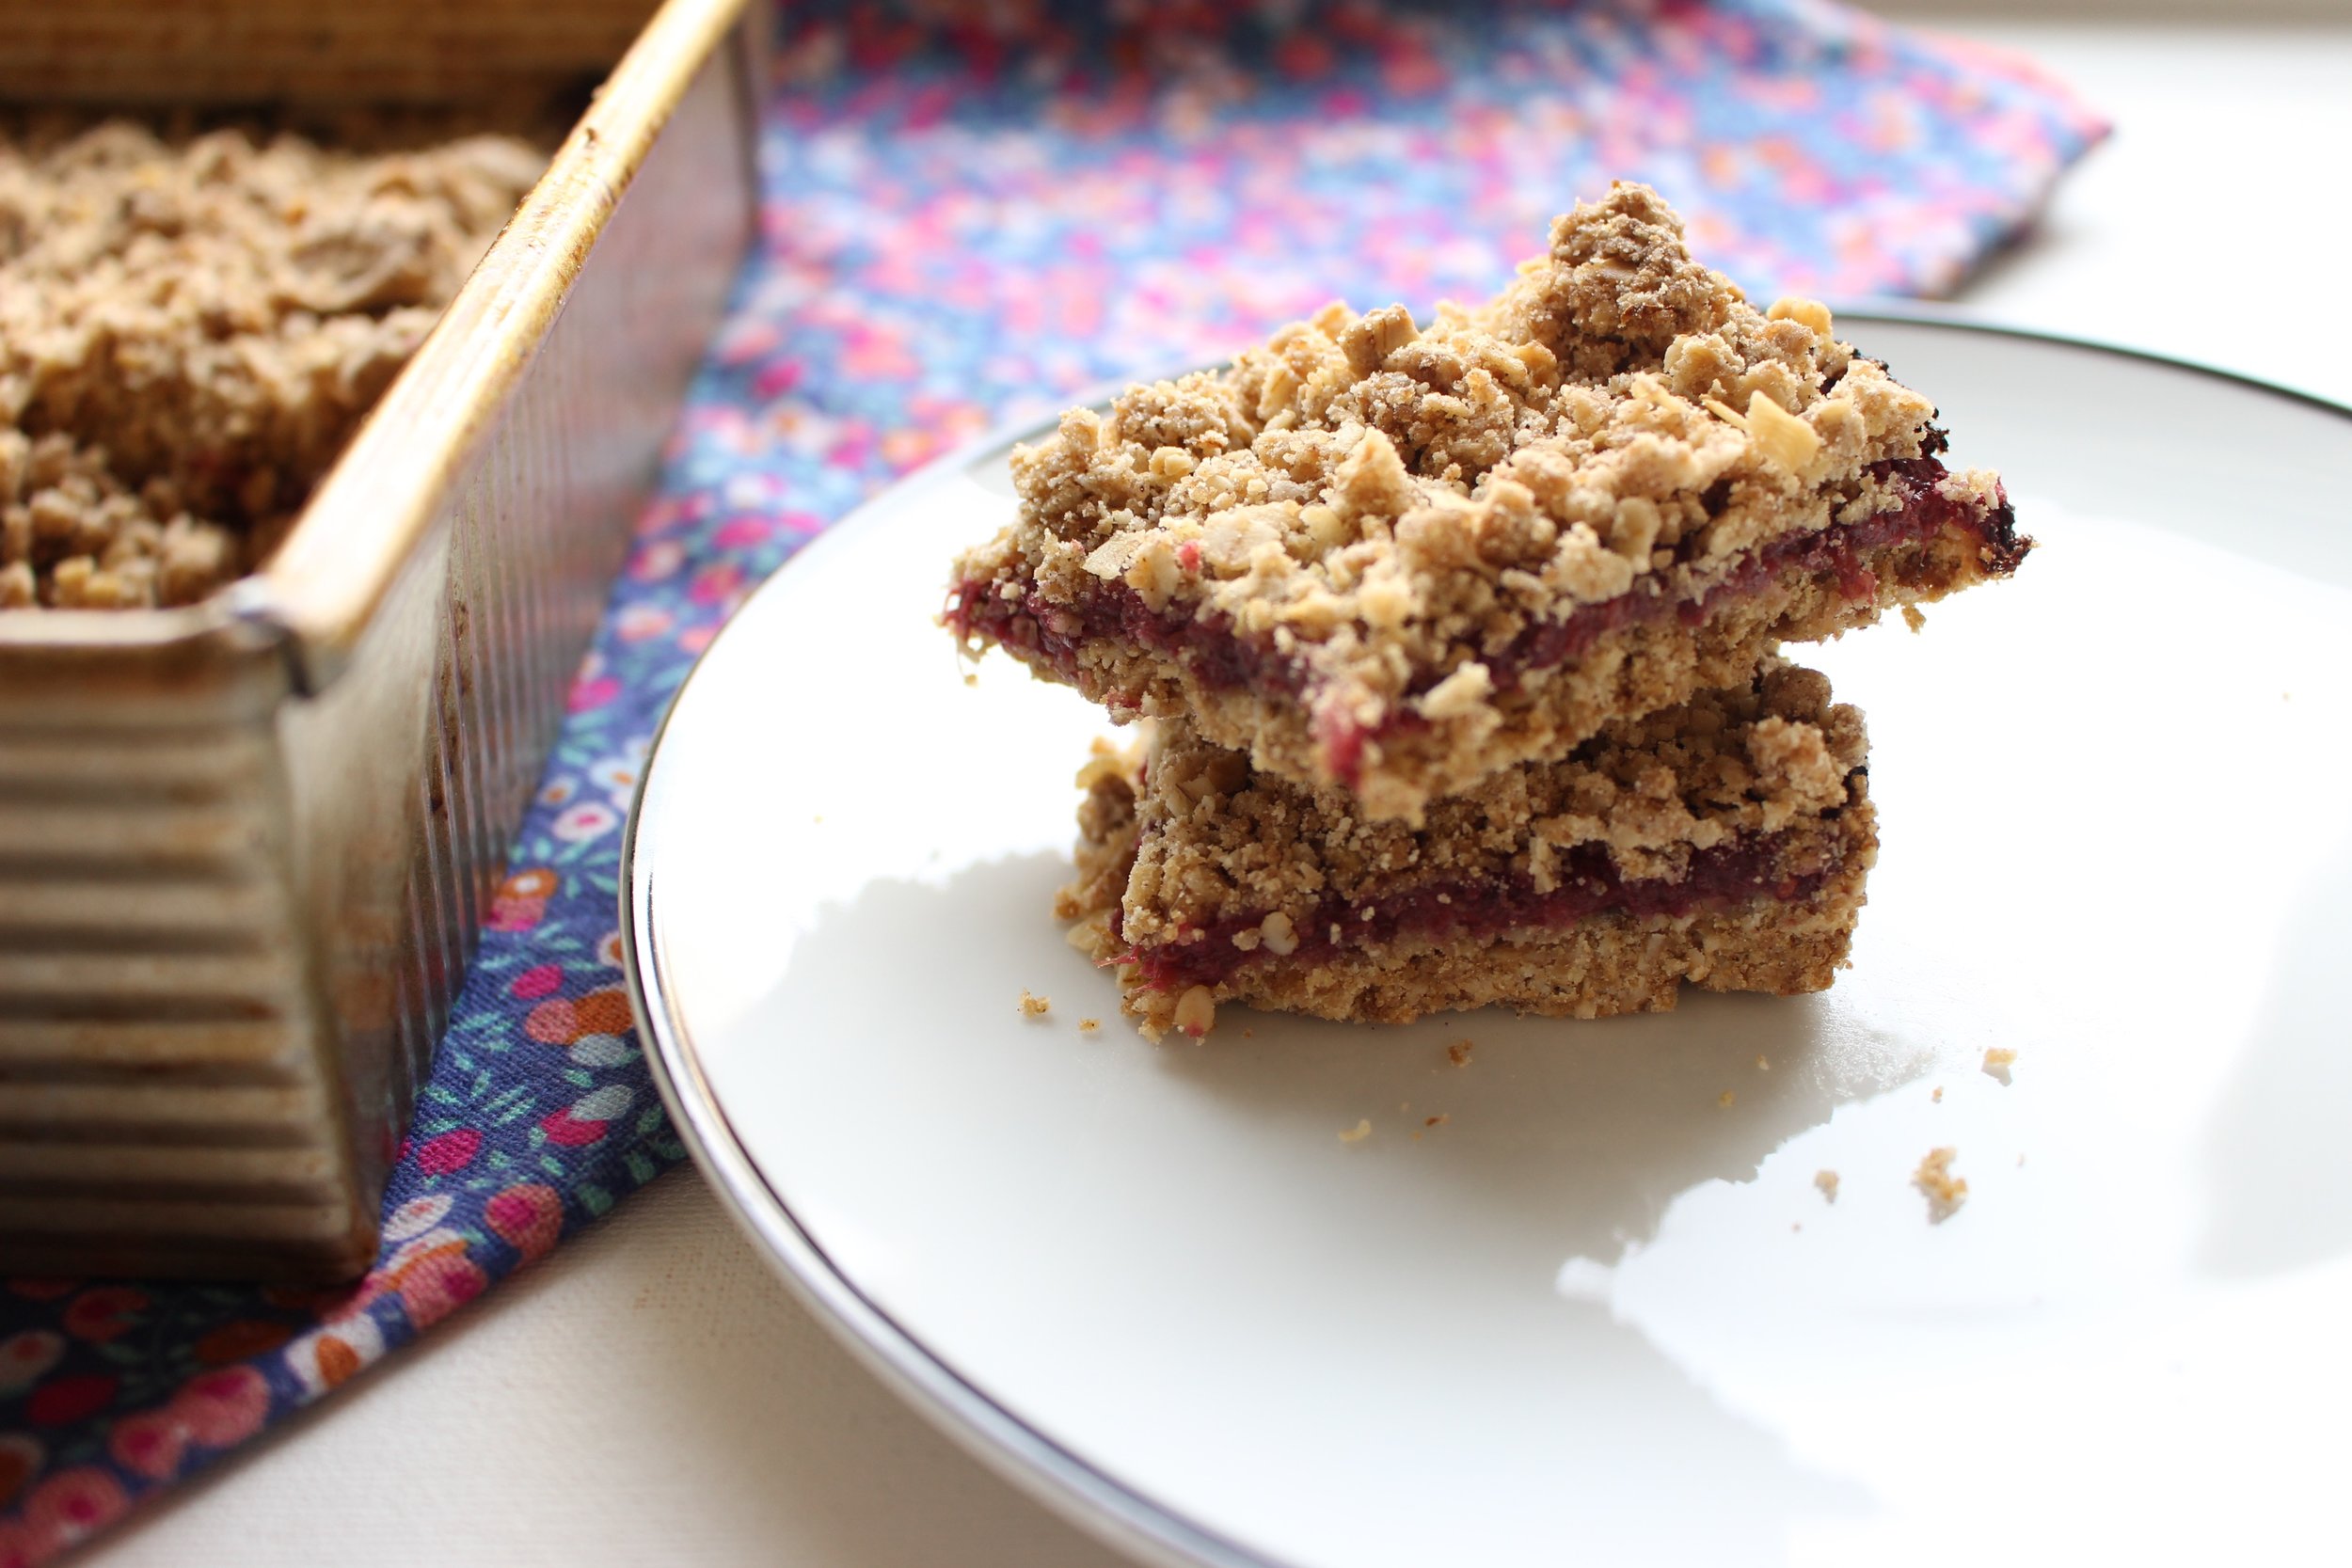
This is as easy as dessert/snack/breakfast gets. One bowl, no extra tools, and the same batter for the base and the top crumble. This recipe also uses gluten-free flour and clarified butter, so it's free of gluten, dairy, nuts, and eggs. And I've used as little butter and sugar as possible to maximize health without losing out on taste and texture.

IMG_7625.jpg

This dough is definitely crumbly, but packs down nicely with a rubber spatula. If it's too crumbly, feel free to add an extra tablespoon or two of butter.

IMG_7629.jpg

Raspberry rhubarb chia jam bars

For the jam:
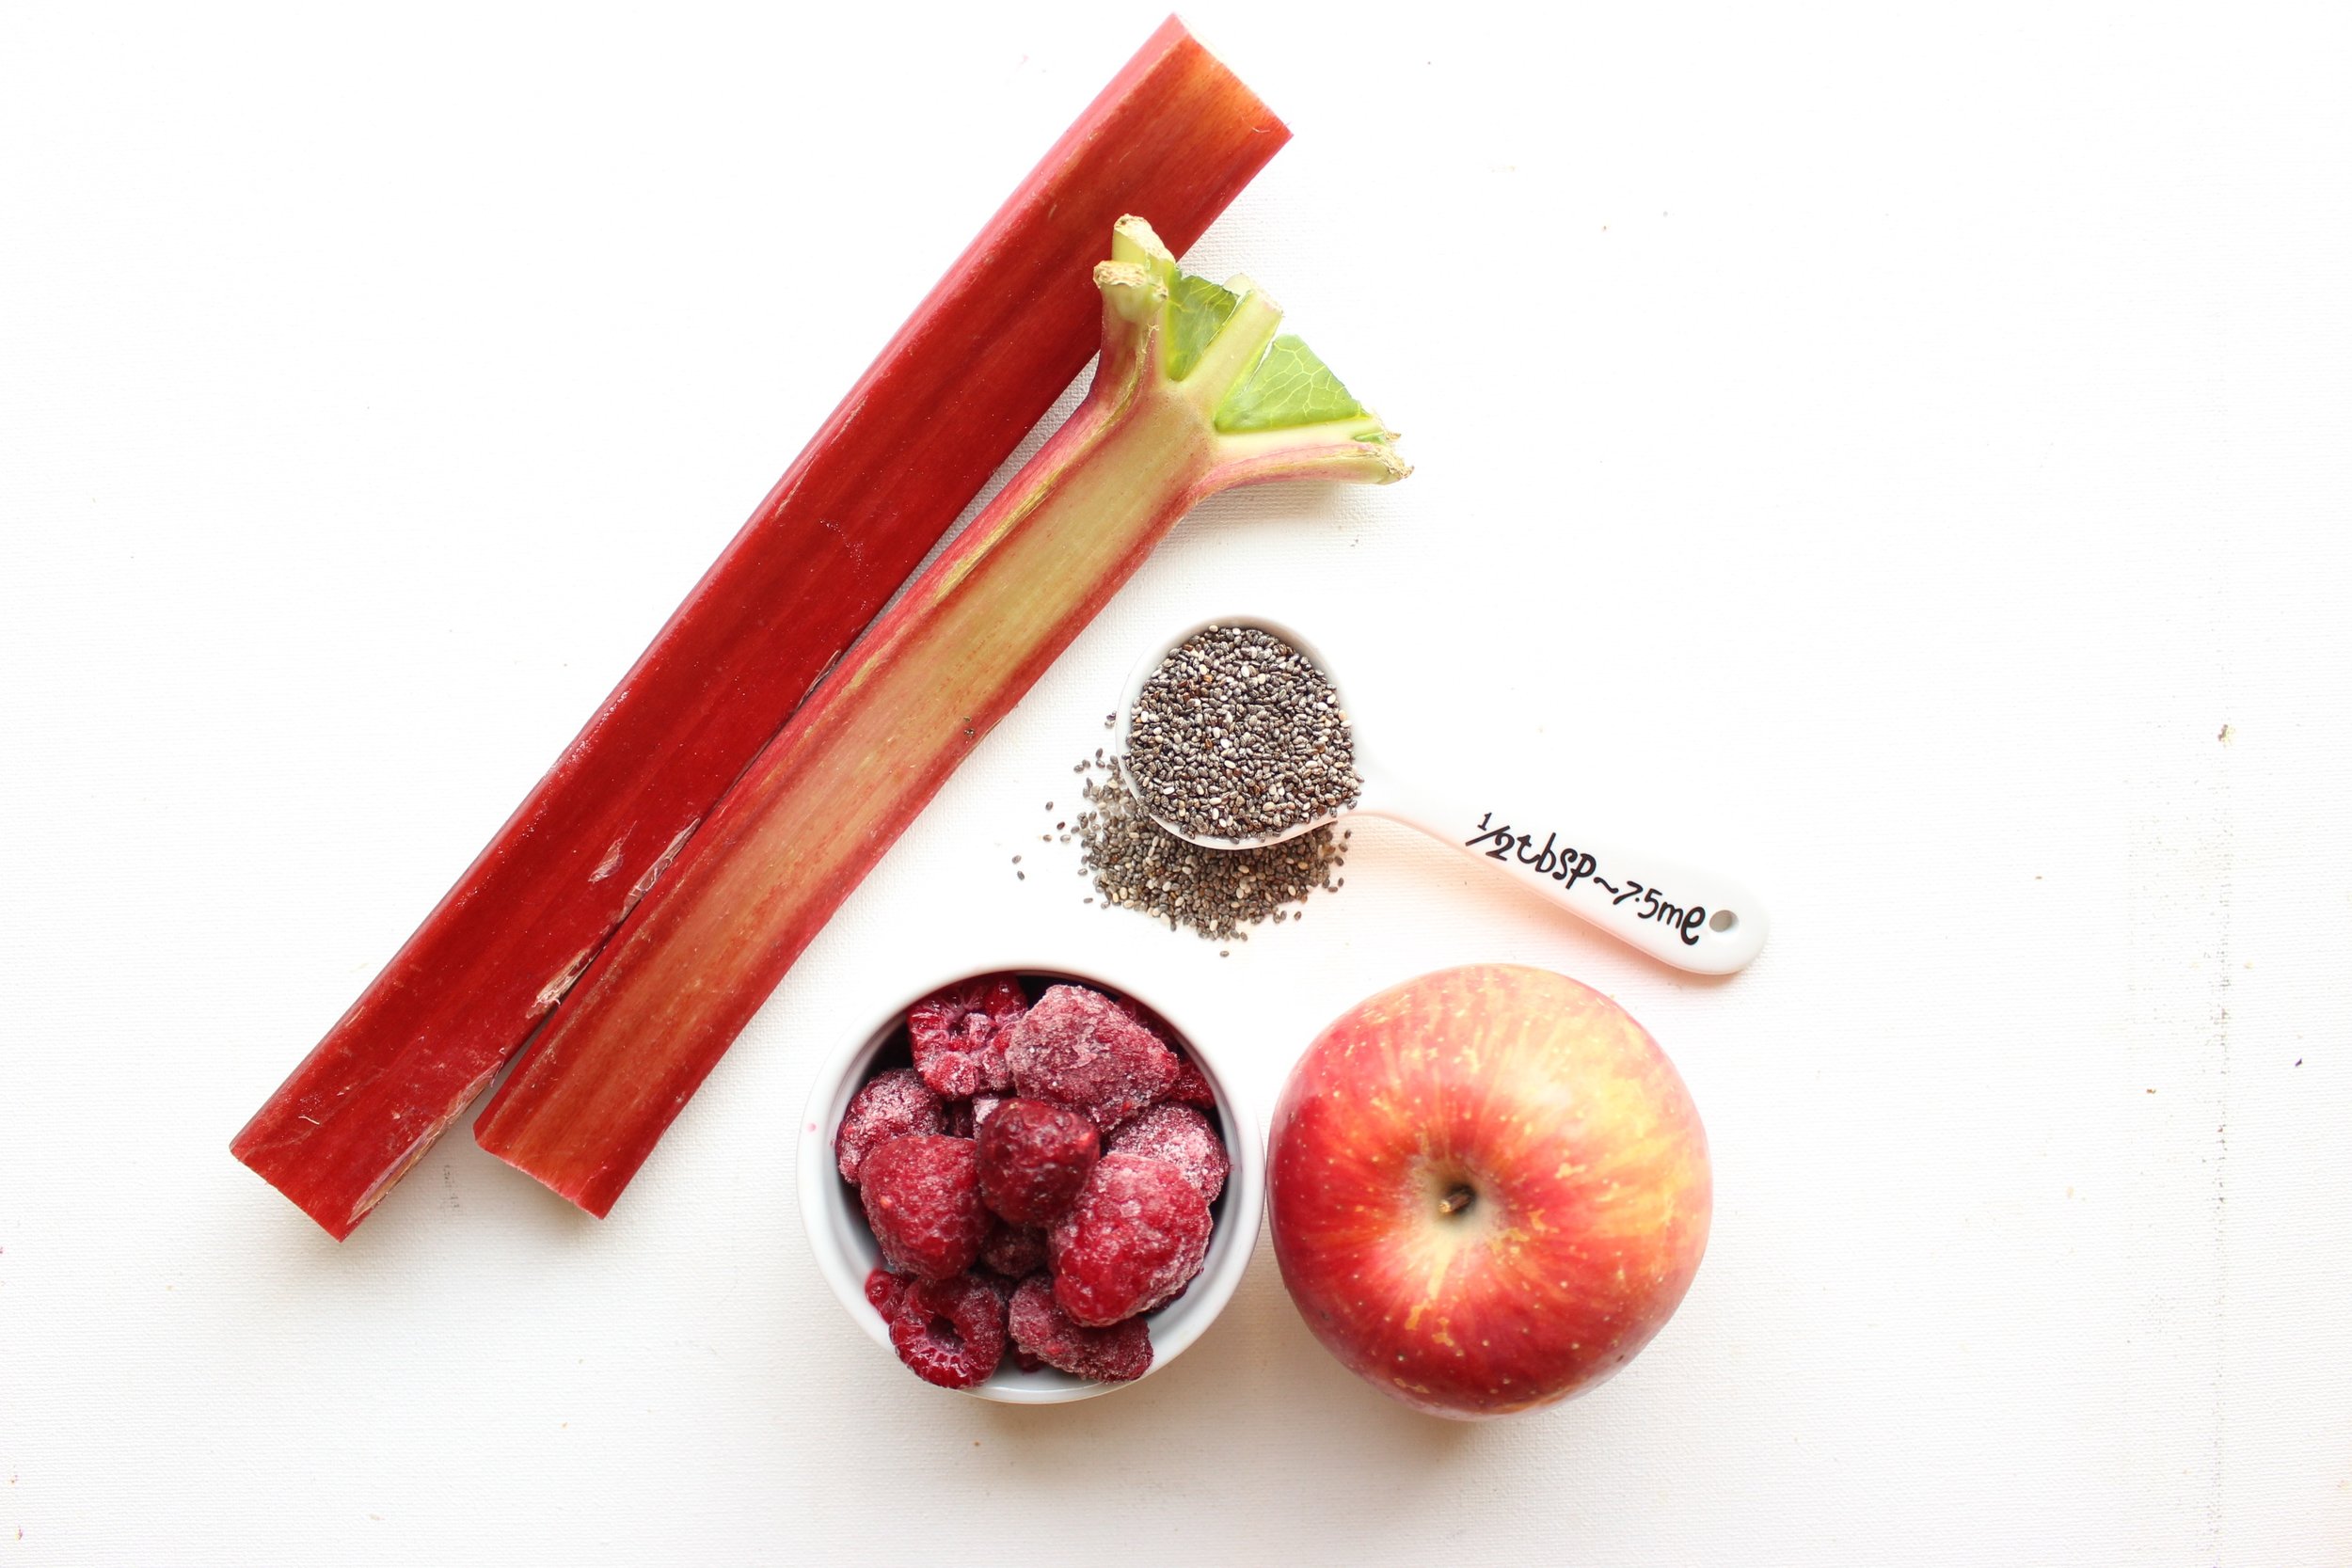
12 oz frozen raspberries (one package or about 1 ½ cups)
2 cups rhubarb, chopped
2 large green apples, peeled and chopped
1 Tbsp water
4 Tbsp chia seeds  

Add raspberries, rhubarb and green apples to a medium pot. If your berries are still frozen, add 1 tablespoon of water to get things started. If your berries have unfrozen and there’s some liquid in your bag, skip the extra water and just start cooking.

Bring to a boil and reduce heat to medium or medium low and simmer, stirring occasionally, until the fruit is falling apart and the liquid has largely evaporated or become syrupy, about 20 minutes. Let cool slightly and add the chia seeds. Cool in the fridge for 30-60 minutes before using.

Yield: About 3 cups


For the bars:
1.5 cups gluten free flour
1.5 cups quick oats
½ cup brown sugar, packed
½ tsp baking soda
½ tsp cinnamon
¼ tsp cardamom
½ tsp kosher salt
Zest of 1/2 large lemon
8 Tbsp clarified butter
4 Tbsp ice water
1.5 cups chia jam (see recipe above)

Preheat the oven to 350. Grease a 9x9 brownie pan with clarified butter or olive oil and set aside.

In a large bowl, combine the flour, oats, brown sugar, baking soda, cinnamon, cardamom, and salt and mix well.

In a small bowl, melt some clarified butter. Measure the butter when melted and add to the dry ingredients, stirring after adding each tablespoon. Add the ice water, also stirring between additions.

Pack about 2/3 of the mixture into the bottom of your brownie pan with a rubber spatula or wet hands. Top with the chia jam and smooth out. Crumble the rest of the oat mixture over the chia jam. If possible, pack some of the oat mixture into larger pieces and place those on top.

Bake for 40 minutes or until the edges begin to darken slightly.

Let cool completely before cutting.

Yield: 16 pieces

IMG_7660.jpg
IMG_7664.jpg

Apple almond bread

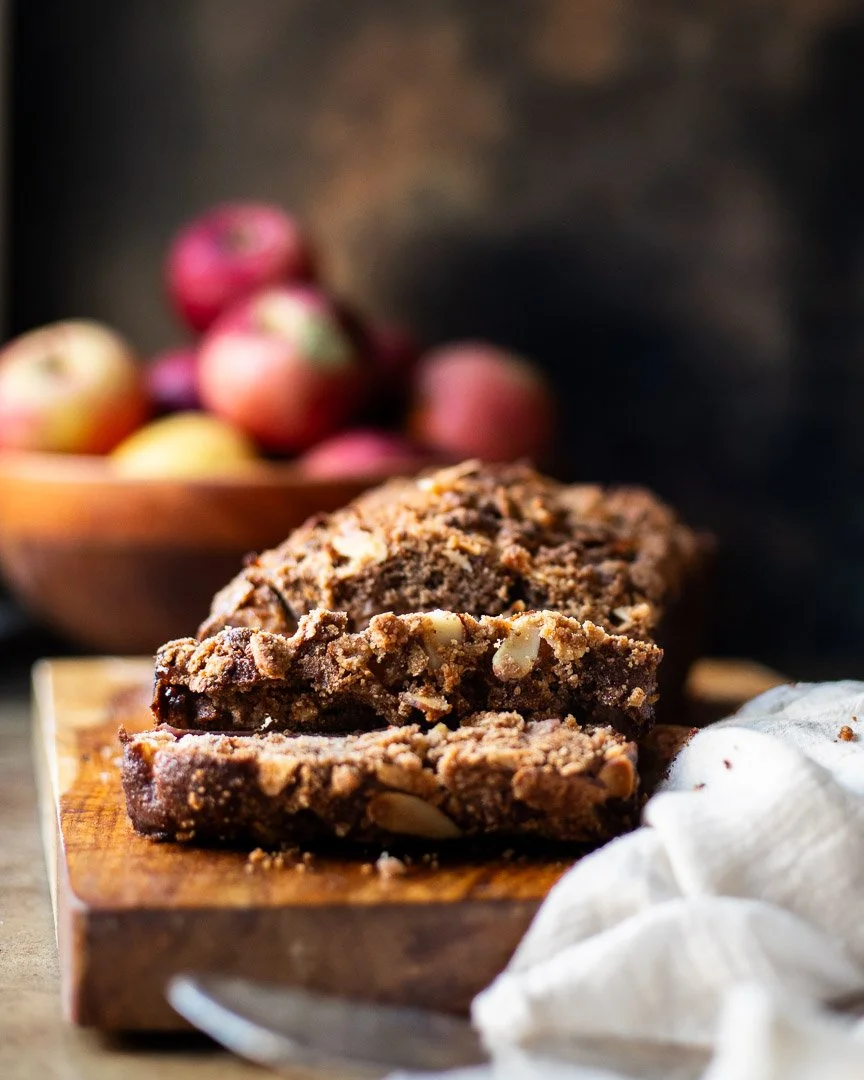
Use up a few of those abundant fall apples in this quick, easy loaf that you can make in one bowl!

Take me to the recipe!

Apple and almond might be one of my favorite combinations and luckily, M thinks so too. Because we’ve eaten a lot of these breads in the past few weeks. And I mean…a lot.

IMG_6314.jpg

Why have I tested this recipe so much, you might ask? Well, I thought my first try was pretty darn close to perfect, but my husband thought it was too dry. I thought he was crazy, but his comment stuck in my craw. I tried this quick bread with more butter, more yogurt, more butter and yogurt, etc, but the end results, to me, never seemed as good as the original and it spoiled faster the wetter I made the batter.

If you like a wetter crumb, feel free to throw in another 1/4 cup of yogurt, but remember that you probably shave off a day from the life of your loaf. (Without the extra yogurt, you get about 4-5 days loosely wrapped at room temperature from this bad boy- not that you'll need it).

IMG_6299.jpg

A couple of notes:

  • No need to toast the almonds in the topping because they'll toast while the bread cooks.

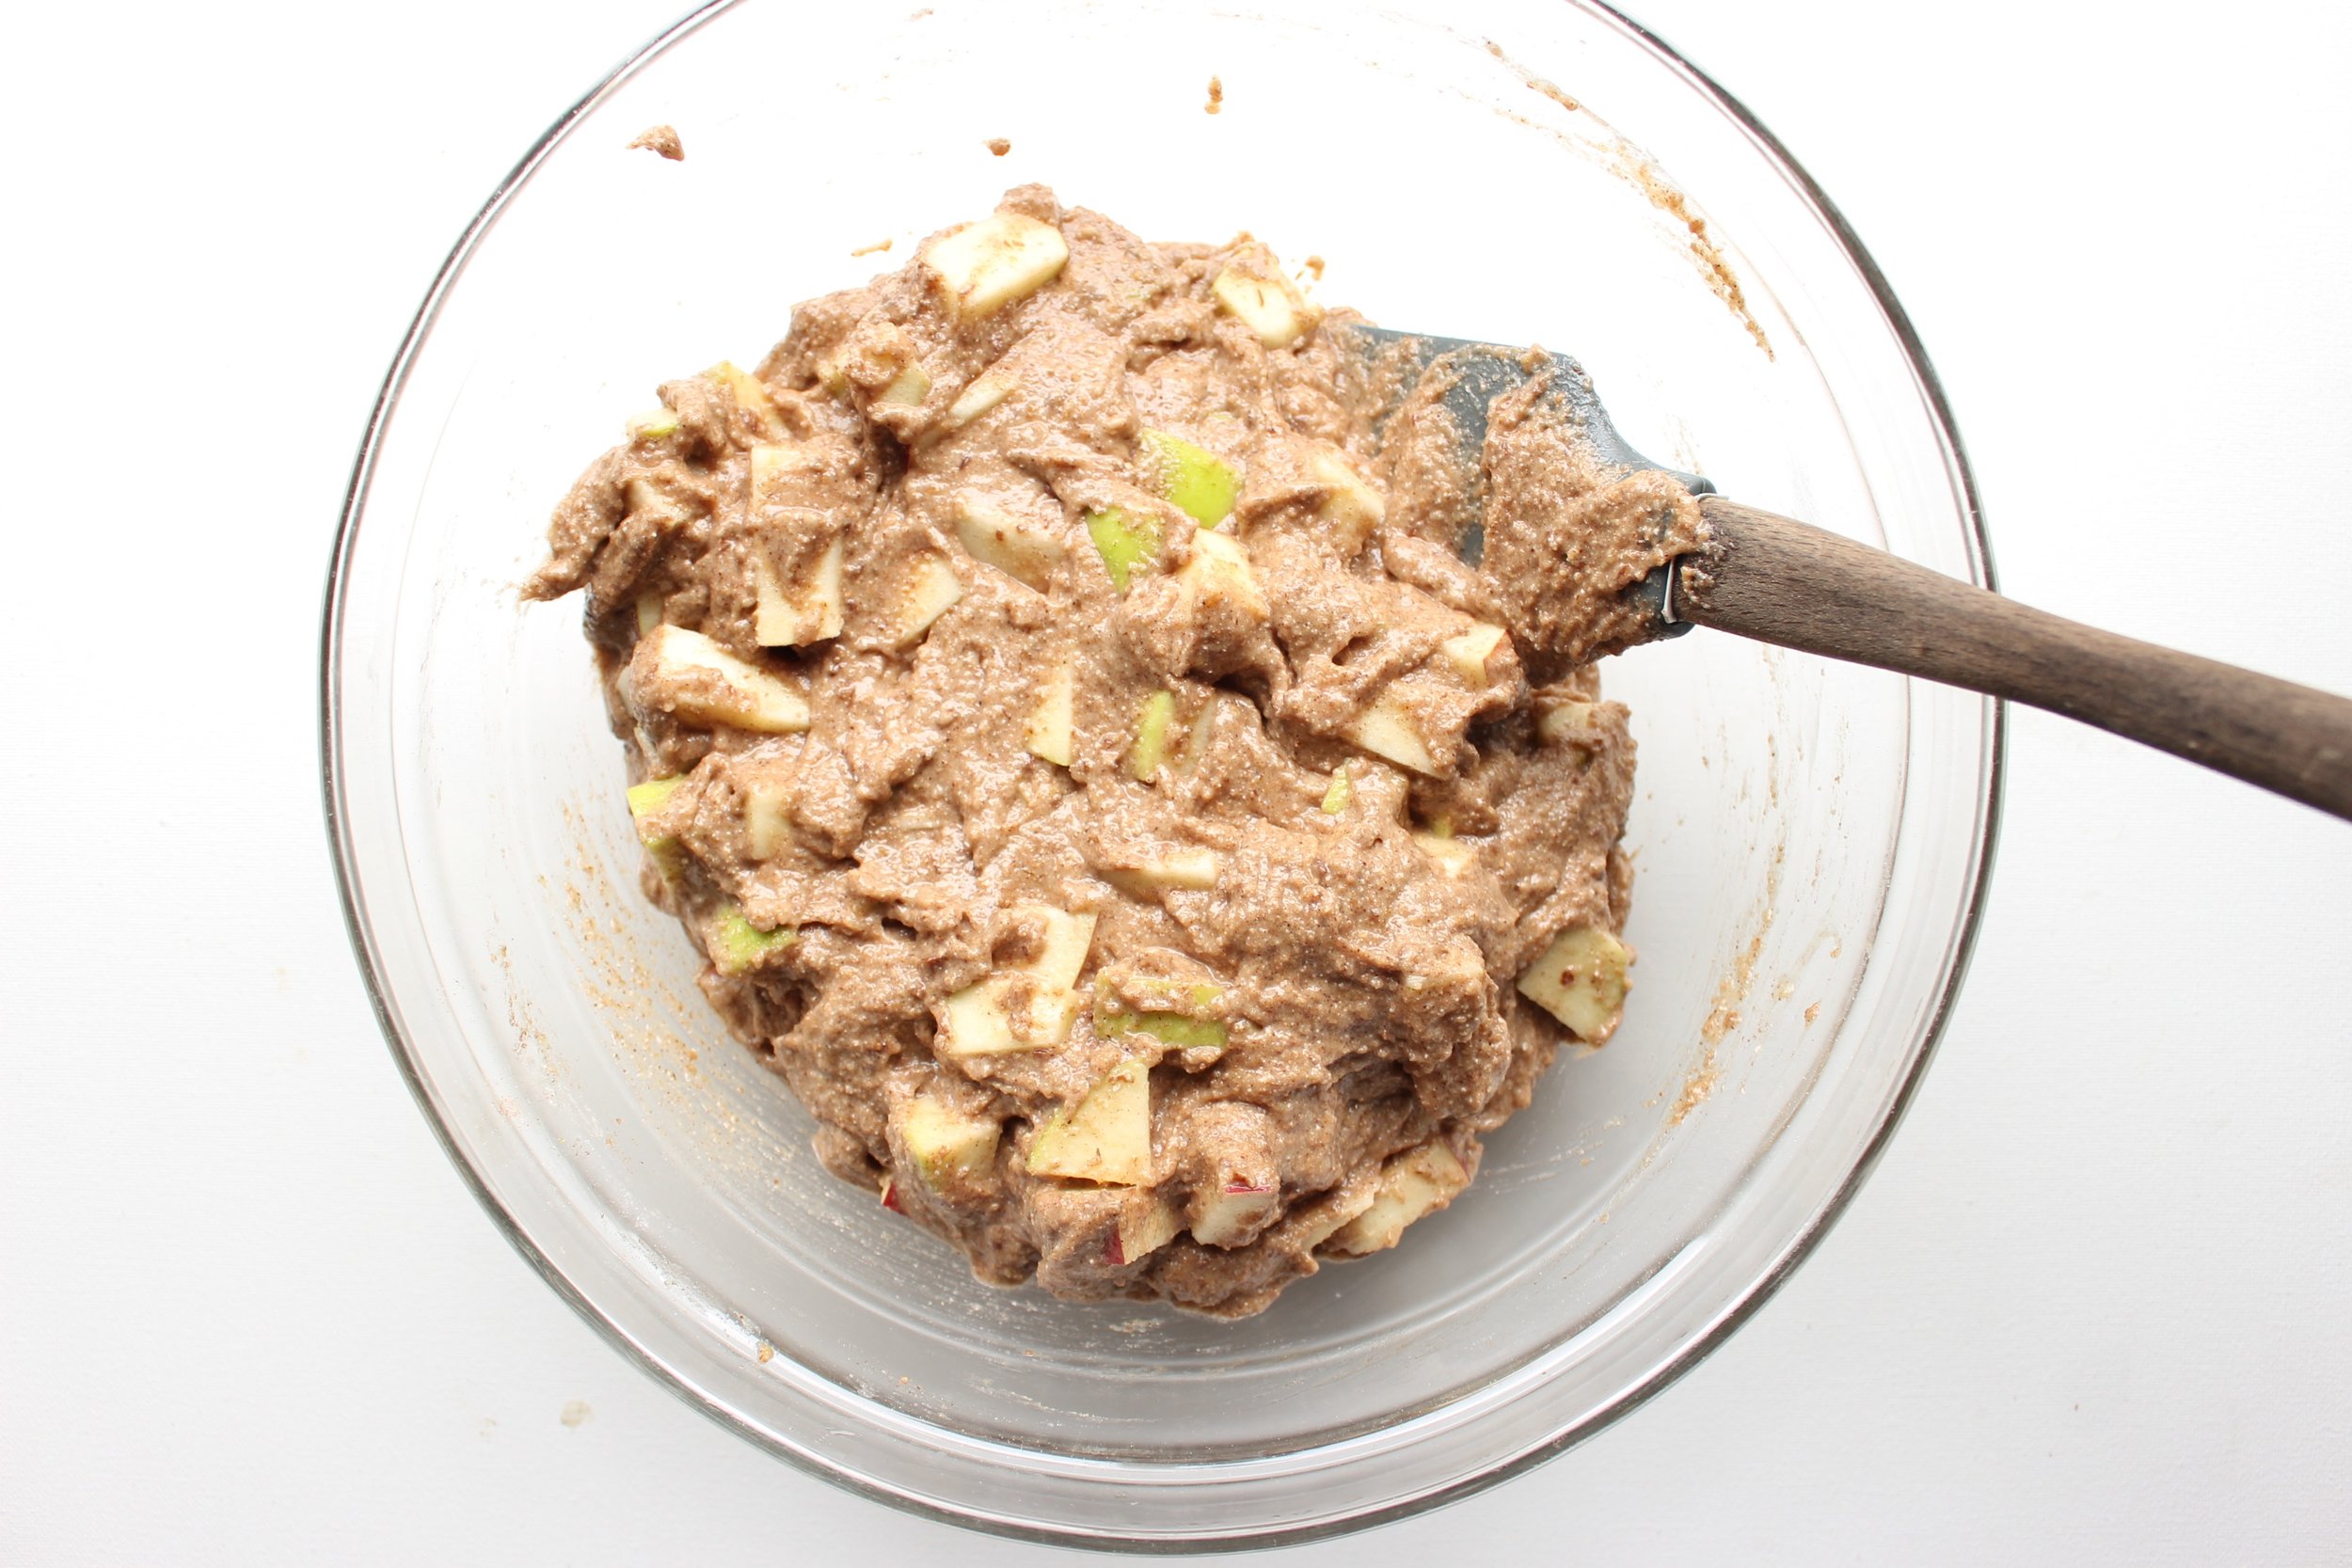
  • If you want the apples to disappear into the bread, chop them into tiny pieces. If you like to see and taste the apples more emphatically, leave them in 1/2-inch chunks. Larger chunks of apple make the bread a bit more crumbly, so choose whichever method better suits your tastes.

Also great about this bread? You only need one bowl for the base! (The topping uses another small bowl, but you could wipe out the large bowl and use it again to make the topping once you pour the batter into the loaf pan.)

IMG_6307.jpg

Apple almond bread

Time: about 1 hour, mostly hands off
Yield: 8-10 slices

For the topping:
1 ½ Tbsp butter, melted
¼ cup sliced almonds (not toasted)
3 tbsp whole wheat flour
2 Tbsp brown sugar
pinch of salt

For the bread:
2.5 Tbsp butter, melted and cooled slightly
1/4 cup whole milk yogurt (non-Greek)
¾ cup maple syrup
2 eggs
½ tsp almond extract
1.5 cups whole wheat flour
½ cup almond flour
2 heaping Tbsp flax seed meal
1 tsp baking powder
1 tsp baking soda
½ tsp salt
1 Tbsp cinnamon
3 cups diced apples (about 2 large apples, not peeled)

Preheat oven to 350. Grease a 9x5 or 10x5 loaf pan with olive oil and set aside.

Make the topping: In small bowl, melt the butter. Add the almonds, 3 Tbsp of whole wheat flour, sugar, and salt and mix well. Set aside.

In a large bowl, melt the rest of the butter and let cool slightly. (Or, melt the butter halfway and stir to melt the rest. This usually results in warm, not hot, butter.)

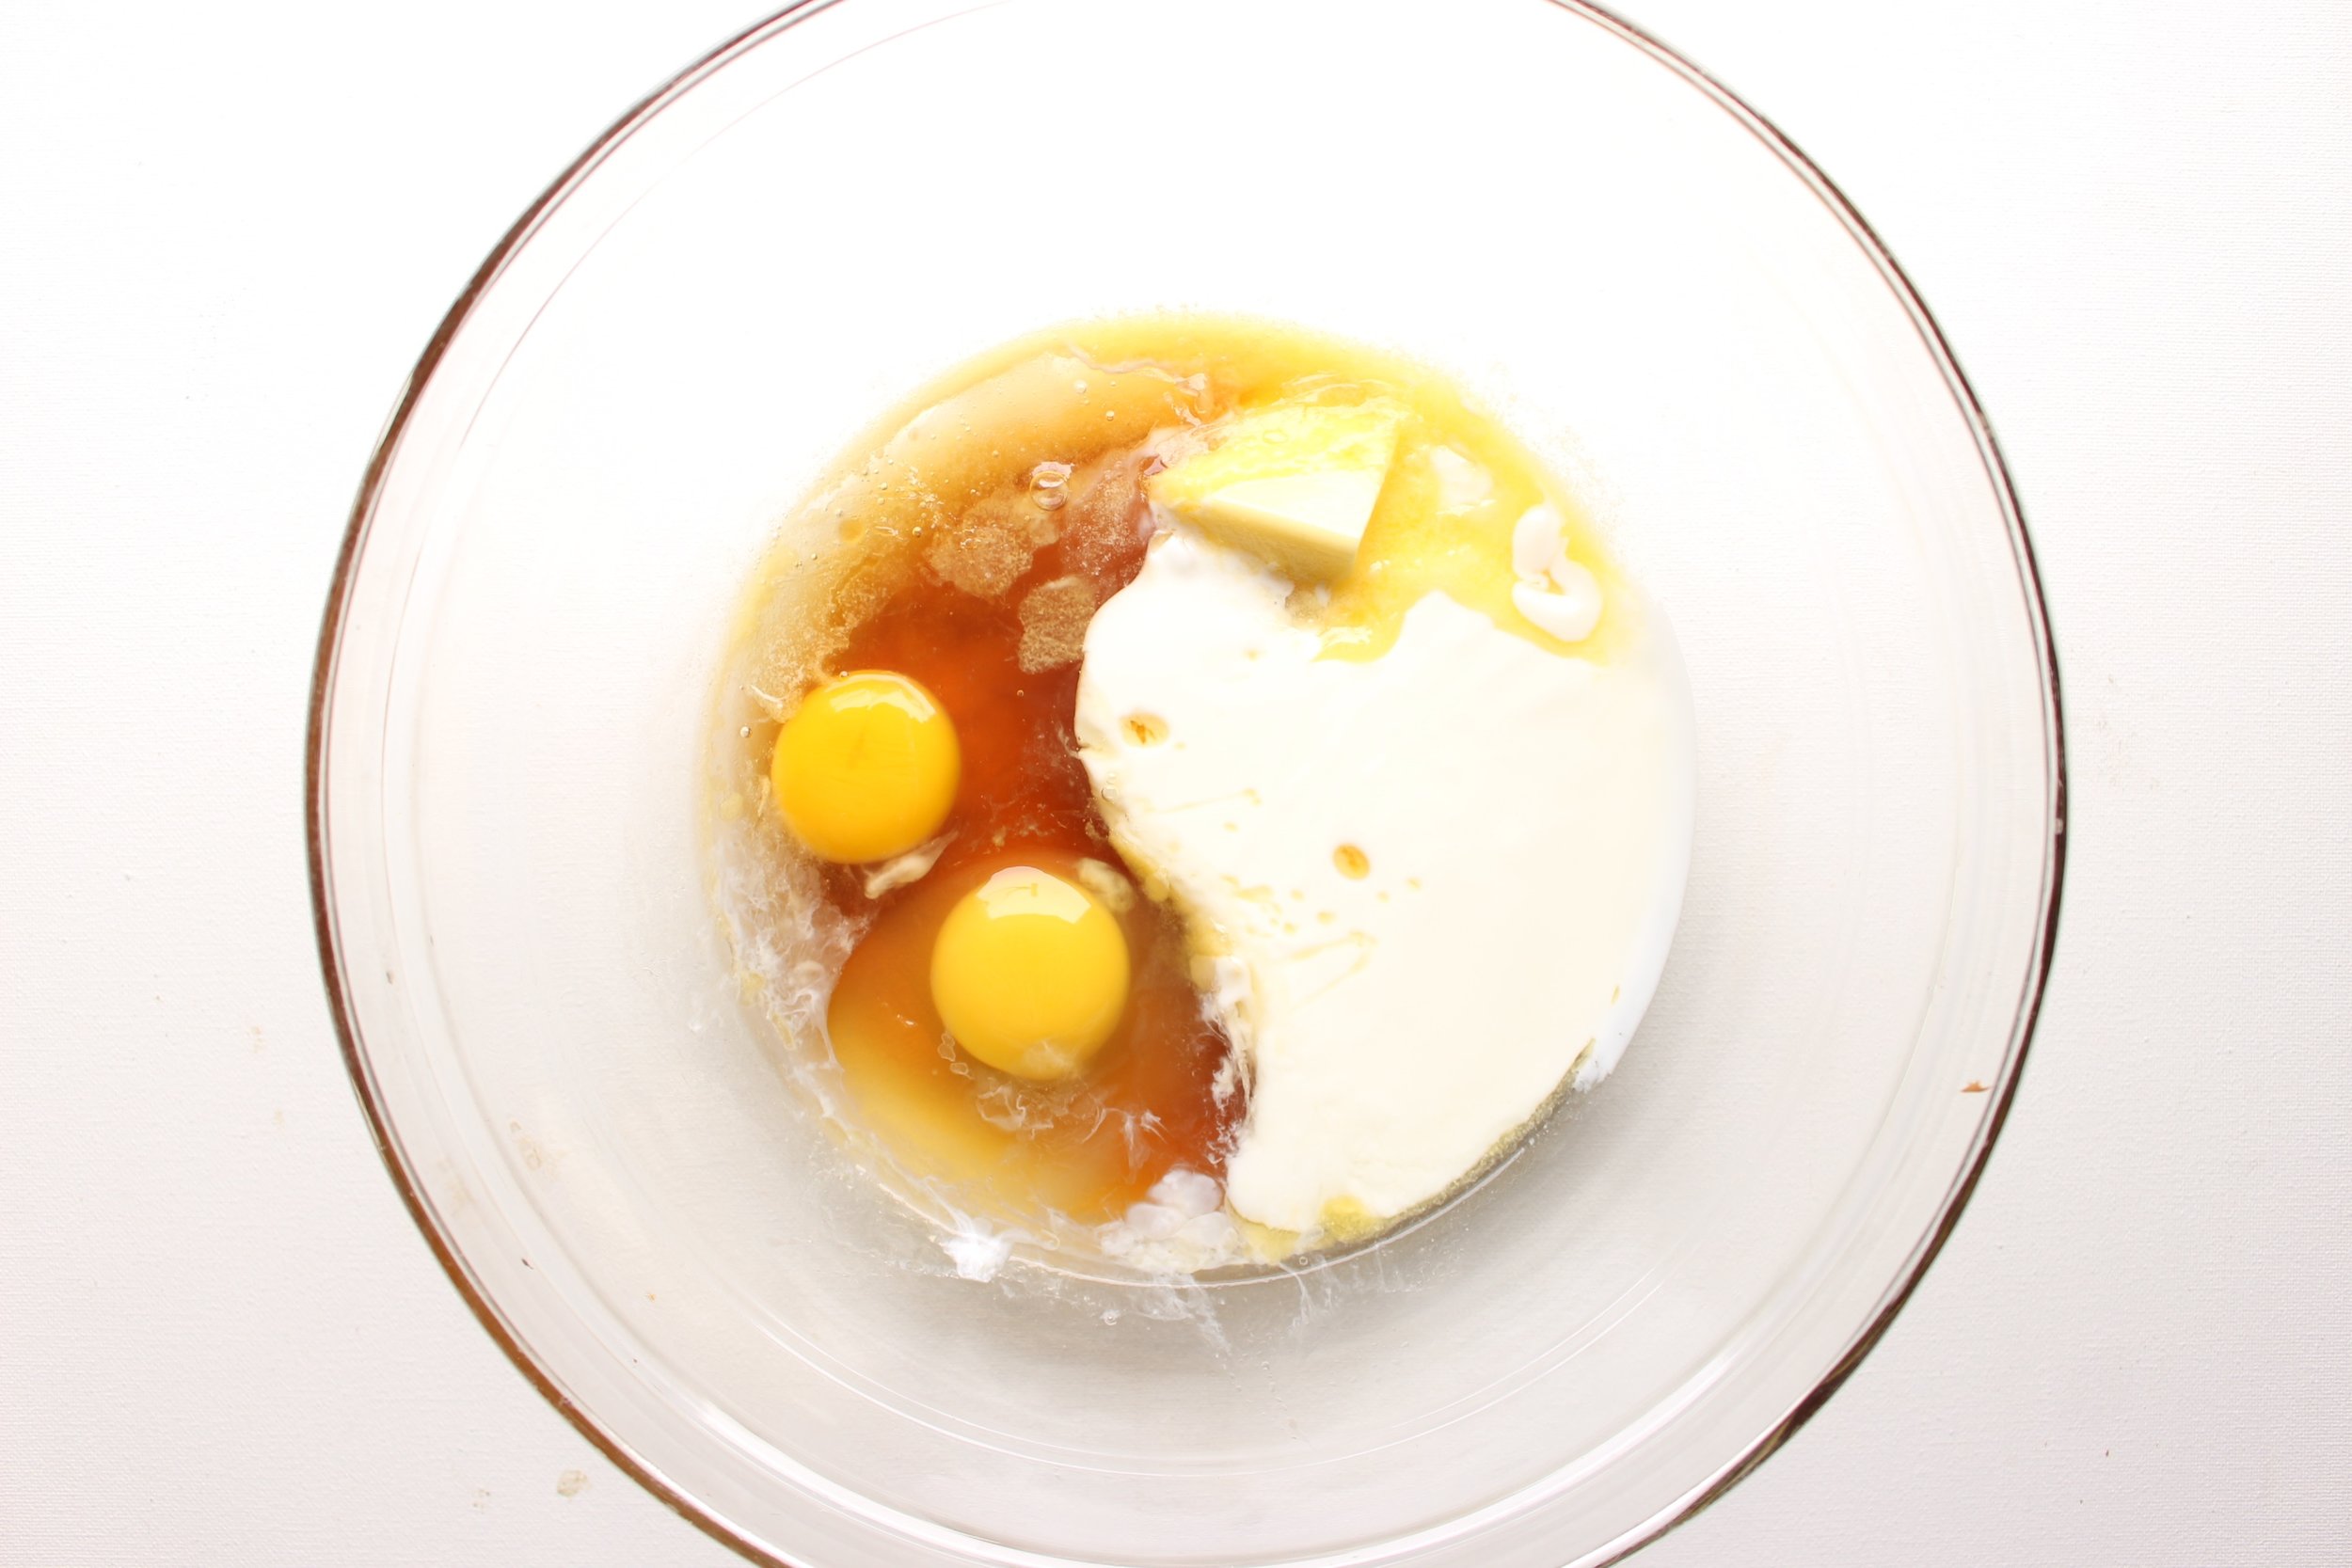
Add the rest of the wet ingredients and whisk to incorporate .

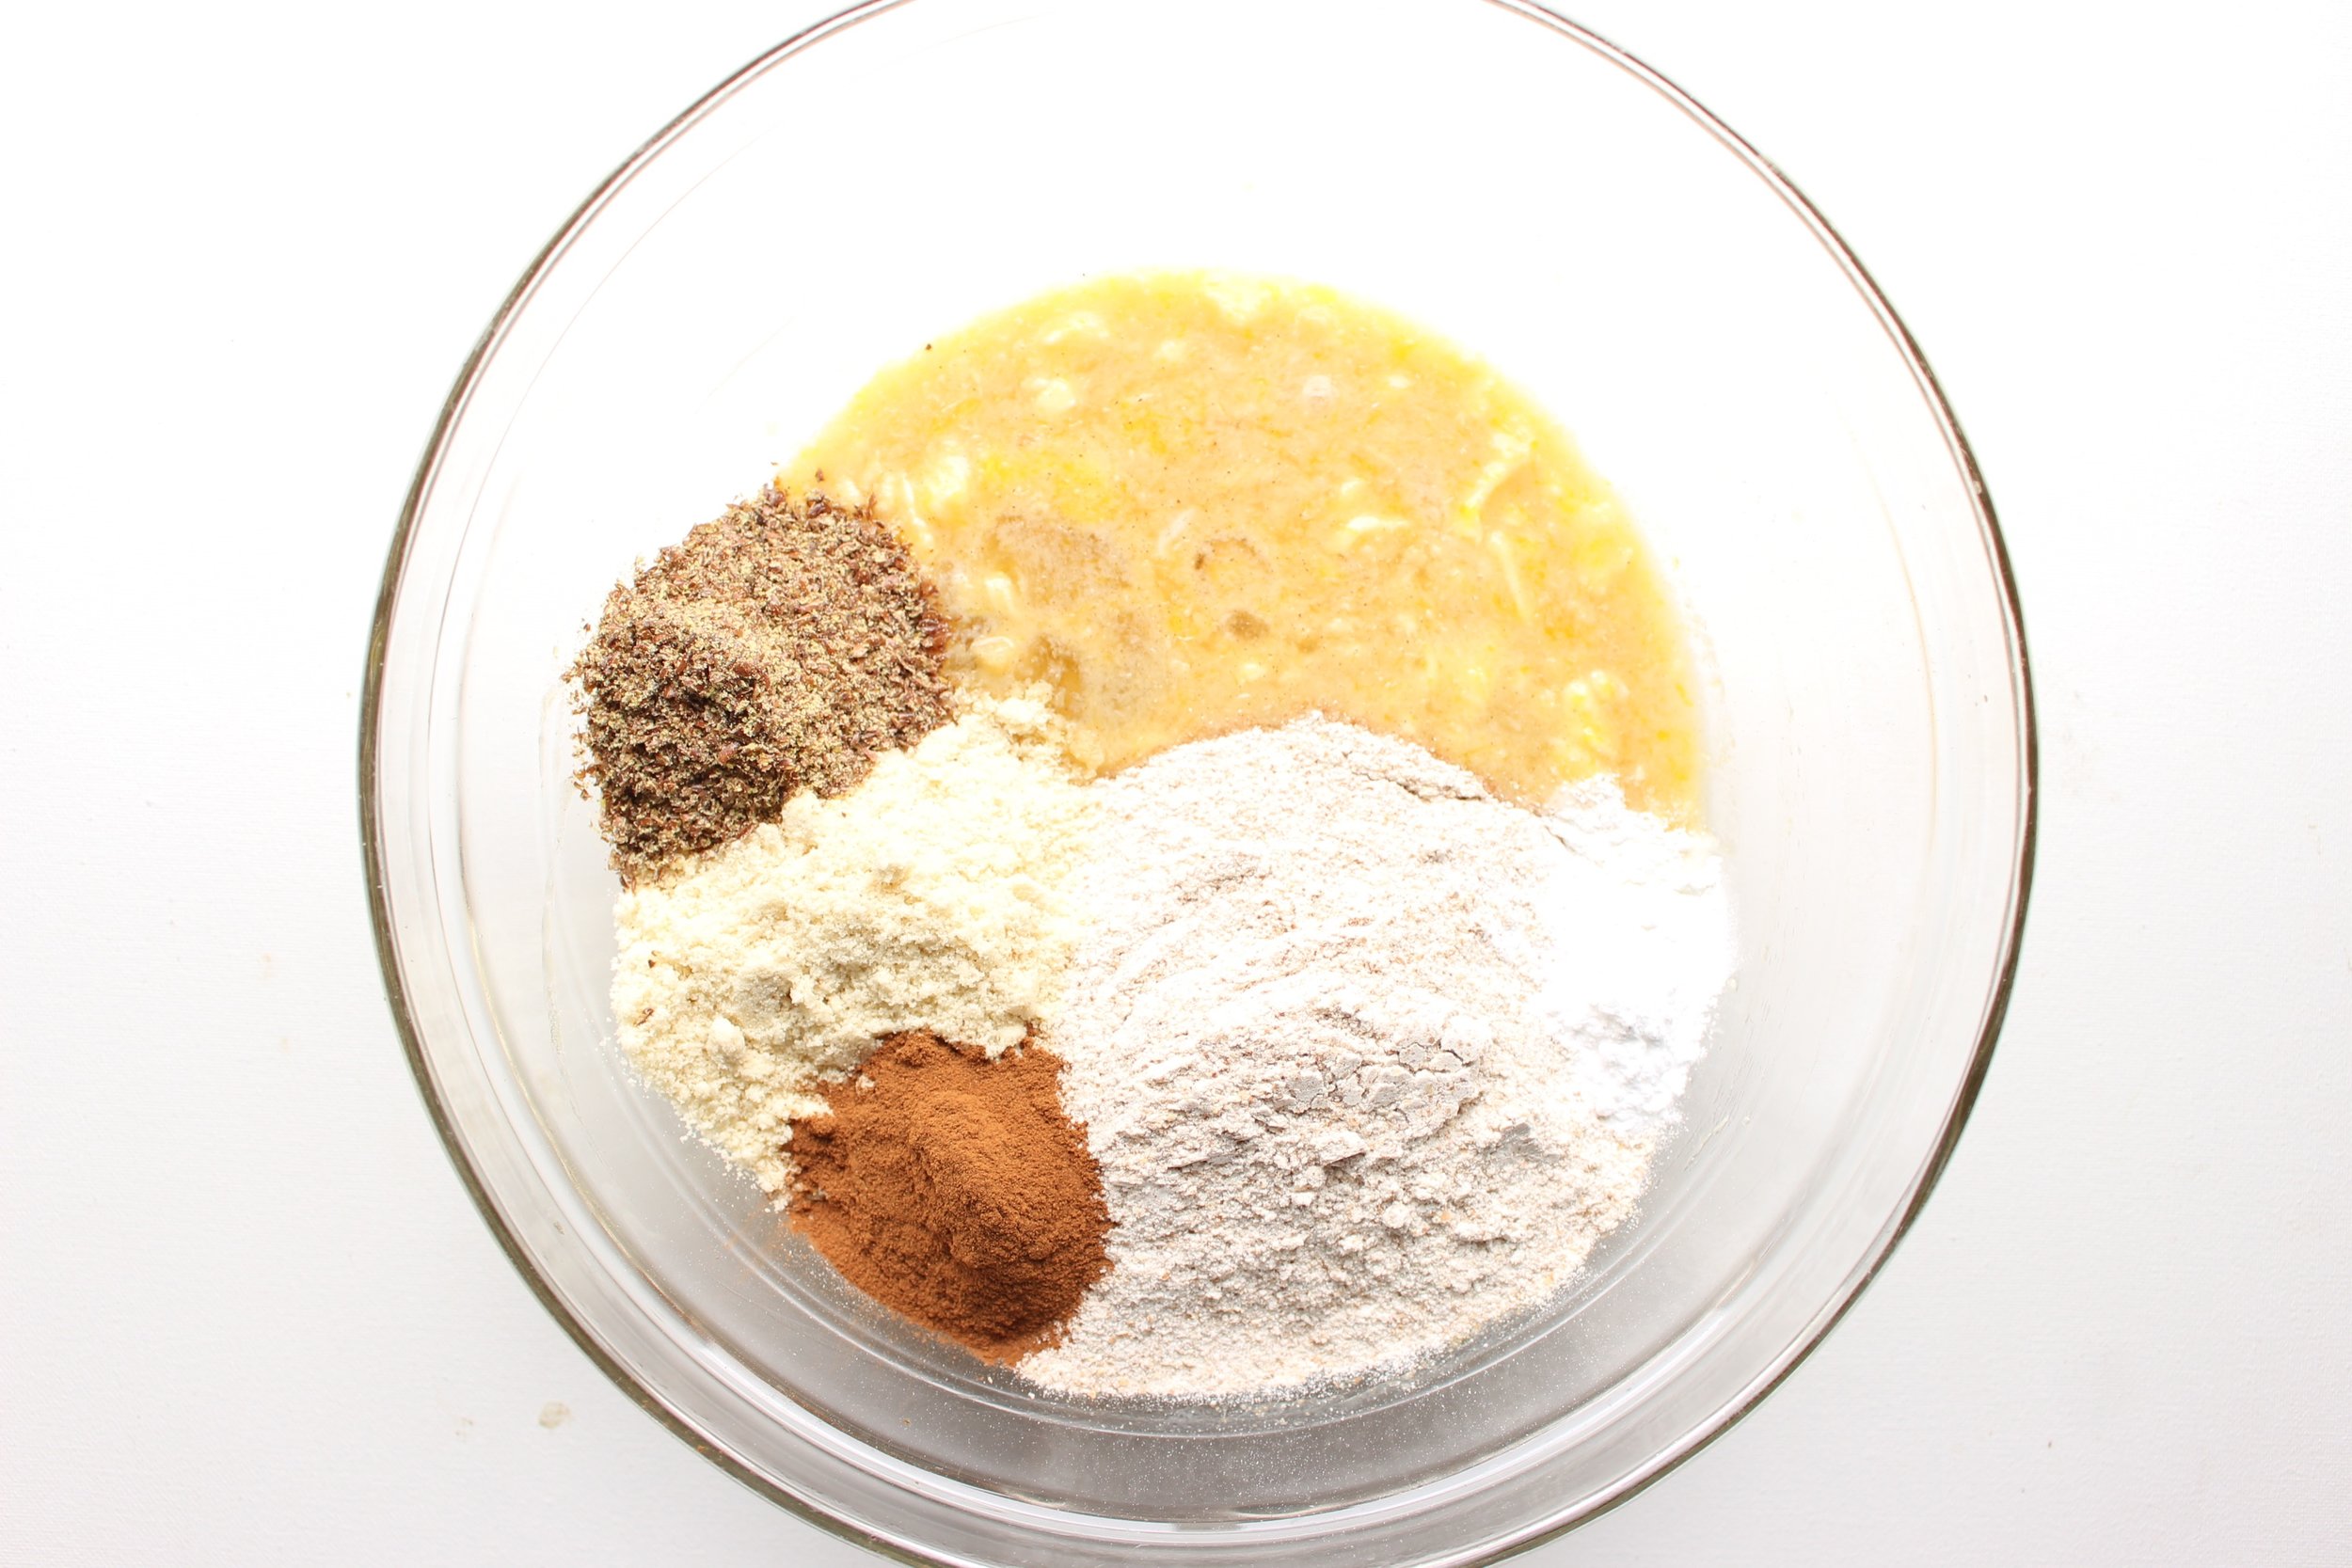
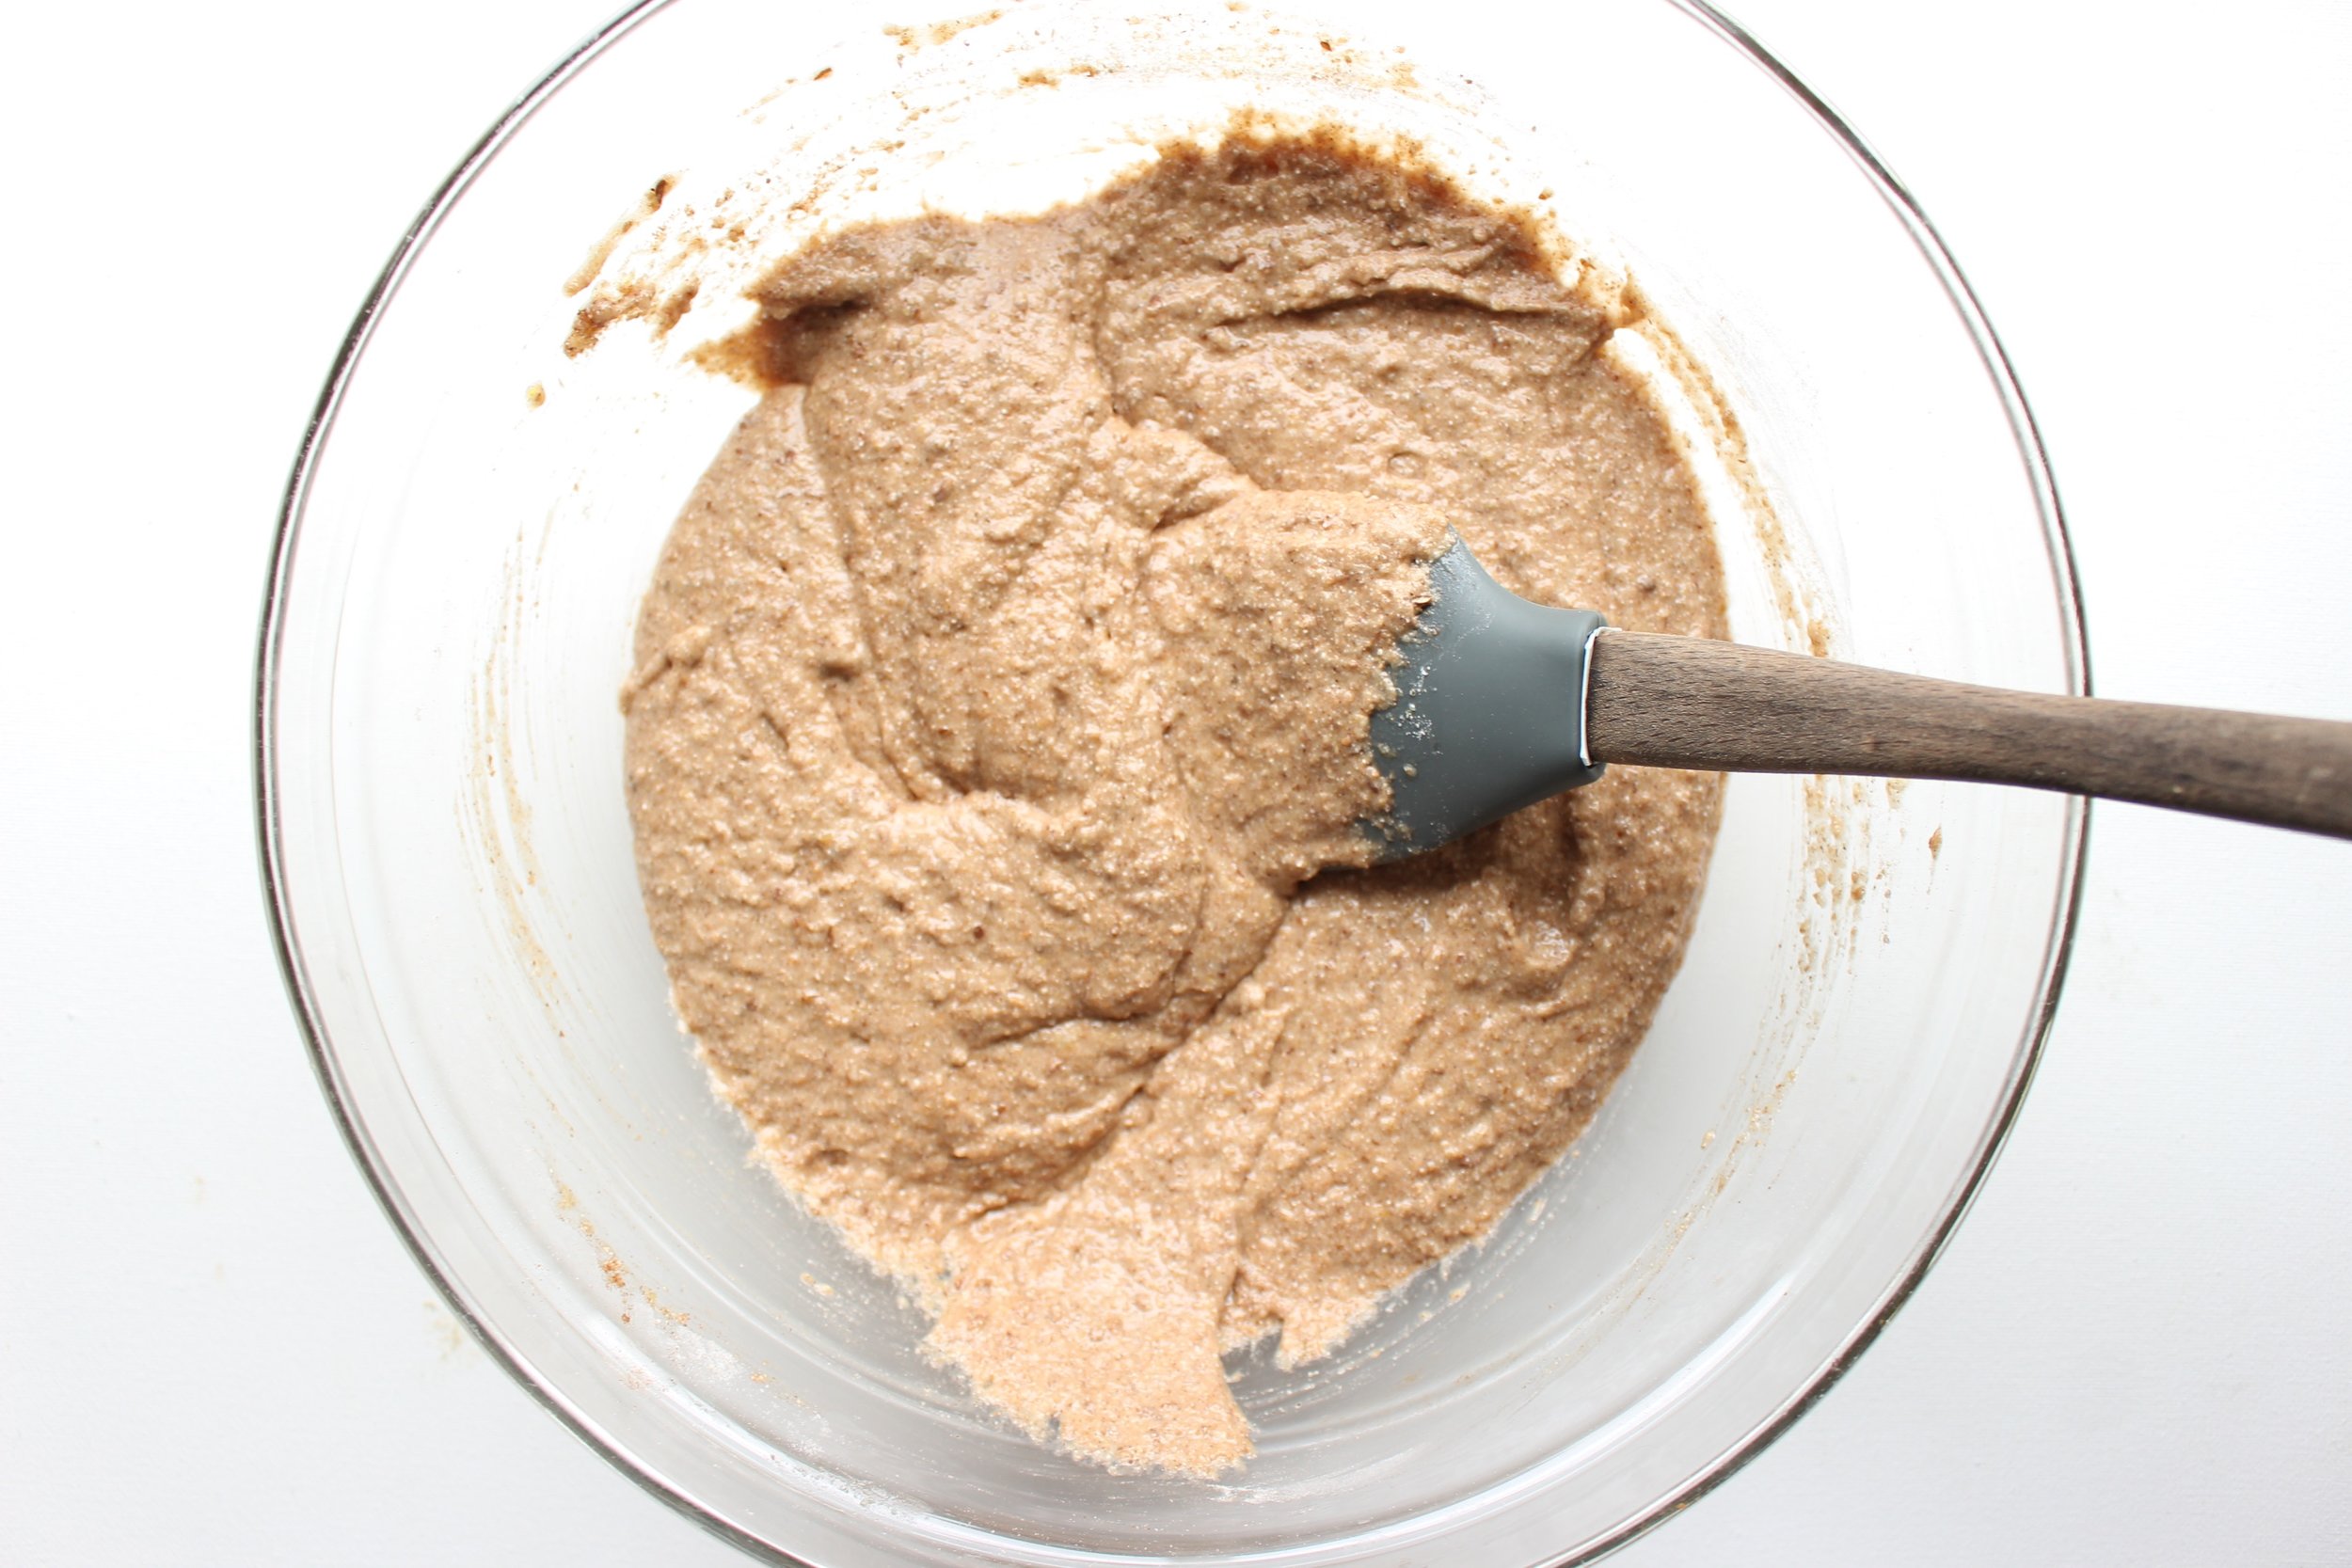
Add the dry ingredients and mix just until combined and no streaks remain. Set aside.

Chop the apples and add to the batter. Stir a few times to combine, but don’t over mix.

Bake for 40-50 minutes until a tester comes out clean. Check the bread after about 30 minutes or if you start to smell the almond too strongly. Cover with foil if the topping browns too quickly and continue to bake until the tester comes out clean.

IMG_6347.jpg

Apple, honey, and peanut butter breakfast cookies

These breakfast cookies are a great make-ahead meal prep that’s full of protein, fiber, and flavor.

Take me to the cookies!

IMG_6237.jpg

Oh apple season, how I love you. However, baking with you in your natural state sometimes leads to a soggy mess. So, dried apples it is. I like the Trader Joe's version the best because they're dry (obviously), but not so dry that they're hard to eat. Though I still have to cut them up for M because he shoves so many of the whole ones into his mouth that he chokes. When will he learn??

IMG_6238.jpg

Anyway, these cookies are sweet and hearty and FILLING. They combine the heartiness of hot oatmeal with the fun and portability of a cookie and the protein and fiber of granola (some of them, anyway). They’re sort of like if granola, oatmeal, and a cinnamon raisin cookie had a baby.


This is also a great place to sub in some store-bought sunflower seed butter to make these lunchbox appropriate. Pretty sure the rest of the ingredients would mask the sometimes glue-y taste of store-bought versions. Using gluten-free oats also makes these safe for kids with gluten allergies. And I haven't tried these with egg substitutes, but I'm assuming that two or three flax eggs would also work to bind these together. If using a flax egg, directly reduce the amount of flax seed meal that goes into the batter, but keep the baking powder the same. But note that I'm speculating here as I haven't tried these changes myself. I'll update the post if I do!

IMG_6227.jpg

Apple, honey, and peanut butter breakfast cookies

Time: About 20 minutes
Yield: 24 cookies

8 oz peanut, almond, or sunflower seed butter (natural or regular are fine, but see note)
¾ cup honey
1/4 cup brown sugar
2 eggs
2 Tbsp coconut or olive oil (if using coconut oil, melted)
1 tsp vanilla extract
3 cups old fashioned rolled oats
1/2 cup flax seed meal
½ tsp salt
1 tsp baking powder
1½ cups dried apples, chopped
½ cup cranberries, raisins, or chocolate chips

Preheat the oven to 350. Line two baking sheets with parchment paper and set aside.

Combine the peanut butter, honey, brown sugar, eggs, oil, and vanilla in a large bowl. Mix well.

Add the dry ingredients and mix until all have been incorporated and no streaks remain.

Wet hands and form the dough into 24 balls (about 2-3 Tbsp each) and gently press down. The dough will be sticky, which is why wet hands are helpful.

Bake for 12-15 minutes or until the sides just begin to brown. 

Let cool completely before removing from cookie sheet. (Cookies are slightly crumbly until they cool.)

IMG_6249.jpg

Zucchini and blueberry waffles

Zucchini and blueberry waffles | Me & The Moose. These naturally sweet bread-y pastries are a great way to get some veggies into your kiddos first thing in the morning, as an afternoon snack, or anytime really. #meandthemoose #waffles #blueberries #zucchini

Use up the last of late summer produce with these zucchini and blueberry whole grain waffles.

Take me to the recipe!

Zucchini and blueberry waffles | Me & The Moose. These naturally sweet bread-y pastries are a great way to get some veggies into your kiddos first thing in the morning, as an afternoon snack, or anytime really. #meandthemoose #waffles #blueberries #zucchini

Late summer/early fall usually means a glut of zucchini and it's one of M's safe veggies. Don't get me wrong: If I put a piece of zucchini in front of him (steamed, roasted, covered in chocolate), he would NOT eat it. But in a waffle with sweet blueberries and toasty whole wheat and flax, he doesn't even notice that he's eating vegetables for breakfast.

Zucchini and blueberry waffles | Me & The Moose. These naturally sweet bread-y pastries are a great way to get some veggies into your kiddos first thing in the morning, as an afternoon snack, or anytime really. #meandthemoose #waffles #blueberries #zucchini

Zucchini and blueberry waffles | Me & The Moose. These naturally sweet bread-y pastries are a great way to get some veggies into your kiddos first thing in the morning, as an afternoon snack, or anytime really. #meandthemoose #waffles #blueberries #zucchini

Zucchini and blueberry waffles | Me & The Moose. Flour, sugar, eggs, vanilla, spices, buttermilk, flaxseed, and a little butter. #meandthemoose #waffles #blueberries #zucchini #ingredients

A couple of notes about these waffles:

  • I used buttermilk in this recipe, but if you don’t have any or don’t want to buy buttermilk, my favorite substitution is this: For every 1 cup of buttermilk that you need, add 1 Tbsp of vinegar to a measuring cup and then add enough dairy milk (any fat content will do) to equal 1 cup. Let sit for a few minutes and use!

  • Don’t use more blueberries and zucchini than the recipe calls for. I’ve been tempted to throw in another handful of blueberries or the rest of the shredded zucchini, but I feel like any time I do, the waffles end up too wet.

Zucchini and blueberry waffles | Me & The Moose. These naturally sweet bread-y pastries are a great way to get some veggies into your kiddos first thing in the morning, as an afternoon snack, or anytime really. #meandthemoose #waffles #blueberries #zucchini

Zucchini & blueberry waffles

Time: 20 minutes
Yield: 16 waffles

1 cup shredded zucchini (1/2 large zucchini), patted dry
3/4 cup fresh blueberries
1 cup AP flour
1 cup whole wheat flour
1 heaping Tbsp flax seed meal
4 tsp baking powder
1 tsp cinnamon
1/8 tsp nutmeg
1/8 tsp cloves
1/4 tsp salt
2 eggs
2 Tbsp sugar
1 Tbsp butter, melted and cooled to room temp
1 tsp vanilla extract
1½ cups buttermilk

Melt 1 Tbsp of butter in the microwave. Set aside.

Shred the zucchini with a box grater and squeeze the excess water out with paper towels or a cheesecloth. Set aside.

To a large bowl, add the flours, flax seed meal, baking powder, spices, and salt and whisk to combine.

In a large bowl, whisk the eggs and sugar until frothy. Add the melted and cooled butter, vanilla extract, and buttermilk. Whisk until combined.

Add the wet ingredients to the bowl with the dry ingredients and whisk thoroughly. Add the zucchini and blueberries and whisk gently until combined.

Depending on the size of your waffle maker, spoon about ¼ cup of batter onto the hot surface and follow your appliance’s instructions.