Almond butter quinoa muffins

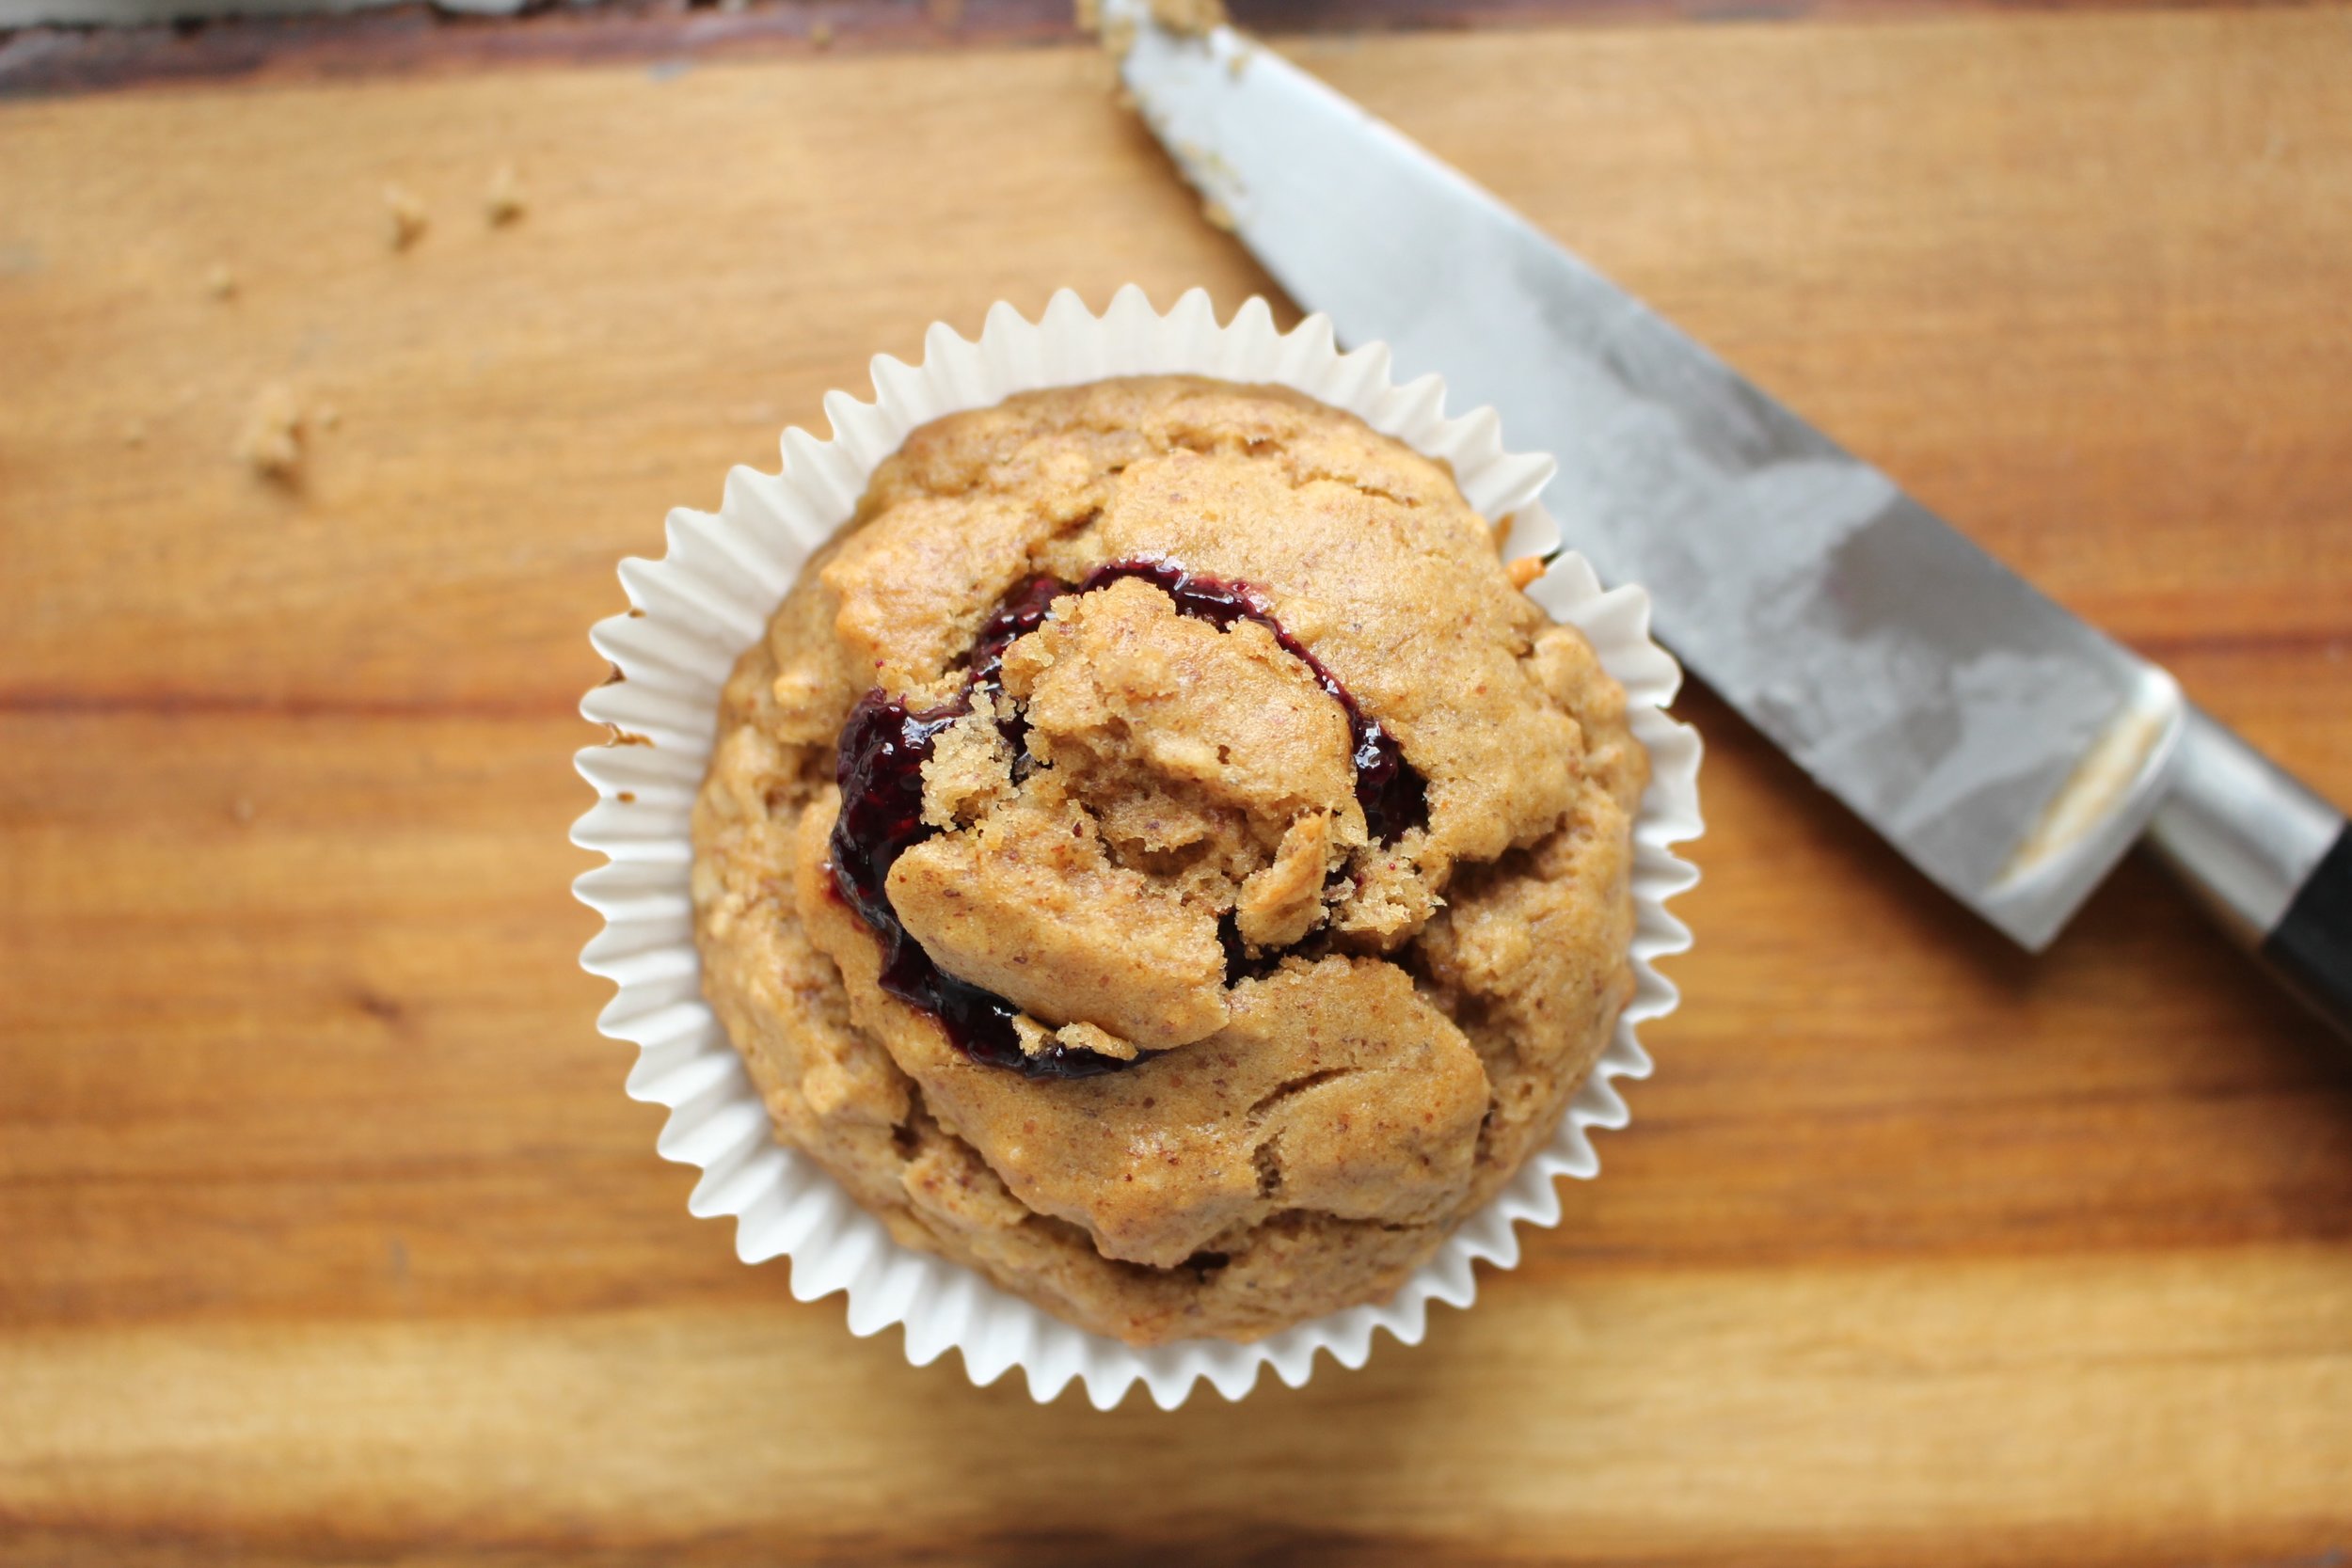
IMG_8346.jpg

What these muffins have: Good fats, protein, Omega-3s, deliciousness.

What these muffins don't have: Gluten, dairy, refined sugar, wheat, eggs, soy.

Bonus feature: The muffins only require one bowl!

IMG_8312.jpg

The new school year already started for lots of the country, but here in CT, M's preschool starts again on Monday. I've been thinking about quick ways to begin our day with protein that don't require cooking in the morning. These muffins are the answer!

Half of the flour is ground quinoa, which has lots of protein. The other half is oatmeal. I originally made these muffins with almond flour instead of oats for even more protein, but the almond flour was so dense that the muffins stuck to the roof of your mouth. You could just feed your kid a spoonful of almond butter and save yourself the trouble.

IMG_8323.jpg

With the oatmeal, the muffins are still substantial, but they're no longer dense. They're actually a smidge crumbly because I omitted eggs and any other binding agent. I wanted them to stay vegan and I don't always have the patience to make a flax egg. Letting them cool completely before eating them made them sturdier too. 

IMG_8325.jpg

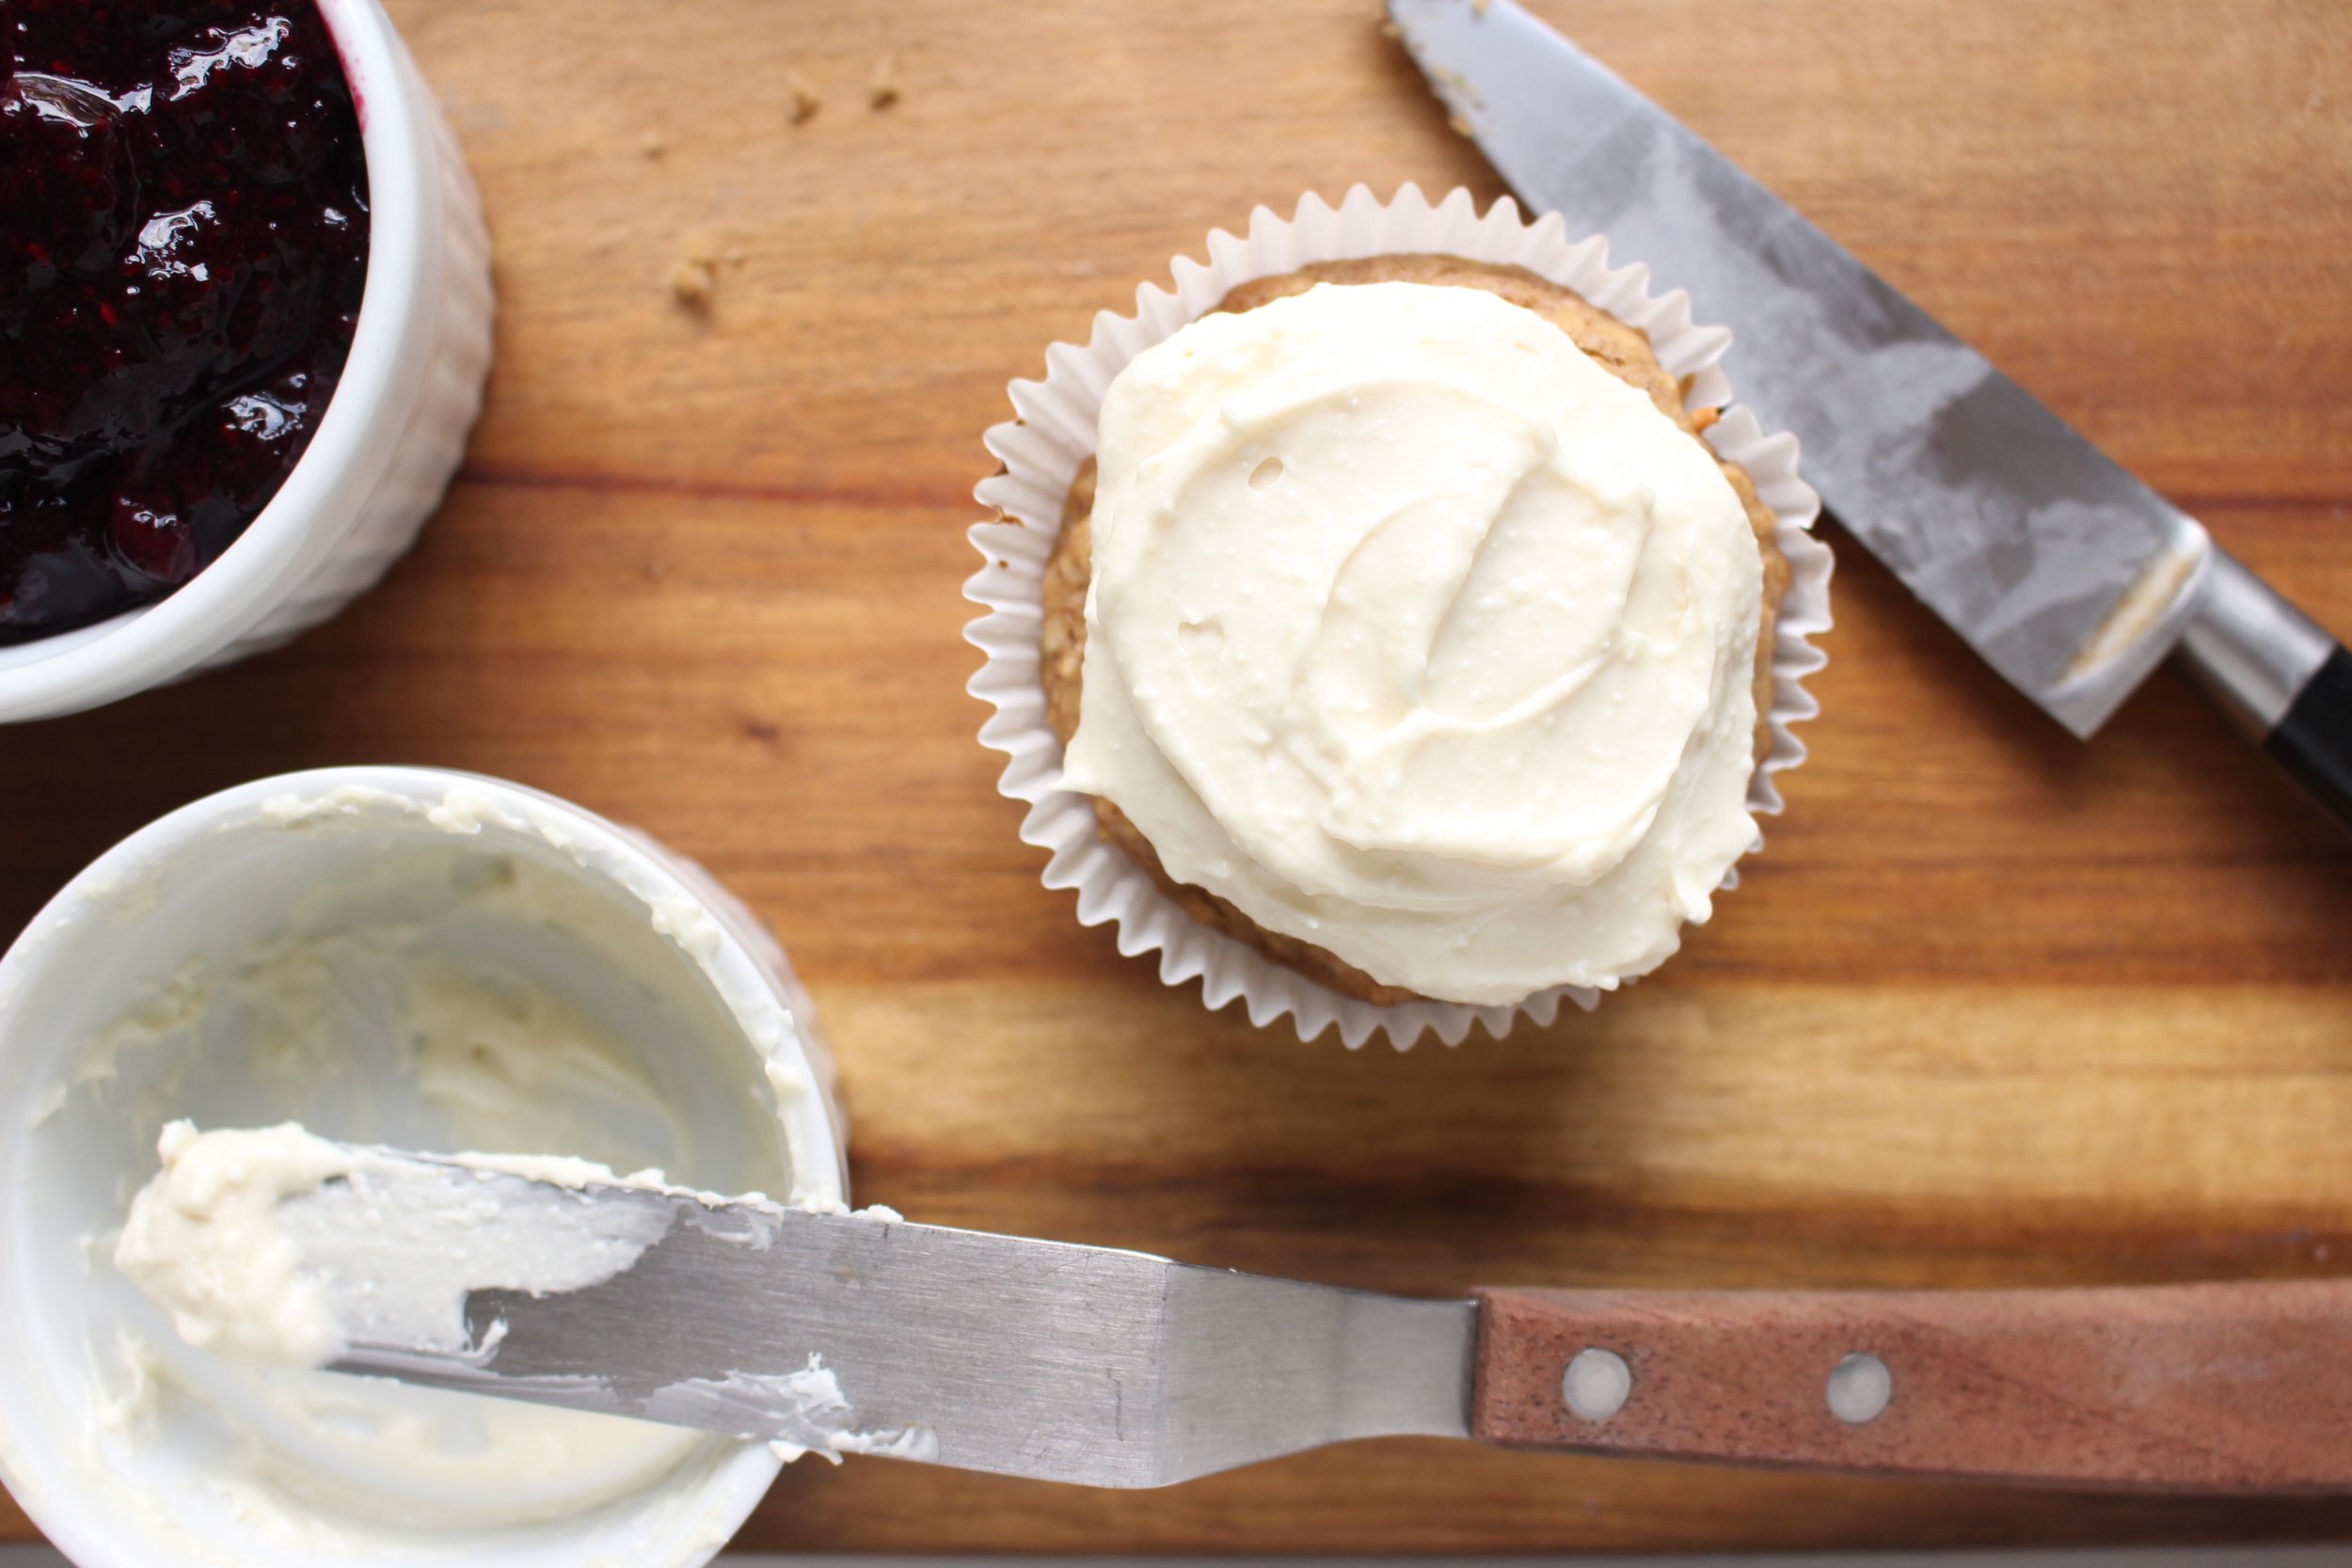
For the first day of school, I thought it might be nice to add some blueberry chia jam and a quick icing to make the muffins more special. (I also called them breakfast cupcakes, which went over VERY WELL.) The jam is simple and free of any added sugar. I used cream cheese and maple syrup for my frosting, but you could also use coconut cream or a pre-made dairy-free topping.

You could also mix the chia jam with some yogurt for a delicious breakfast for the younger set (or the parental set, if I'm honest).

If you're avoiding nuts, substitute coconut or rice milk for the almond milk and use sunflower seed butter in place of the almond butter. Still delicious!

Important note: These muffins are best when fresh, so I recommend freezing 3/4 of the batch and then either defrosting a serving at night for breakfast the next morning, or toasting a frozen one right before eating it.


Almond butter quinoa muffins

2 large mashed banana
1 cup creamy natural almond butter, well mixed (or nut butter or seed butter of your choice)
½ cup maple syrup
¼ cup unsweetened vanilla almond milk (or rice, coconut, or other non-dairy milk of choice)
1 Tbsp vanilla extract
1 cup quinoa flour
1 cup quick oats
½ tsp salt
1½ tsp baking powder
1 tsp baking soda
1 tsp pie spice (or cinnamon)
2 tsp apple cider vinegar

Preheat oven to 350.

In a large bowl, mash the bananas. Add the almond butter, maple syrup, almond milk, and vanilla extract and mix well.

Add the flours, salt, baking powder, baking soda, and spices. Mix well. Add the apple cider vinegar and mix again. Let the mixture sit while you prep the muffin tin and prepare the jam and icing (if using).

When ready, spoon the mixture into your muffin tin until each opening is half full.

Bake for 12-14 mins or until the tops turn golden brown and the muffins are firm to the touch.

Let cool completely in the muffin tin before serving.

Yield: 18 muffins


For the Blueberry chia jam:
1 pint blueberries
1 ½ Tbsp chia seeds

Put the blueberries into a small sauce pan and cook over a medium low flame until the berries have broken down and become syrupy, about 15 minutes.

Let cool for 5 minutes and add the chia seeds. Mix well.

Place the mixture in the refrigerator for 10-15 minutes or until ready to use.

Yield: 1 Tbsp per muffin


For the frosting (optional):
2 ¼ cups whipped cream cheese
6 Tbsp maple syrup

Mix the cream cheese and maple syrup well with a spatula. The mixture will look curdled at first. Continue mixing until the two ingredients have come together. Refrigerate until ready to use.

Yield: 2 Tbsp per muffin

IMG_8335.jpg
IMG_8348.jpg

Lemon basil ricotta cake

Bright, zingy lemon and herby, green basil make a perfect pair in this lightly sweet cake that’s easy, quick, and refreshing. #meandthemoose #lemoncake #basil #lemonbasil #cakerecipe #weeknightcake

Bright, zingy lemon and herby, green basil make a perfect pair in this lightly sweet cake that’s easy, quick, and refreshing. #meandthemoose #lemoncake #basil #lemonbasil #cakerecipe #weeknightcake

You may find the idea of turning on the oven insulting given that the weather is so unbelievably hot and humid. But hear me out: This cake requires one bowl and less than 30 minutes in the oven. AND is chock-a-block with sweet, tangy, summery flavor. A weeknight cake if there ever was one.

Take me to the cake!

Bright, zingy lemon and herby, green basil make a perfect pair in this lightly sweet cake that’s easy, quick, and refreshing. #meandthemoose #lemoncake #basil #lemonbasil #cakerecipe #weeknightcake

Bright, zingy lemon and herby, green basil make a perfect pair in this lightly sweet cake that’s easy, quick, and refreshing. #meandthemoose #lemoncake #basil #lemonbasil #cakerecipe #weeknightcake

Bright, zingy lemon and herby, green basil make a perfect pair in this lightly sweet cake that’s easy, quick, and refreshing. #meandthemoose #lemoncake #basil #lemonbasil #cakerecipe #weeknightcake

Bright, zingy lemon and herby, green basil make a perfect pair in this lightly sweet cake that’s easy, quick, and refreshing. #meandthemoose #lemoncake #basil #lemonbasil #cakerecipe #weeknightcake

One of my favorite things about finally having a yard is growing our own herbs. And we can't keep up with how fast the basil grows. It's a good thing I L.O.V.E. pesto. And we've definitely been throwing a handful of basil into just about everything, including our cakes.

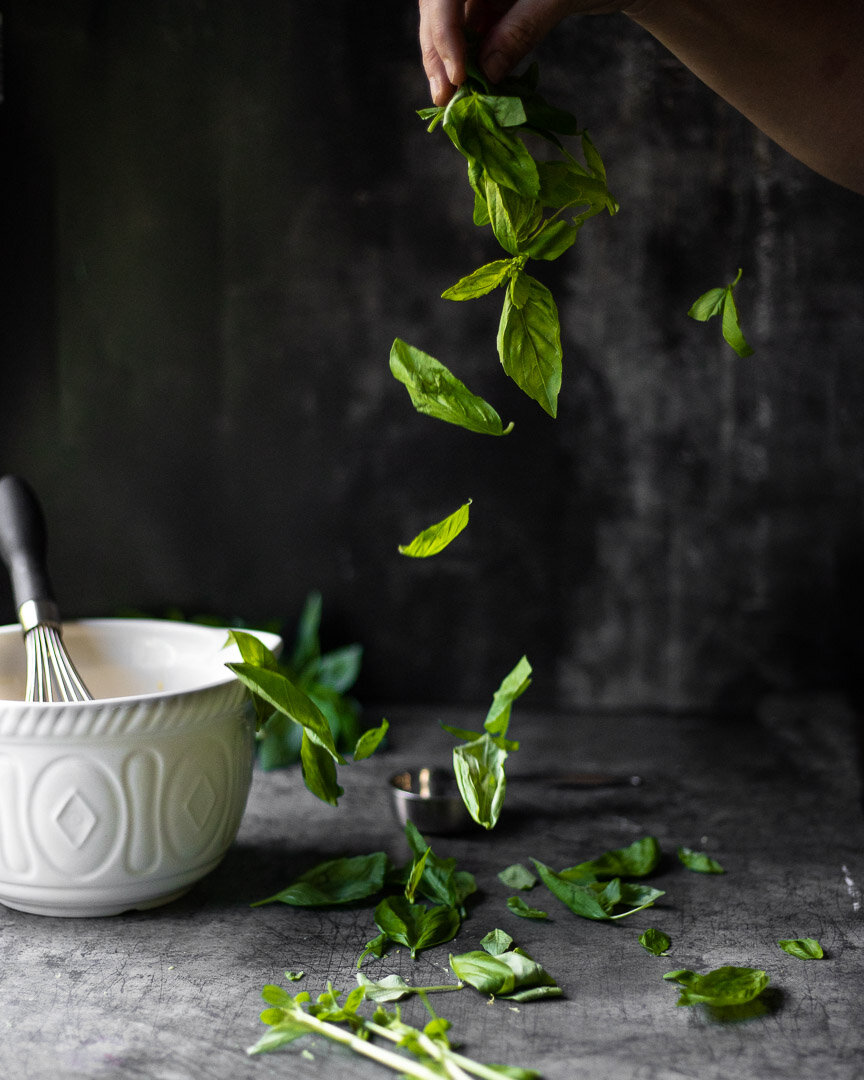
Speaking of basil, this recipe calls for a PACKED 1/4 cup, which is a fair amount of basil:

Bright, zingy lemon and herby, green basil make a perfect pair in this lightly sweet cake that’s easy, quick, and refreshing. #meandthemoose #lemoncake #basil #lemonbasil #cakerecipe #weeknightcake

Bright, zingy lemon and herby, green basil make a perfect pair in this lightly sweet cake that’s easy, quick, and refreshing. #meandthemoose #lemoncake #basil #lemonbasil #cakerecipe #weeknightcake

See?

I didn't “healthify” this recipe at all, but I did use the smallest amount of sugar possible in the batter to have a sweet cake without it being cloyingly so. Not for nothing, there's another 3/4 cup of confectioner's sugar in the glaze (and more if you add the optional cream cheese frosting), so this baby doesn't want for sweetness.

It took some tinkering to figure out the right amounts of basil and lemon to impart a strong flavor without turning the cake bitter (too much basil) or sour (too much lemon). In the end, the basil is a background herby note that plays really well with the bright lemon flavor.

Bright, zingy lemon and herby, green basil make a perfect pair in this lightly sweet cake that’s easy, quick, and refreshing. #meandthemoose #lemoncake #basil #lemonbasil #cakerecipe #weeknightcake

And ricotta! I adapted this recipe from the famous French yogurt cake and the textures are very similar. I think the ricotta makes the cake ever-so-slightly more dense and a little more savory. However, I’ve used yogurt in a pinch when I was out of ricotta and it works perfectly as well.

A quick note: I’ve cooked this cake in all kinds of vessels. The recipe gives directions for a 9” round cake pan, but I’ve also cooked it as a loaf cake, in an 8x8 brownie pan, and in a vintage 10x8 pan (pictured). The shortest cooking time was 20 minutes and the longest was about 30 minutes (for the thicker loaf). Start checking at about 20 minutes, regardless of which vessel you choose.

Bright, zingy lemon and herby, green basil make a perfect pair in this lightly sweet cake that’s easy, quick, and refreshing. #meandthemoose #lemoncake #basil #lemonbasil #cakerecipe #weeknightcake

Bright, zingy lemon and herby, green basil make a perfect pair in this lightly sweet cake that’s easy, quick, and refreshing. #meandthemoose #lemoncake #basil #lemonbasil #cakerecipe #weeknightcake

Lemon basil ricotta cake

Time: About 45-55 with prep, mixing, baking, and glazing; more to cool and frost, if desired
Yield: About 8-10 servings

2 eggs
1 cup ricotta (I've had equal success with part-skim and whole; you can also use greek yogurt)
1/2 cup sugar
¼ cup olive oil
1 teaspoon vanilla
2 Tbsp lemon zest (zest of two extra-large lemons)
¼ cup basil (packed!), minced
2 cups all-purpose flour
1 ½ tsp baking powder
½ tsp baking soda
¼ tsp salt

For the glaze:
¾ cup confectioner’s sugar
¼ cup of lemon juice (juice of 1 very large lemon)

For the cream cheese frosting (optional):
1/2 cup (1 stick) butter, room temperature
8 oz (1 block) cream cheese, room temperature
1 1/2 cups powdered sugar (plus more if you like a sweeter frosting)
1/2 tsp vanilla extract
1 Tbsp lemon zest (from 1 large lemon)
large pinch of salt

In a large bowl with a hand mixer or in the bowl of a stand mixer with the paddle attachment, mix together the butter and cream cheese on medium low speed until well mixed, about 3 minutes.

Add the powdered sugar a few Tbsp at a time and mix on low speed until just combined. Taste for sweetness and add more powdered sugar if desired.

Add the vanilla, lemon zest, and pinch of salt and turn the mixer (hand or stand) up to high and mix for about 5 minutes until the texture of the frosting has become slightly less dense.

*I’m very loosey goosey about my cream cheese frosting because I firmly believe that it’s the hardest frosting to mess up. It tastes amazing and the texture is creamy and smooth even if it hasn’t been mixed exactly the right amount. I also like my frosting less sweet, so you may want to add more sugar in the end.

Make the cake
Preheat the oven to 350. Lightly oil a 9-inch cake pan (see notes about other sized pans above)** and set aside.

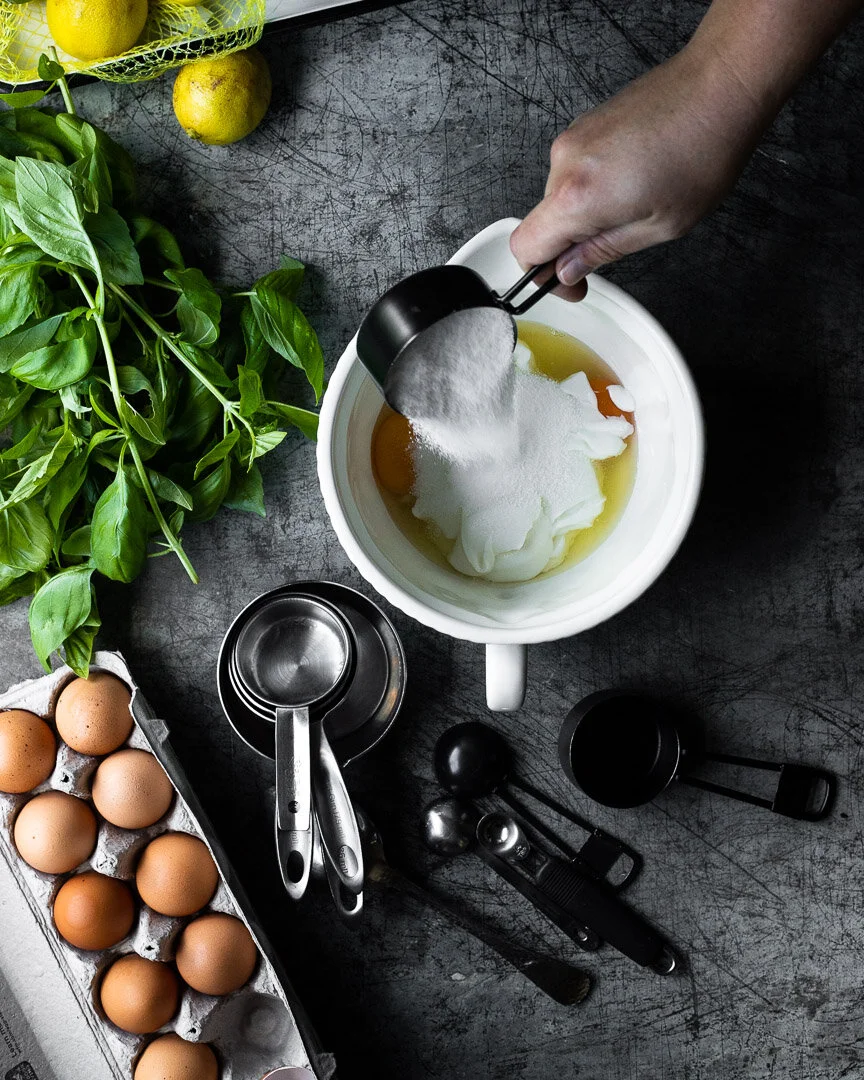
In a large bowl, combine the eggs, ricotta, sugar, olive oil, vanilla, lemon zest, and basil and mix well.

Add the dry ingredients and mix just until the wet and dry components are combined and no clumps of flour remain. The batter will be very thick.

Pour (or plop, as this is a thick batter) the mixture into your prepared pan and bake for 20-30 (again, see notes above for variation in cooking times)** minutes or until the top is golden and a toothpick inserted in the middle comes out clean. (We have a very hot oven, so yours may need more time, but check often to avoid overcooking.)

Let cool for about 5 minutes.

While the cake is cooling, make the glaze. Add the confectioner’s sugar to a medium bowl and slowly pour in the lemon juice, whisking constantly, until you’ve reached your desired consistency (a thin glaze soaks into the cake better, so use your judgment) .

Once the cake is slightly cooled, pour your glaze over the entire top, making sure that the liquid goes into the holes. I sometimes use a brush to coax the glaze into the holes, but this isn't strictly necessary.

Let cool completely in its baking dish.

Frost with the cream cheese frosting, if desired.

Two-bite strawberry shortcakes

IMG_8003.jpg
IMG_8010.jpg

The road to these stupidly easy strawberry shortcakes was long and winding.

I started obsessing about scones right around the royal wedding and thought, these would make a great base for a shortcake. Upon further research, I learned that "short" cake just means a cake with a high fat-to-flour ratio, like scones or biscuits. But I wondered, what's the difference between the two?

IMG_7980.jpg

Martha Stewart thinks they're basically the same, but many commenters found that suggestion insulting to both Brits and southerners. Food52 had a much more detailed description of the differences, but after reading I felt less inclined to use either traditional scones (too much butter) or traditional biscuits (too much technique) as my shortcake base. The only specific shortcake recipe I found that appealed to me was the classic from Bon Appetite, but it calls for two hard-boiled egg yolks and I'm generally too lazy for that.

See the tiny flecks of black? Those are the vanilla beans dispersed in the cream.

See the tiny flecks of black? Those are the vanilla beans dispersed in the cream.

Enter, the Never-fail Biscuit from King Arthur. These use no butter, so if you're looking for a butter-y flavor, these may not be your biscuits. However, they are so so easy and come together so fast. There's no resting or freezing or rolling or cutting, but you end up with a flaky, risen biscuit that is easily adapted into a sweet shortcake. 

And! These are tiny, two-bite shortcakes, so you get the taste of sweet summer fruit, without eating a huge dessert. I didn't healthify these thanks to the tiny portion size, but you could surely swap in gluten-free flour, full-fat coconut milk, and coconut sugar in this recipe with good results.

IMG_7997.jpg

A couple of notes:
- I made lots of changes because I wanted sweet biscuits and I didn't have self-rising flour, so I had to fiddle with the ratios of salt, flour, and baking powder a bit. In the end, I used less salt and less baking powder than the original recipe.
- I also added more sugar, a little more cream, and half of a vanilla bean instead of using an extract (though you could add 2 teaspoons of vanilla extract instead. KA suggests using 1 tablespoon, but I felt like I could taste the alcohol of the extract a bit). 
- You want to really make sure these shortcakes are cooked. I don't know why, but I felt like I could taste raw flour before I cooked them for an extra minute or two. See notes in the recipe for some tricks to tell if they're really done.

IMG_7999.jpg
IMG_8004.jpg

Two-bite strawberry shortcakes
 

1 ½ cups all purpose flour
1 ½ tsp baking powder
Scant ¼ tsp fine kosher salt
3 Tbsp sugar
½ tsp cinnamon
¾ cup + 1 Tbsp heavy cream
½ vanilla bean, scraped and seeds added
1 Tbsp demarara or other coarse sugar for sprinkling on top
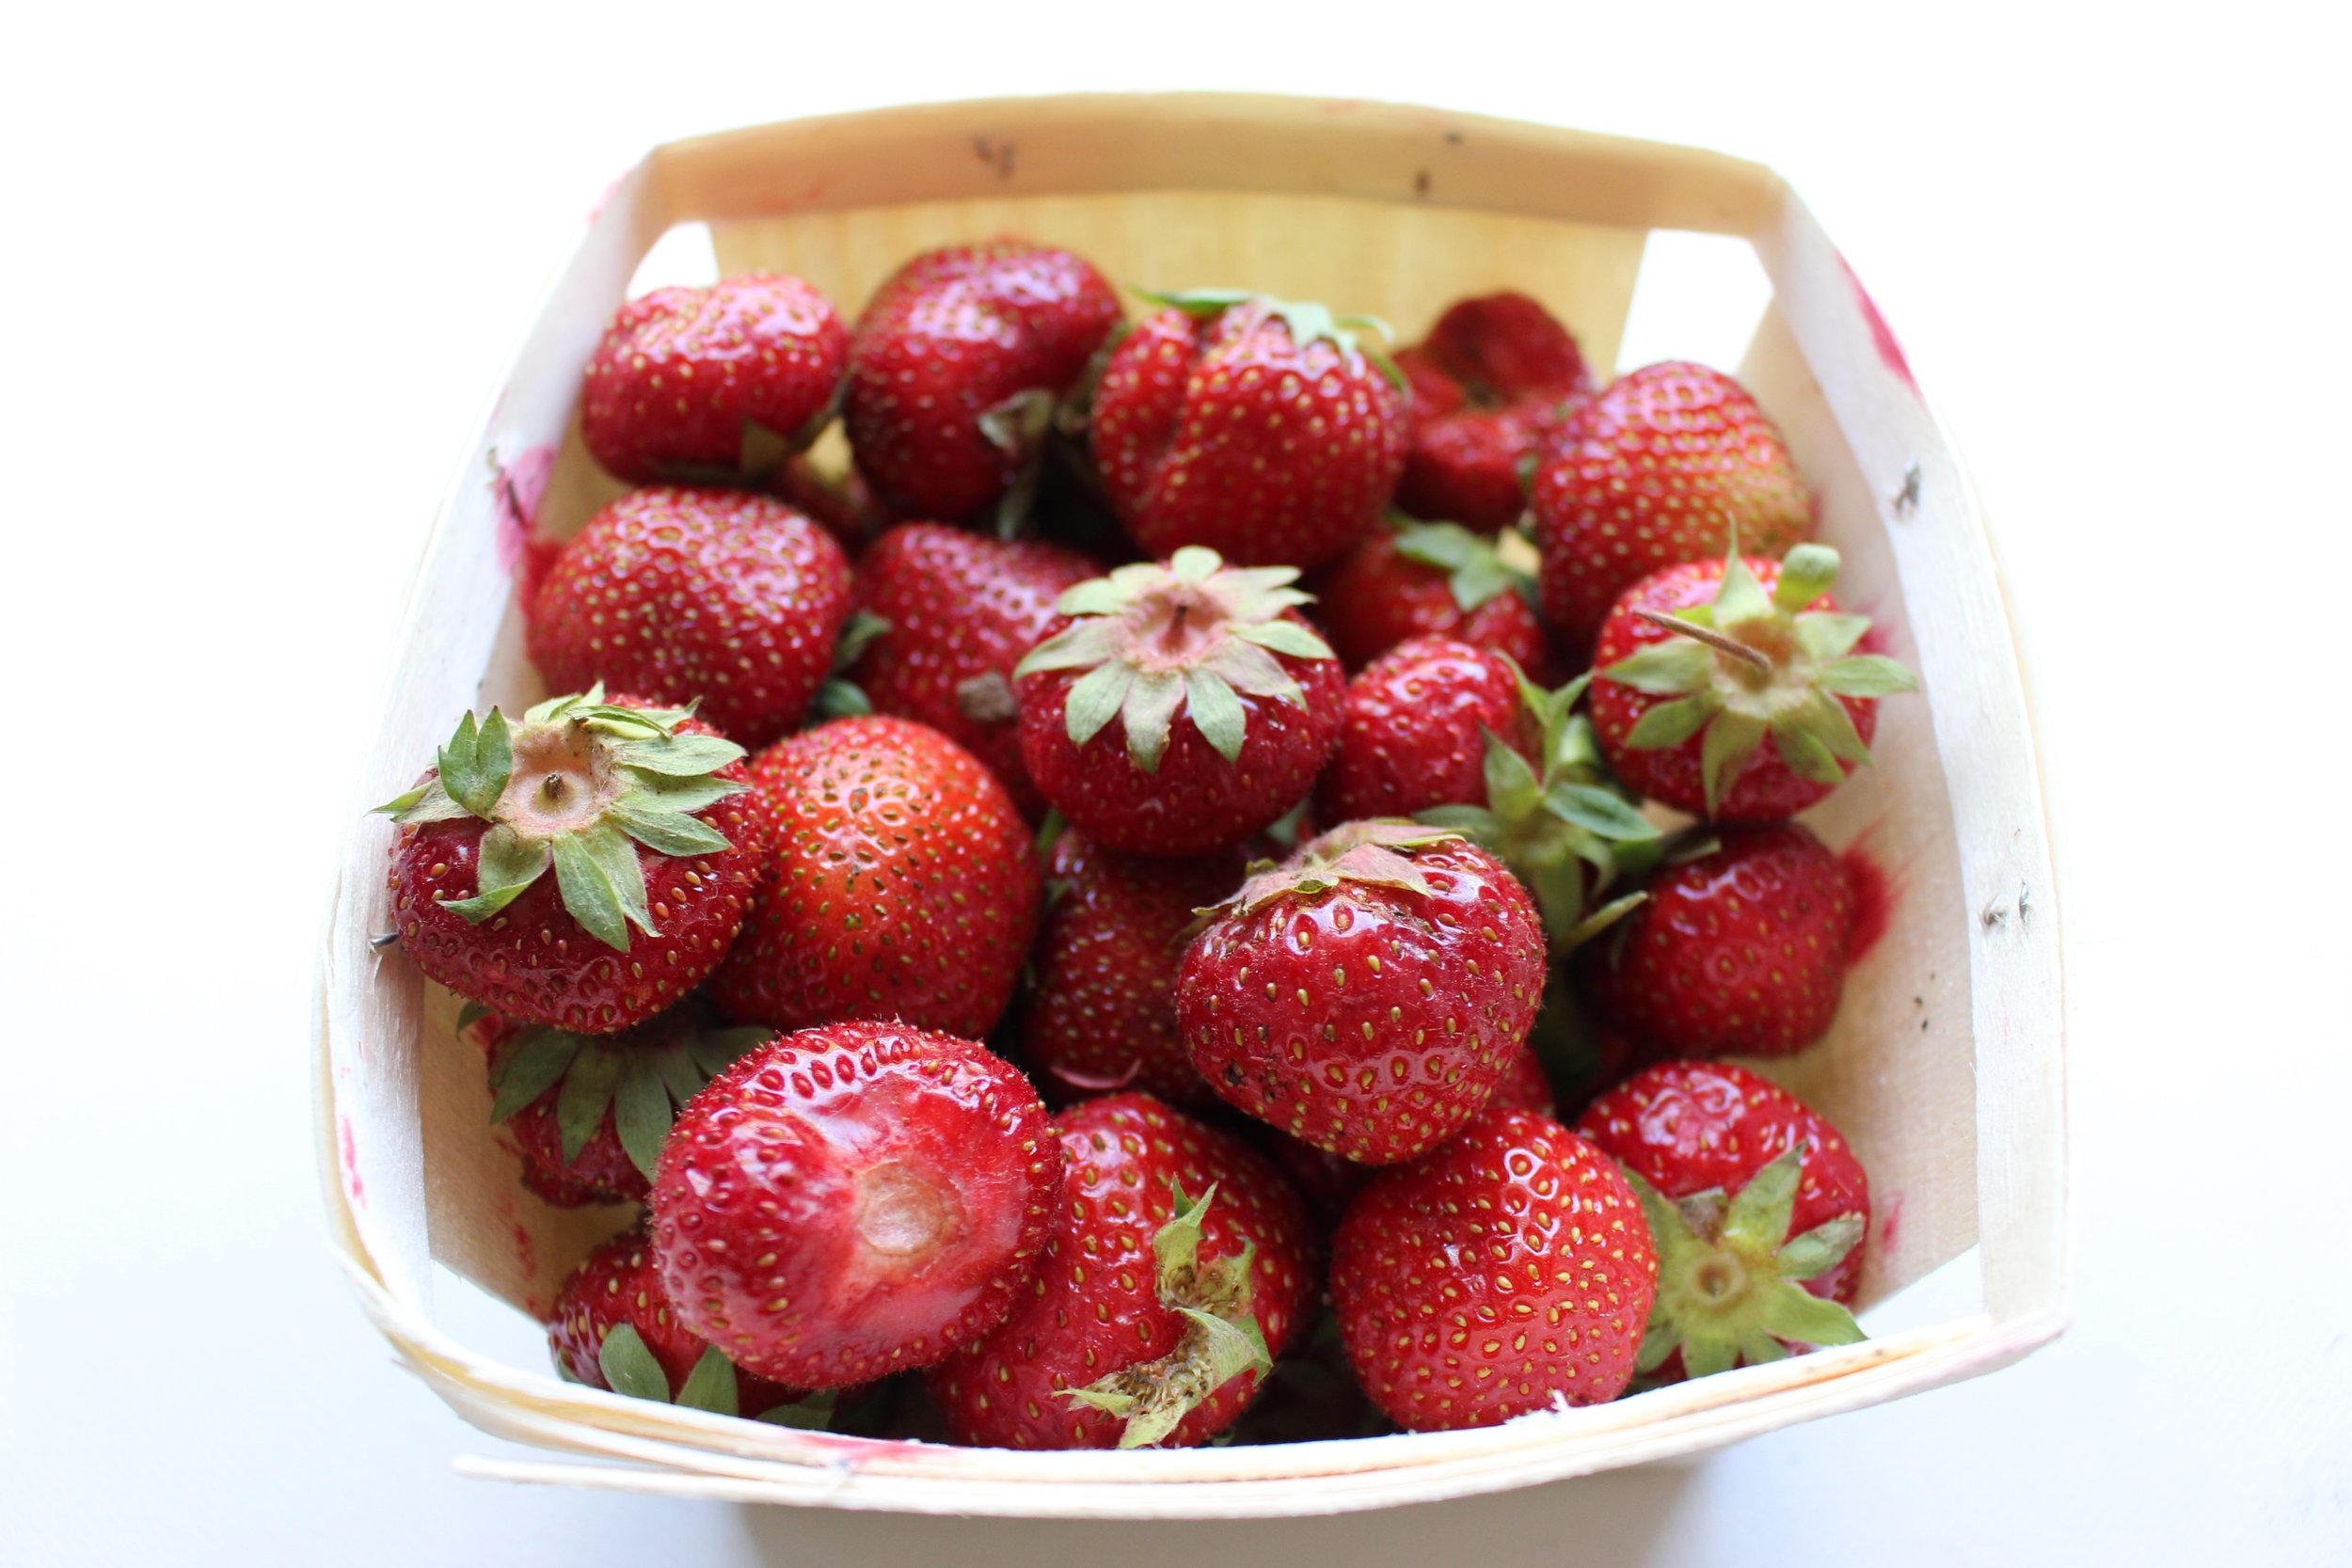
24 medium strawberries
1 cup whipped cream

Preheat the oven to 450.

Combine the dry ingredients in a large bowl and whisk to combine.

Measure the heavy cream in a large measuring cup and add one extra tablespoon. Using a small sharp knife, cut the vanilla bean pod in half lengthwise. Scrape out the inside of the pod and add the brown seeds to the liquid. Whisk vigorously to disperse the vanilla beans.

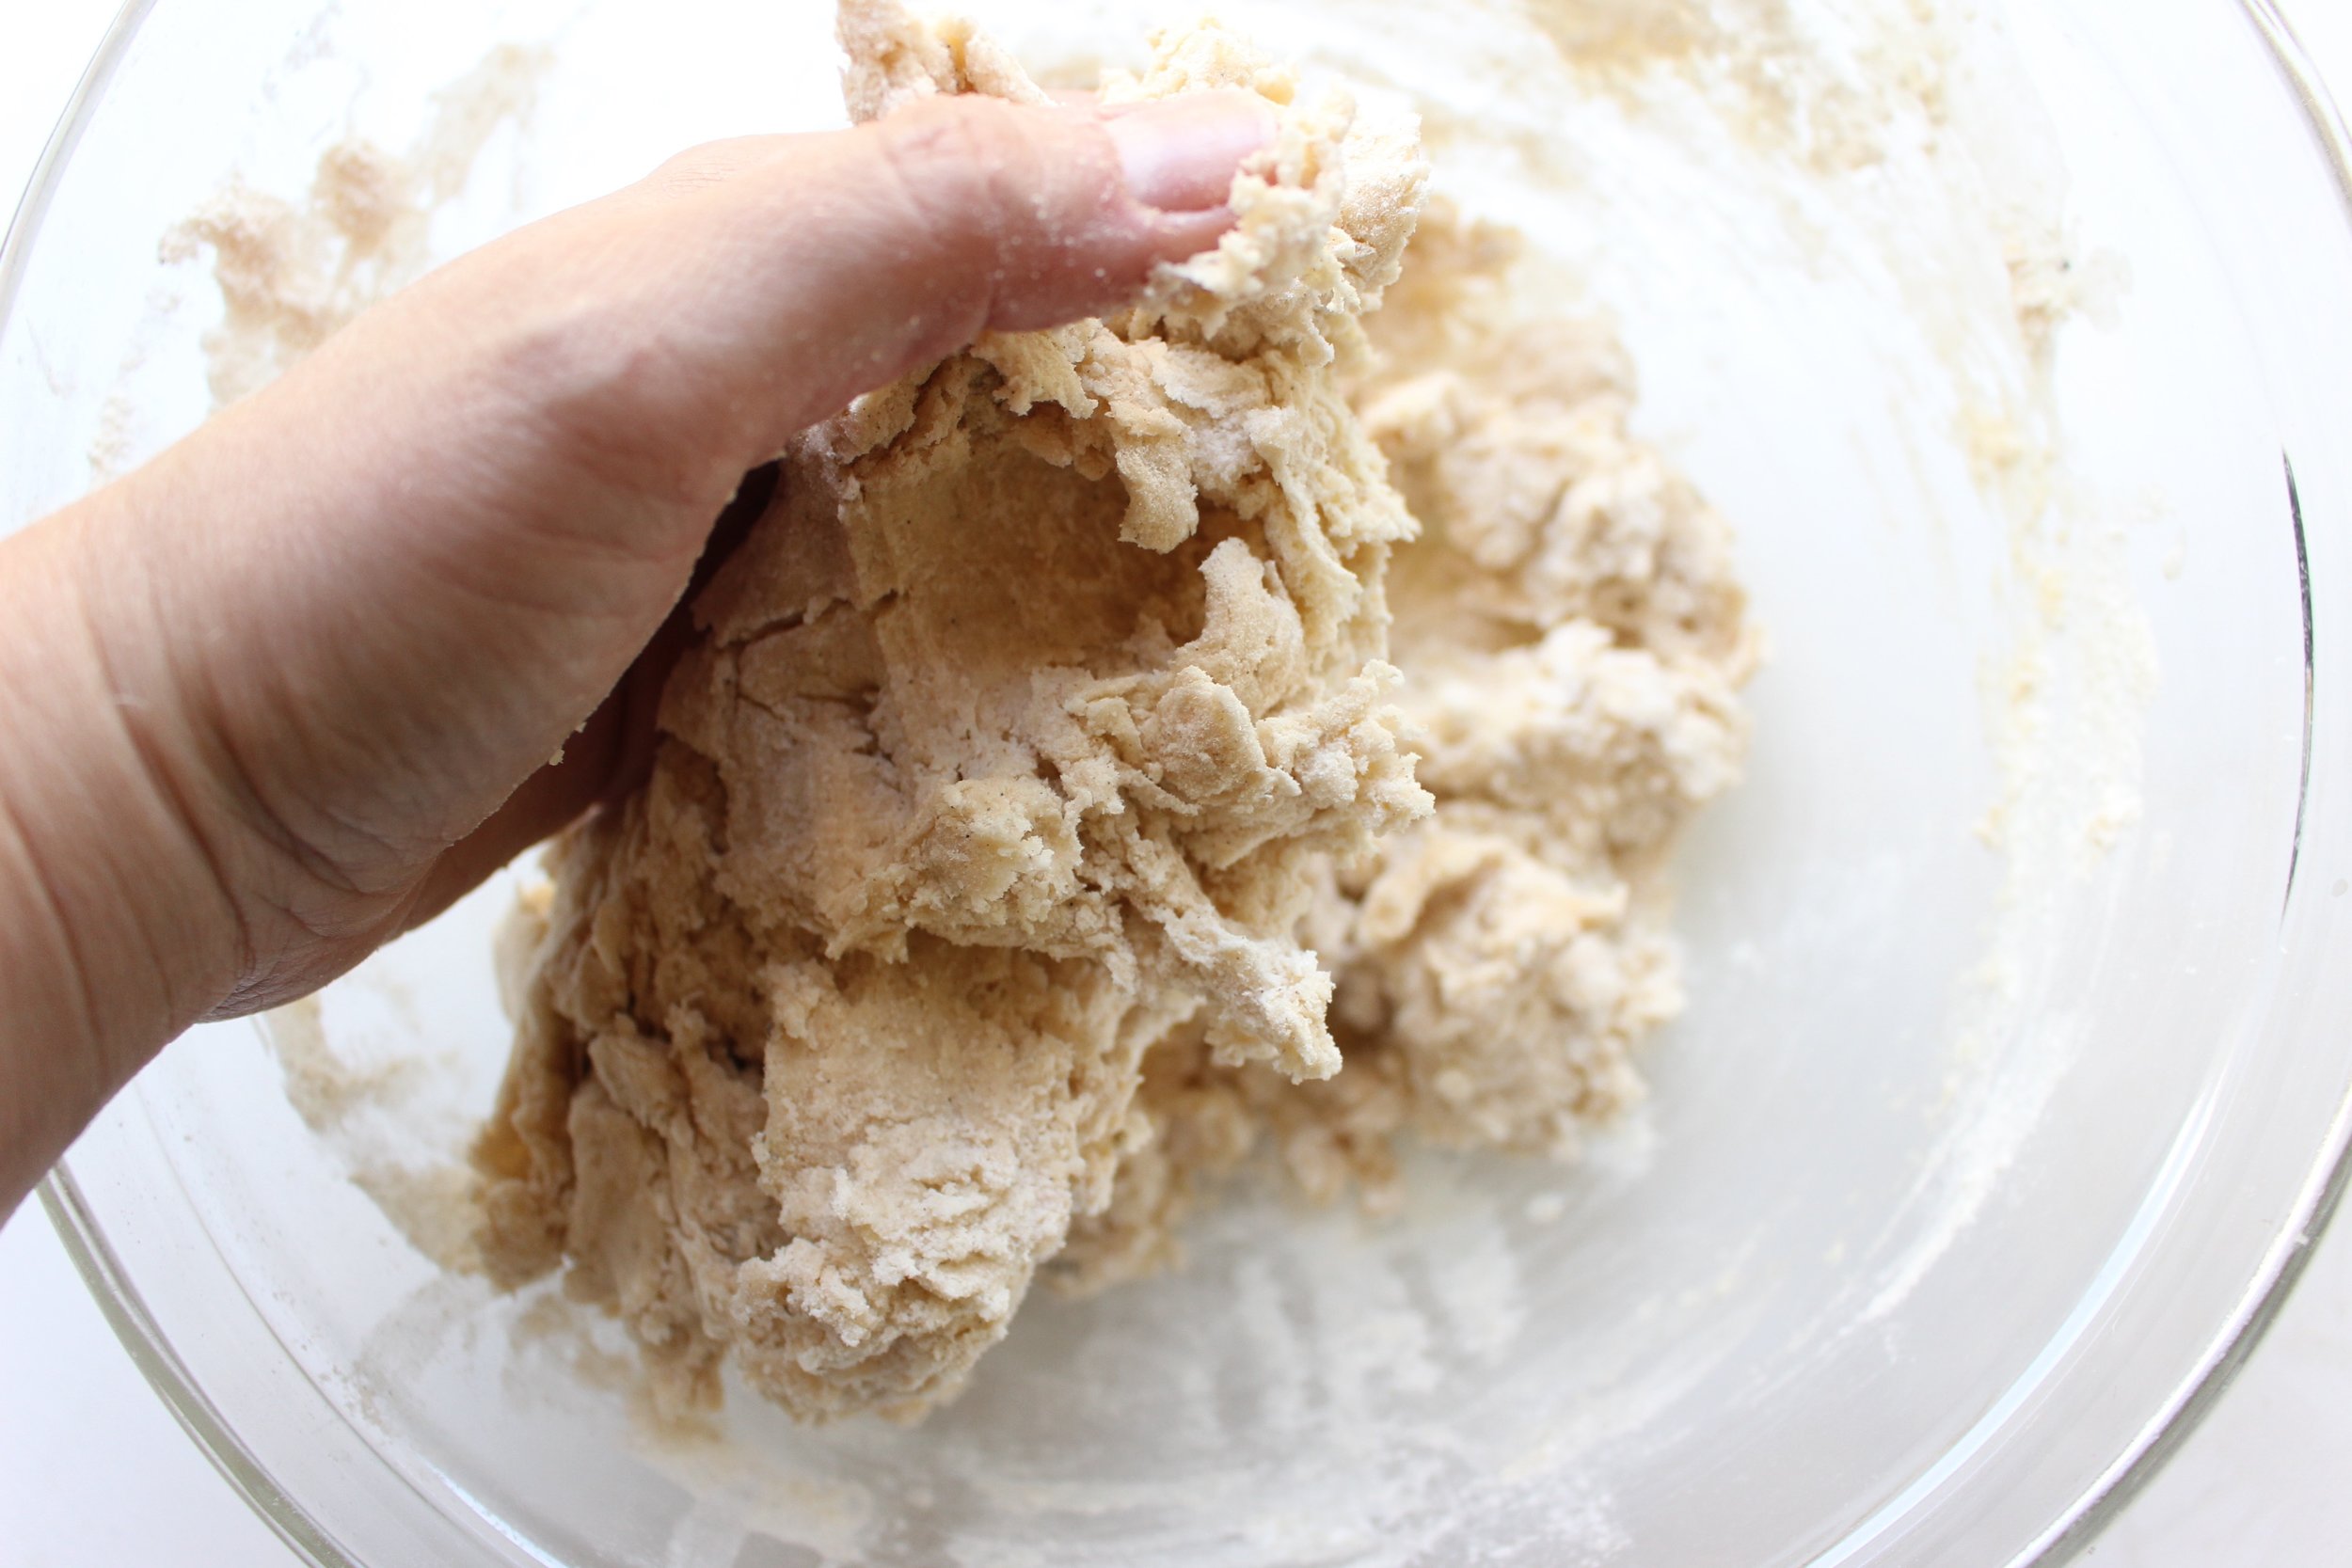
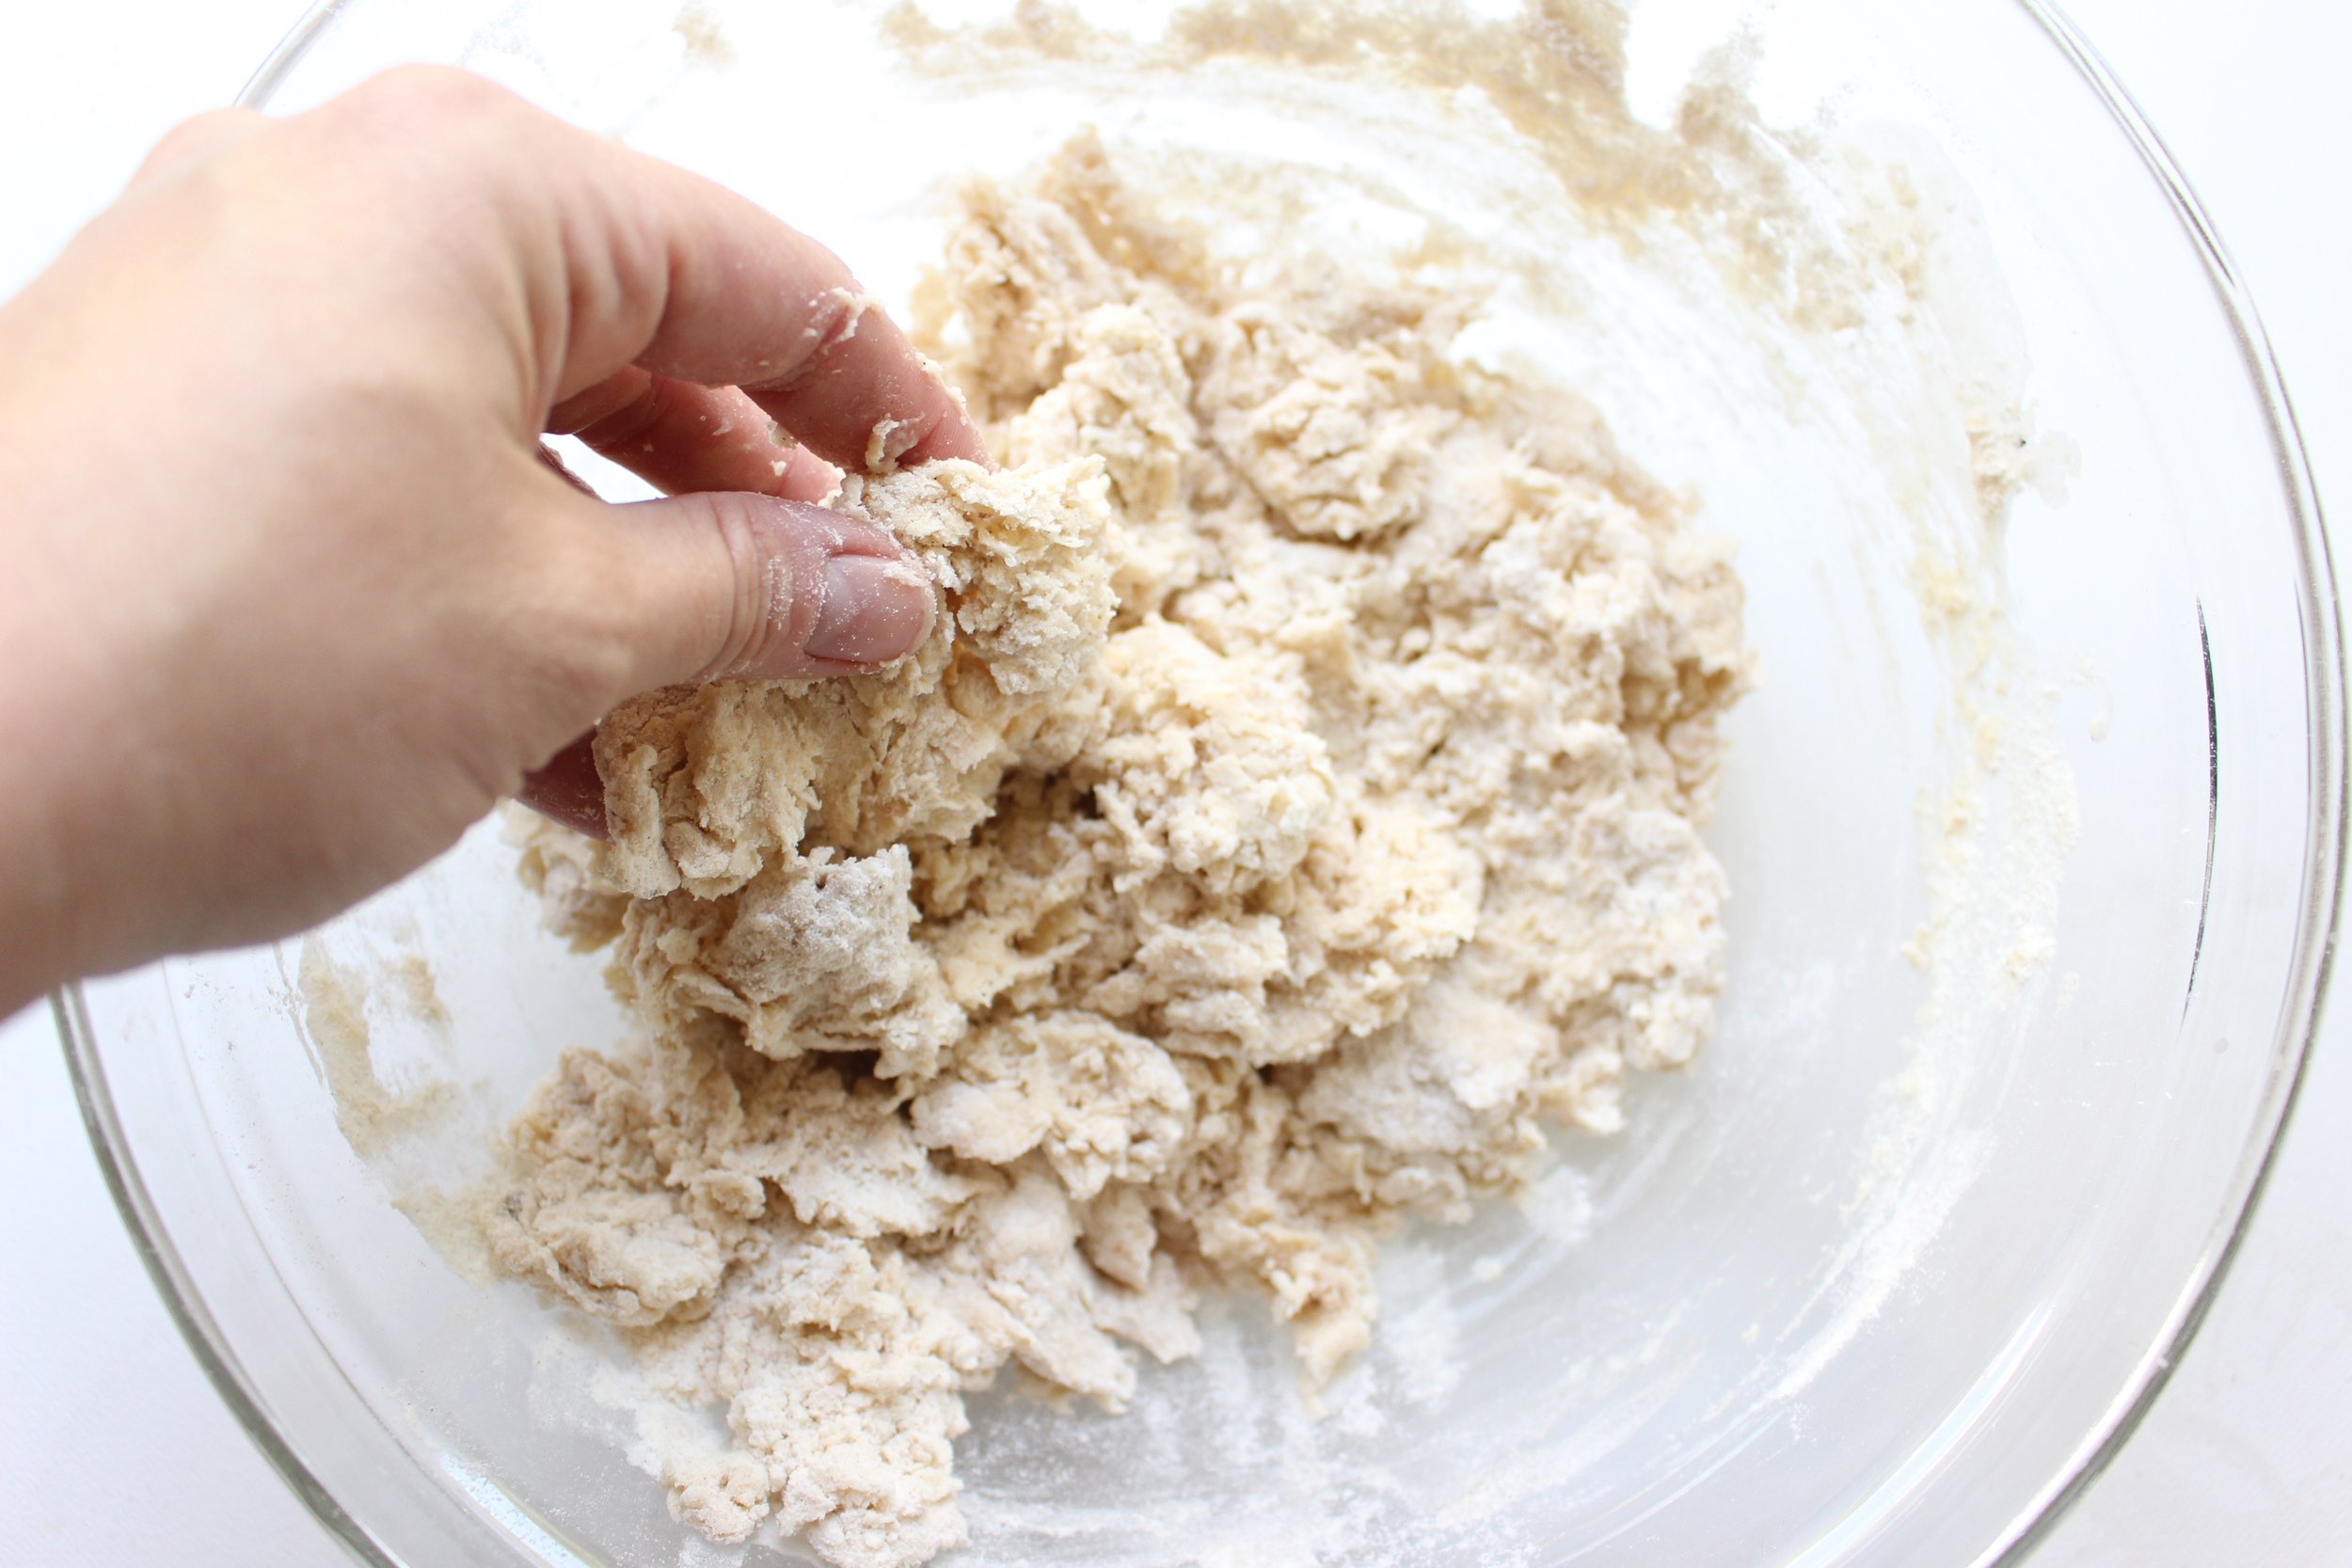
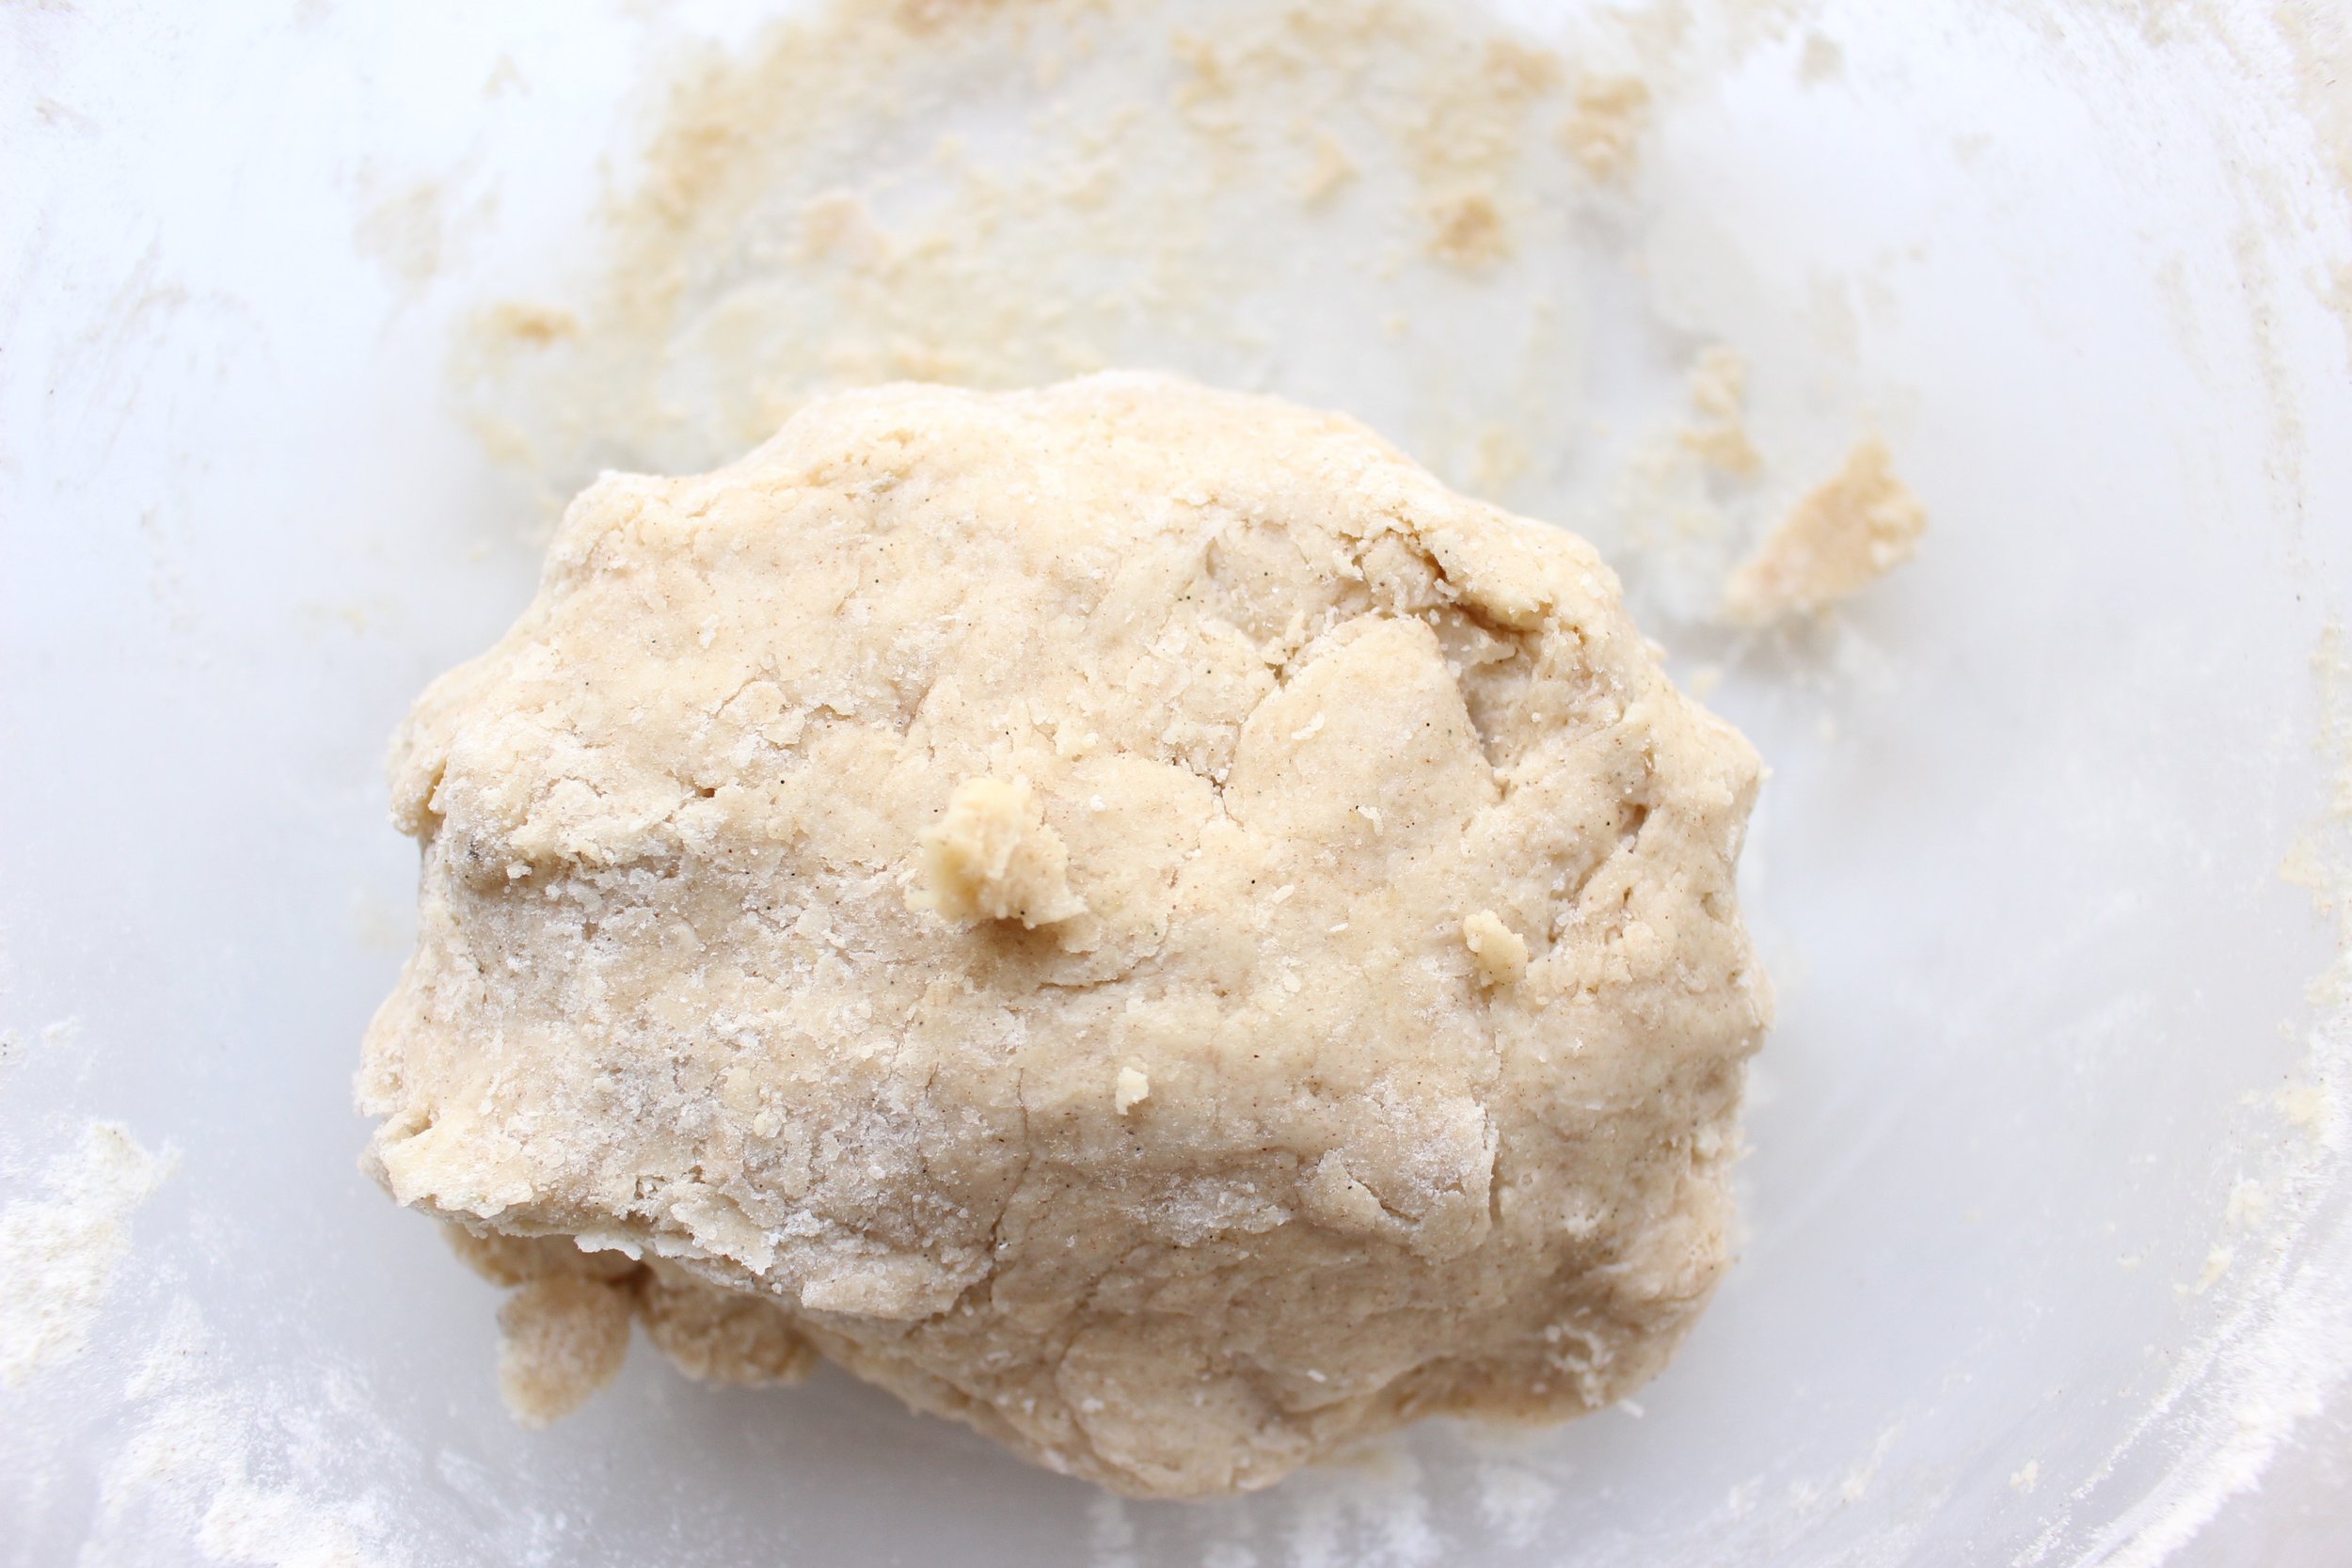
Pour the wet ingredients into the dry, making sure to scoop out any vanilla beans on the bottom of the cream mixture. Mix just until the wet and dry ingredients come together and begin to look like a flaky dough. This is a dry-ish dough, but you should be able to form the mixture into a ball easily with your hands. If the dough is falling apart, add ½ of tablespoon of cream at a time and mix again with your hands. You want the dough just coming together without falling apart, but without becoming too wet.

When the dough is together, scoop off a small amount (about 1 tablespoon) and lightly roll into a ball with your hands. Place the balls on a parchment-lined baking sheet. Sprinkle the tops of each ball with demarara or other coarse sugar.

Bake for 10-12 minutes, rotating the tray once during baking. My best indication that the shortcakes are done was that the extra sugar on the tray (not on the shortcakes) had burned ever-so-slightly and the bottoms of the shortcakes were a dark caramel brown.

Yield: 24 mini shortcakes

IMG_8006.jpg
IMG_8008.jpg

Raspberry rhubarb chia jam bars

IMG_7658.jpg

Preschool germs. Is there a stronger force in the universe? In my memoir, this era will be titled: The time when my child who never got sick, was never not sick.

And I don't know if all kids do this when ill, but mine is like a koala bear who drank a pot of coffee. He's both lethargic and wired, wanting to be on top of me while simultaneously thrashing like he's breaking out of a human prison. In short, this has not been a fun week.

Anyway, since we're stuck in the house for the foreseeable future, I've tried my hand with chia jam a few times. The basic recipe in that link has worked well for me as long as I cook the fruit down for about 20 minutes before adding the chia seeds and letting the mixture set in the fridge for about 30 to 60 minutes before using it. 

IMG_7642.jpg

And this jam is really versatile! It works in sandwiches, obviously, but is also great when added to oatmeal, yogurt, and baked goods. It would also make a tremendous baby puree.

IMG_7647.jpg

This is as easy as dessert/snack/breakfast gets. One bowl, no extra tools, and the same batter for the base and the top crumble. This recipe also uses gluten-free flour and clarified butter, so it's free of gluten, dairy, nuts, and eggs. And I've used as little butter and sugar as possible to maximize health without losing out on taste and texture.

IMG_7625.jpg

This dough is definitely crumbly, but packs down nicely with a rubber spatula. If it's too crumbly, feel free to add an extra tablespoon or two of butter.

IMG_7629.jpg

Raspberry rhubarb chia jam bars

For the jam:
12 oz frozen raspberries (one package or about 1 ½ cups)
2 cups rhubarb, chopped
2 large green apples, peeled and chopped
1 Tbsp water
4 Tbsp chia seeds  

Add raspberries, rhubarb and green apples to a medium pot. If your berries are still frozen, add 1 tablespoon of water to get things started. If your berries have unfrozen and there’s some liquid in your bag, skip the extra water and just start cooking.

Bring to a boil and reduce heat to medium or medium low and simmer, stirring occasionally, until the fruit is falling apart and the liquid has largely evaporated or become syrupy, about 20 minutes. Let cool slightly and add the chia seeds. Cool in the fridge for 30-60 minutes before using.

Yield: About 3 cups


For the bars:
1.5 cups gluten free flour
1.5 cups quick oats
½ cup brown sugar, packed
½ tsp baking soda
½ tsp cinnamon
¼ tsp cardamom
½ tsp kosher salt
Zest of 1/2 large lemon
8 Tbsp clarified butter
4 Tbsp ice water
1.5 cups chia jam (see recipe above)

Preheat the oven to 350. Grease a 9x9 brownie pan with clarified butter or olive oil and set aside.

In a large bowl, combine the flour, oats, brown sugar, baking soda, cinnamon, cardamom, and salt and mix well.

In a small bowl, melt some clarified butter. Measure the butter when melted and add to the dry ingredients, stirring after adding each tablespoon. Add the ice water, also stirring between additions.

Pack about 2/3 of the mixture into the bottom of your brownie pan with a rubber spatula or wet hands. Top with the chia jam and smooth out. Crumble the rest of the oat mixture over the chia jam. If possible, pack some of the oat mixture into larger pieces and place those on top.

Bake for 40 minutes or until the edges begin to darken slightly.

Let cool completely before cutting.

Yield: 16 pieces

IMG_7660.jpg
IMG_7664.jpg

Apple almond bread

Use up a few of those abundant fall apples in this quick, easy loaf that you can make in one bowl!

Take me to the recipe!

Apple and almond might be one of my favorite combinations and luckily, M thinks so too. Because we’ve eaten a lot of these breads in the past few weeks. And I mean…a lot.

IMG_6314.jpg

Why have I tested this recipe so much, you might ask? Well, I thought my first try was pretty darn close to perfect, but my husband thought it was too dry. I thought he was crazy, but his comment stuck in my craw. I tried this quick bread with more butter, more yogurt, more butter and yogurt, etc, but the end results, to me, never seemed as good as the original and it spoiled faster the wetter I made the batter.

If you like a wetter crumb, feel free to throw in another 1/4 cup of yogurt, but remember that you probably shave off a day from the life of your loaf. (Without the extra yogurt, you get about 4-5 days loosely wrapped at room temperature from this bad boy- not that you'll need it).

IMG_6299.jpg

A couple of notes:

  • No need to toast the almonds in the topping because they'll toast while the bread cooks.

  • If you want the apples to disappear into the bread, chop them into tiny pieces. If you like to see and taste the apples more emphatically, leave them in 1/2-inch chunks. Larger chunks of apple make the bread a bit more crumbly, so choose whichever method better suits your tastes.

Also great about this bread? You only need one bowl for the base! (The topping uses another small bowl, but you could wipe out the large bowl and use it again to make the topping once you pour the batter into the loaf pan.)

IMG_6307.jpg

Apple almond bread

Time: about 1 hour, mostly hands off
Yield: 8-10 slices

For the topping:
1 ½ Tbsp butter, melted
¼ cup sliced almonds (not toasted)
3 tbsp whole wheat flour
2 Tbsp brown sugar
pinch of salt

For the bread:
2.5 Tbsp butter, melted and cooled slightly
1/4 cup whole milk yogurt (non-Greek)
¾ cup maple syrup
2 eggs
½ tsp almond extract
1.5 cups whole wheat flour
½ cup almond flour
2 heaping Tbsp flax seed meal
1 tsp baking powder
1 tsp baking soda
½ tsp salt
1 Tbsp cinnamon
3 cups diced apples (about 2 large apples, not peeled)

Preheat oven to 350. Grease a 9x5 or 10x5 loaf pan with olive oil and set aside.

Make the topping: In small bowl, melt the butter. Add the almonds, 3 Tbsp of whole wheat flour, sugar, and salt and mix well. Set aside.

In a large bowl, melt the rest of the butter and let cool slightly. (Or, melt the butter halfway and stir to melt the rest. This usually results in warm, not hot, butter.)

Add the rest of the wet ingredients and whisk to incorporate .

Add the dry ingredients and mix just until combined and no streaks remain. Set aside.

Chop the apples and add to the batter. Stir a few times to combine, but don’t over mix.

Bake for 40-50 minutes until a tester comes out clean. Check the bread after about 30 minutes or if you start to smell the almond too strongly. Cover with foil if the topping browns too quickly and continue to bake until the tester comes out clean.

IMG_6347.jpg