Chocolate hummus

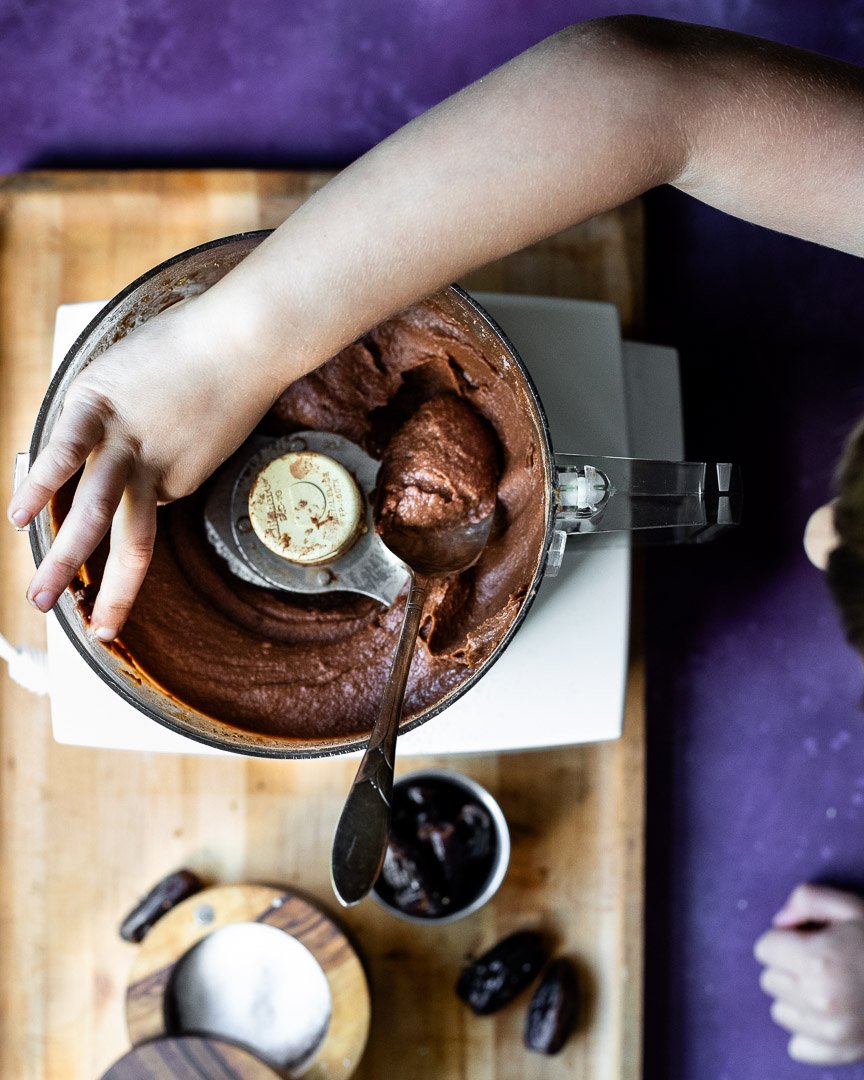
chocolate hummus | me & the moose | Chocolate hummus bears no resemblance to actual hummus, but is a fiber and protein rich sweet snack. #hummus #chocolate #snackrecipes #snacks #dips #dessert

I struggled with calling this recipe “hummus.” The only thing it has in common with actual hummus is chickpeas, but I wanted it to be clear that this spread is the same stuff you buy in the grocery store.

Even though it’s not really hummus, this spread is REALLY good. It’s a little sweet and very chocolate-y.

chocolate hummus | me & the moose | Chocolate hummus bears no resemblance to actual hummus, but is a fiber and protein rich sweet snack. #hummus #chocolate #snackrecipes #snacks #dips #dessert

chocolate hummus | me & the moose | Chocolate hummus bears no resemblance to actual hummus, but is a fiber and protein rich sweet snack. #hummus #chocolate #snackrecipes #snacks #dips #dessert

I started making my own chocolate hummus after being introduced to this magical concoction (seriously, how did I not know that chocolate hummus existed until about 2 months ago?) at my book club.

A couple of notes:
- Soak 4 dates, though you may not need them all. This dip tends to get sweeter as it sits in the fridge, so be careful about adding all four dates up front.
- If the dip doesn’t taste sweet enough after two dates, try adding another pinch of salt. The salt really brings out the sweetness and the chocolate, so you may not need additional sweetener.

chocolate hummus | me & the moose | Chocolate hummus bears no resemblance to actual hummus, but is a fiber and protein rich sweet snack. #hummus #chocolate #snackrecipes #snacks #dips #dessert

Chocolate hummus

Time: about 20 minutes, all active
Yield:1.5 cups or about 14.5 ounces

1 can chick peas, rinsed and drained |
¼ cup cocoa powder
½ cup maple syrup
2-4 dates, soaked in boiling water for 5-10 minutes
¼ tsp salt, plus more to taste
½ tsp vanilla extract

Boil some water and pour over 4 dates. Let sit for 5-10 minutes.

Meanwhile, thoroughly rinse your chickpeas and dry them lightly with a dishtowel or paper towel. Add to a food processor.

Measure the other ingredients and add to the food processor. When the dates are soft, add 3 to the other ingredients and blend until very smooth, about 3-4 minutes.

Serve or store in an air-tight container in the fridge.

Fried green tomatoes

IMG_8384.jpg

If your child loves french fries and tomatoes, then they will love fried green tomatoes. Or, they will reject them out of hand because they're mercurial toddlers like mine. One day, M will love these. I'm sure of it.

I just dropped M off for his first day of a new school year. He was only off for a week between "grades" but I felt so nervous this morning! M had a tough time adjusting to his last classroom and now he has new grownups, a new space, and some new kids to contend with. Ugh. I don't like change. That must be where M gets it.

We also have a nut allergy in the classroom this year, so I'll be more mindful of nut-free recipes for lunches and snacks.

ALSO also, after just a week off from packing lunches, I forgot what a huge drag it is. My sympathies go out to those of you getting back to it after an ENTIRE summer off. Strength to you, fellow lunch-packers.

IMG_8378.jpg

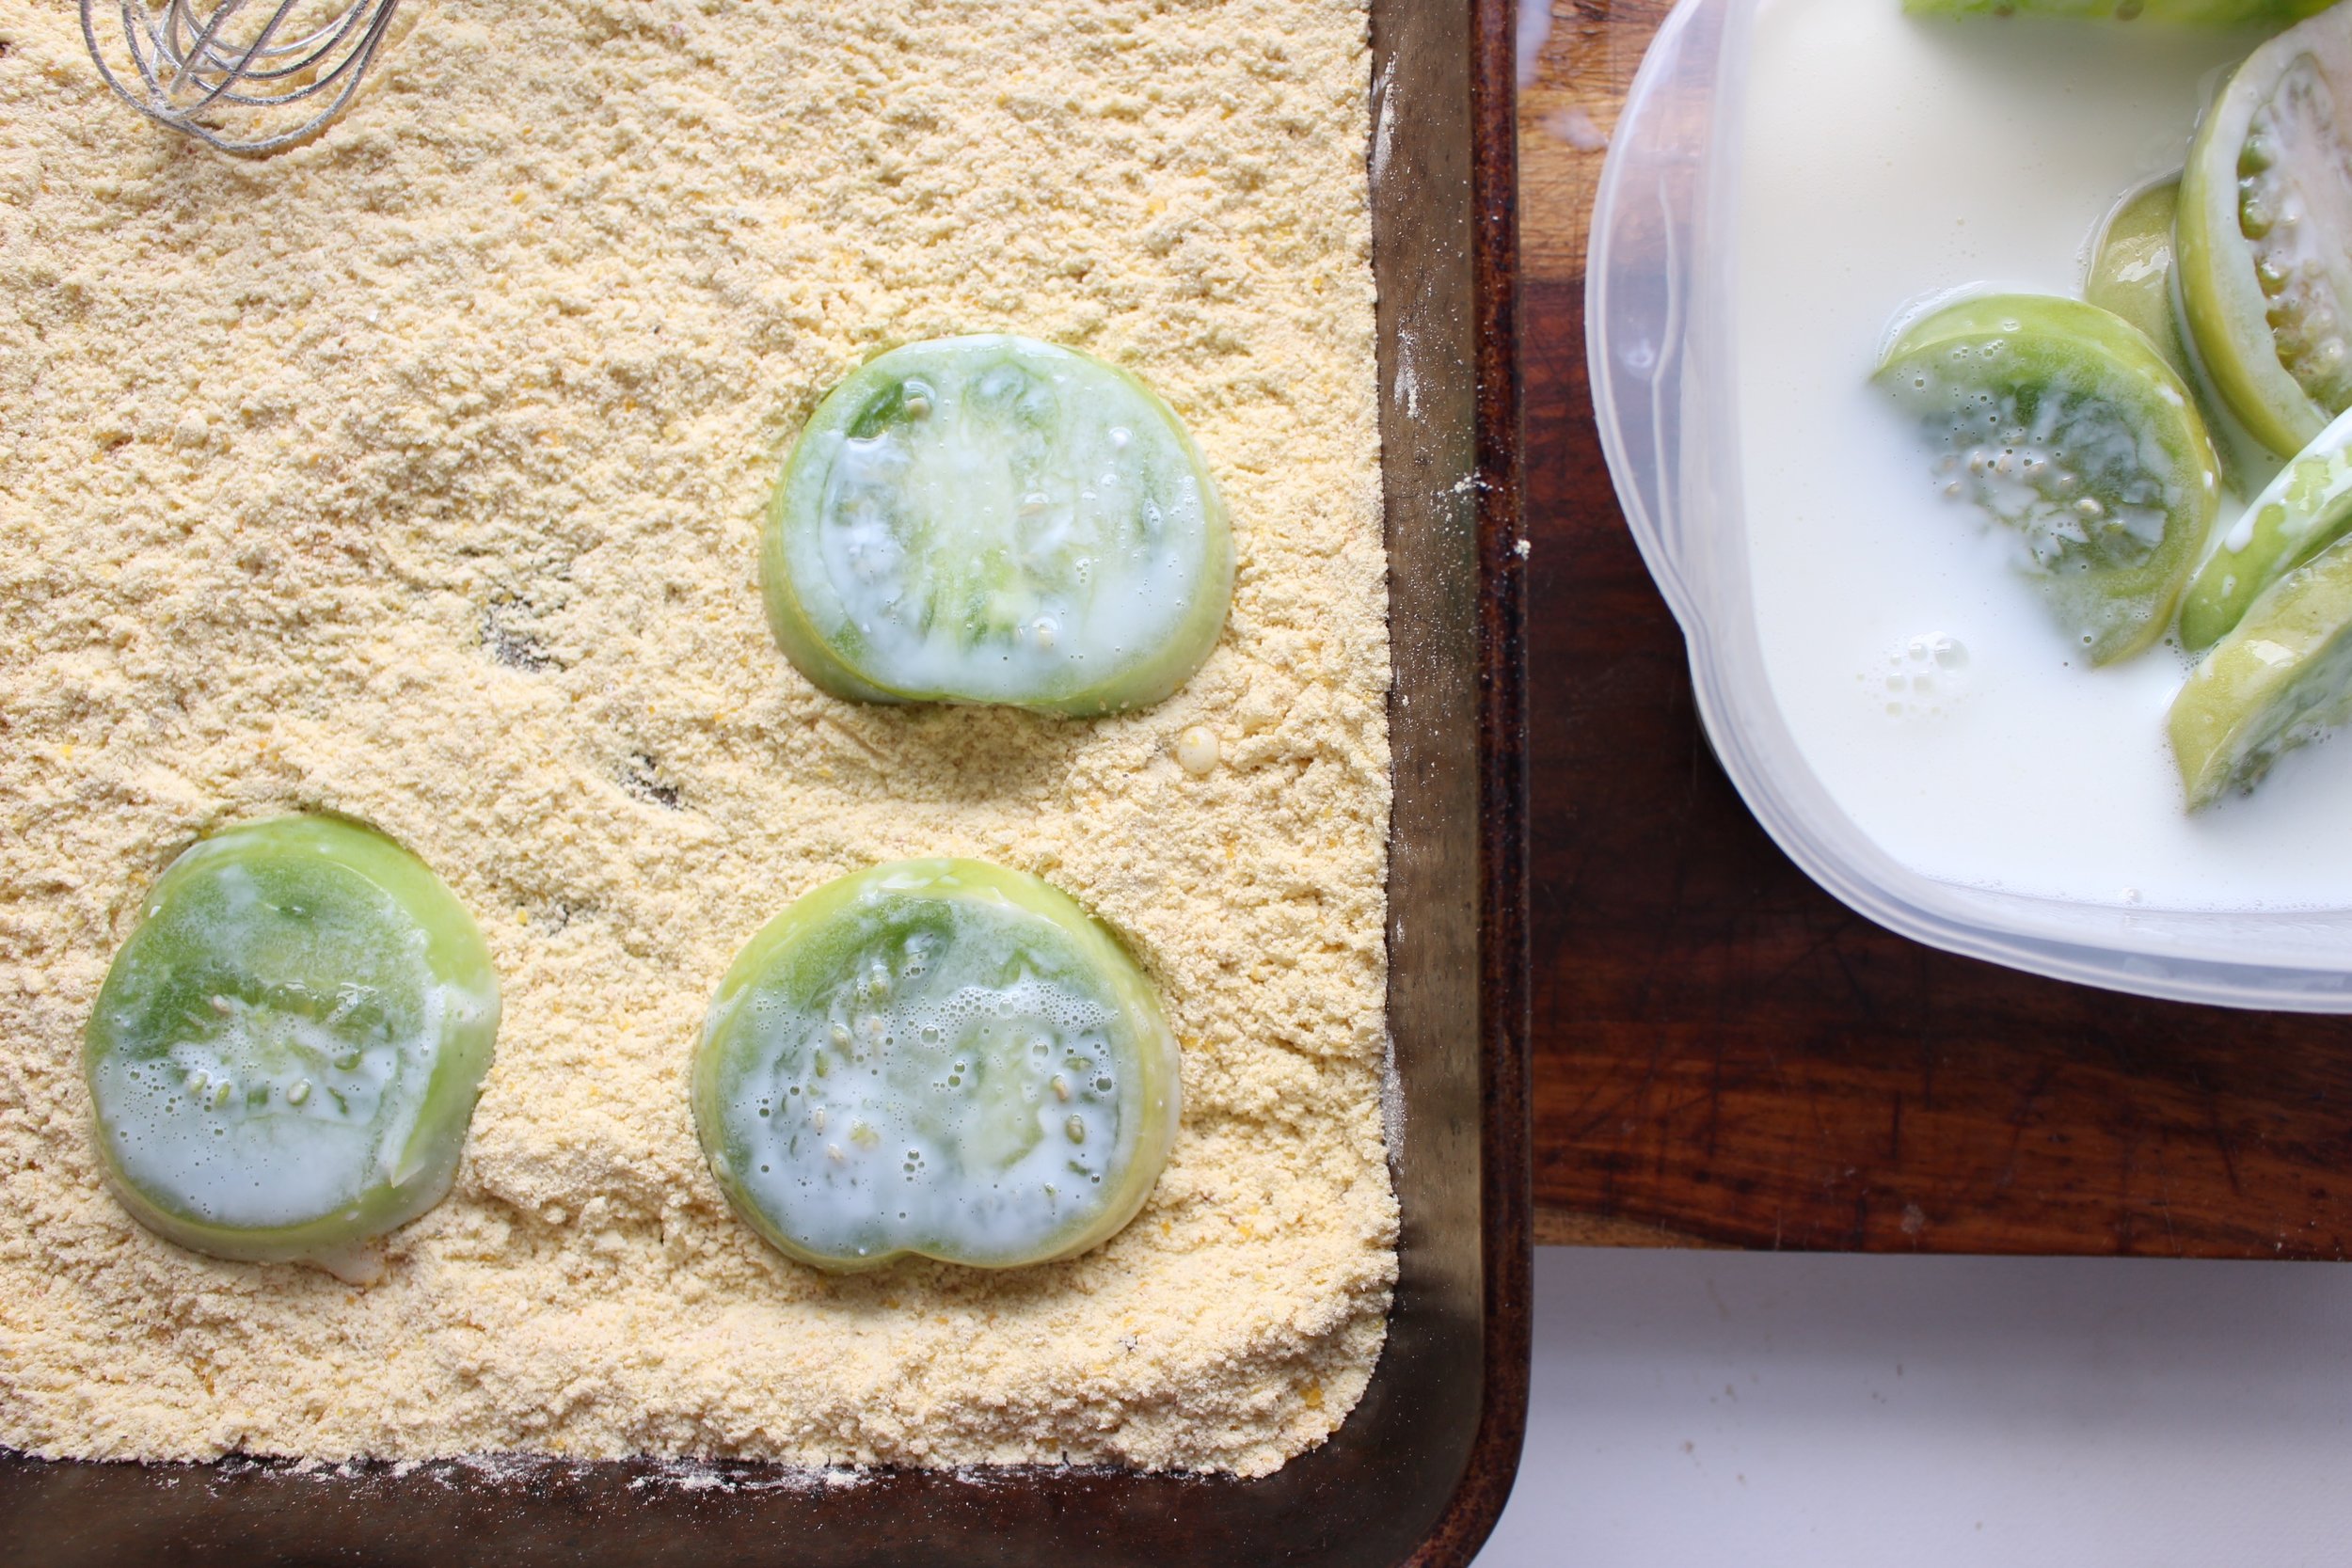
The keys to good fried green tomatoes, to me, are soaking overnight in buttermilk, and cooking with HOT oil. I've gotten equally delicious and crunchy results from using a little bit of oil and a lot of oil, but the heat seemed like the common denominator.

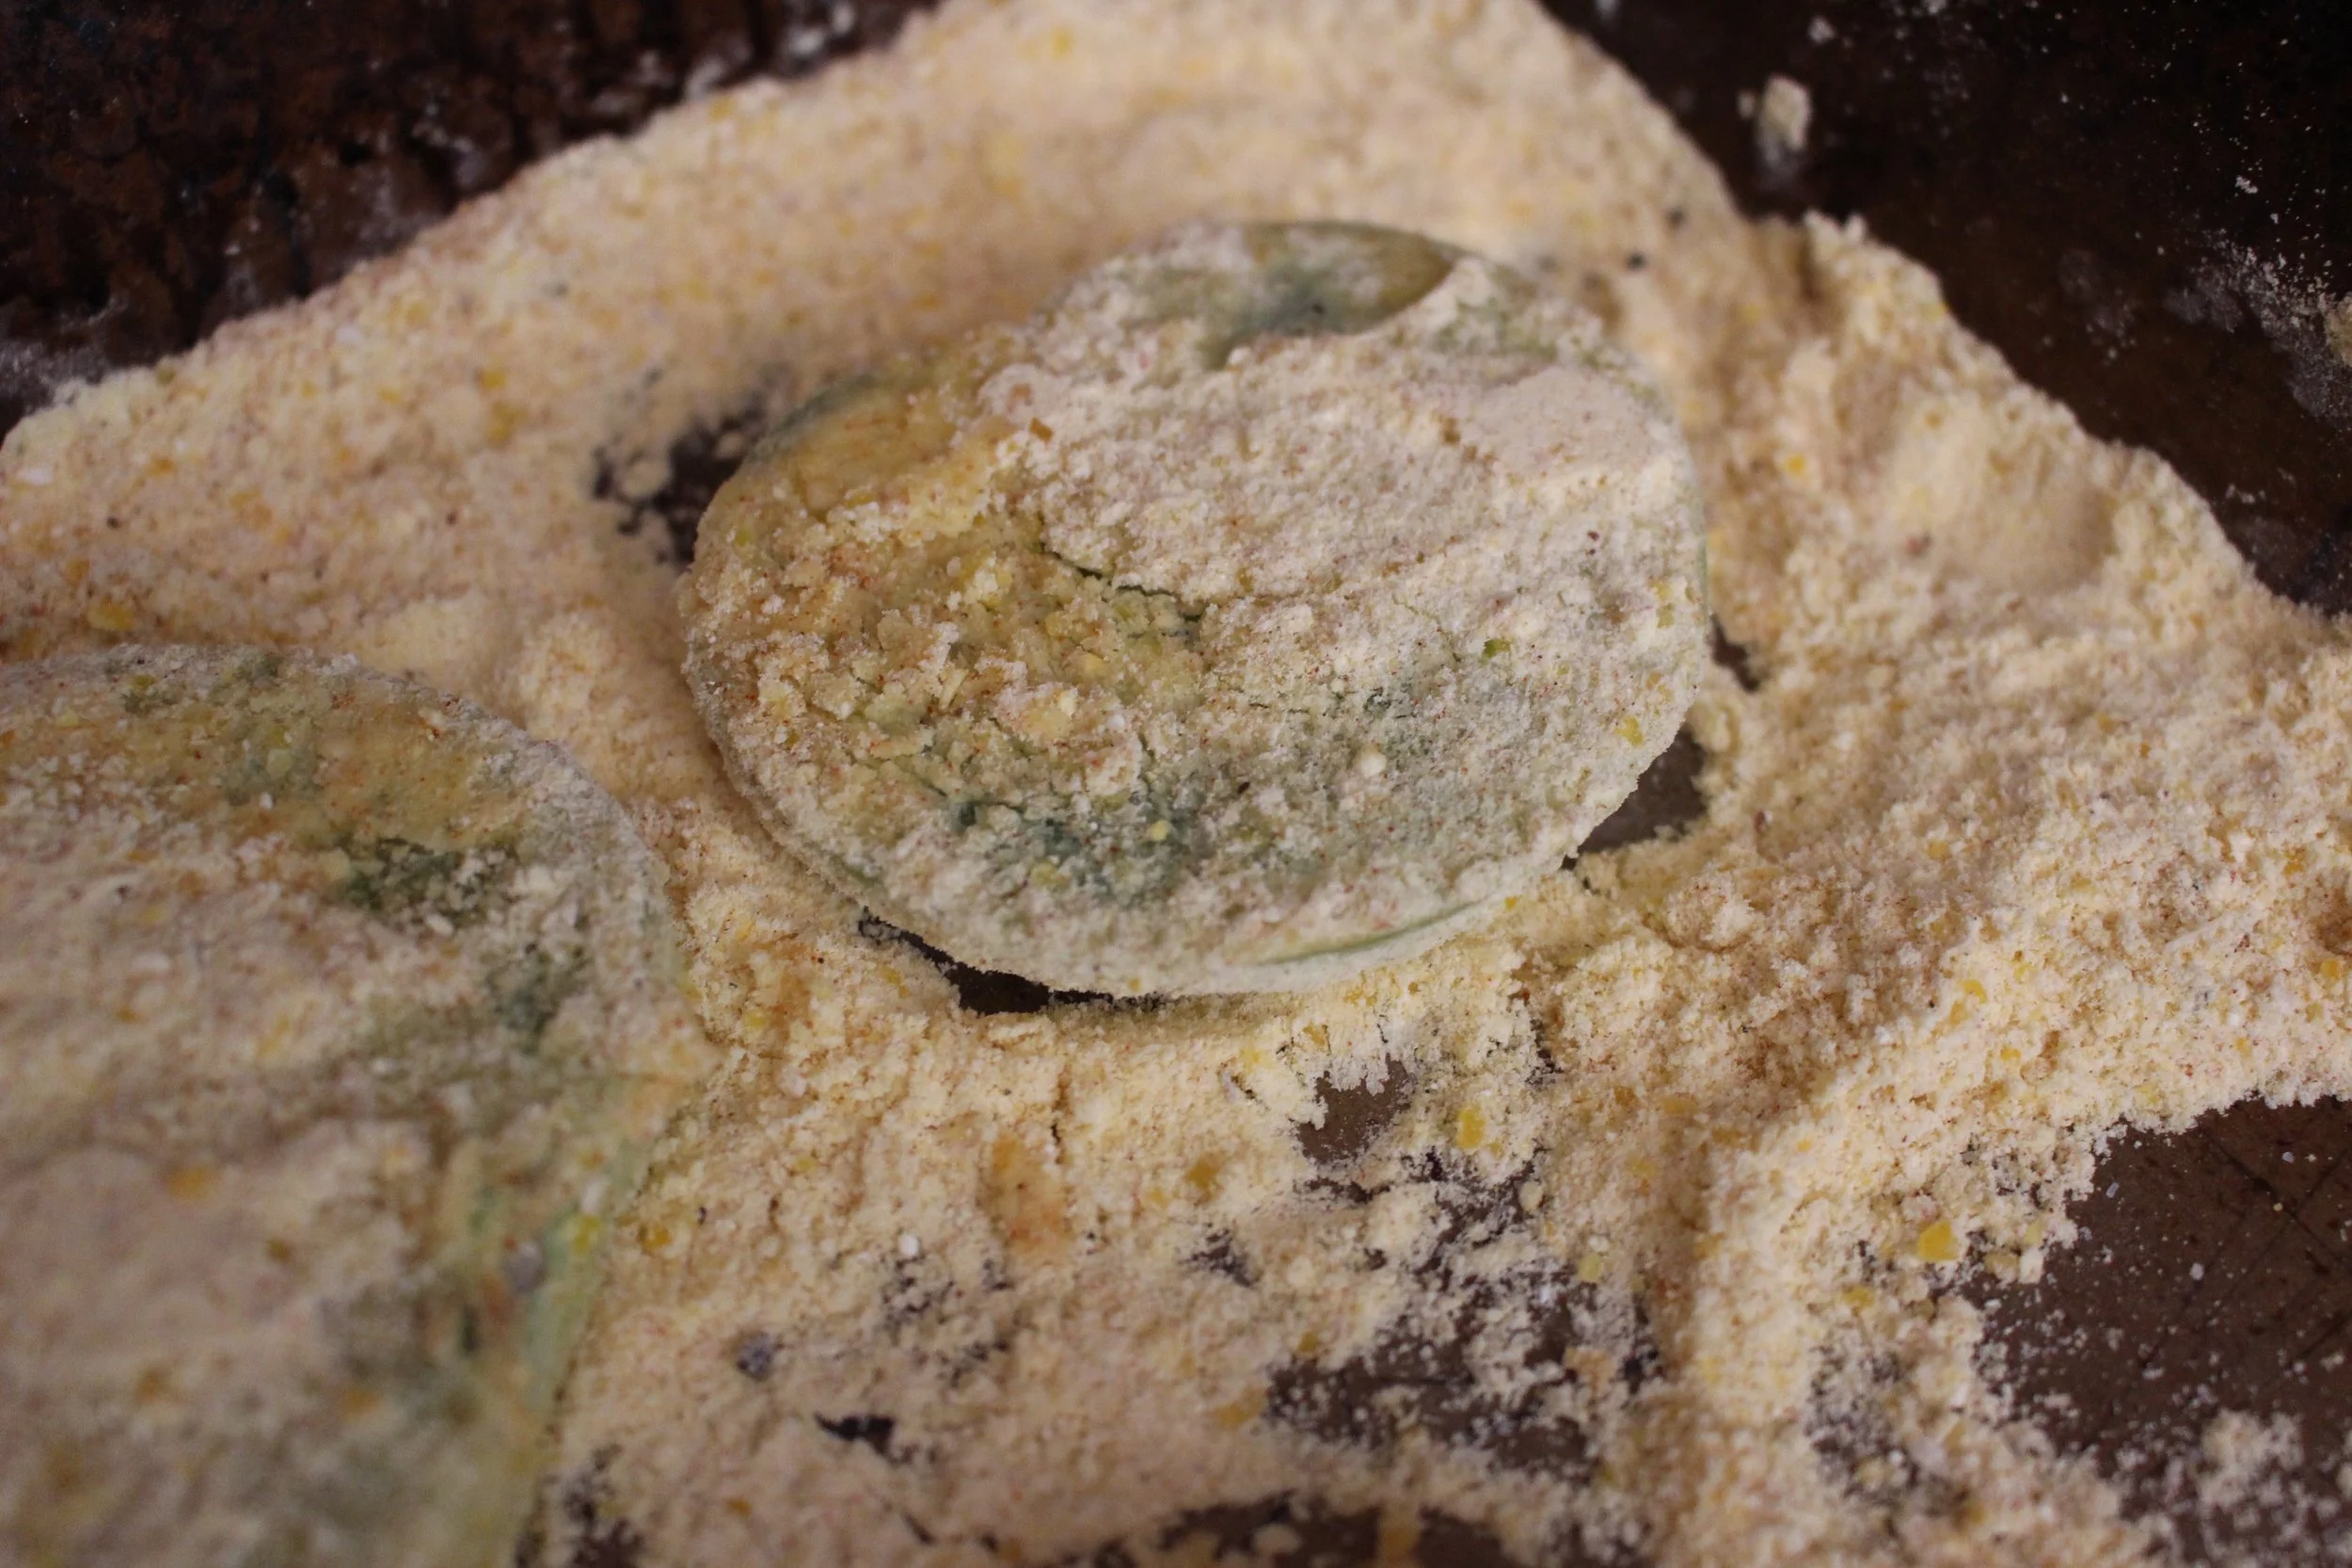
I also experimented a lot with corn flour and different grinds of cornmeal. I initially liked corn flour the best, but it's very easy to get too much flour, which doesn't cook evenly. (Picture #2 was taken BEFORE I knocked off the excess.) Ultimately, my favorite was straight-up, finely ground cornmeal.

IMG_8387.jpg

Fried green tomatoes

3-4 large green tomatoes, sliced in ¼-inch thick slices
1-2 cups buttermilk, full or low-fat (enough to cover the tomato slices)
1 tsp salt, divided
1 cup finely ground cornmeal
½ tsp paprika
Ground pepper
¼ cup avocado oil
Course sea salt

Slice the tomatoes and discard the end pieces. Place the tomatoes in a container and cover them with buttermilk. Add ½ tsp salt, cover, and shake. Refrigerate for at least a few hours and up to 1 day.

Combine the corn meal, salt, paprika, and pepper in a large container. Set aside. Heat one to two tablespoons of avocado oil at a time until very hot.

Working one at a time, shake off excess buttermilk and immediately place the tomato slice in the cornmeal mixture. Cover both sides well, but shake off the excess cornmeal as well.

When the oil is hot (when you add anything to the oil, it immediately starts bubbling), add the tomatoes (as many as will fit in your pan, but don’t crowd them; work in batches), and fry for 3 minutes. Check for brownness and flip when golden. When second side reaches golden brown, remove to a paper towel and sprinkle with coarse sea salt.

Between batches of tomatoes, pour out any leftover oil and carefully wipe off any cornmeal left in the pan. Heat two more tablespoons of avocado oil and repeat the cooking process with remaining tomatoes.

Yield: 12-16 tomato slices

IMG_8389.jpg
IMG_8394.jpg

No-bake granola bars

IMG_7850.jpg

Guys. I have tried and tried to make actually good, lower sugar, school-safe granola bars. I succeeded with these bars, but they're a bit more effort than I'm willing to expend when I suddenly realize on a week night that we don't have anything for snack or lunch boxes the next day. These granola cups are super easy, but we're entering that sweltering season where turning on the oven is basically just opening the gates of hell.

IMG_7840.jpg

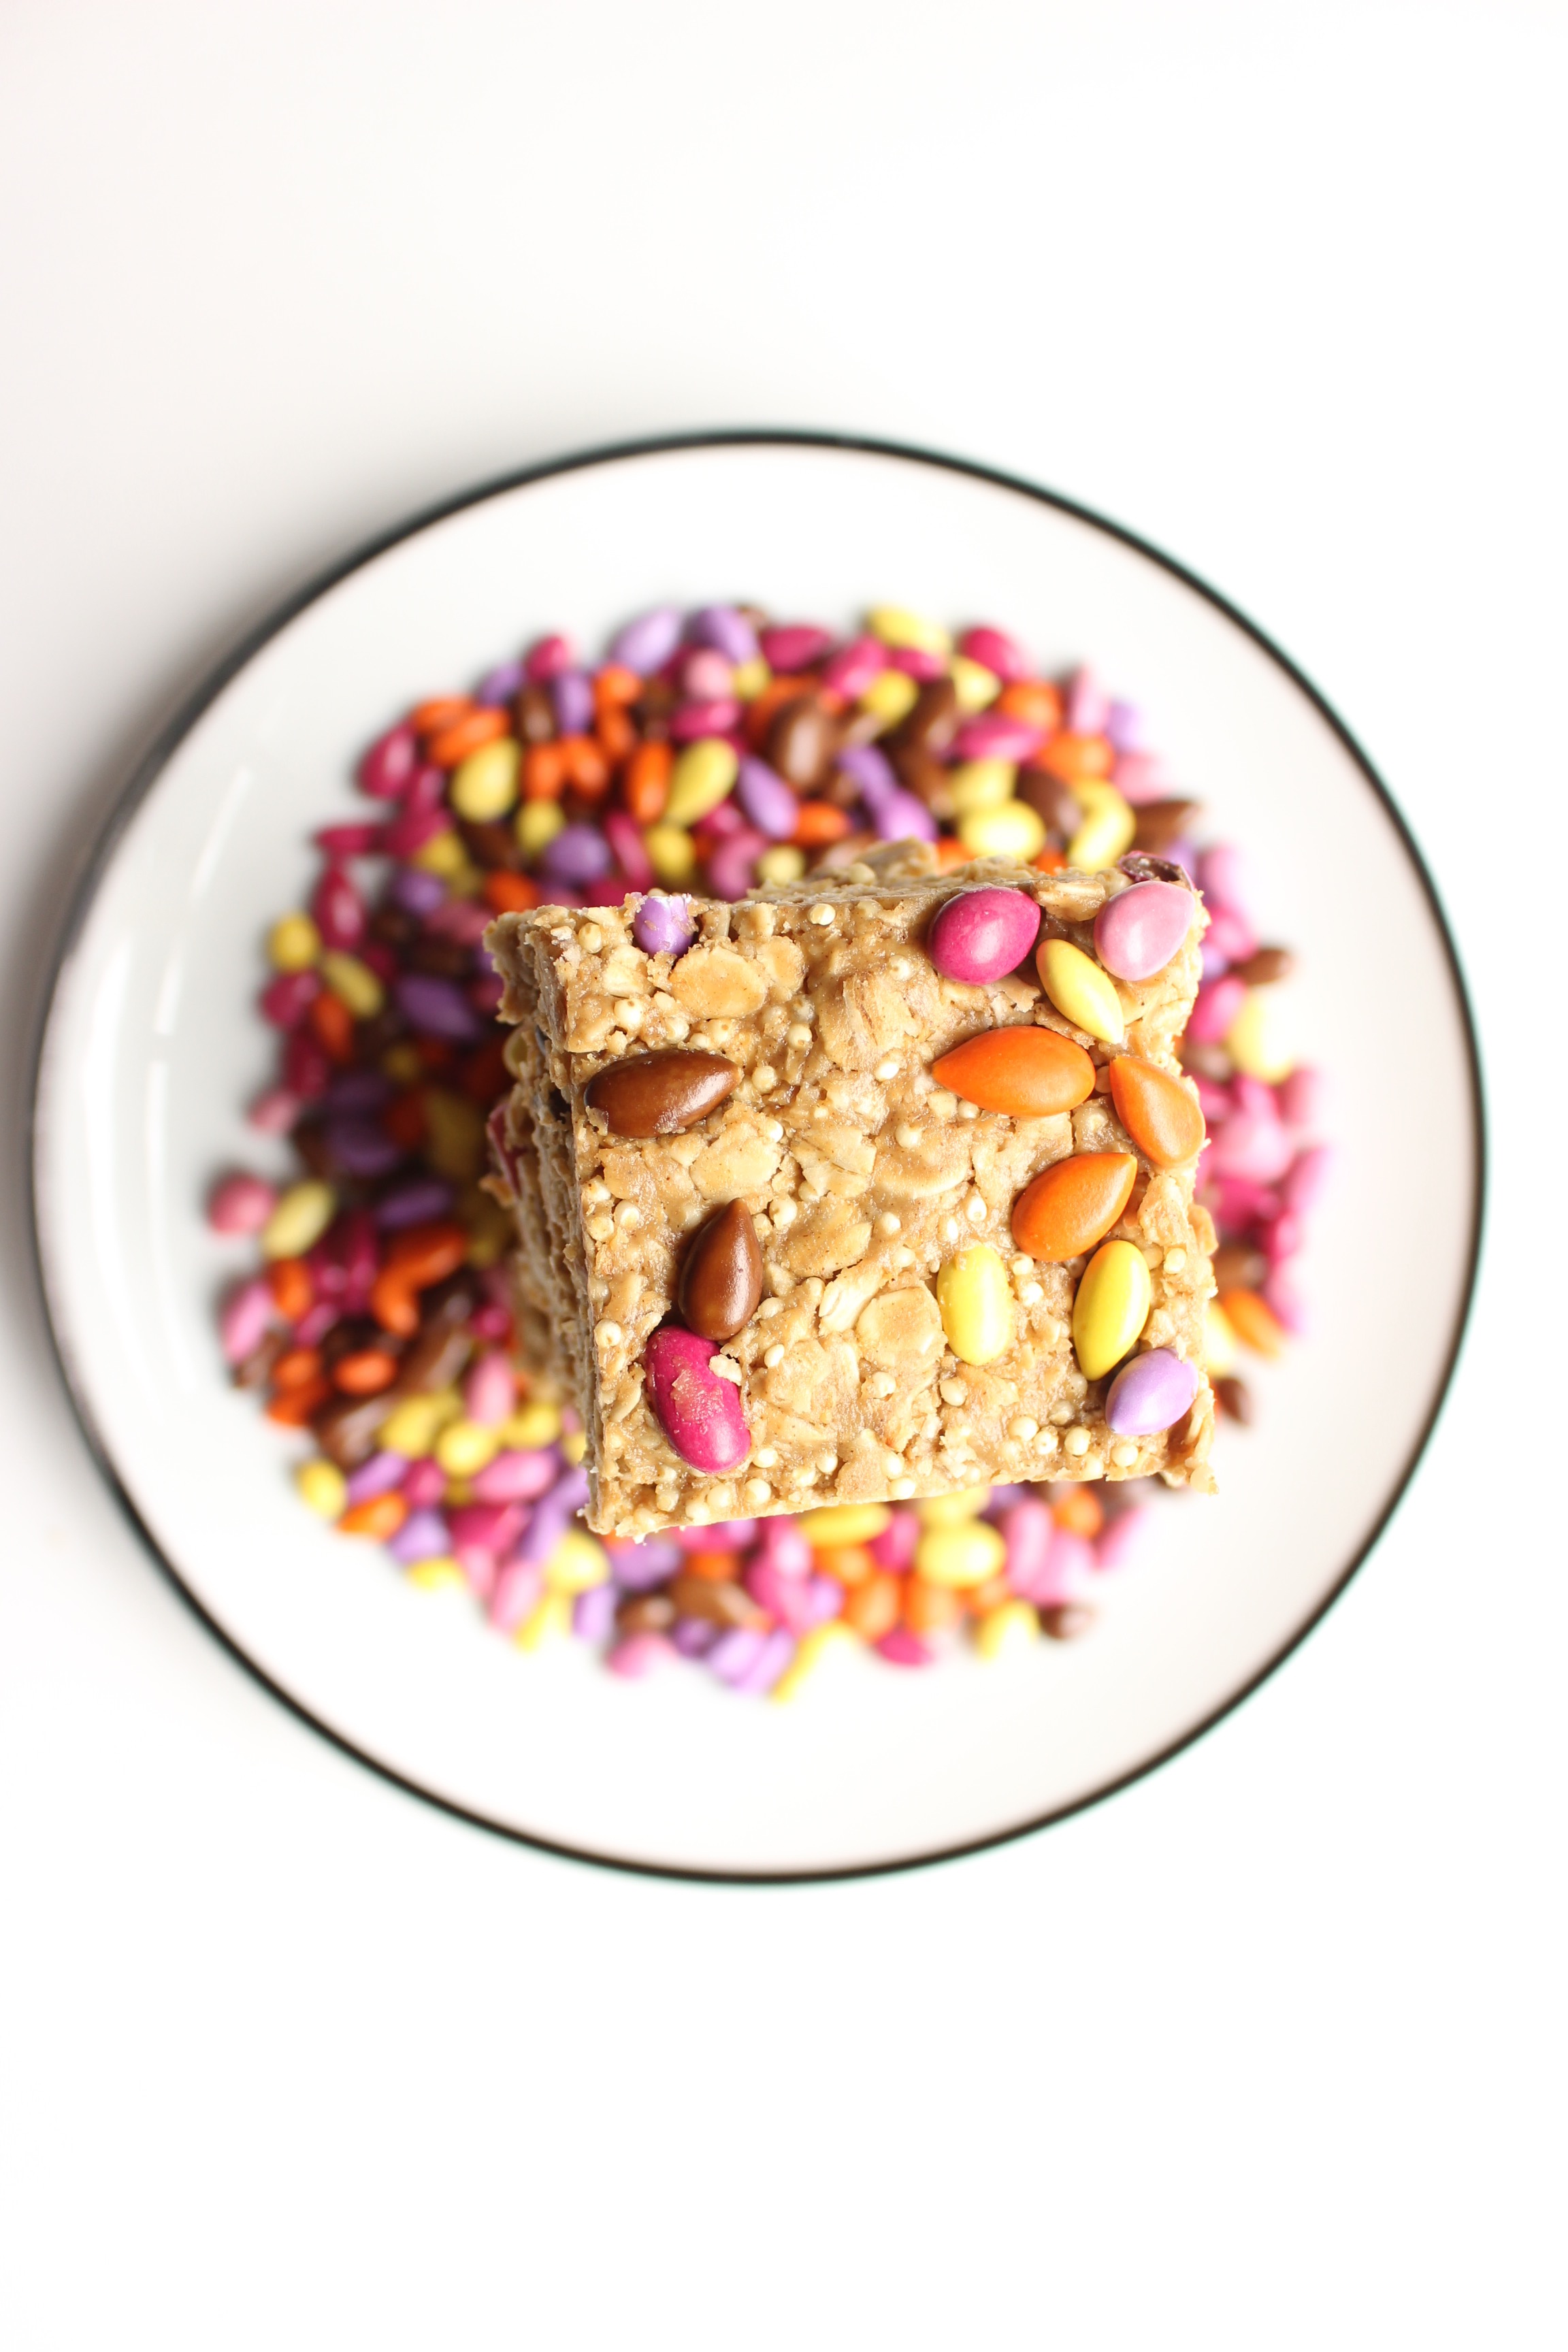
Instead we have these no-bake granola bars that are super quick and easy (and cool) to prepare, are lower in sugar than store bought bars, are free of dairy, nuts, gluten, and eggs AND are absolutely freaking delicious.

IMG_7842.jpg

I've tried a couple of no-bake granola bar recipes via Pinterest that left me wanting. Some recommended using quick oats, which got lost in the honey and nut butter mixture. Some also suggested rice cereals that lost their crunch when mixed with the other ingredients.

Many of them also call for dates, which I tried in these bars too. Here's the thing: If you use enough dates, they do help the bars stick together when they heat up. But, your bars taste primarily like dates, which I didn't want for this recipe. So, just beware that these bars are ever-so-slightly crumbly when they heat up.

IMG_7846.jpg

A couple of notes:
- The texture of these bars can change based on a few factors: First, nut butters separate, especially in the heat, so the thoroughness of your mixing can change the texture of these bars. Try your best to mix vigorously so that your nut butter isn't too thin or too thick.
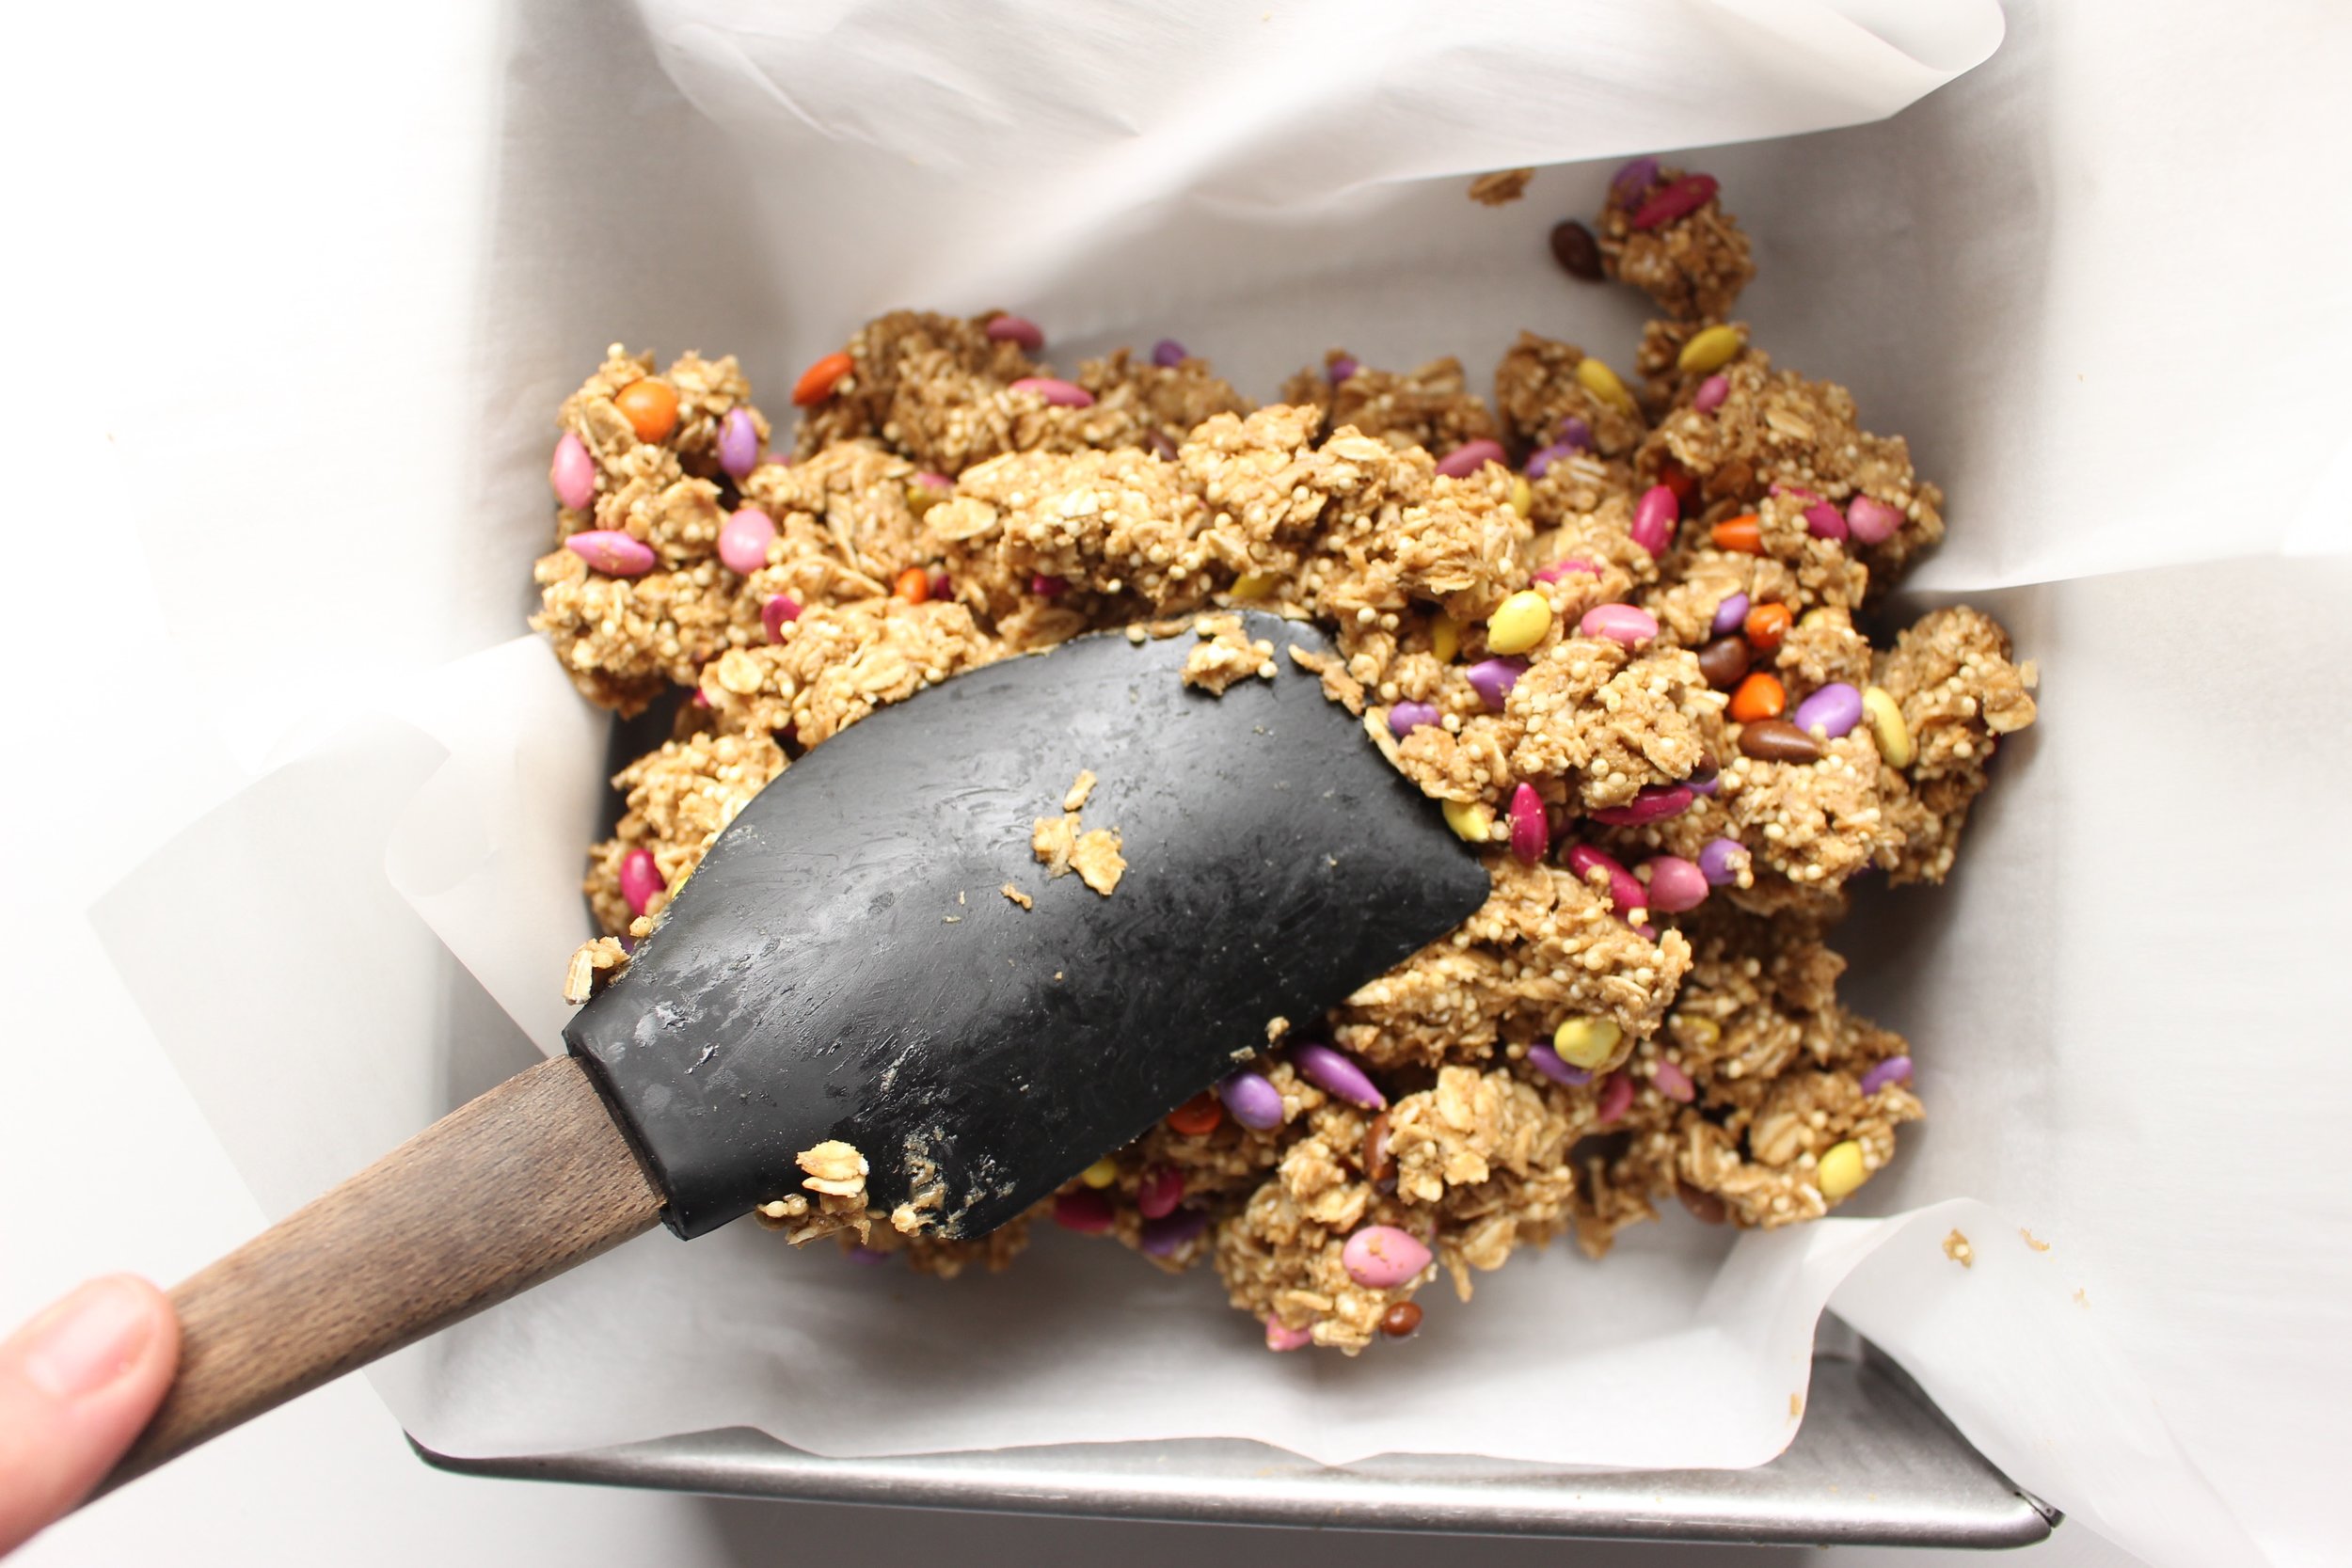
- You should be able to form the mixture into a ball that stays together and doesn't stick to your fingers. If the mixture is too crumbly, add one Tbsp of nut butter at a time and mix again to see if the grains come together. If the mixture is too sticky, try adding 1 Tbsp of oats at a time until you have a better consistency.
- Give the dry ingredients a good stir before adding in the wet ingredients. The mixing of the wet and dry ingredients can require some elbow grease, but is easier if you've already distributed the grains and cinnamon.
- To make these bars school safe, use sunflower seed butter. If you don't have nut or peanut restrictions, peanut and almond butter are perfectly great substitutes.
- If you can't find or don't want to use the chocolate-covered sunflower seeds, any old chocolate chips or carob chips (we're particularly fond of these non-dairy chocolate chips), will do.  
- Millet is a slightly more exotic ingredient, but it's available at Whole Foods or health stores and really helps these bars to have some crunch. Millet is also gluten free and has a ton of health benefits.

IMG_7865.jpg

Actually good, no-bake granola bars

1¾ cups rolled oats (not quick oats or steel cut)
½ cup millet
1 tsp cinnamon
¾ cup sunflower seed butter
¼ cup honey
½ cup chocolate covered sunflower seeds or chocolate chips
Optional: a pinch of salt

Combine the dry ingredients in a large bowl and give them a stir.

Add the sunflower seed butter and the honey and stir to combine. You can zap these ingredients in the microwave to loosen them up a bit first, but I find that a little elbow grease and some wet hands do the trick.

Add the chocolate covered sunflower seeds or chocolate chips and stir again just until they’re incorporated.

Dump the mixture out into a parchment-lined brownie pan (I like 8x8 best for the size of the bars it produces, but 9x9 or larger will also work with thinner results).

Freeze for 20 minutes. Remove the bars and cut them into 16-24 portions. Store in the fridge.

Yield: 16-24 bars

IMG_7848.jpg
IMG_7851.jpg
IMG_7858.jpg
IMG_7862.jpg

Raspberry rhubarb chia jam bars

IMG_7658.jpg

Preschool germs. Is there a stronger force in the universe? In my memoir, this era will be titled: The time when my child who never got sick, was never not sick.

And I don't know if all kids do this when ill, but mine is like a koala bear who drank a pot of coffee. He's both lethargic and wired, wanting to be on top of me while simultaneously thrashing like he's breaking out of a human prison. In short, this has not been a fun week.

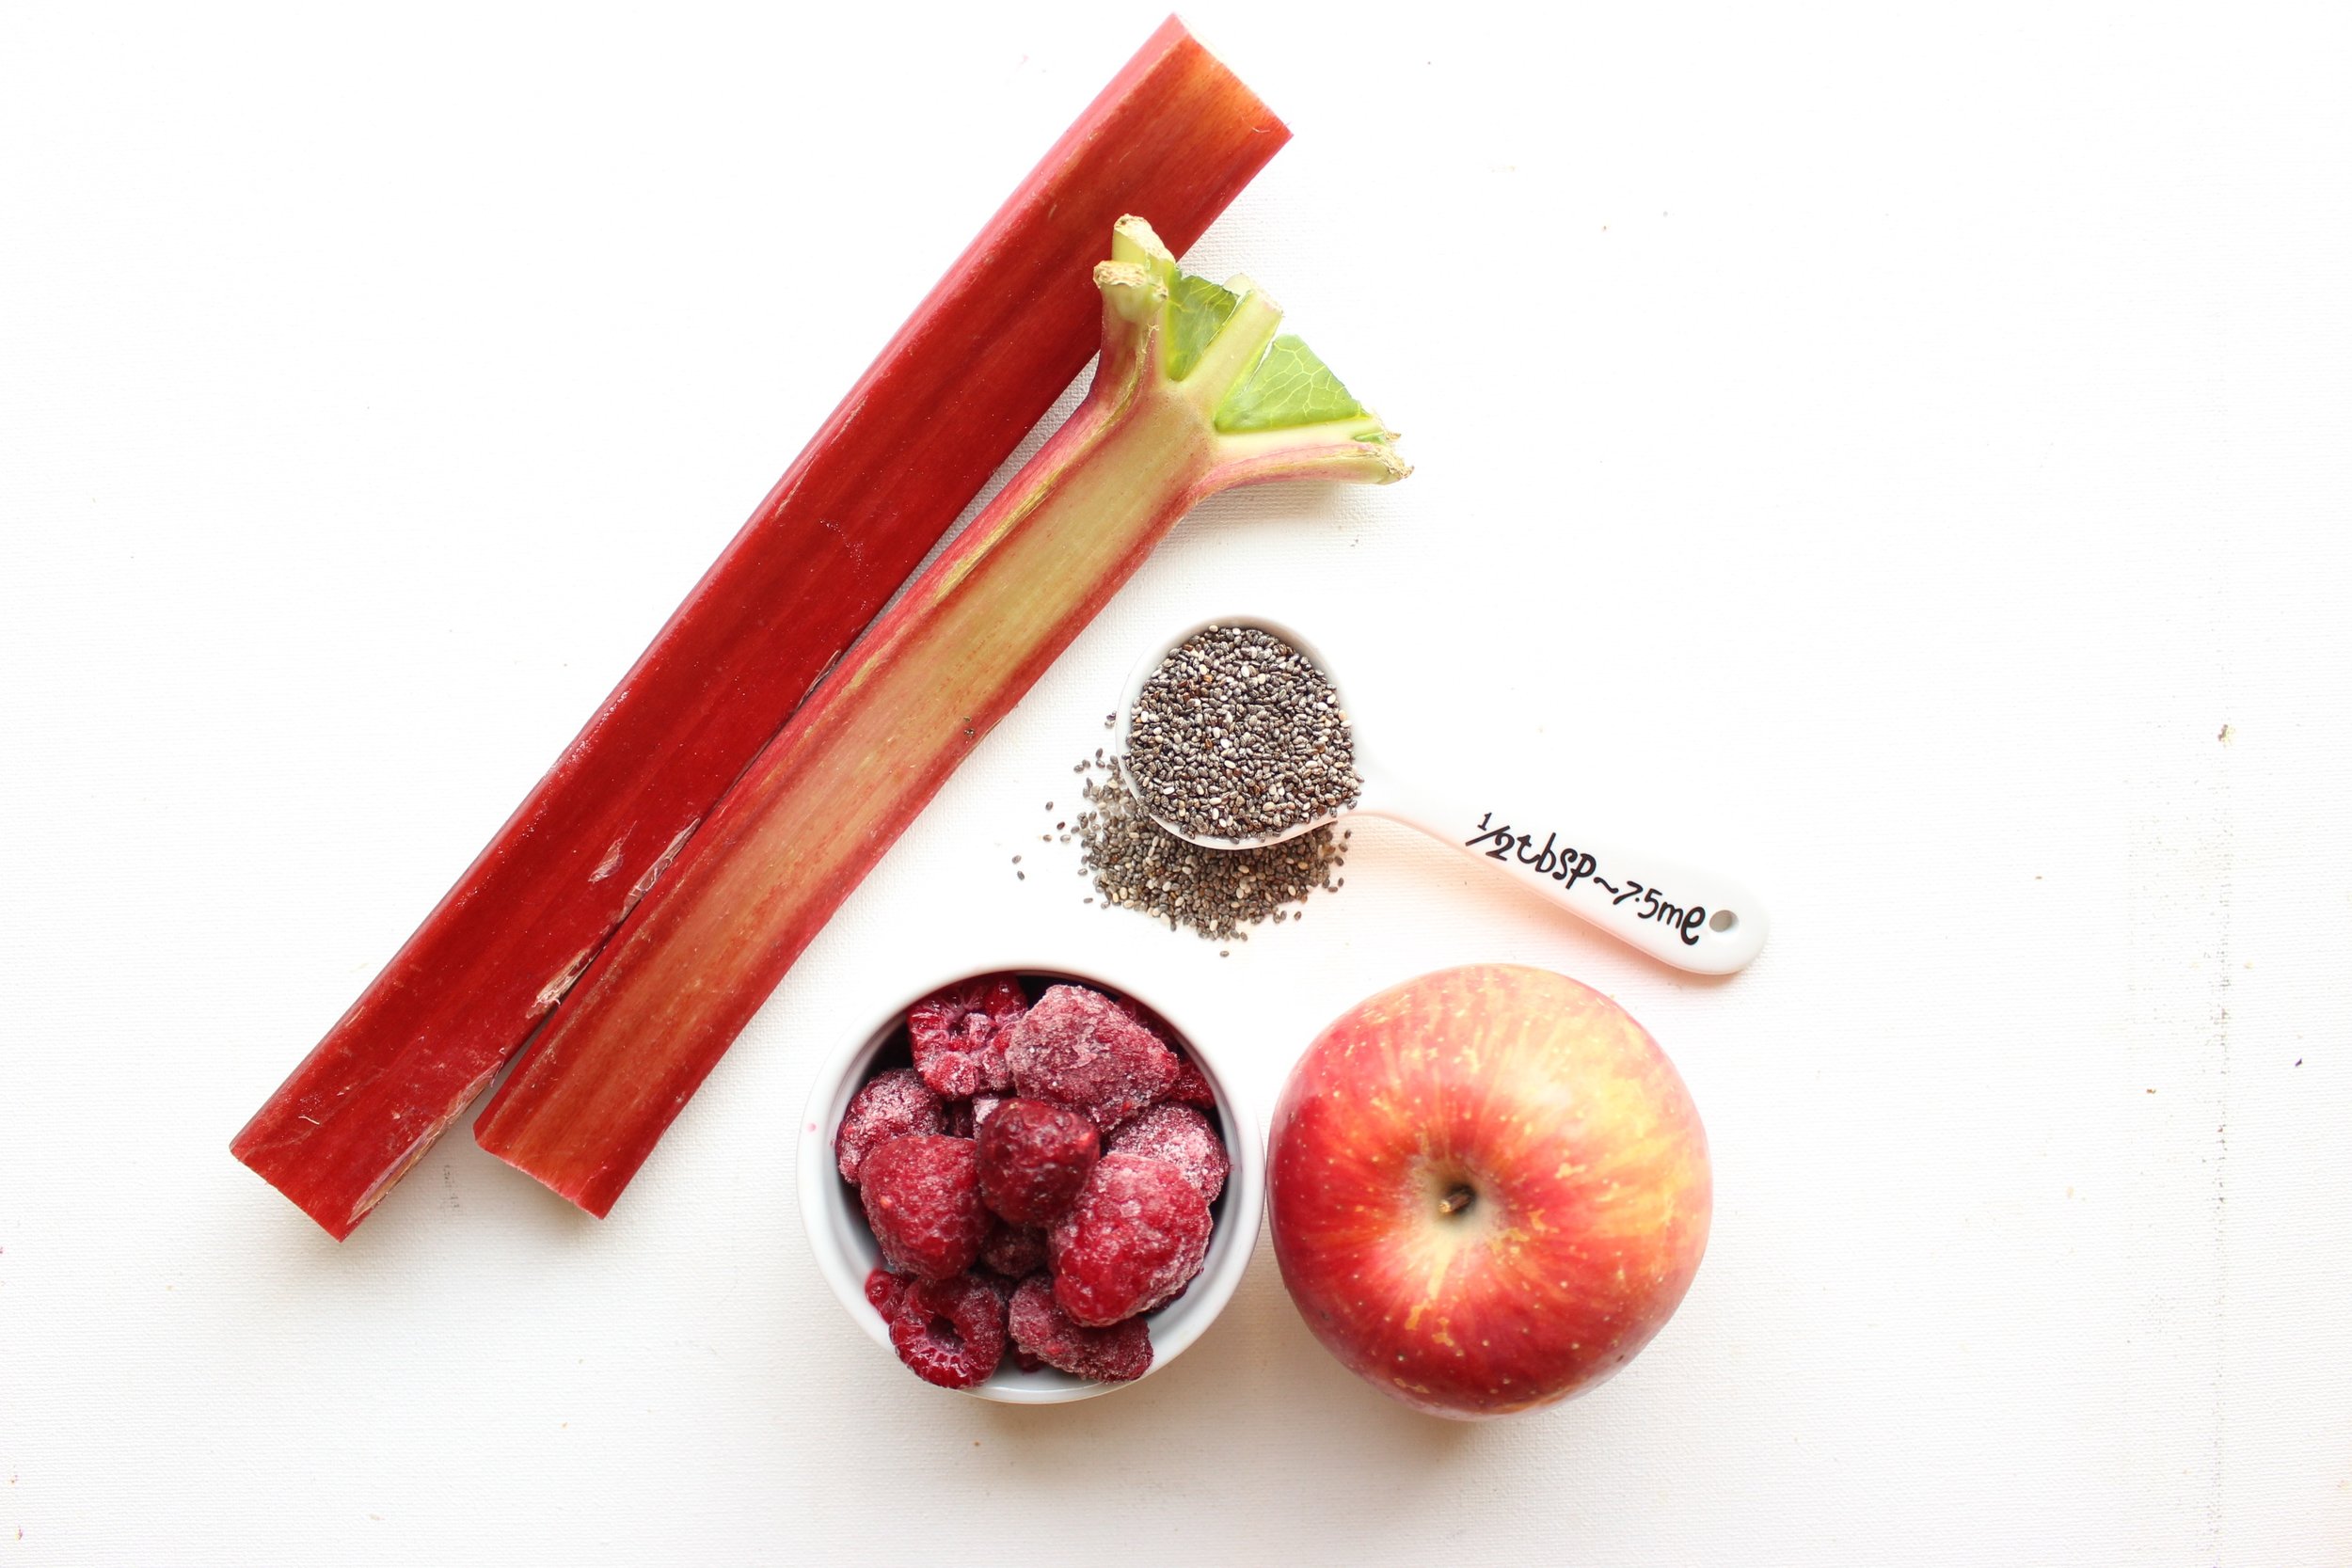
Anyway, since we're stuck in the house for the foreseeable future, I've tried my hand with chia jam a few times. The basic recipe in that link has worked well for me as long as I cook the fruit down for about 20 minutes before adding the chia seeds and letting the mixture set in the fridge for about 30 to 60 minutes before using it. 

IMG_7642.jpg

And this jam is really versatile! It works in sandwiches, obviously, but is also great when added to oatmeal, yogurt, and baked goods. It would also make a tremendous baby puree.

IMG_7647.jpg

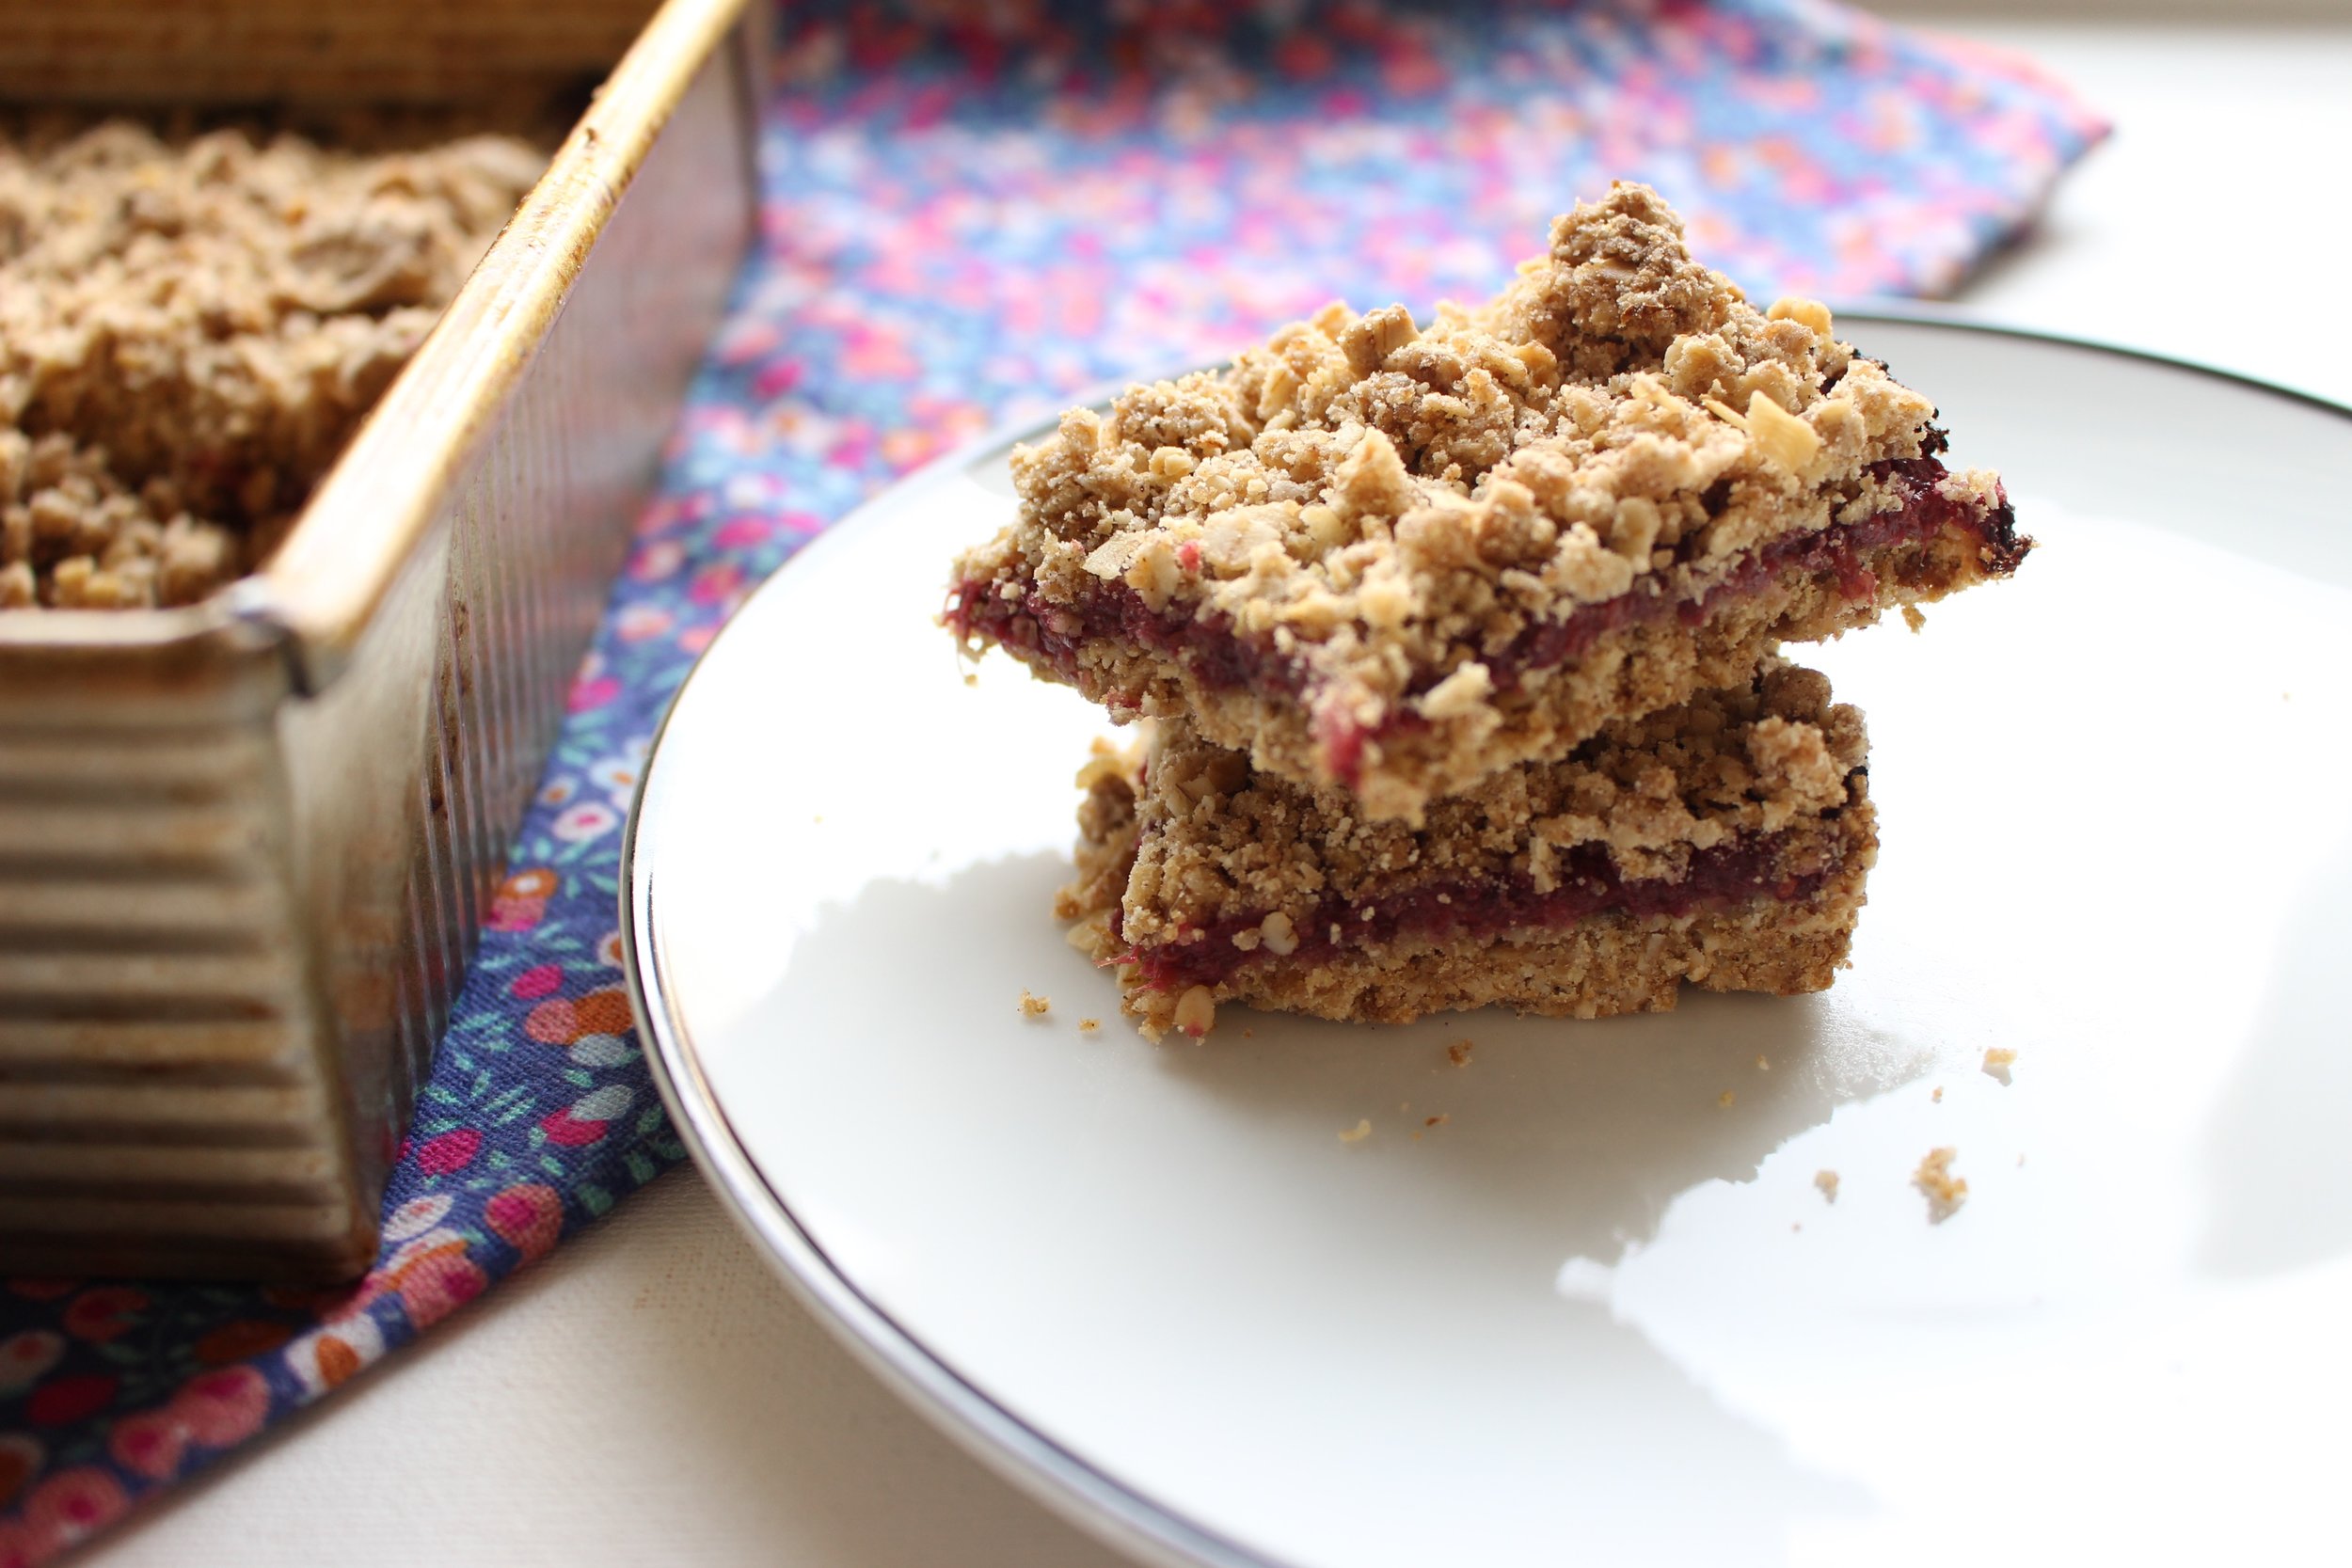
This is as easy as dessert/snack/breakfast gets. One bowl, no extra tools, and the same batter for the base and the top crumble. This recipe also uses gluten-free flour and clarified butter, so it's free of gluten, dairy, nuts, and eggs. And I've used as little butter and sugar as possible to maximize health without losing out on taste and texture.

IMG_7625.jpg

This dough is definitely crumbly, but packs down nicely with a rubber spatula. If it's too crumbly, feel free to add an extra tablespoon or two of butter.

IMG_7629.jpg

Raspberry rhubarb chia jam bars

For the jam:
12 oz frozen raspberries (one package or about 1 ½ cups)
2 cups rhubarb, chopped
2 large green apples, peeled and chopped
1 Tbsp water
4 Tbsp chia seeds  

Add raspberries, rhubarb and green apples to a medium pot. If your berries are still frozen, add 1 tablespoon of water to get things started. If your berries have unfrozen and there’s some liquid in your bag, skip the extra water and just start cooking.

Bring to a boil and reduce heat to medium or medium low and simmer, stirring occasionally, until the fruit is falling apart and the liquid has largely evaporated or become syrupy, about 20 minutes. Let cool slightly and add the chia seeds. Cool in the fridge for 30-60 minutes before using.

Yield: About 3 cups


For the bars:
1.5 cups gluten free flour
1.5 cups quick oats
½ cup brown sugar, packed
½ tsp baking soda
½ tsp cinnamon
¼ tsp cardamom
½ tsp kosher salt
Zest of 1/2 large lemon
8 Tbsp clarified butter
4 Tbsp ice water
1.5 cups chia jam (see recipe above)

Preheat the oven to 350. Grease a 9x9 brownie pan with clarified butter or olive oil and set aside.

In a large bowl, combine the flour, oats, brown sugar, baking soda, cinnamon, cardamom, and salt and mix well.

In a small bowl, melt some clarified butter. Measure the butter when melted and add to the dry ingredients, stirring after adding each tablespoon. Add the ice water, also stirring between additions.

Pack about 2/3 of the mixture into the bottom of your brownie pan with a rubber spatula or wet hands. Top with the chia jam and smooth out. Crumble the rest of the oat mixture over the chia jam. If possible, pack some of the oat mixture into larger pieces and place those on top.

Bake for 40 minutes or until the edges begin to darken slightly.

Let cool completely before cutting.

Yield: 16 pieces

IMG_7660.jpg
IMG_7664.jpg

Vegan raspberry doughnuts

Vegan raspberry doughnuts | Me & The Moose. We’ve lightened up traditional Hannukah jelly doughnuts by baking instead of frying, and using freeze-dried raspberries instead of a sugary jelly filling. #Hannukah #sufganiyot #doughnuts #donuts #raspberries #healthybaking #healthyrecipes

Want to switch up the traditional sufganiyot this year? Or want to add something baked, but not heavy to your breakfast rotation? Try these vegan baked raspberry doughnuts that feature whole wheat flour, flax seed meal, coconut sugar, and applesauce for a baked treat that tastes great, but doesn’t spike your blood sugar or weigh you down like a traditional doughnut.

Take me to the recipe!

Vegan raspberry doughnuts | Me & The Moose. We’ve lightened up traditional Hannukah jelly doughnuts by baking instead of frying, and using freeze-dried raspberries instead of a sugary jelly filling. #Hannukah #sufganiyot #doughnuts #donuts #raspberries #healthybaking #healthyrecipes

Okay, so I’m a fan of eating traditional foods in the traditional way, so I was a little apprehensive about “healthifying” a fried jelly doughnut. HOWEVER! I feel like these stray so far from the original that they aren’t really a “healthified” dessert as much as an entirely different thing that you could also eat at Hannukah that would taste delicious.

This baked doughnut journey started with Ina’s Cinnamon Baked Doughnuts and they were delicious, but very very sweet, especially with the icing and sprinkles I used.

I reduced the sugar in the batter, which definitely helped, but they weren't really a healthy alternative to traditional fried sufganiyot. The mountain of powdered sugar in the icing totally undid any of the benefits of baking. So, I decided to start a recipe from scratch and also make them safe for kids with allergies. These beauties are egg-free, dairy-free, nut-free, soy-free, and don't use any processed sugar. They're also super tasty! I'm actually fighting the urge to eat one right now.

Vegan raspberry doughnuts | Me & The Moose. We’ve lightened up traditional Hannukah jelly doughnuts by baking instead of frying, and using freeze-dried raspberries instead of a sugary jelly filling. #Hannukah #sufganiyot #doughnuts #donuts #raspberries #healthybaking #healthyrecipes

A couple of notes:

  • Flax eggs: In my recent vegan baking adventures, I've tried a few different combinations of flax seed, water, and baking powder. I like Joy the Baker's best. She combines 1 Tbsp of flax seed meal with 3 Tbsp of water and lets this goop sit for 30 minutes. At the end, she stirs in a generous pinch of baking powder and uses the flax egg immediately. I used 1/8 tsp of baking powder and it worked quite well.

  • Coconut milk: I called for reduced fat or light coconut milk in this recipe because too much fat can weight things down and since we’re using an egg replacer, the doughnuts get too dense with too much fat. If you can only find regular, use the liquid in the can and leave the hard, coconut cream at the top. Also, replace the olive oil with another Tbsp of applesauce.

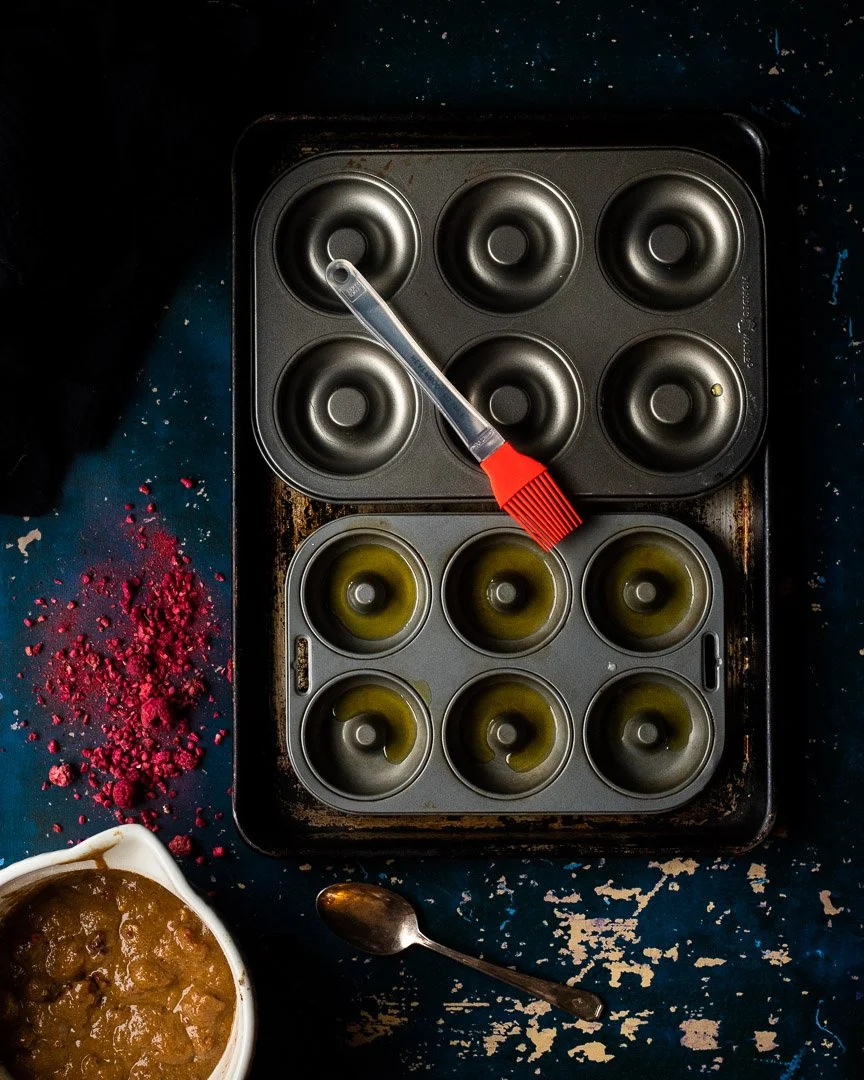
  • Olive oil: I like to add a little extra olive oil in the doughnut pans to mimic the “fried” taste of traditional doughnuts. But I really mean A LITTLE (about 1/8th of a tsp works just fine.) If you do this, heat the oil and the pan for about 3 minutes in the oven before carefully adding the batter and baking.

Vegan raspberry doughnuts | Me & The Moose. We’ve lightened up traditional Hannukah jelly doughnuts by baking instead of frying, and using freeze-dried raspberries instead of a sugary jelly filling. #Hannukah #sufganiyot #doughnuts #donuts #raspberries #healthybaking #healthyrecipes

Vegan raspberry doughnuts

Time: 30 minutes, half active, half baking
Yield: 9 donuts

1 Flax egg (1 Tbsp flax seed meal, 3 Tbsp water, and 1/8 tsp baking powder)
1 cup whole wheat flour
3/4 cup coconut sugar
1 teaspoons baking powder
1/2 teaspoon ground cinnamon
1/4 teaspoon ground nutmeg
1/4 teaspoon kosher salt
2/3 cup light coconut milk *(see notes above about using regular coconut milk)
1 Tbsp apple sauce
1 Tbsp olive oil
1 tsp pure vanilla extract
1 cup freeze-dried raspberries

Preheat oven to 375.

Make flax egg. In a small bowl, combine flax seed meal and water and stir well. Let sit for 30 minutes.

Prep your doughnut pan by spraying with olive oil (see notes about about adding a little extra olive oil to the pan).

In a large bowl, combine the flour, coconut sugar, baking powder, cinnamon, nutmeg, and salt.

In a measuring cup, whisk together the coconut milk, olive oil, and vanilla.

Add the wet ingredients and the raspberries to the batter and stir to combine. When the flax egg is ready, add 1/8th of a tsp of baking powder to the flax and water goop and stir well. Add to the batter and stir gently to combine.

Spoon mixture into greased doughnut molds until ¾ full.

Bake for 17 minutes, flipping the pans halfway through to ensure even baking. Let cool in the pan for 10-15 minutes before turning out onto a cooling rack.