Rainbow Chard Galette

Rainbow Chard Galette | Me & The Moose. This galette is a super-easy show stopper for Easter and beyond! we ate it for dinner last night and the preschooler didn’t bat an eye at the heaps of greens. #meandthemoose #rainbowchard #sidedishes #vege…

This Rainbow Chard Galette is so good (I mean, there’s cheese and puff pastry, what’s not to love) and a serious show stopper for your Easter feast (or any day, really).

Take me to the recipe!

OVENS, amiright? It recently occurred to me that the real secret to successful baking is knowing your oven well. I mean, measuring and experience and bringing things to room temperature and patience are also important, but seriously, if you know that your oven runs hot or cool or that it has uneven spots, you can really up your baking game.

As you can tell, I’m still adjusting to our oven even though we’ve lived in our current house for almost two years.

Luckily, I’ve found that store-bought puff pastry is fairly forgiving. As long as your filling isn’t too wet and the oven is at least 400 degrees, you’re pretty safe.

Which makes this easy galette a reliable option for your holiday table.

Rainbow Chard Galette | Me & The Moose. This galette is a super-easy show stopper for Easter and beyond! we ate it for dinner last night and the preschooler didn’t bat an eye at the heaps of greens. #meandthemoose #rainbowchard #sidedishes #vege…

A couple of notes:

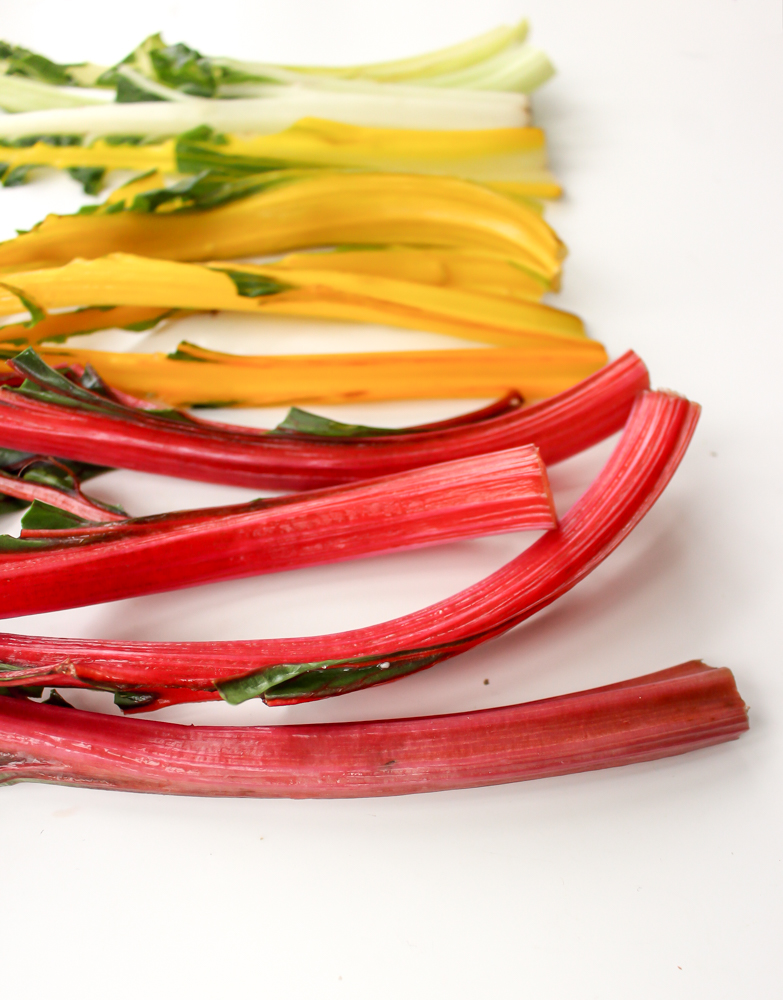
  • I like to rip the greens off of the stems and then arrange the stems in a way that flexes my OCD muscles. HOWEVER, you can opt to chop everything together to save time and that’s perfectly acceptable.

  • Roasting garlic makes the flavor mellow and mild, which I like here because it lets the chard sing. But if you like a stronger garlic flavor, chop the cloves and saute them with the spring onions and greens instead of roasting. Or you can do half and half.

  • This galette really needs salt. I salt at the beginning and end of wilting the greens and then finish with some more salt. I like salt. If you don’t, I urge you to salt at the beginning and end of wilting (and taste test to make sure it’s not too much) and then skip the final salting rather than waiting to add salt at the end.

Rainbow Chard Galette | Me & The Moose. This galette is a super-easy show stopper for Easter and beyond! we ate it for dinner last night and the preschooler didn’t bat an eye at the heaps of greens. #meandthemoose #rainbowchard #sidedishes #vege…

Rainbow chard galette


Time: 50-60 minutes (about 30 minutes active time, depending on how intense you get about arranging the chard stems)
Yield: 9 medium pieces


4 large garlic cloves
2 Tbsp olive oil + more for roasting the garlic (about ½ cup)
2 large spring onions (white/purple and green parts), chopped (about 1 heaping cup) sub scallions if necessary
10 cups chard leaves, measured after chopping, lightly packed (about 2 medium bundles)
2 tsp balsamic vinegar
1/4 tsp kosher salt (a few big pinches)
A few cracks of black pepper
1 cup ricotta
3/4 cup nutty cheese like gruyere or aged Gouda, shredded
1 puff pastry sheet
1 Tbsp roasted garlic oil (from earlier roasted garlic)
1 egg, whisked

Preheat oven to 425.

Smash four garlic cloves (no need to remove the skin) and place in an oven-safe ramekin. Add enough olive oil to cover the garlic. Cook in the oven for 6-8 minutes, or until you start to smell garlic and the cloves are fork tender.

Meanwhile, heat 2 Tbsp olive oil in a very large skillet. Add the spring onions and sauté until translucent and fragrant, about 2 minutes.

Add the greens and a large pinch of salt. Cook until wilted, about 8-10 minutes.

Add the balsamic vinegar, another large pinch of salt, and a few cracks of fresh black pepper and stir a few times.

Once wilted, place the onions and greens into a large bowl. Add the cheeses and roasted garlic. Mix well.

On a floured surface, roll out the puff pastry dough to a thickness of 1/8th to 1/16th of an inch (about 1/3 bigger than original packaging). Move the dough to your sheet pan.

Spread the greens and cheese on the puff pastry, leaving a 1-inch frame. Fold the bare edges over onto the greens and cheese mixture.  

Arrange the chard stems in your desired pattern.

Brush the chard stems with 1 Tbsp roasted garlic oil.

Brush the lightly beaten egg over the visible parts of the pastry crust.

Bake for 18-20 minutes or until the bottom and the edges are golden brown.

Rainbow Chard Galette | Me & The Moose. This galette is a super-easy show stopper for Easter and beyond! we ate it for dinner last night and the preschooler didn’t bat an eye at the heaps of greens. #meandthemoose #rainbowchard #sidedishes #vege…

Turkey and kale spanakopita

IMG_7561.jpg

Aack! Monday! (I am a Kathy comic, in case you were wondering.)

Monday, you're a bummer. What should be a fresh start is always an uphill climb for me. Weekends with a toddler are exhausting and getting back on schedule is tough after two days of loosening the reigns. Enter, spanakopita: An easy, healthy, and totally customizable way to keep your food making and eating on track.

IMG_7544.jpg
IMG_7552.jpg

Spanakopita is a traditional Greek dish that usually employs spinach and a lot of spices (dill, oregano, etc). However, while I love spinach, M does not. And dill is my MORTAL ENEMY. So, this is my version, which uses kale, turkey, feta, oregano, and Aleppo pepper and wraps everything up in a freeform galette.

The beauty of this dish is in its adaptability. Skip the meat for a veggie version or use ground lamb, ground beef, or shredded rotisserie chicken. If you can't find frozen kale, any frozen greens will do. But, definitely use frozen veggies that you thaw and squeeze dry instead of anything fresh.

IMG_7555.jpg

Don't be intimidated by filo dough. While it can dry out and crack relatively fast, we're talking about a few minutes, not a few seconds. Some people recommend covering the dough with a lightly damp towel while others recommend brushing butter or olive oil on each layer. I say, if you organize your ingredients and work fast, you don't need to do any of those things. At least, not for this recipe.

*One quick note: I completely forgot to add the eggs when I made this dish for the photos! See also: "Aack! Monday!" So, yours will be considerably less crumbly than these photos imply. However, if you happen to forget the eggs in yours, it will still be delicious.

IMG_7568.jpg


Turkey and kale spanakopita

1 lb frozen kale (or spinach or collard greens or mixed greens, whatever you like), thawed and squeezed
2 Tbsp olive oil, divided
1 lb ground turkey
2 cloves garlic
¼ tsp aleppo pepper or ¼ tsp smoked paprika + 1/8 tsp cayenne
½ tsp oregano
6 oz crumbled feta (or about 1½ cup)
3 eggs
6-8 sheets of filo dough

Preheat oven to 350.

If the kale is straight from the freezer, empty the bag into a large bowl and microwave for 2-3 minutes, just until the ice has melted. Squeeze well with a cloth or paper towel to get out as much moisture as possible. Set aside.

Saute the turkey just until no pink remains, breaking into tiny pieces with the back of a spoon while cooking. Add the garlic, Aleppo pepper, oregano, and salt and cook for one more minute, or until fragrant. Add to the bowl with the squeezed kale.

Add feta to the large bowl and mix well. Taste for seasoning before adding the eggs and adjust accordingly. Add all three eggs and mix well.

Prep your workspace before opening your filo package. Cut a piece of parchment and place on a baking sheet. Have your bowl of fillings and a small bowl and brush or spray can of olive oil ready.

Next, unwrap and unroll the package of filo and, working quickly, lay out one sheet of the dough. Then, take the next sheet and rotate it slightly so that the points of the sheet underneath stick out. Repeat, rotating the third sheet of filo in the other direction. Repeat the first three steps again exactly until you have six sheets of filo in a rough star shape. (See photos to better illustrate what I mean.)

Dump the filling mixture into the middle of the six filo sheets and spray or brush the filling and the filo with olive oil. Then, wrap the sides of the filo over the filling. If there is a very large gap in the center revealing a lot of the filling, crinkle up one or two more sheets of filo and stick them on the top. Spray or brush the whole packet with olive oil.

Bake for 25-30 minutes or until the top is golden brown.

Yield: 4-6 servings

IMG_7565.jpg
IMG_7571.jpg
IMG_7576.jpg

Green bean galette

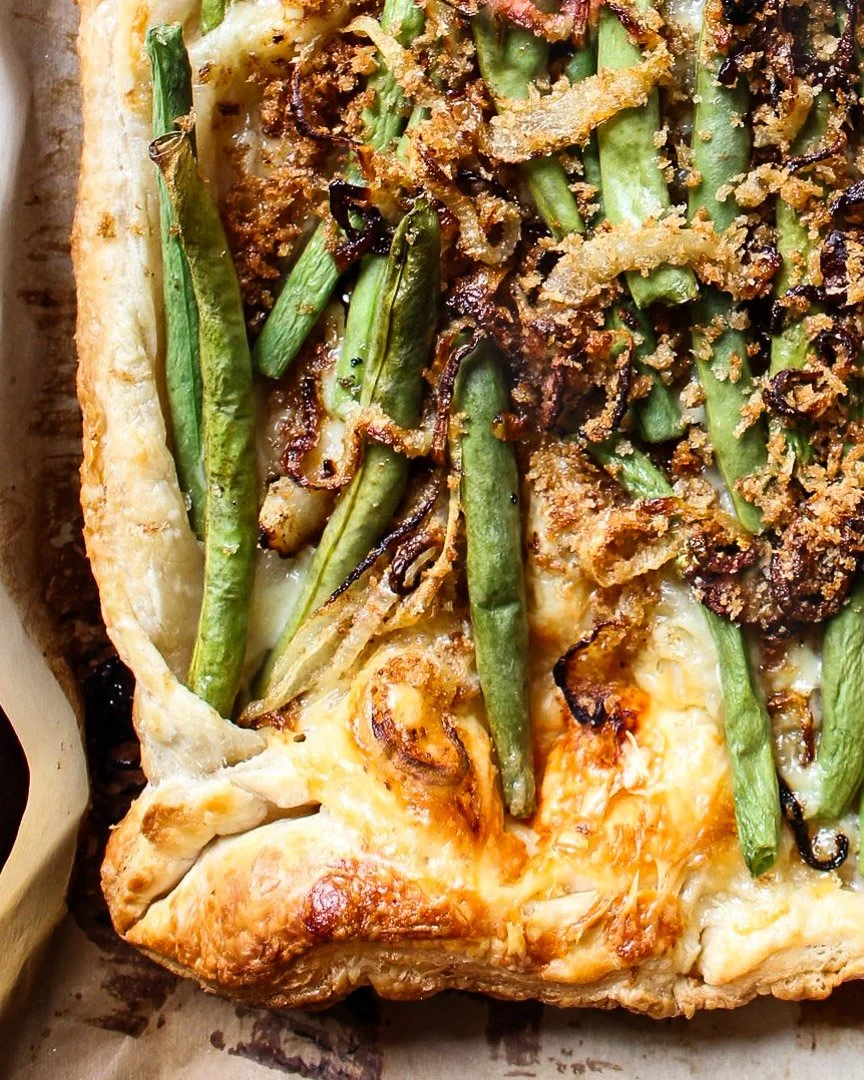
This green bean galette started life as a green bean casserole alternative and quickly earned a spot on my easy-yet-impressive list.

Give me that galette!

IMG_6146.jpg

We've eaten this galette quite a few times since the calendar flipped to September and I decided it was time to eat "cozy food." It’s so easy and somehow makes everyone in my family happy. Maybe it’s all the cheese and butter?

This recipe is truly one of those crowd pleasers that feels so fancy and yet, couldn’t be simpler. Well, I suppose it could be simpler, but the difficulty-to-impressiveness ratio makes it well worth the effort.

A couple of notes:

  • I sometimes buy the smaller, skinnier haricot vert over traditional green beans and skip the blanching step.

This galette is also delicious for breakfast with some ham (or leftover turkey) and an egg on top.

IMG_6135.jpg

Green bean galette

Time: About 55 minutes, half of it active
Yield: about 6-8 portions

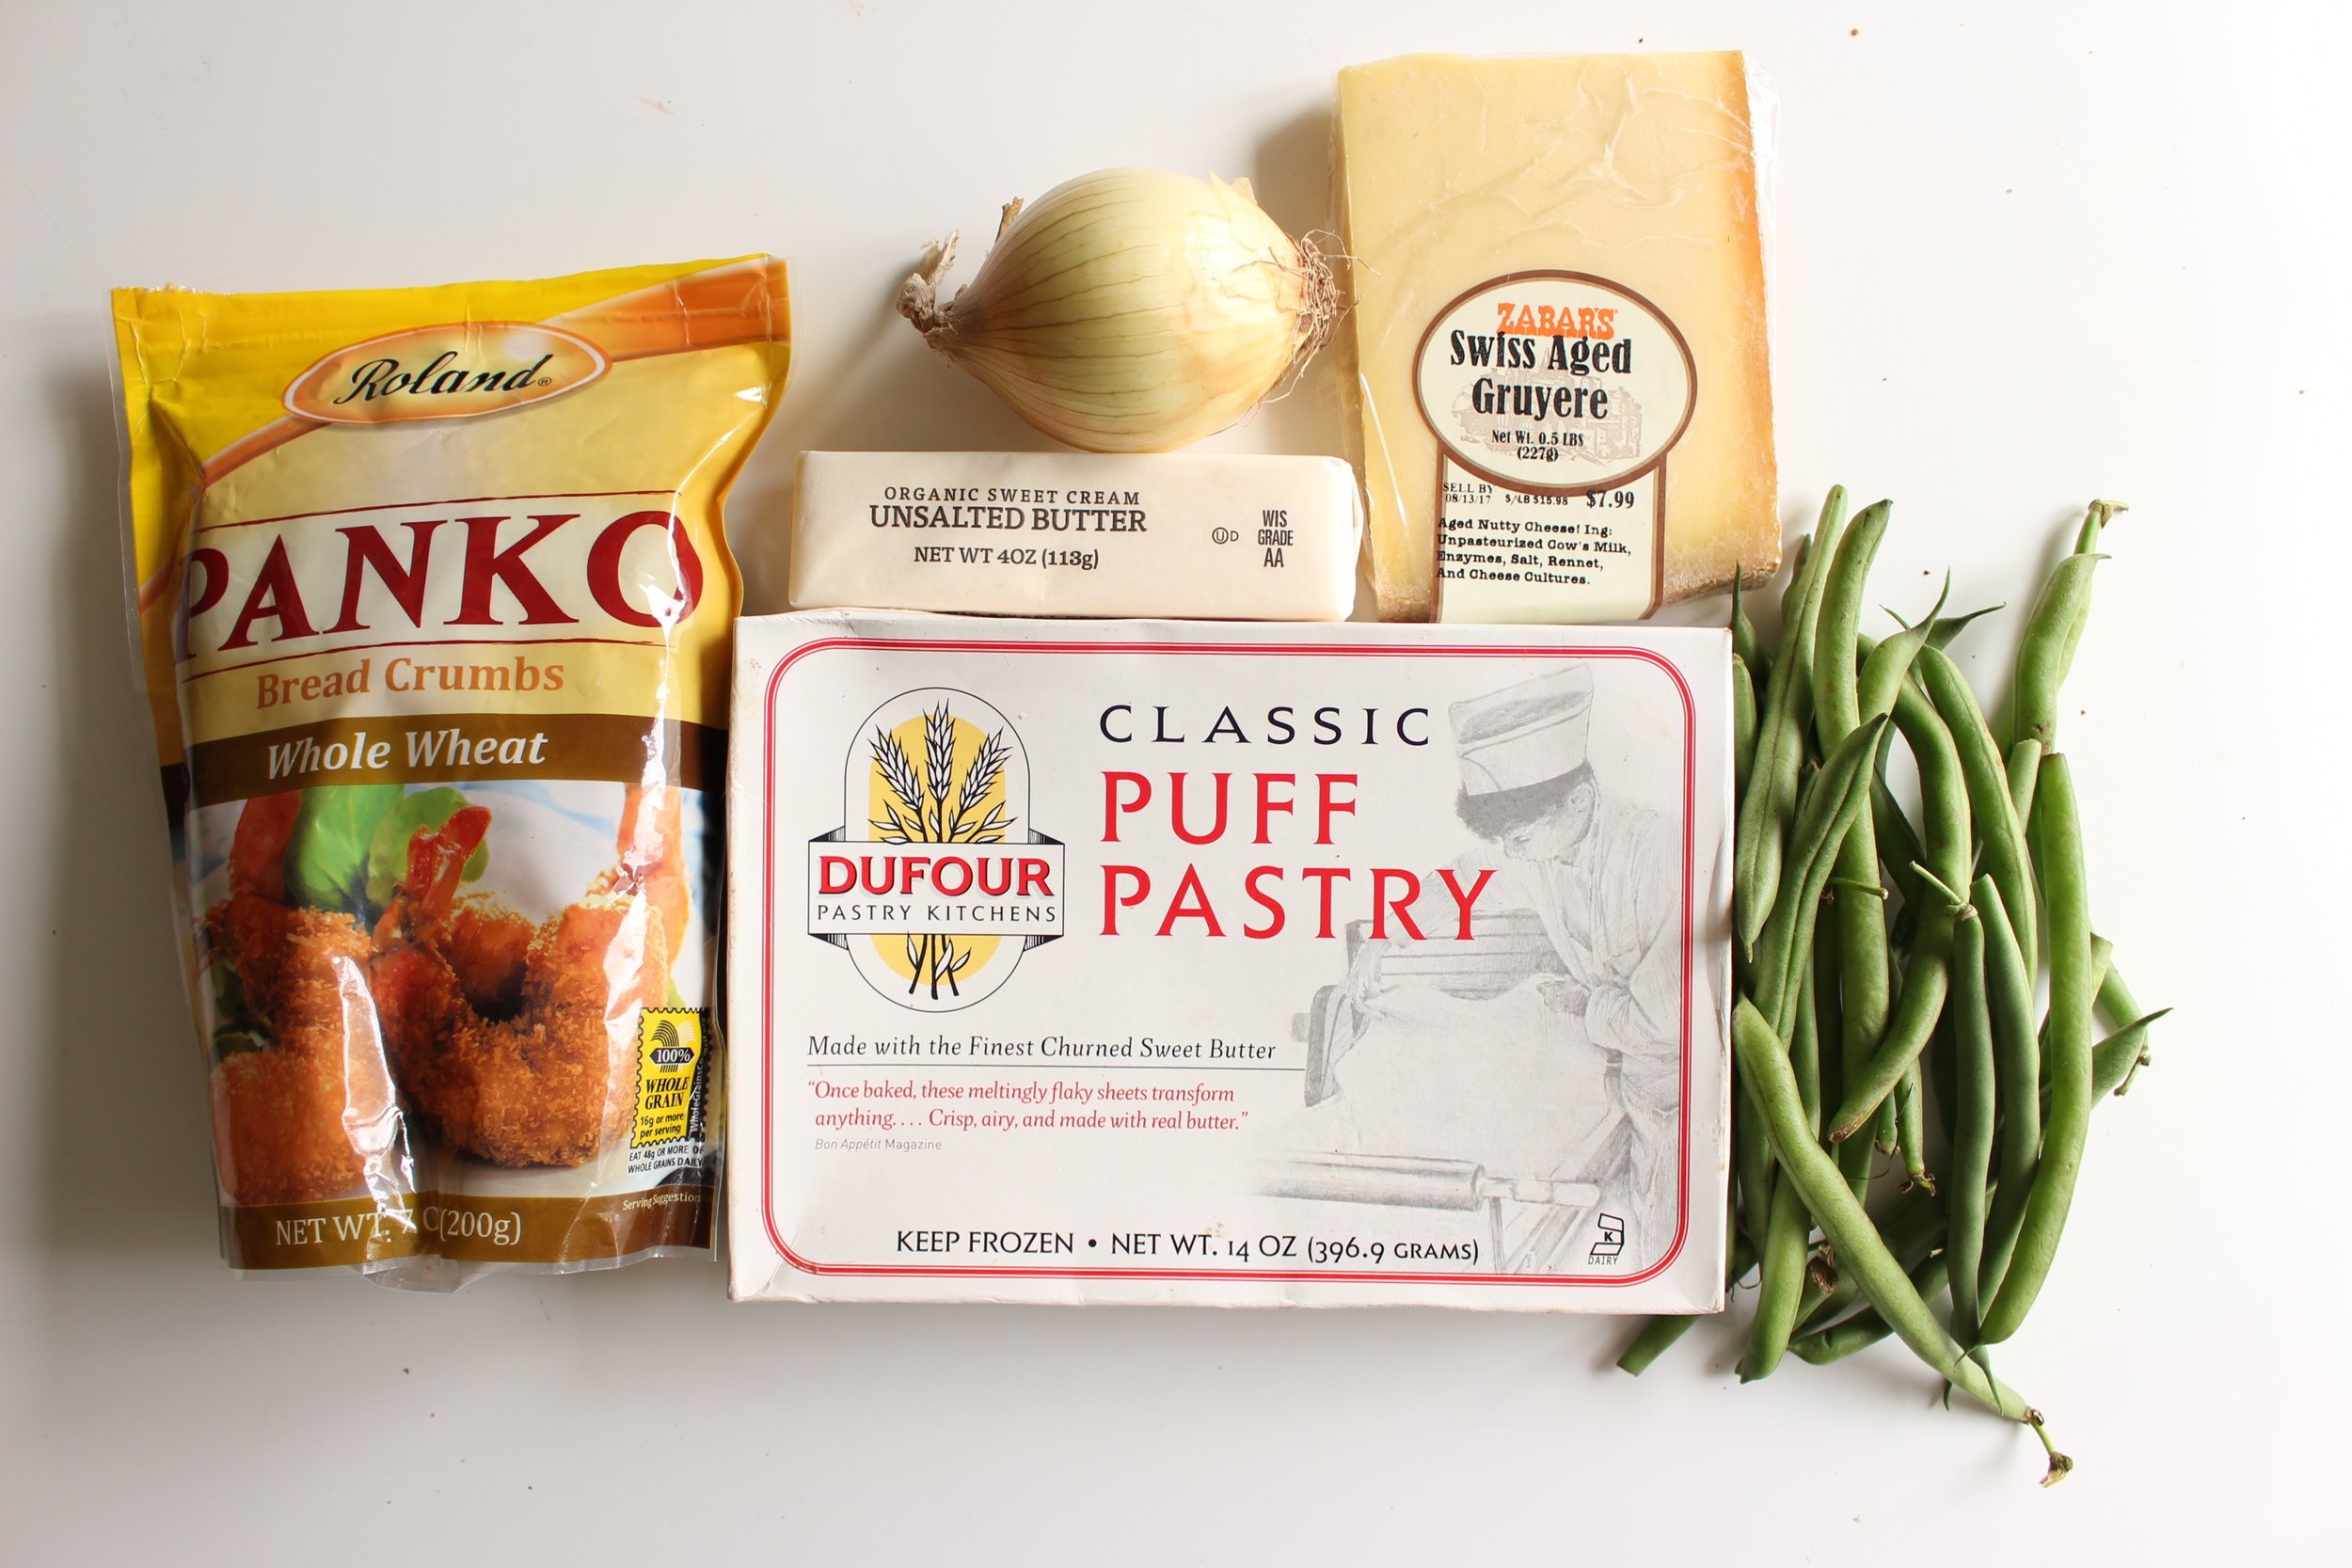
1 sheet puff pastry
3 oz gruyere, grated
6-8 oz thin green beans, trimmed
½ large onion or 3-4 large shallots, thinly sliced
2 Tbsp butter
1/3 cup panko
½ tsp salt

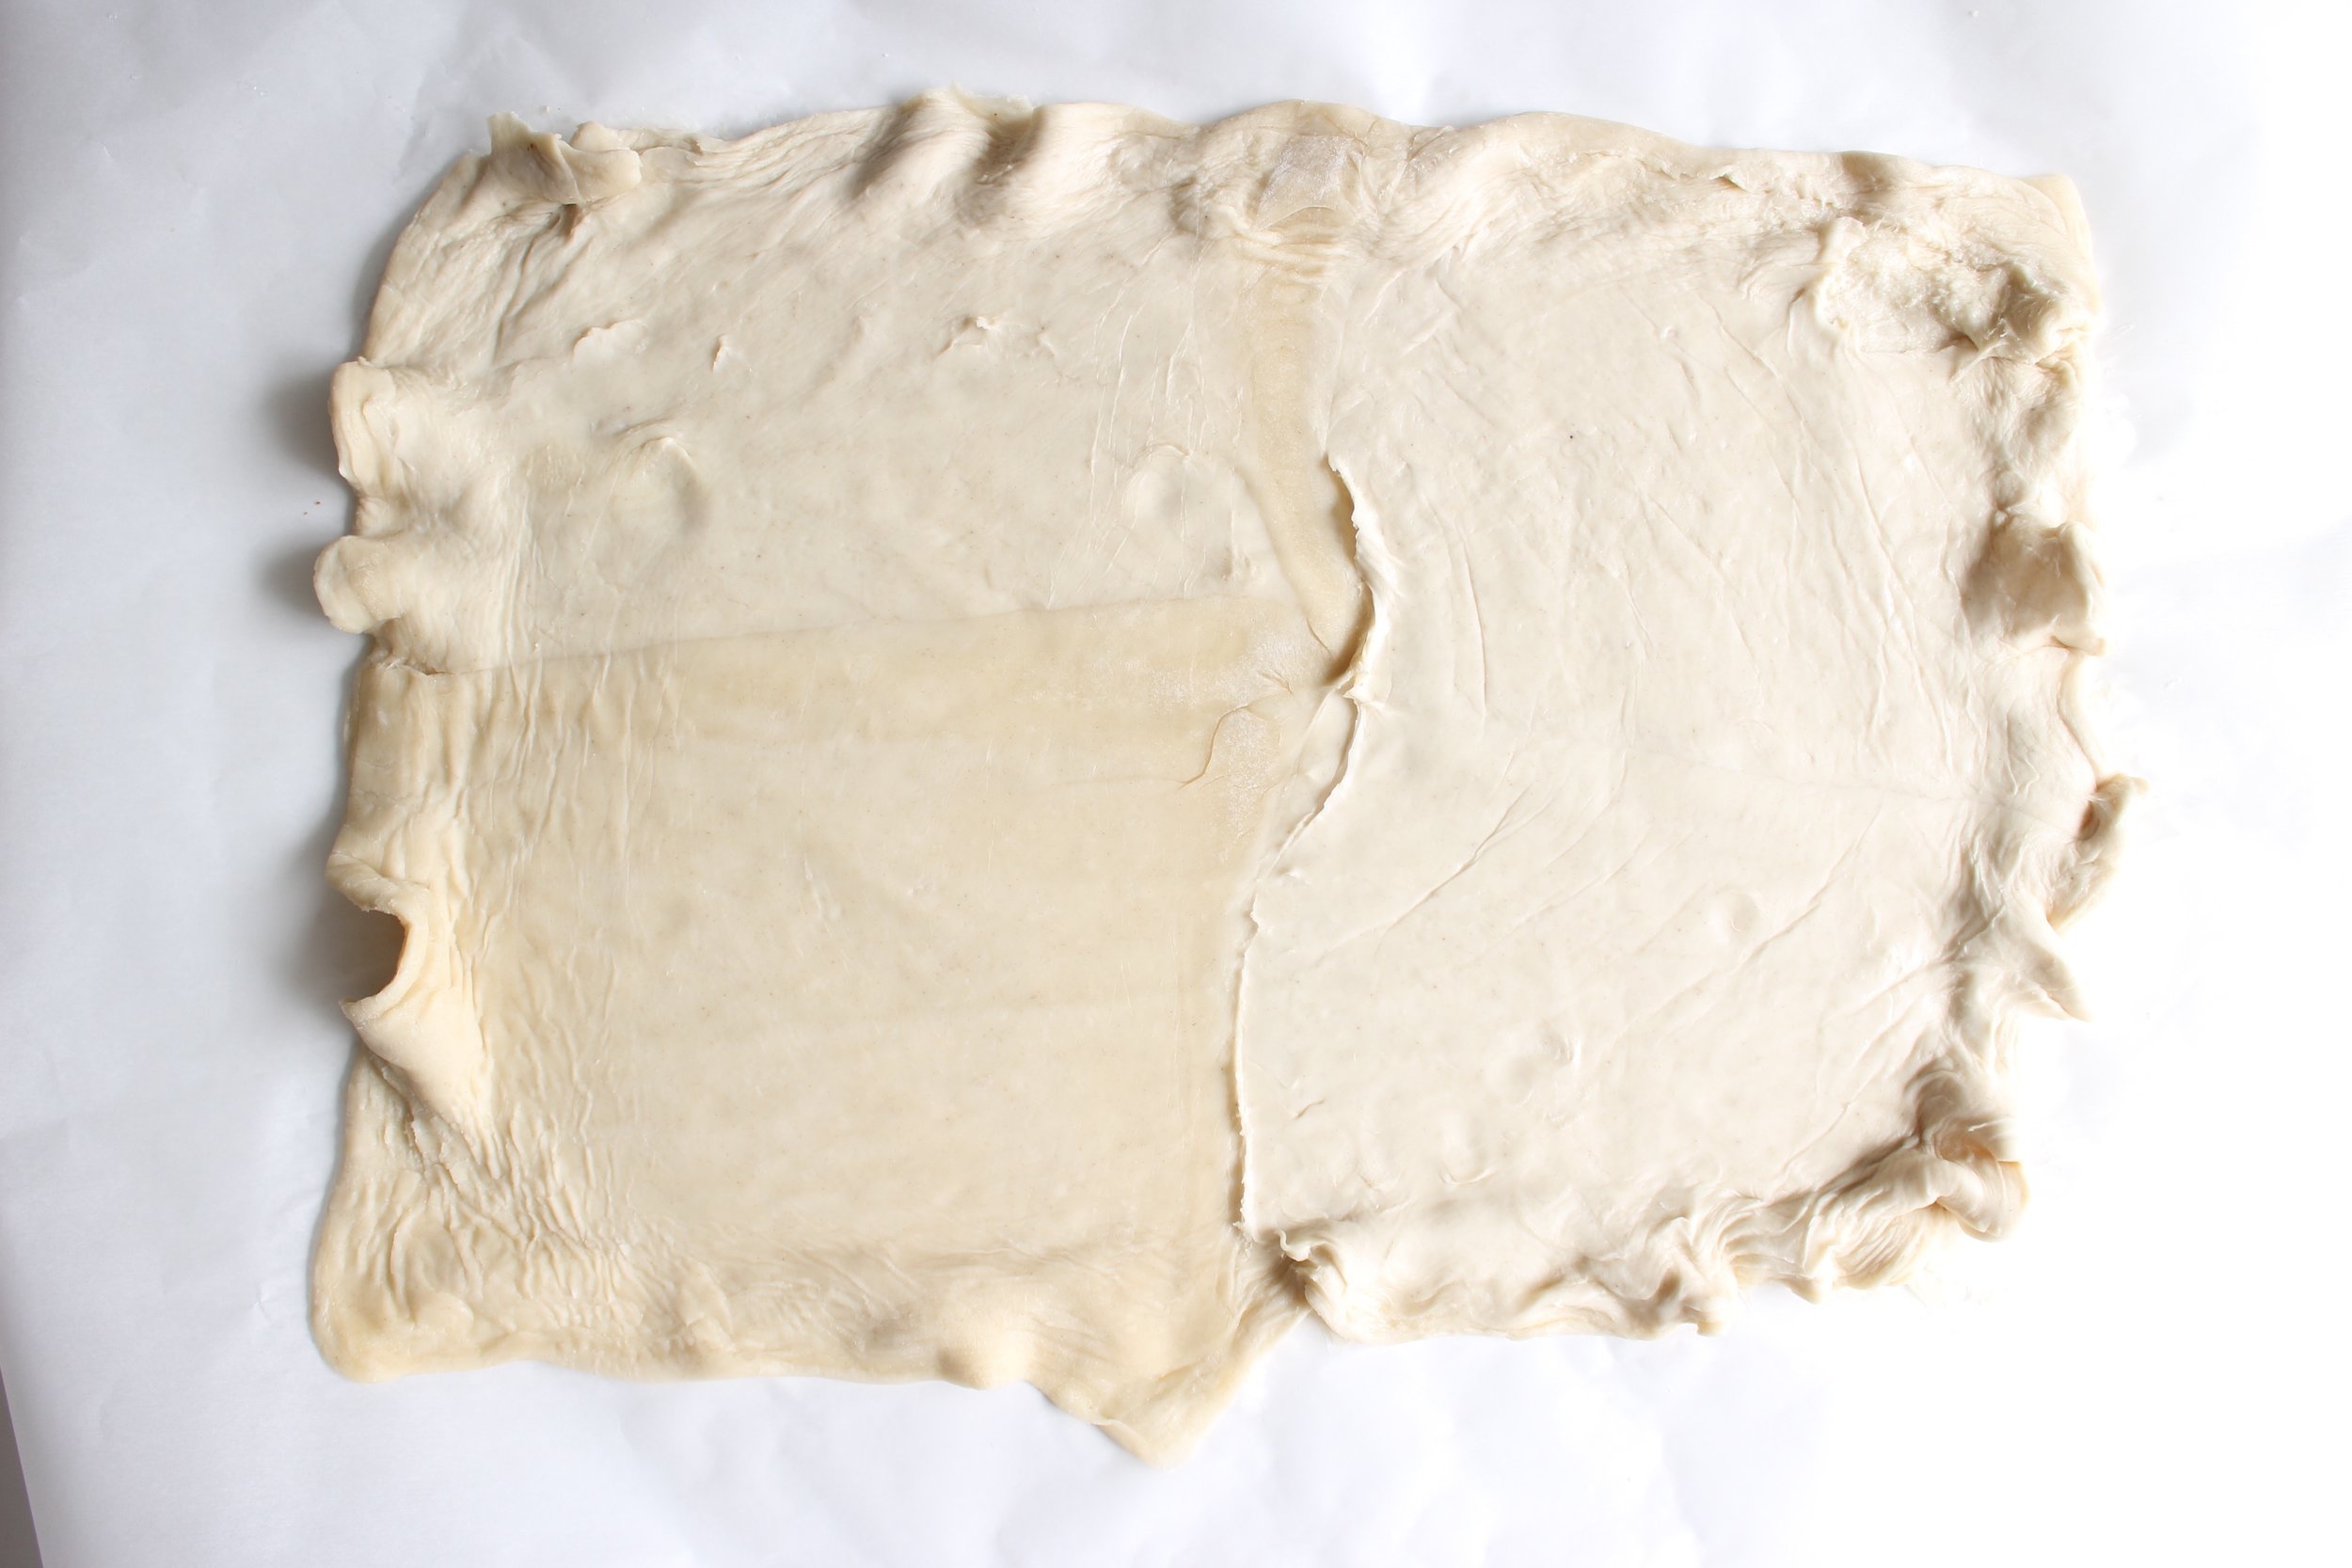
Preheat oven to 425. Roll out a sheet of puff pastry dough into a large rectangle on a piece of parchment and transfer to a sheet pan or baking sheet.

Bring a pot of water to a boil and set aside a large bowl. (Skip this step if using thin green beans.)

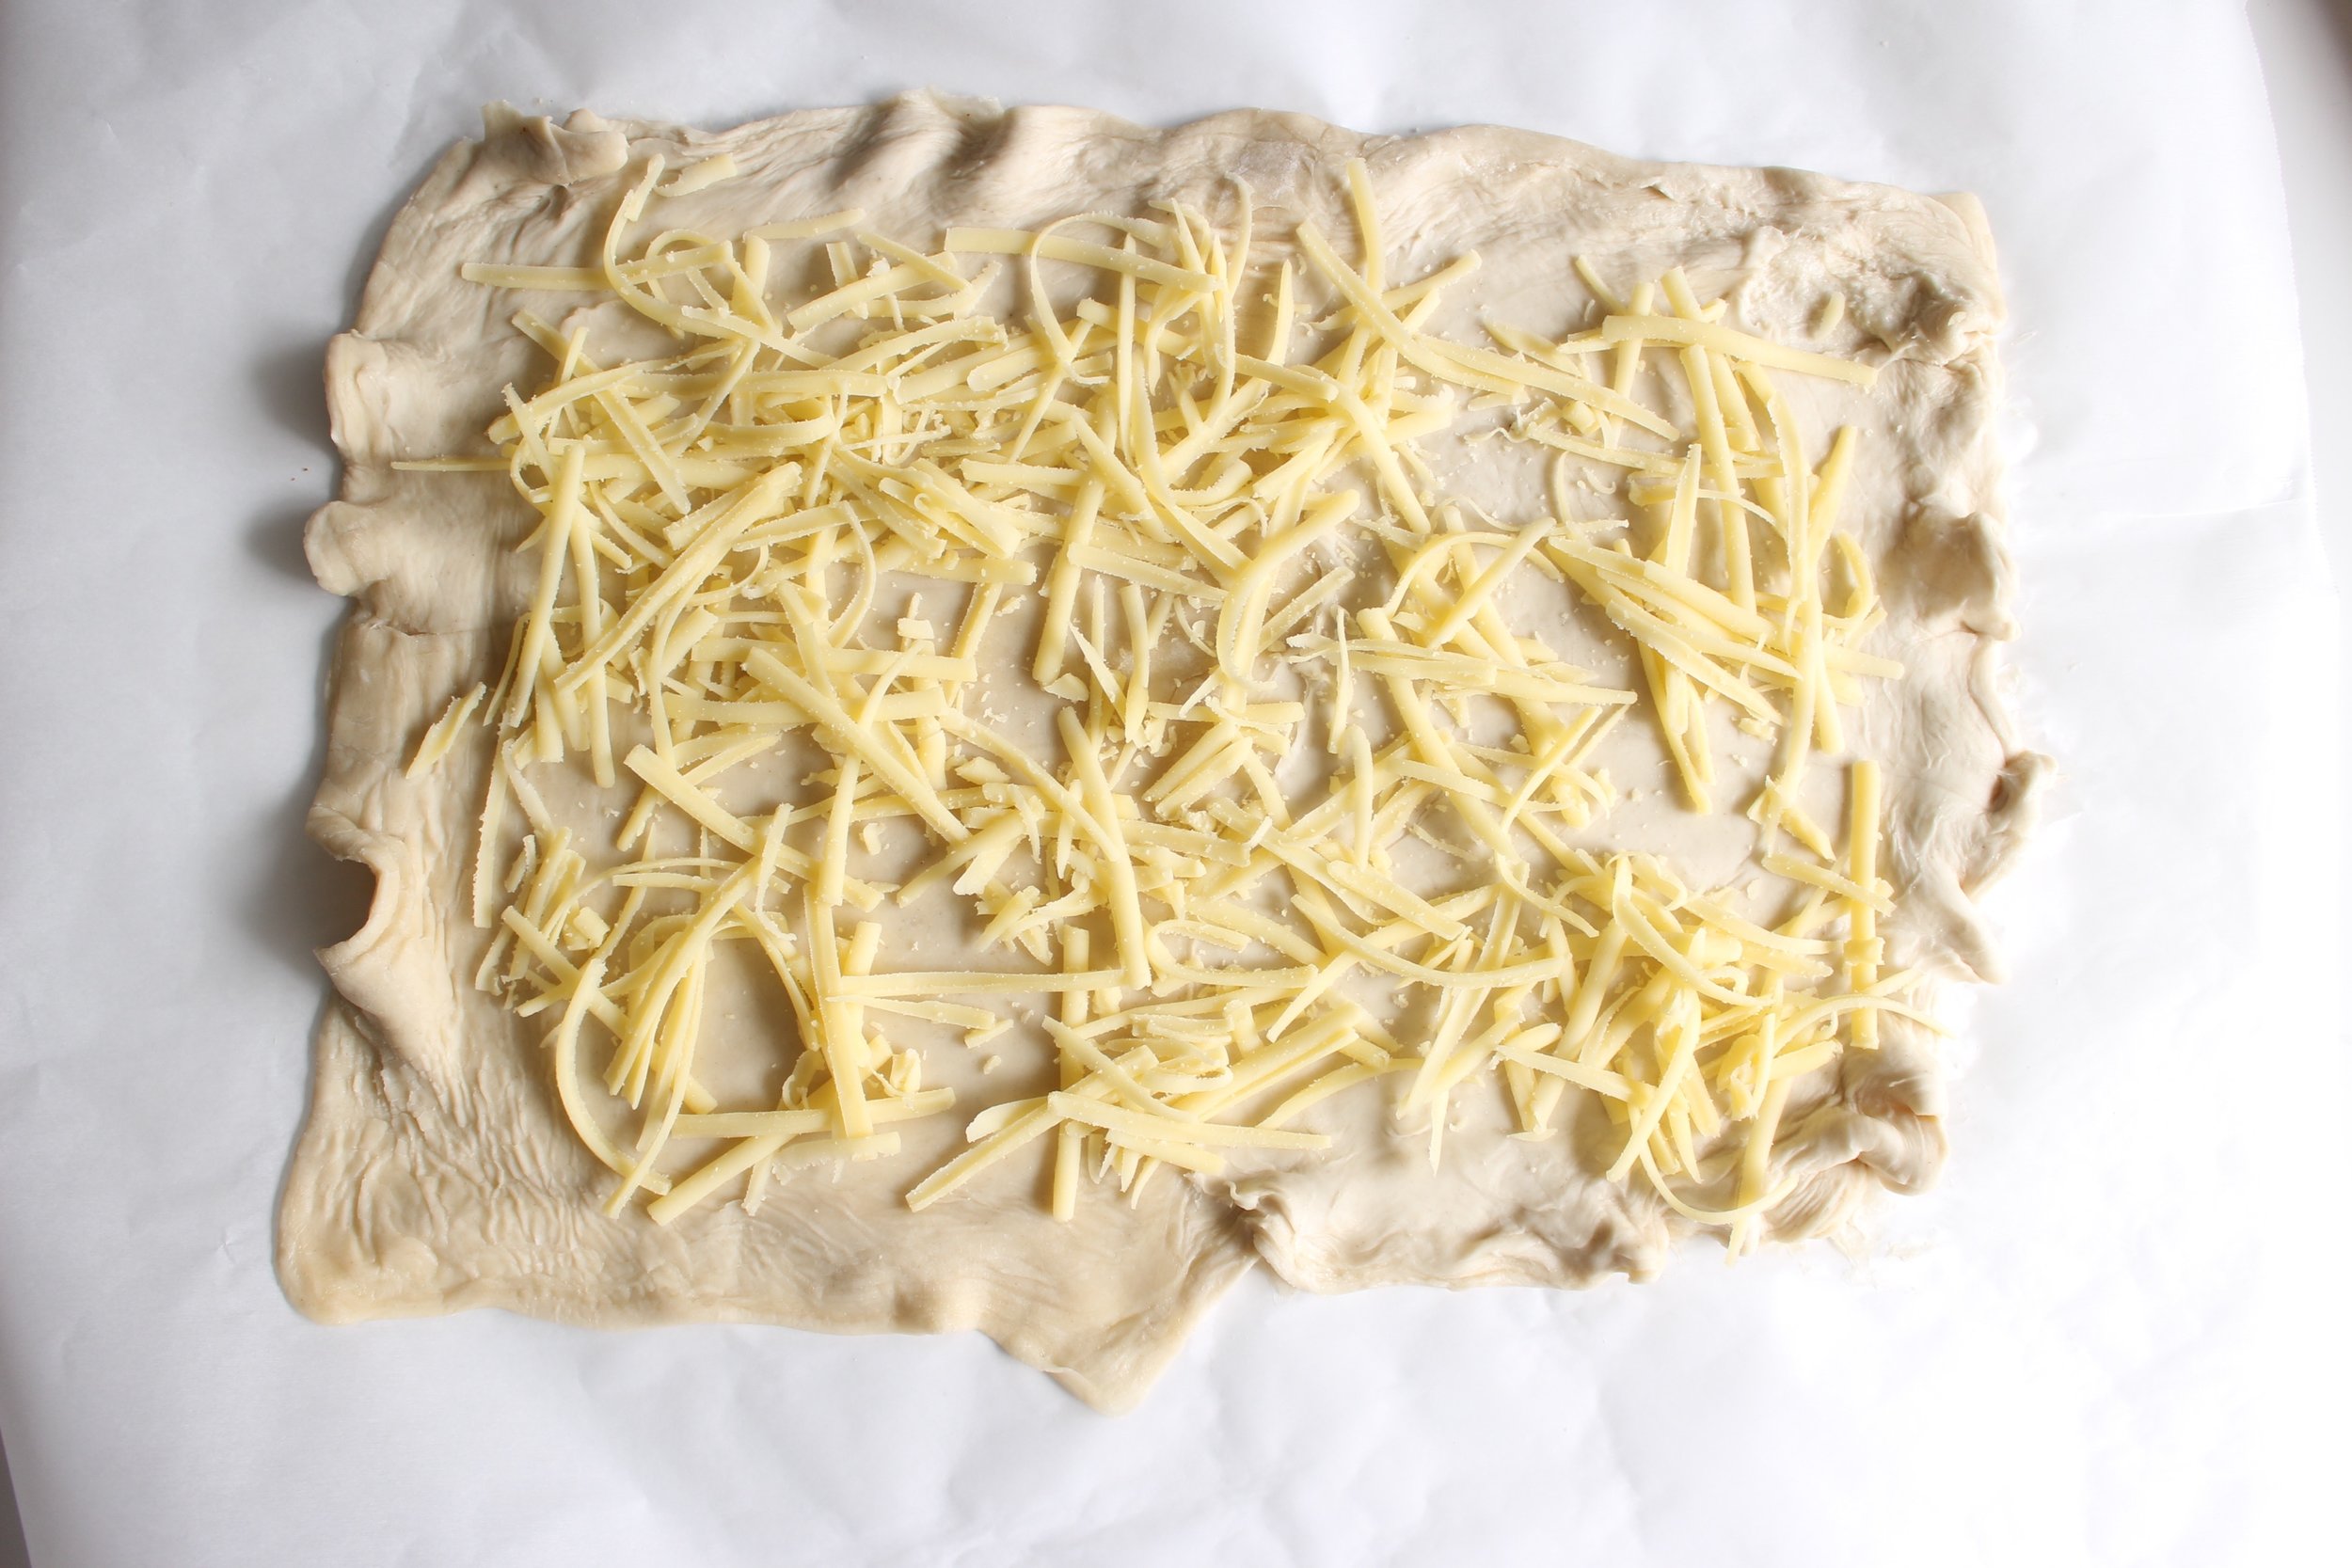
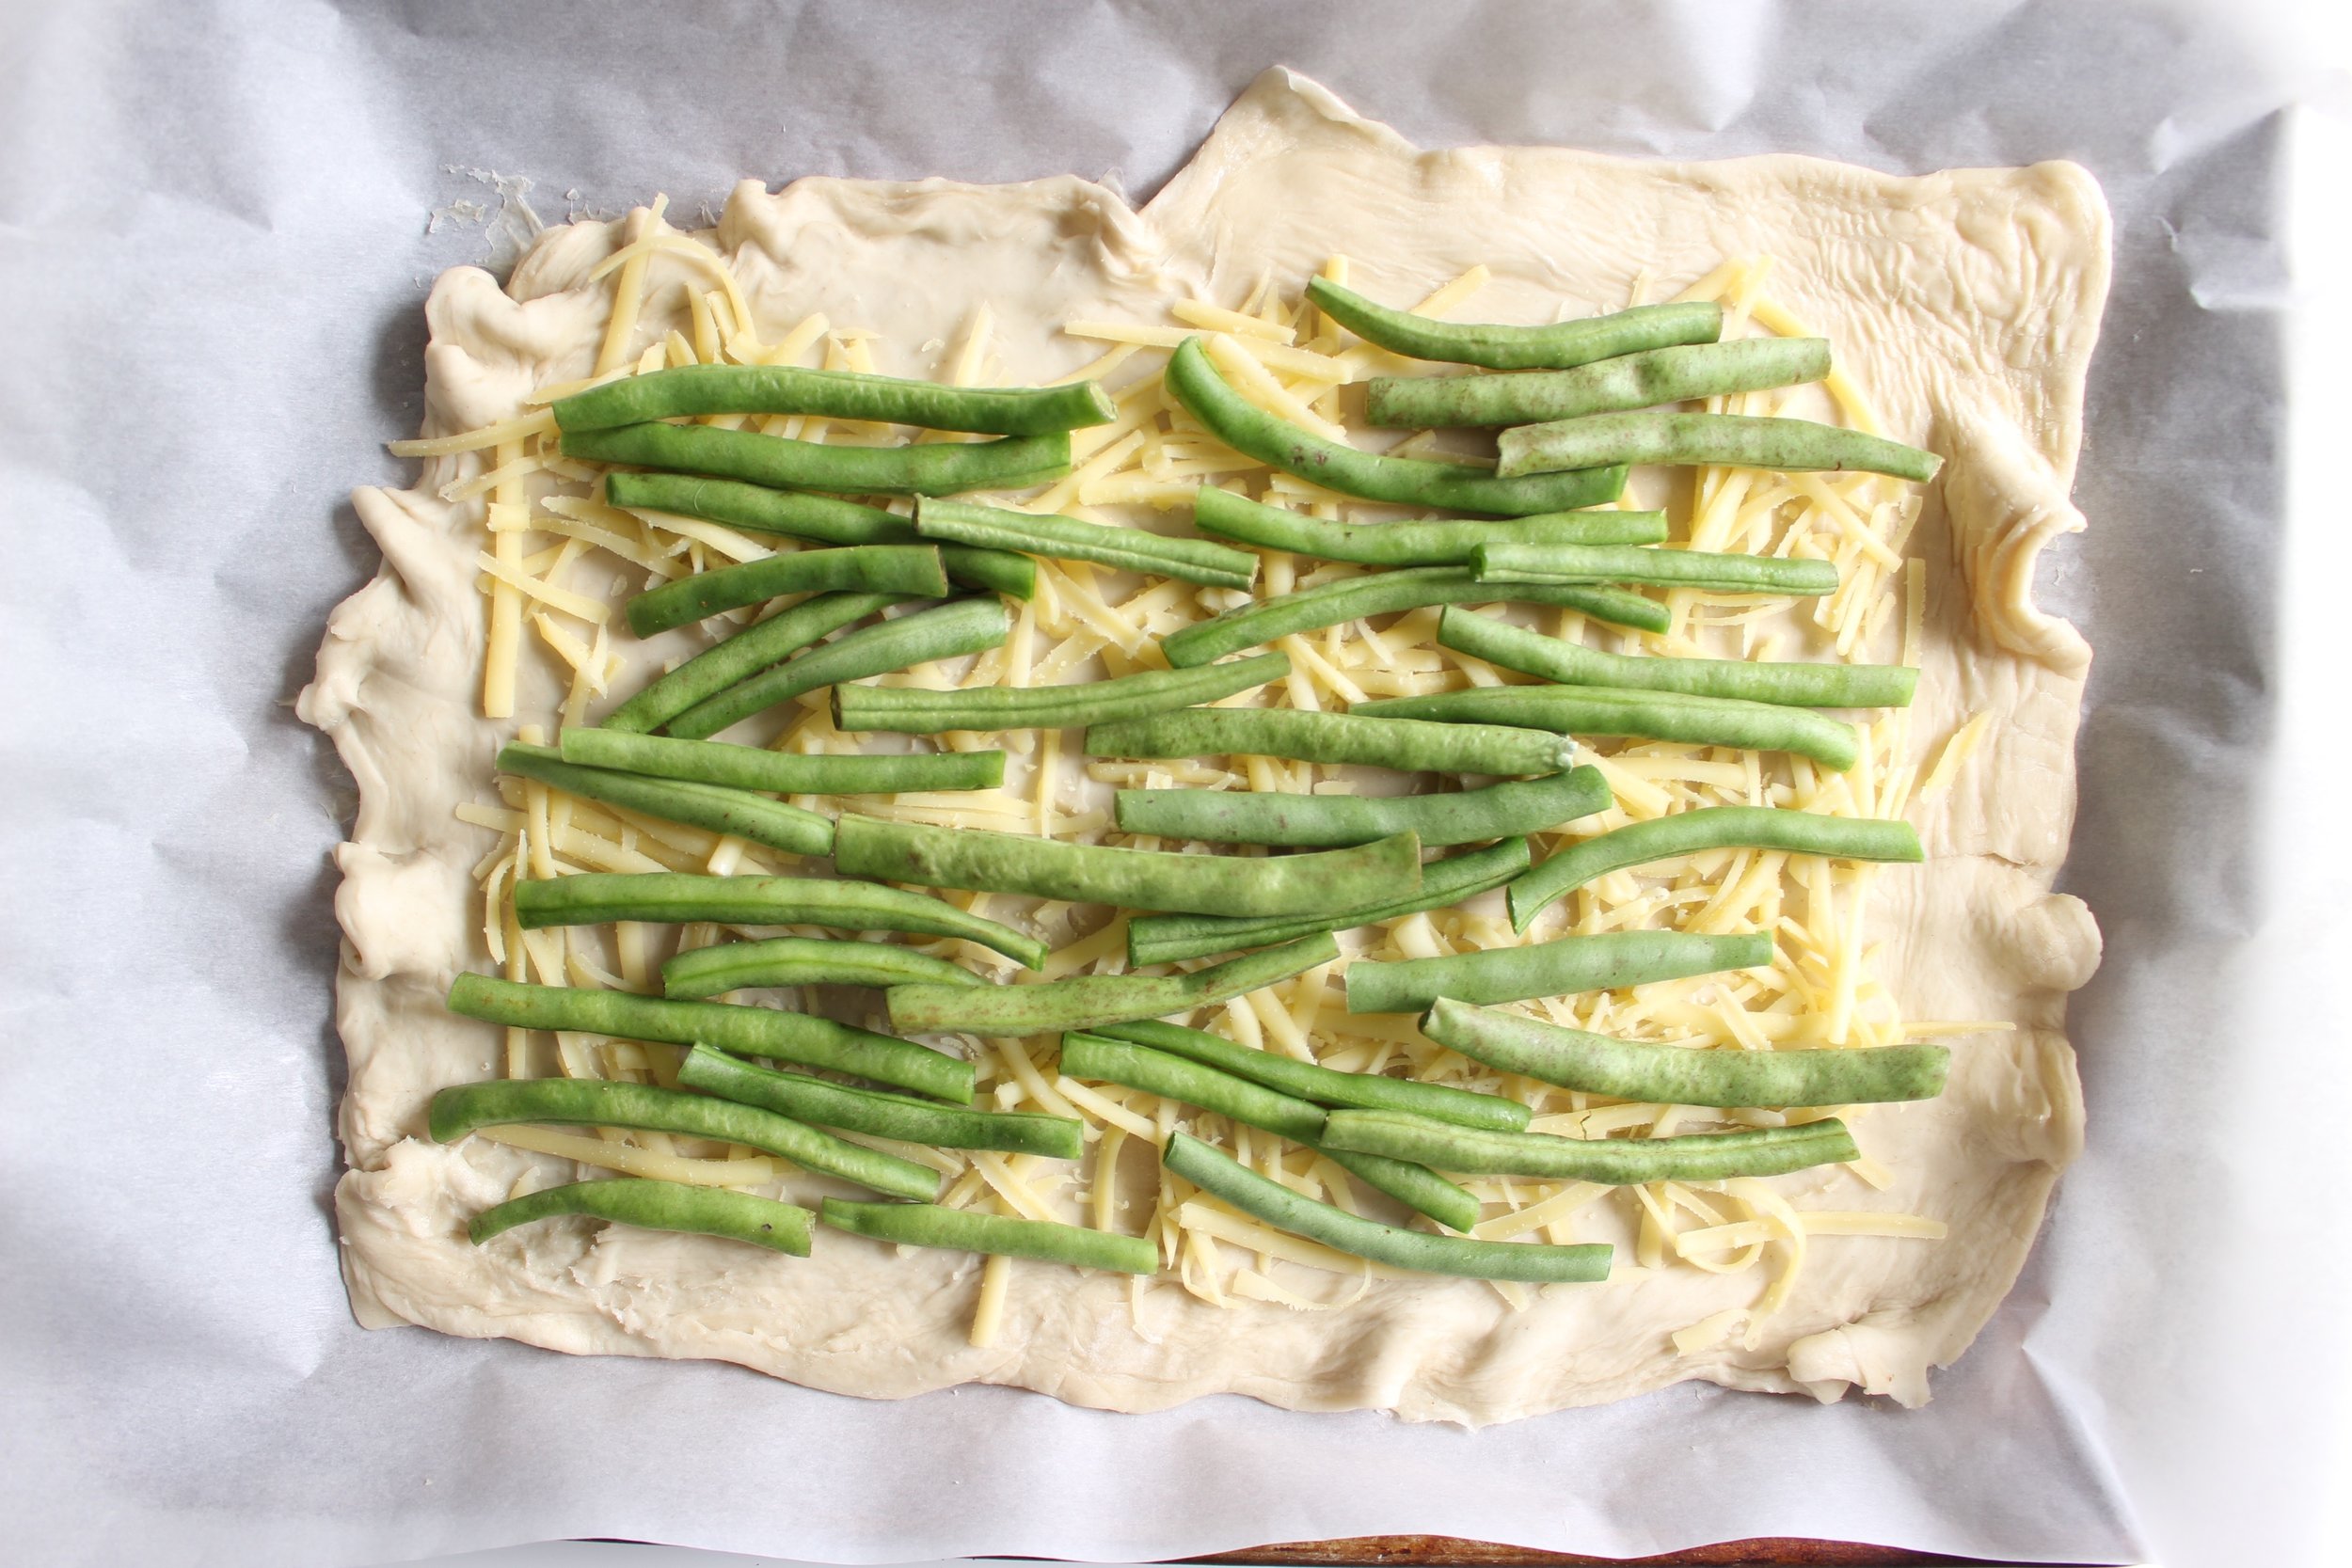
Meanwhile, grate gruyere and spread over the puff pastry, leaving a 1-inch border on all sides.

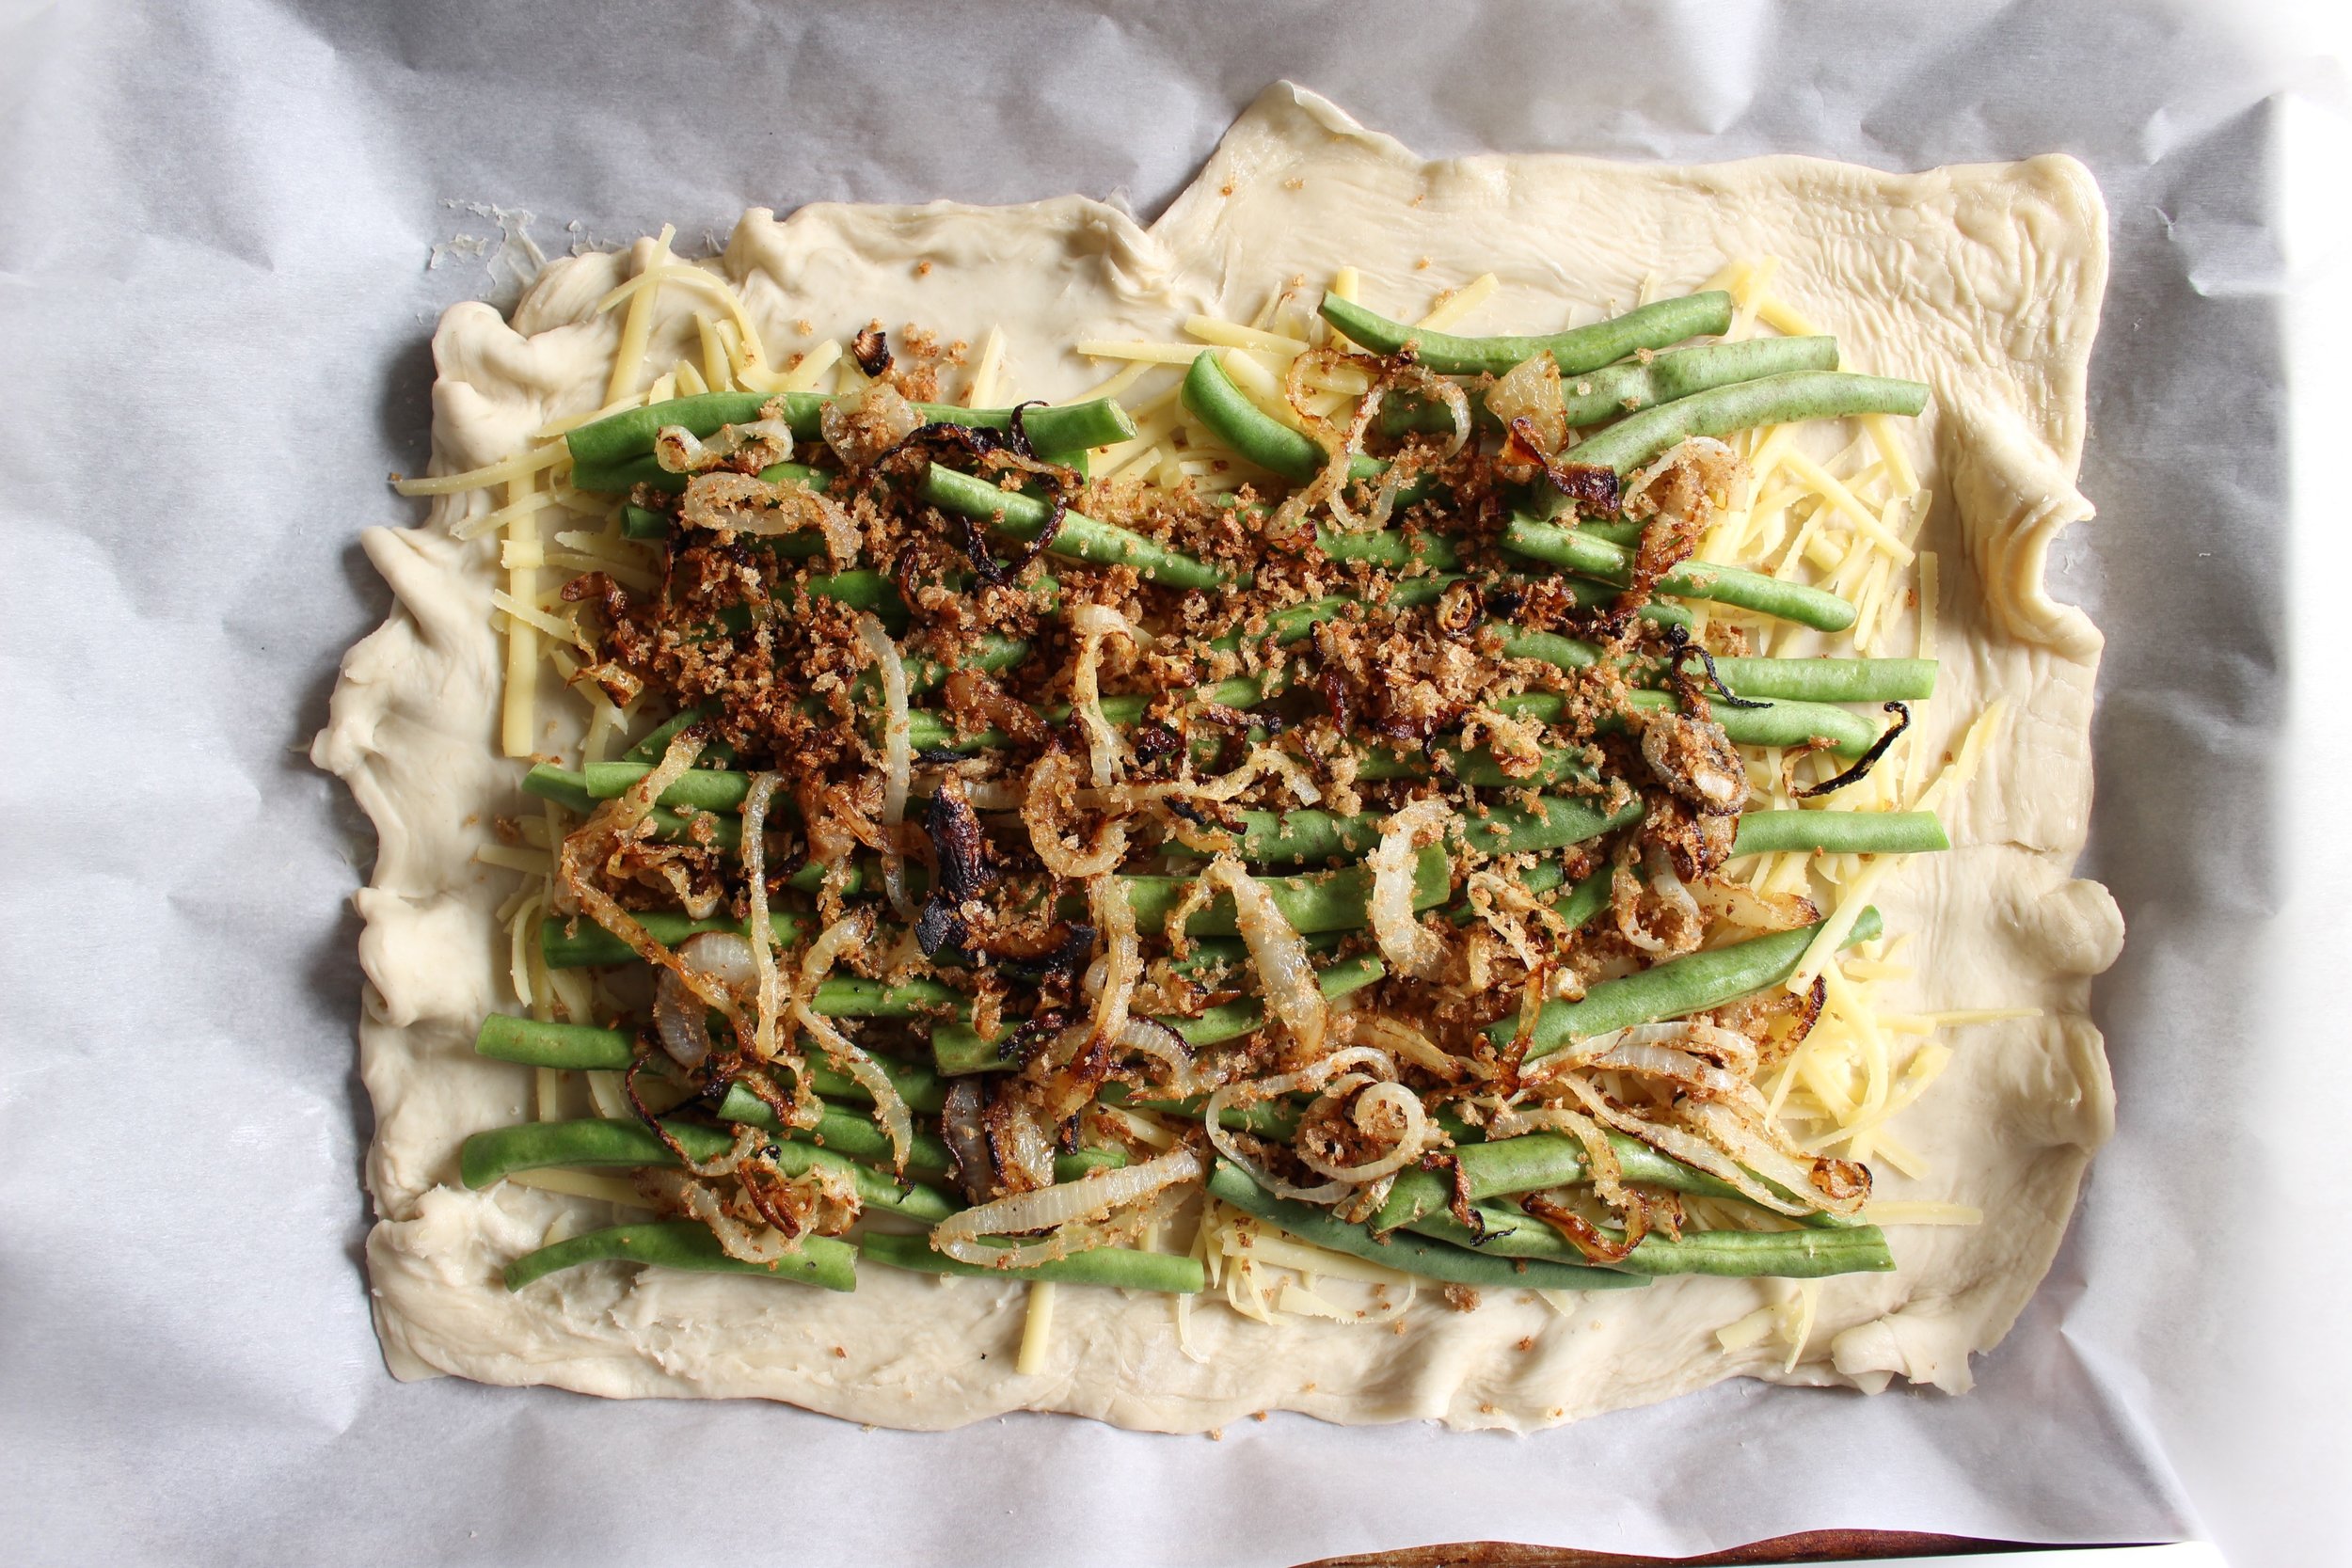
Melt butter in a large pan over medium heat and add the onions or shallots, cooking until they begin to soften and brown, about 15 minutes. Add the breadcrumbs and salt and sauté until fragrant and toasted, about 5 minutes.

While cooking the onions or shallots, check your pot of water. When it’s boiling, add the green beans and cook over high heat for 2-3 minutes. Add ice cubes and water to your large bowl. When the beans have boiled for a few minutes, remove them and submerge in the ice water. (Again, skip this step if using thin green beans.)

Pat the green beans dry and place them on top of the puff pastry and cheese, leaving the 1-inch border. Spread the breadcrumb mixture over the green beans.

Fold the pastry border over the edges of the green beans and breadcrumbs.

Bake for 18-23 minutes until the pastry is golden brown.

IMG_6225.jpg